Bamboo removal, part 3: planting!
I'm finally reaching the end of this bamboo removal project. In part one I dismantled the raised bed and made divisions of the plant. In part two I removed the remaining rhizomes and the buried hardware cloth. That left me with a nice, clean pile of soil.

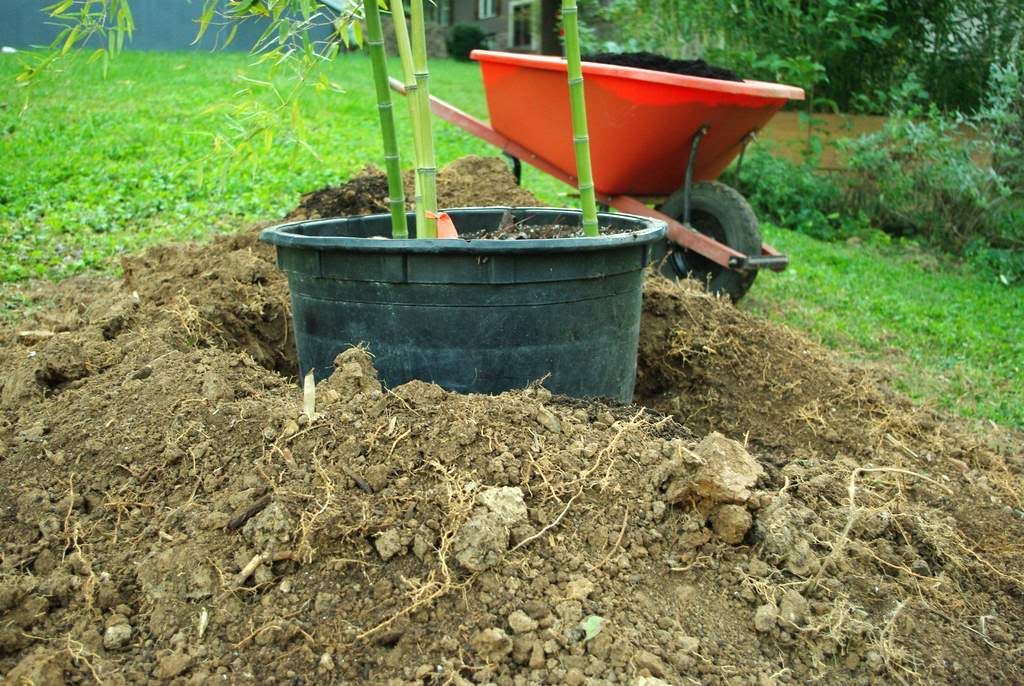
Today I'll put the new bamboo into this mound. I'm excited, so let's get started!
Normally when I plant I need to dig down into the soil and create a big hole -- especially for a large plant like this.

Since I've got a mound of soil already, I don't think I'll need to dig down below grade -- I may just be able to dig a hole in the mound. That's a good thing, because the mound is made of loose, easy-to-dig soil, and the ground underneath is not.

So that's the hole. I'll mix some compost into the bottom of it before I put the plant in.

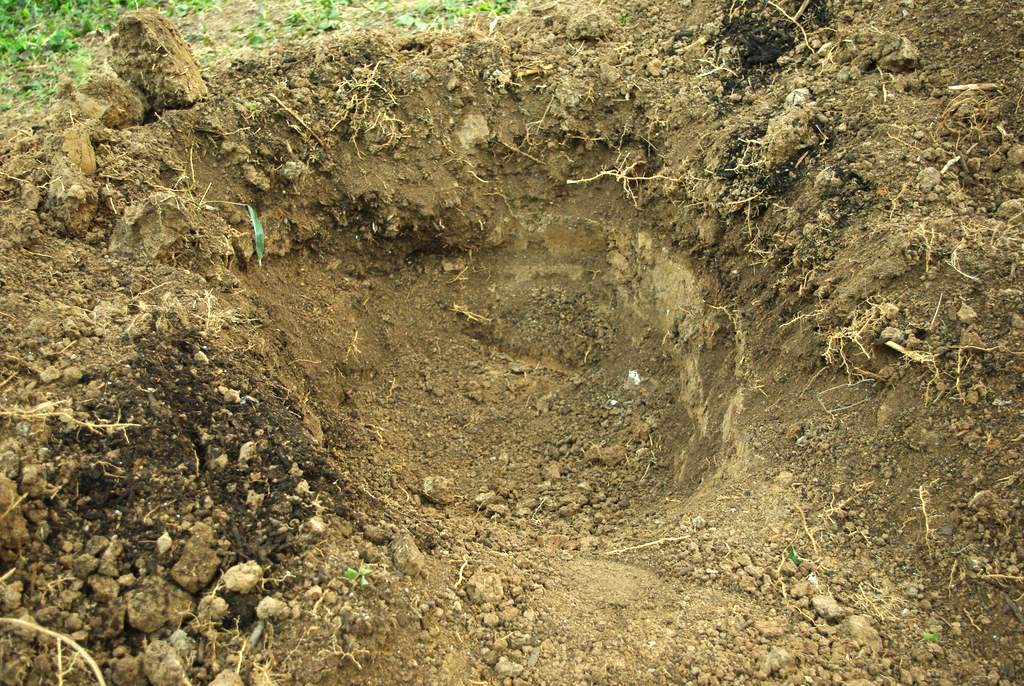
It's a pretty large hole, but now that I see it I don't think it's deep enough. There's only one way to really know:
Nope, it's not deep enough. That means I have to dig into the hard, dry clay. It's pretty surprising how dry it is under there, as the soil in the rest of the yard is still nicely moist. The bamboo really sucked all of the moisture out of that area though.
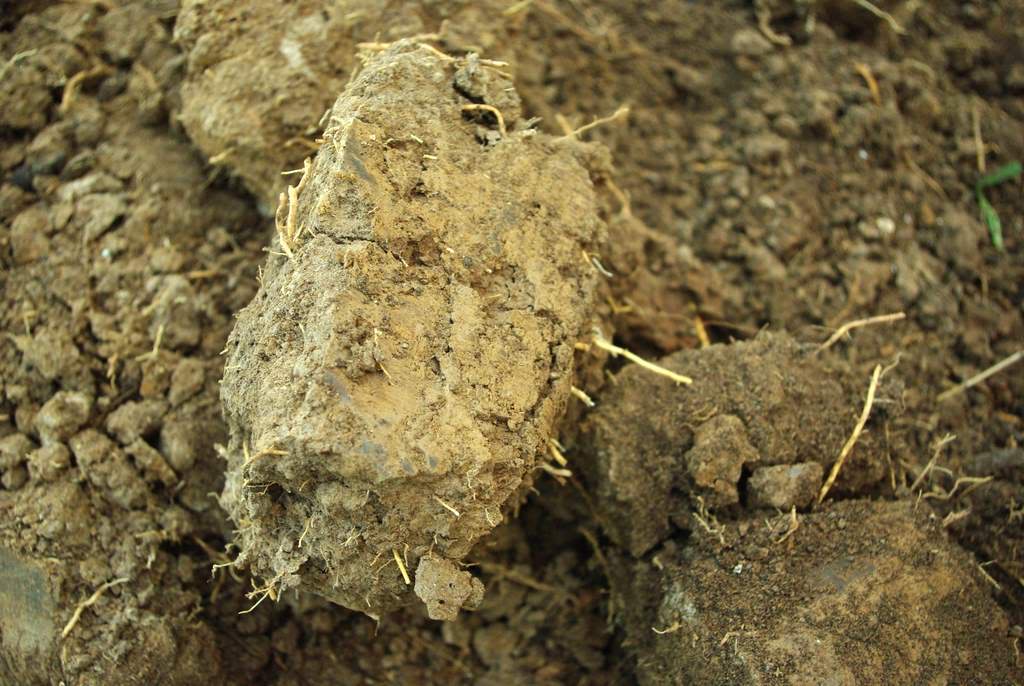
The soil chunks are like boulders. If you have clay soil, you know that when it's wet it's heavy muck, and when it's too dry it's like rocks. When the moisture content is just right though, the soil is not bad to dig in.
Here's the larger, deeper hole:
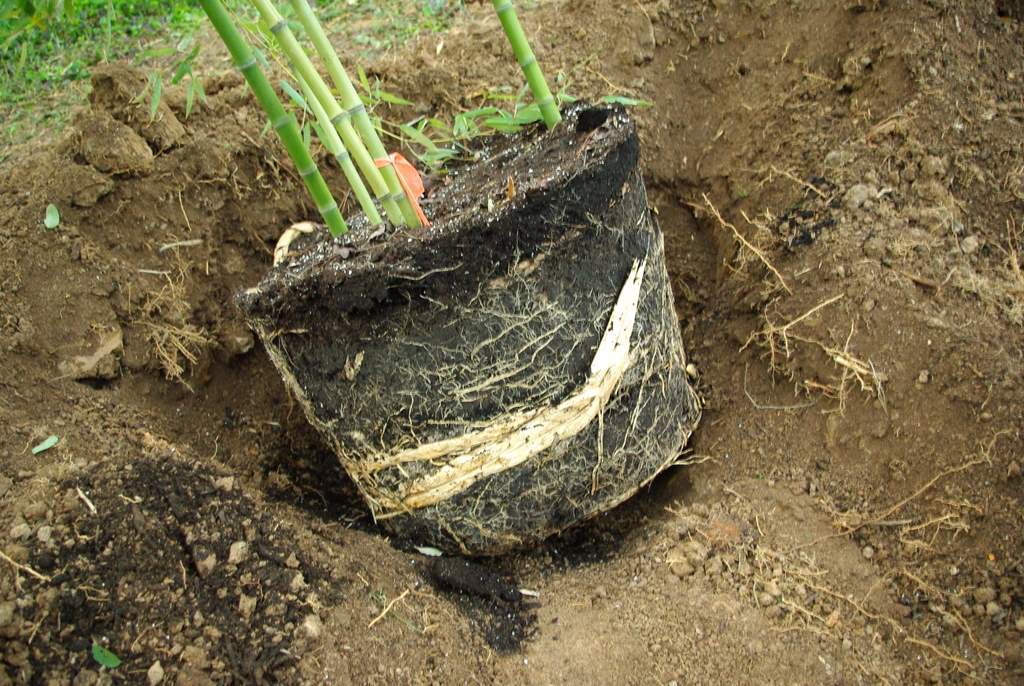
That looks better, so I'm not even going to drag the pot back in. I'll mix some compost in again, and get the pot positioned right at the edge of the hole:
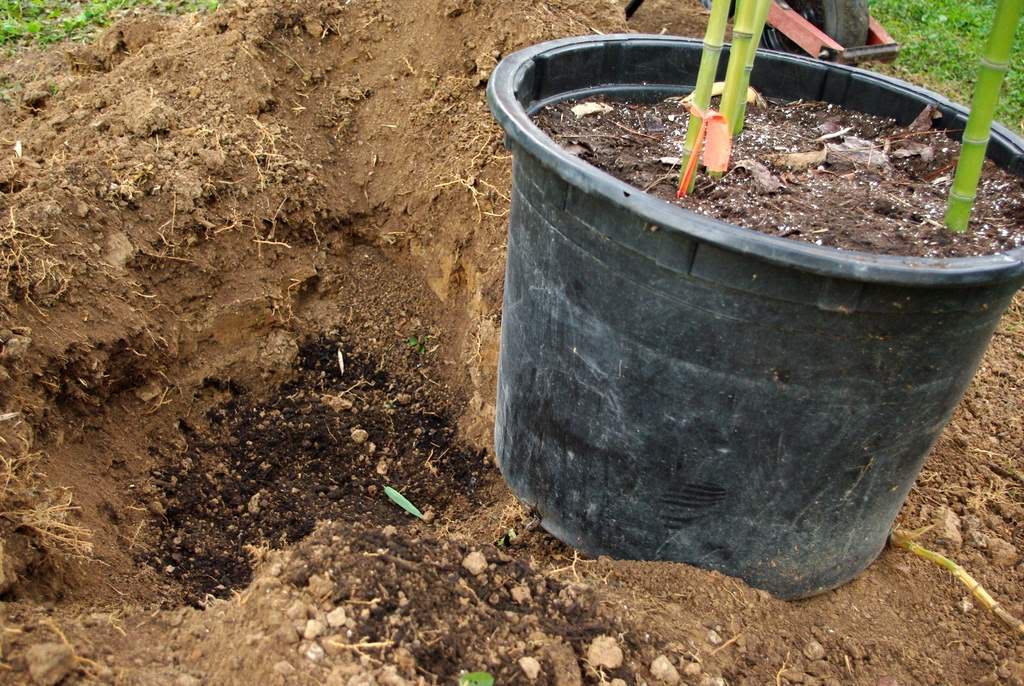
I'll cut the pot in a "T" shape, down then to the left and right at the bottom. That will make it easy to get out, but also make it easy to repair and reuse again later, as I've done before:

There are a lot of roots and rhizomes in there, which means this is a well-established plant that should do well right away.
Now it's just a matter of sliding the plant into the hole:
Then making sure it's level, and filling it in. I'll mix compost into the loose soil, because it's almost impossible to get too much organic matter into the heavy clay soil that we have here.
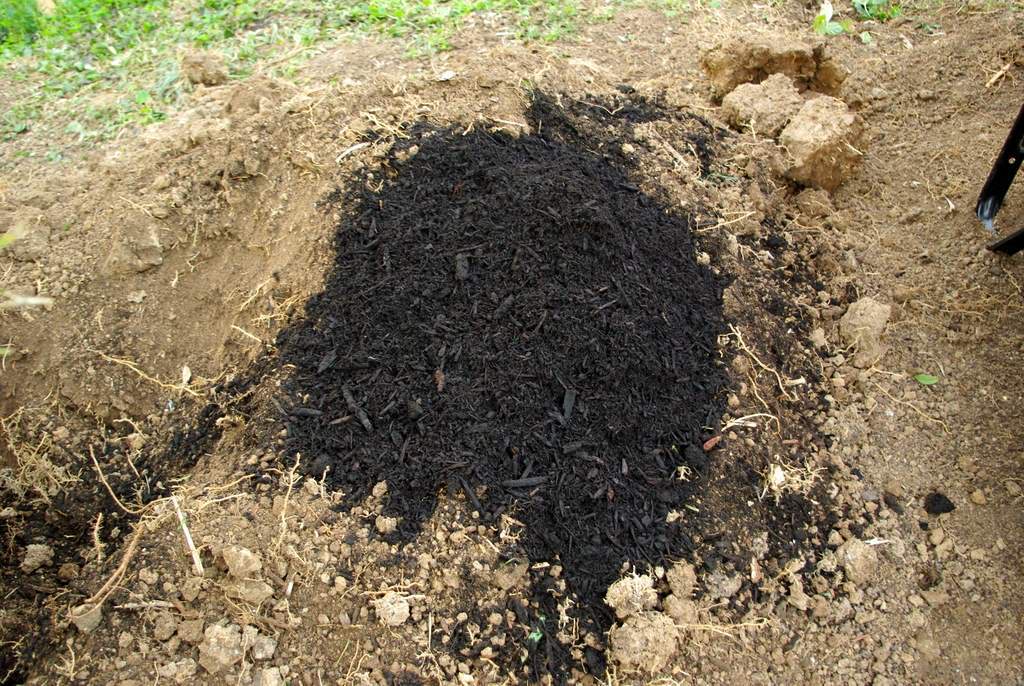
It's pretty difficult to get an interesting photo of soil, no matter how much compost there is in it.
I'll spare you the photos of getting the hole filled in, but I will point out that I'm only using the loose soil here. Any of the hard, dry chunks I'll just put into the wheelbarrow and dump them somewhere else.

They will eventually soften up and turn into useful soil again, but there's nothing I can do with these right now.
A bit of smoothing of the soil mound, a covering of fresh compost, and this project is finished!


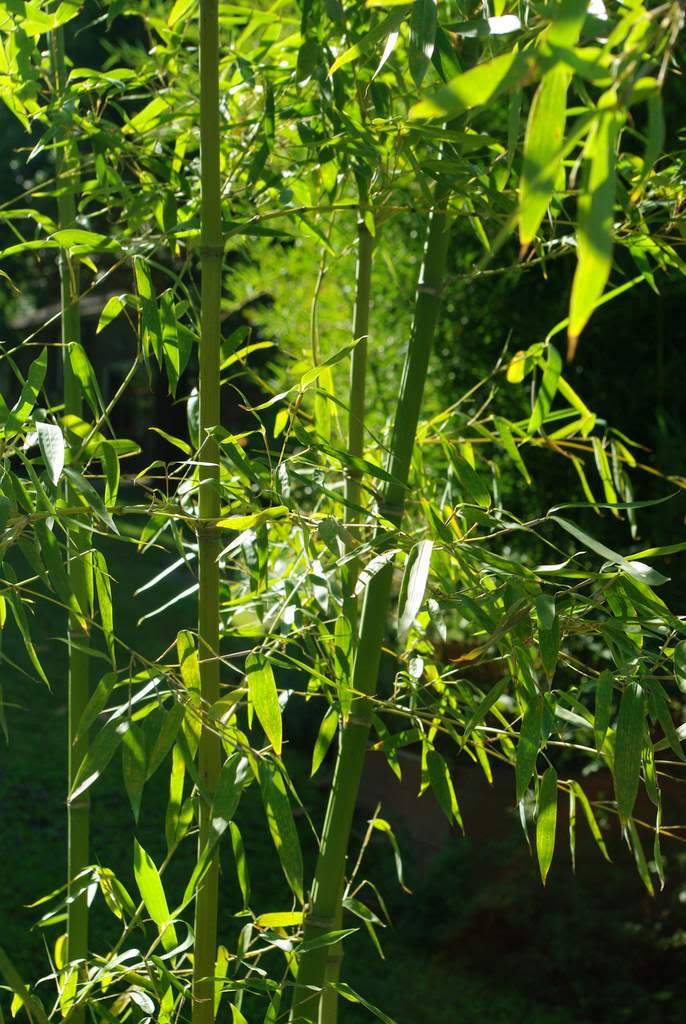
It's a bit depressing seeing the dense mass of culms and leaves I had before replaced with five culms and a few leaves, but in a couple of years this plant will be just as full as the old one was. As I've mentioned before, I'll also feel much better knowing that I don't have two bamboo plants of the same species growing right next to each other, and this (Phyllostachys atrovaginata) is a beautiful species.
(I've taken time-lapse photos of almost the entire project, so I'll be working on that movie and posting it soon.)


