Bamboo removal, part 1
>> Monday, September 27, 2010 –
ants,
bamboo,
bamboo division,
bamboo rhizomes,
propagation
This is one of the first bamboos I planted, in the spring of 2007. It's "Yellow Groove" bamboo (Phyllostachys aureosulcata) and is doing quite well. It's sizing up nicely, and I expected it to put up 18'-20' tall culms next spring. This weekend I removed it and dismantled the planter box.

I debated doing this for most of the summer, but finally decided that if I didn't do it now, it would just be a bigger project next year or whenever I finally removed it.
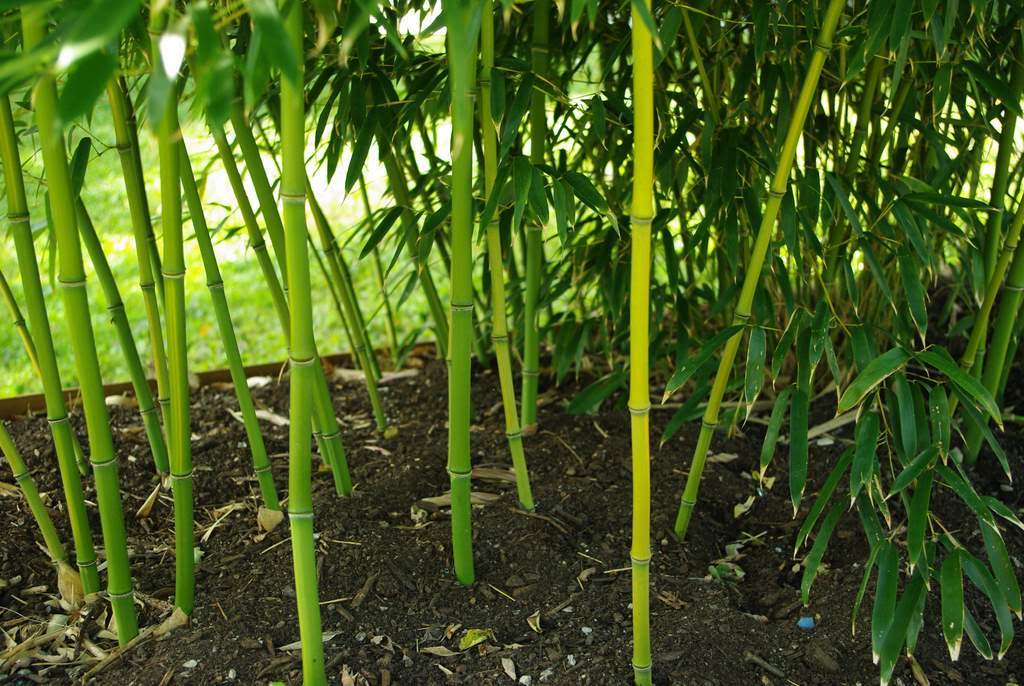
The only reason is that I have another planting of Yellow Groove about 10' away from this one, and I'd rather put a different species here. In fact, I'll be putting the Phyllostachys atrovaginata that I picked up the previous weekend at Needmore Bamboo in this spot. Yes I'll have lost a year or two of growth, but in three years I won't even notice. The atrovaginata (also sometimes called "Incense Bamboo") will be as impressive if not more so than the Yellow Groove, and I'll feel much better not having two plantings of the same species next to each other.
This is going to be a big project and I won't finish it today, but let's get started.
First up is removal of the hardware that holds the box together. I used lag screws on the corners:
I also used deck screws in the middle of the long boards:
The lag screws are pretty easy to remove with my drill:

But one of them did snap, which was pretty surprising:

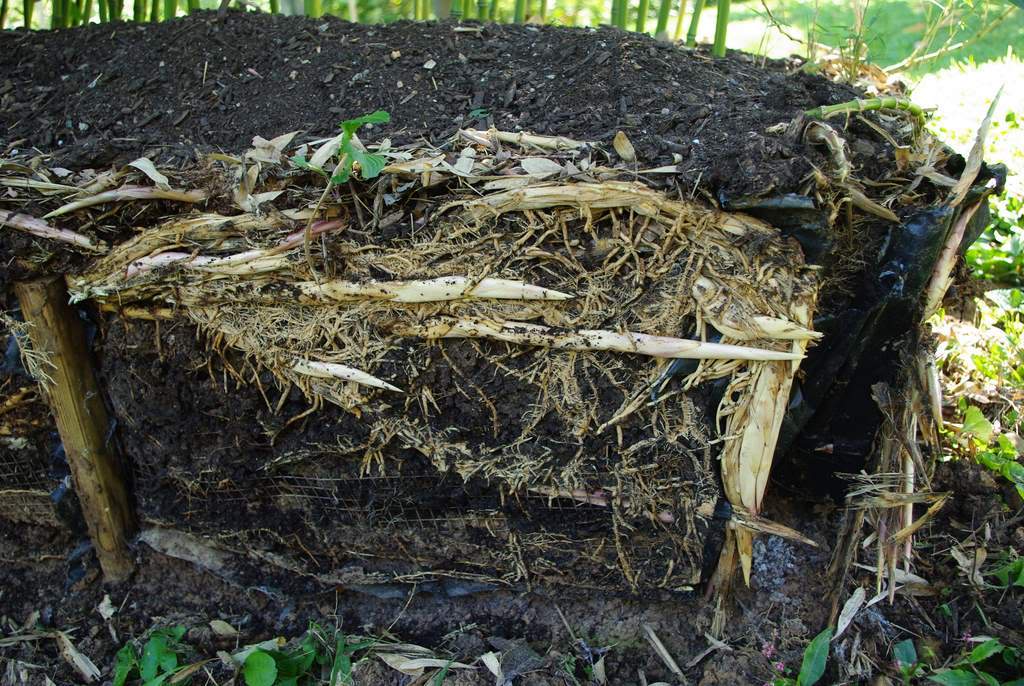
When the first board came off I saw how the rhizomes (the underground "runners" that cause the bamboo to spread) were already starting to become crowded in places after only a few years.

When I got the rest of the boards off, I saw more rhizome crowding, but also ants:


The "dirt" in the folds of the plastic sheeting in the second photo is about 50% ants -- there were a lot of ants in this one area!
It was pretty interesting to see all of the rhizomes. I imagine that this box would be a solid mass of rhizomes in another few years, and then I'm not sure what would happen.
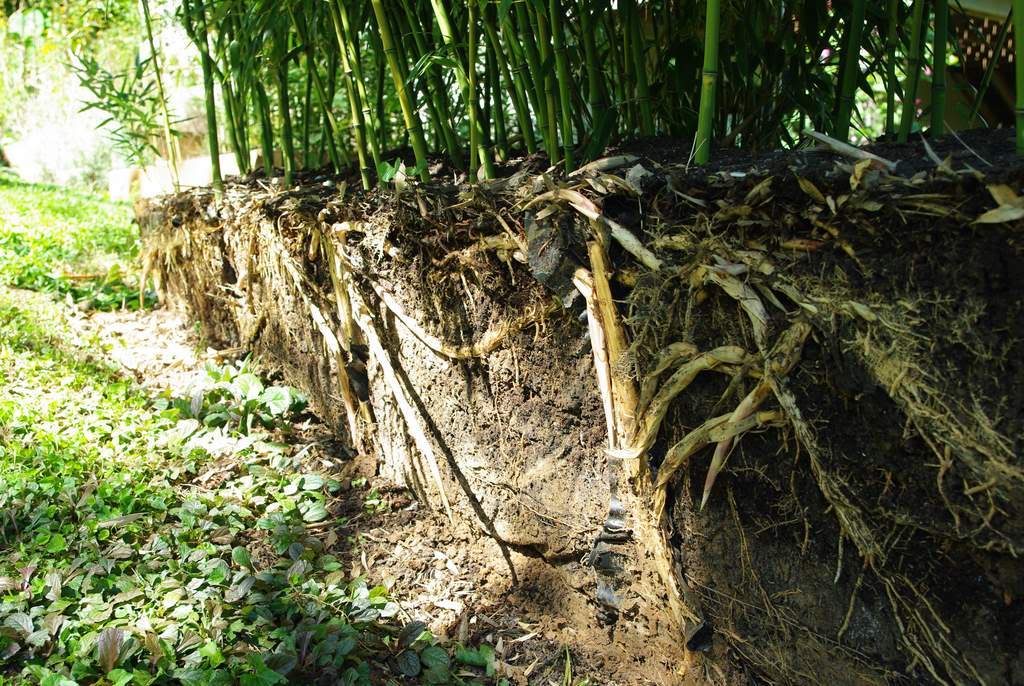

That's the main problem with containing a bamboo in a raised bed, pot, or even with underground rhizome barrier (which I don't have any personal experience with): rhizome crowding. Seeing how crowded this plant is already makes me wonder about some other plantings I have. I guess I'll just see how they're doing in a few years.

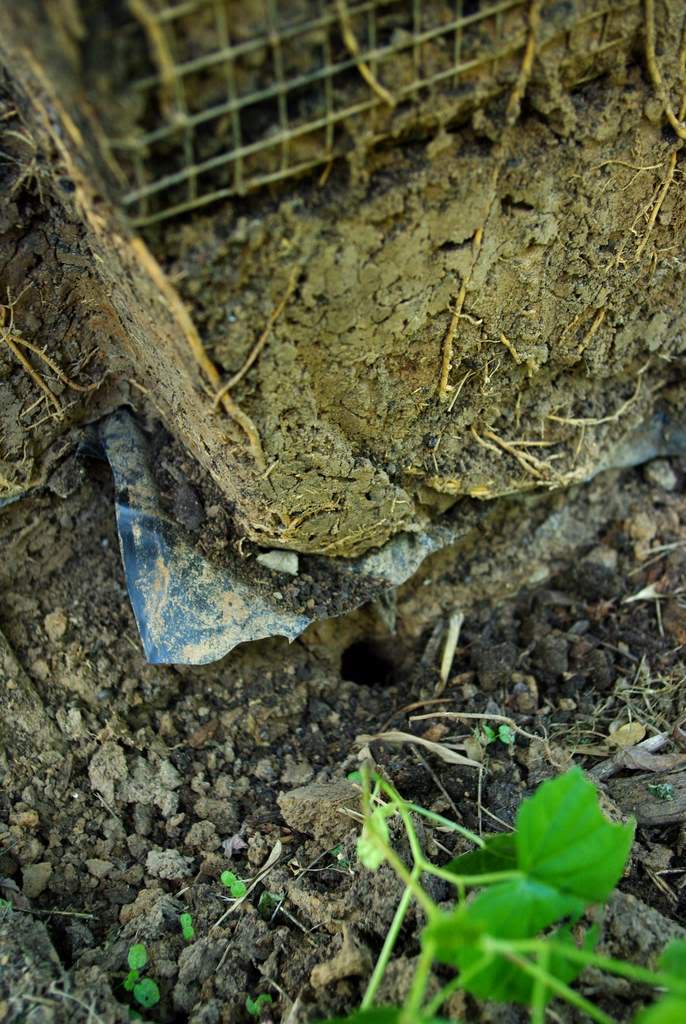
One thing I forgot about was the hardware cloth (like chicken wire with very small holes) that I had lined the bottom of the box with.

The goal was to keep voles from getting up into the plant and eating the rhizomes. It appears to have worked, as you can see the vole hole below the hardware cloth layer:
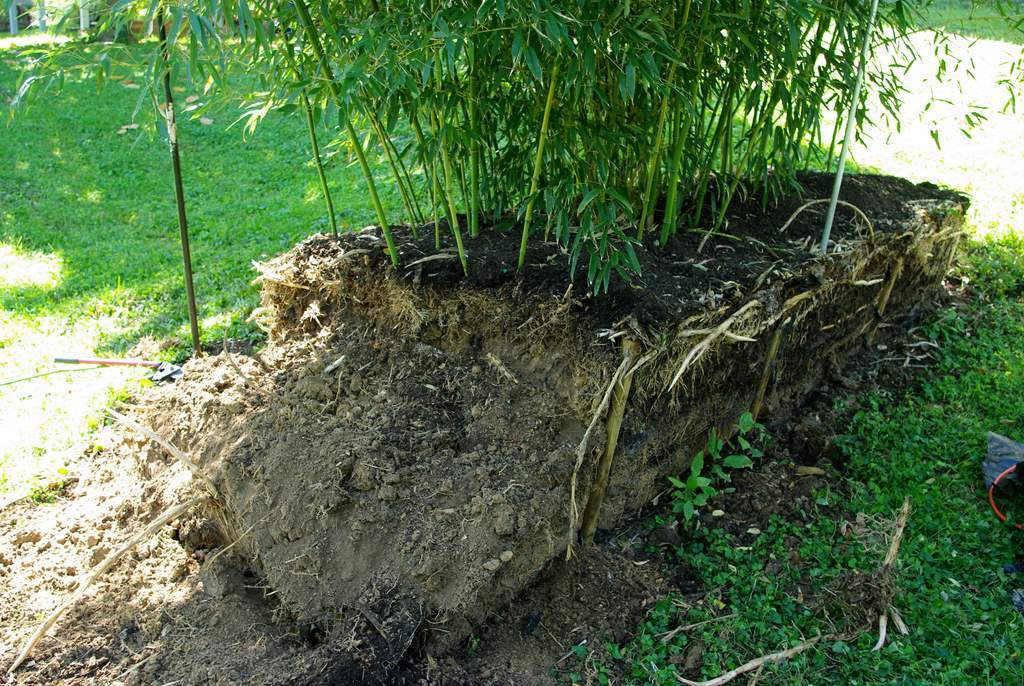
Ok, that's enough looking -- now to start removing the plant. Because the plant is in sort of a "block" sitting above the ground, my idea was to cut it up into smaller chunks, then save the chunks. I envisioned a big 2-man lumberjack crosscut saw being used to saw the plant into chunks, sort of like cutting ice blocks from a lake or river.
I didn't have one of those saws, nor did I have a second man, so I decided to try my reciprocating saw:

It did not work very well, as the rhizomes were not held solidly enough, and the saw just vibrated them without cutting. So I went to plan B: use the digging bar. Unfortunately, it was really dull:

So I got out the Dremel with a grinding bit and gave it a nice, sharp edge:

Then I started cutting out my first block:

This actually went pretty quickly, as the soil was much drier and looser than I thought it would be. The digging bar is heavy, but cuts through the rhizomes quite easily, and I can pry with it to see if the chunk is free yet. I cut underneath next:

And eventually was able to slide the whole "block" free:

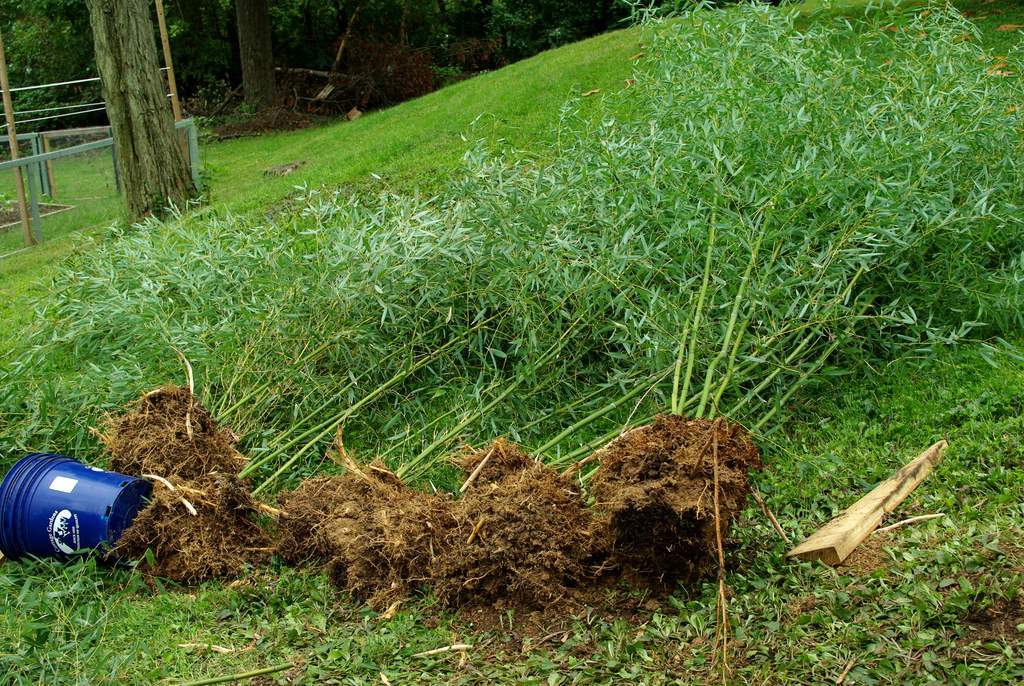
This first chunk was too large to pot, so I moved it back into the shade, wrapped the sides of the rootball with plastic and watered it well. I have a friend who will be picking a couple of these chunks up later in the week to plant on his farm.
So that's one down, probably 10 more to go:

The second piece came out a little more easily since I knew what I was doing now:
Some divisions were too large to pot, but some fit nicely into my largest pots:

I didn't chronicle every chunk that I removed, but rest assured there were quite a few of various sizes, and it took a lot of work:
When I was just about finished making divisions (after four hours or more), the area looked pretty sad:

I just have to keep in mind that I'll soon have a new bamboo planted here, and it will look nice and neat again. Right now it's just a mess.
There is still a lot of work left to do before I can plant though: I need to dig up all of the rhizomes that are still in the ground and also remove the hardware cloth layer.
That's definitely a project for another day (or days).
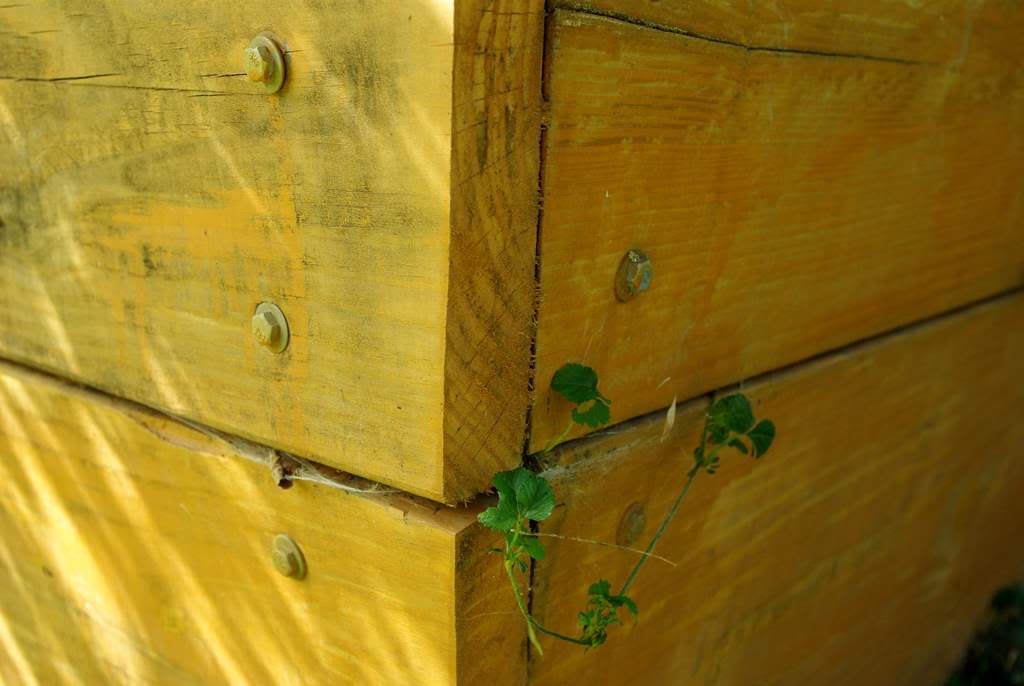
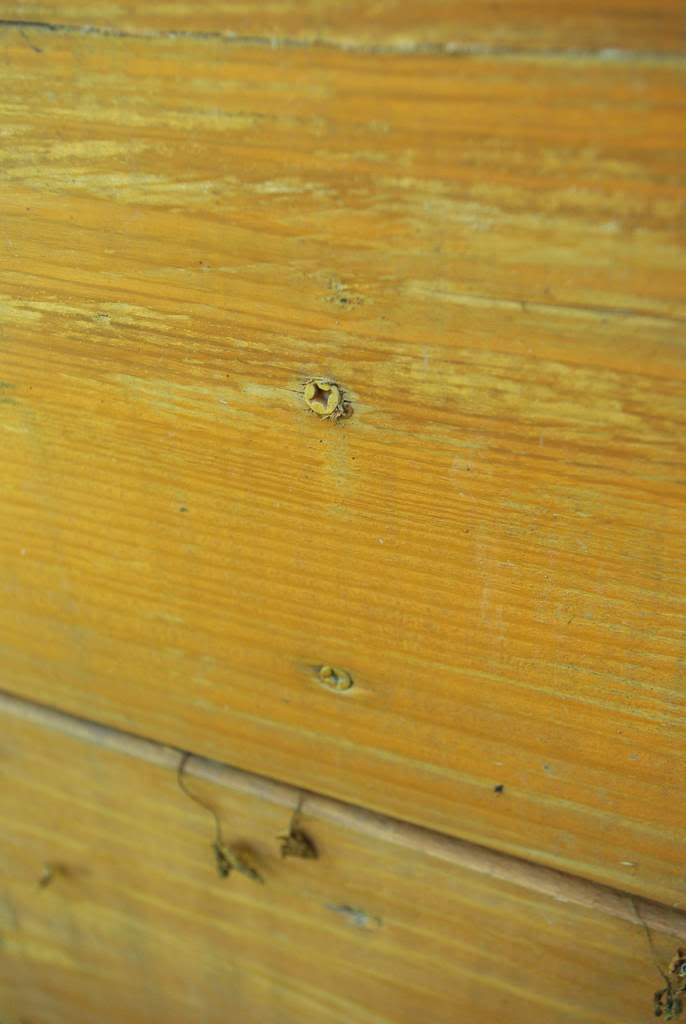
Incidentally, the treated lumber I was using doesn't seem to be as insect-resistant as I thought it would be:


Although it looks interesting, it's not really what you want to see on lumber in your yard.

I wonder if the older boxes I built have the same sort of damage? I don't think so, as they would have been crumbling by now, wouldn't they? I think the older boxes were made from the wood that used the old "bad" chemicals to treat the wood (arsenic for instance), but the newer wood does not. Very interesting.
Part 2 later this week or over the weekend.


