Creating a copper patina fast!
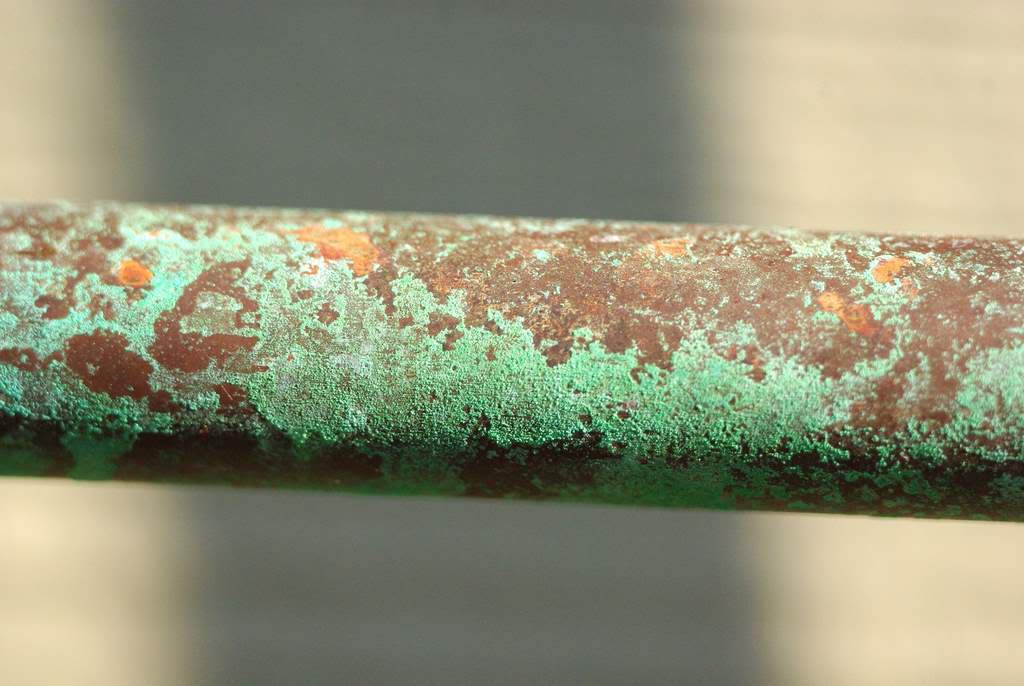
In yesterday's post about the vines, I showed a photo of a copper pipe trellis I created that has what I consider to be a really attractive patina (the look the surface acquires due to exposure or time). I think most people know that copper will eventually age to a blue-green color when exposed to the weather, but that process takes time.
Most gardeners -- myself included -- don't like to wait decades for changes to happen, so today I'm going to show you how to achieve this beautiful look in just a day or two, with only a few minutes of work.
There are only three ingredients required. The first is copper. I'm using a scrap of pipe for this demonstration, but any copper that doesn't have a varnish on it will work. Here's a comparison of the "before" and "after":
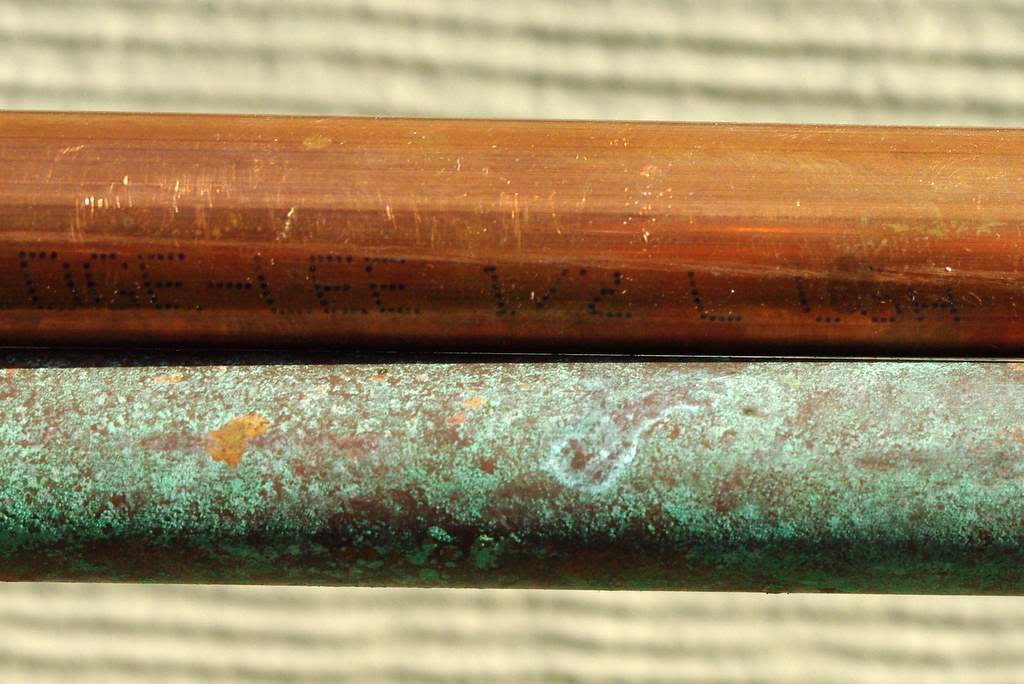
This may work on bronze and other expensive metals too, but copper is all I've tried it on.
The second ingredient you'll need is probably something you have already: Miracle-Gro fertilizer.
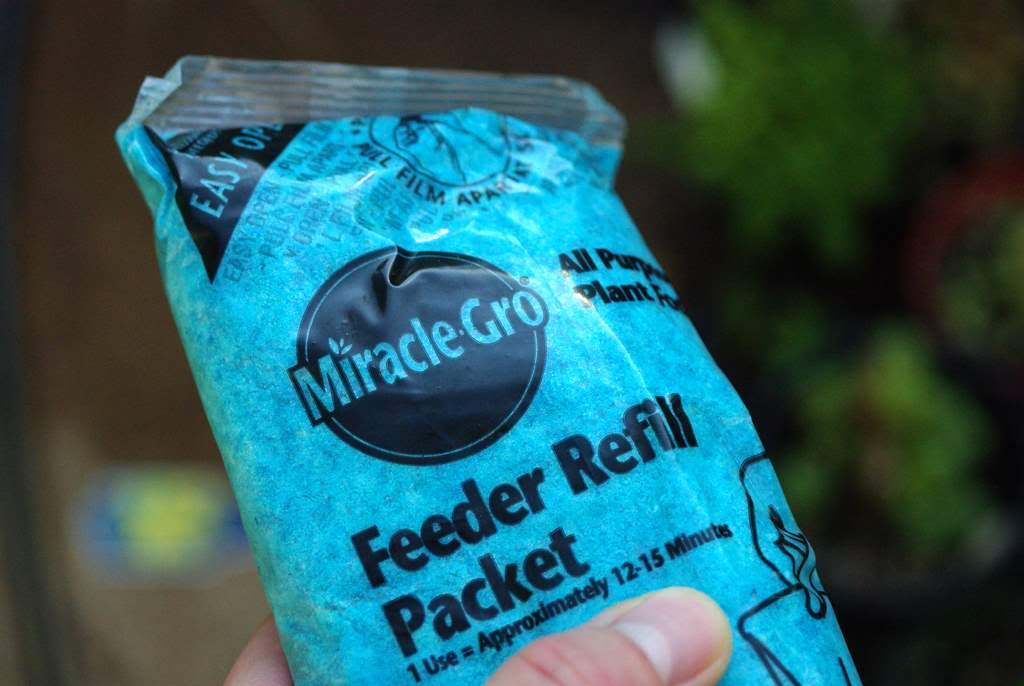
I was already mixing up some of this solution to feed my potted plants, which reminded me that I have been meaning to do this little patina tutorial for a while.
The third ingredient is water. Copper, Miracle-Gro, water. That's it!
How much water and Miracle-Gro do you need to use?
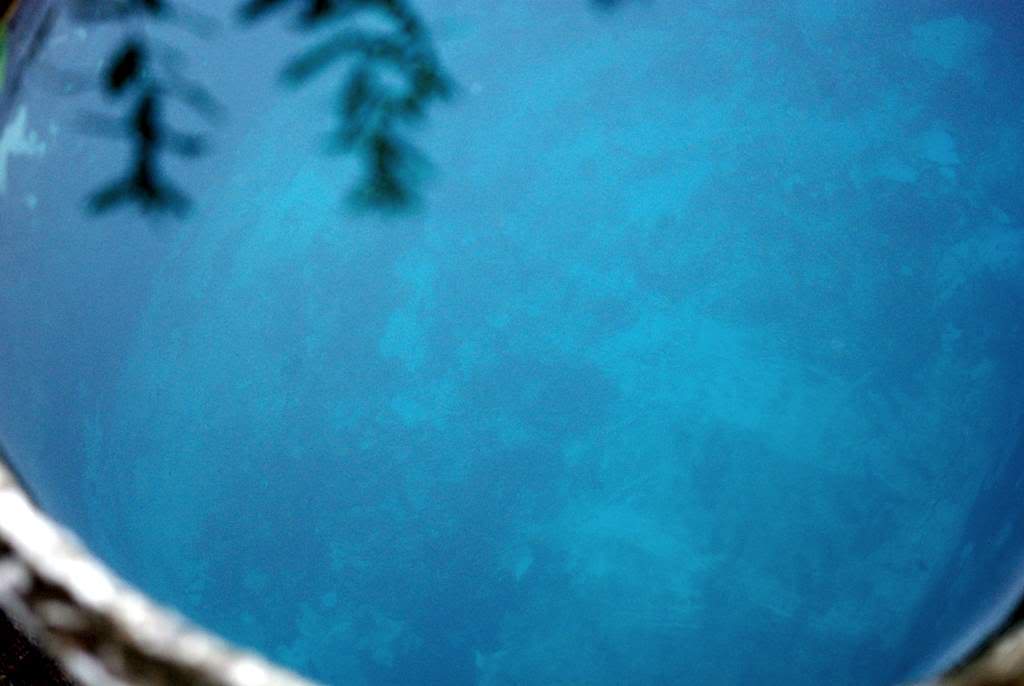
Well, since I had the regular-strength solution made up already, I dipped the pipe into it to see what would happen:

What happened was nothing. The solution when mixed as instructed on the package (for feeding plants) is much too weak.
You need to make a much stronger solution. I used a spoonful of crystals and then added just enough water to dissolve it. I would guess maybe a one part crystals to three parts water ratio is what you want, but it's not that critical.
You then want to apply the solution to the copper. When I did this to the trellis I believe I used a spray bottle, but I suppose you can use a brush, a rag or any other method. In this example I just poured the solution onto the pipe:
Note that the solution removed the tarnish from the copper. This tells me that it's strong enough.
(Warning: it's much, much too strong to use on plants. If you have any solution left, dilute it with more water before using it!)
Also note that I didn't stir enough to let the Miracle-Gro dissolve completely, so some crystals are stuck to the pipe. This isn't required, but can add a bit more texture to the finish. One thing that is important is to apply the solution unevenly. You don't have to leave bare spots like I did, but the finish is much more interesting if it's not uniform, so be sloppy!
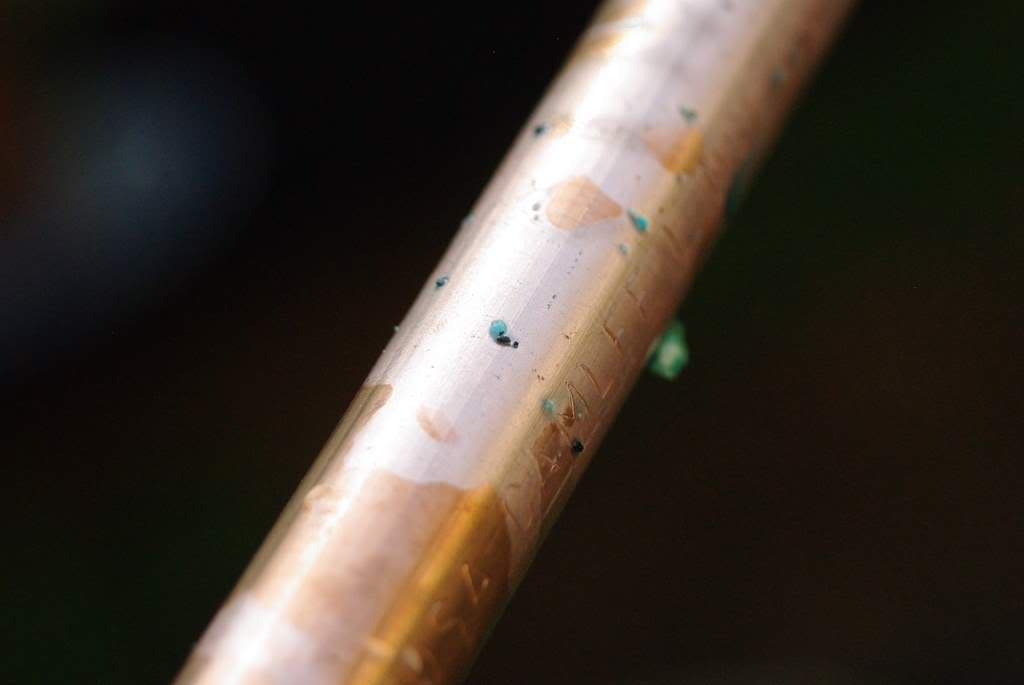
After only 10 minutes you can see something starting to happen:
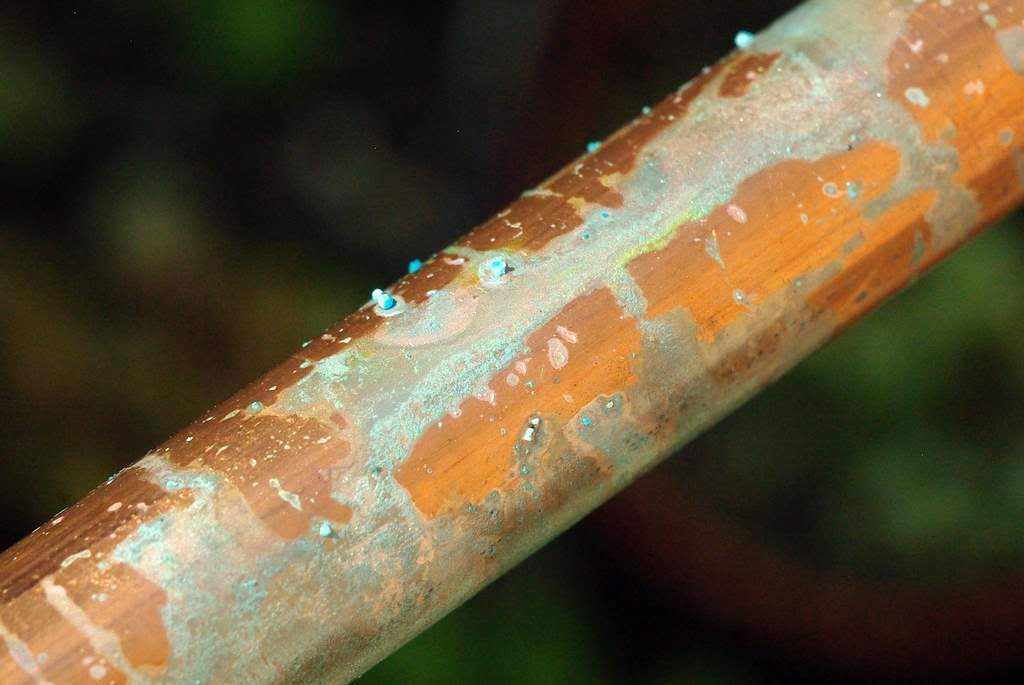
Then another 30 minutes or so later, things are really coming along:
You should only need a single application of the solution, but you can do more than one if you want. I suggest giving each application 30 minutes or so to react with the metal before applying the next. Maybe longer -- you may want to experiment a little.
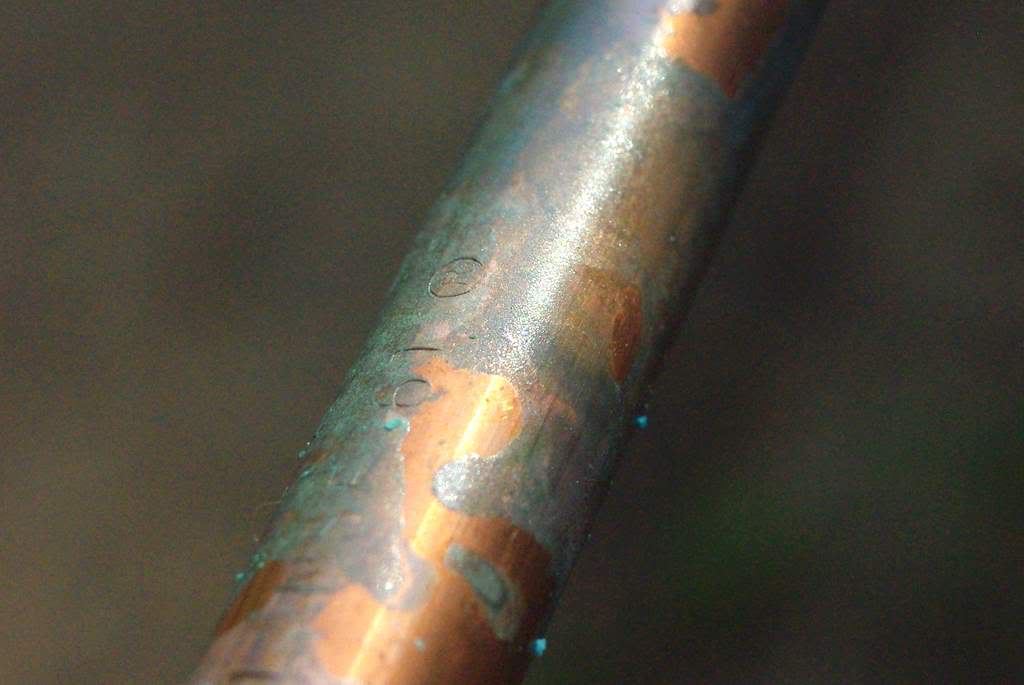
24 hours later, it's getting even more interesting:

I'm not sure how long the reactions will continue, but it seems like a few days at least from what I can remember.
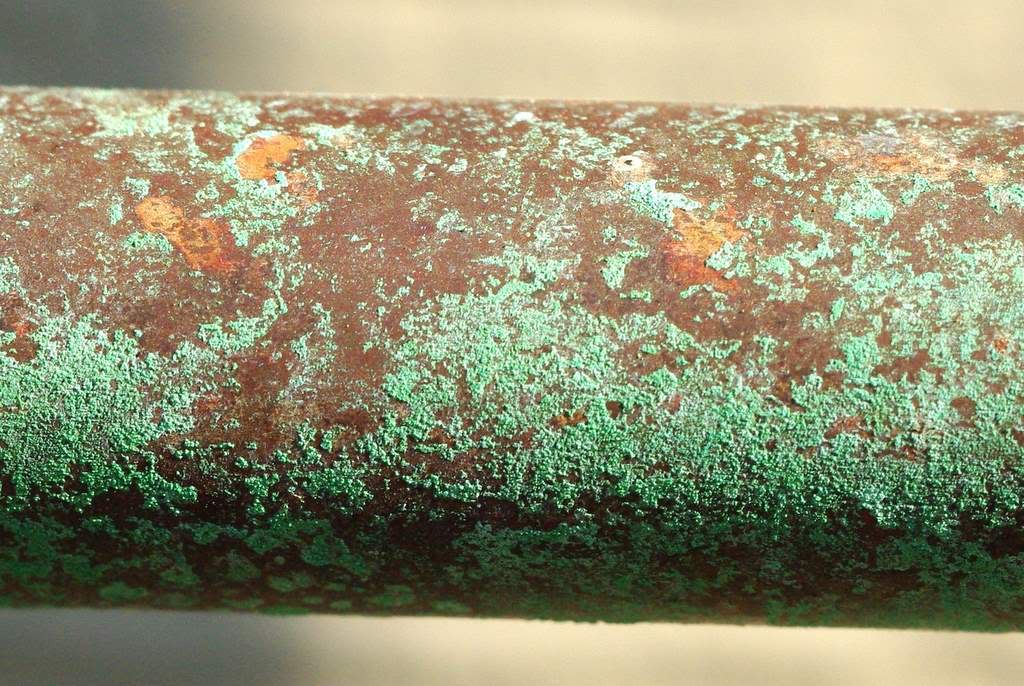
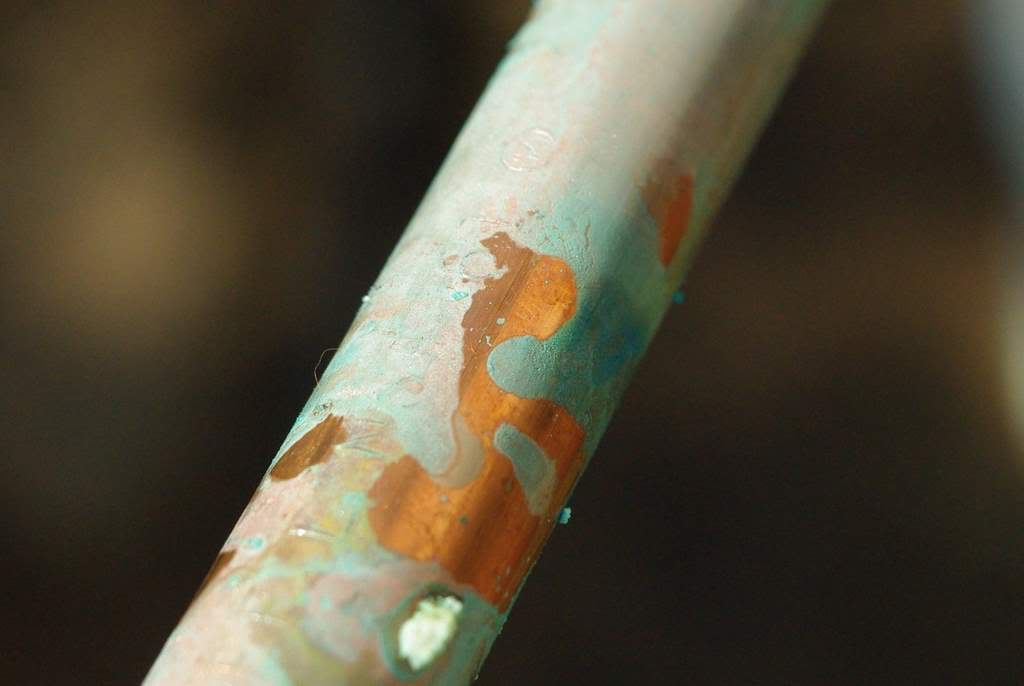
This one is three or four years old, and looks a bit more natural as it has mellowed a bit over time. I love the way it looks!
It's a simple process with beautiful results, don't you agree?
.


This post reminds me of Andy Warhol's oxidation paintings, though the source of the corrosive agent is a bit different... Either way, pretty :)
Yes, I completely agree! Beautiful results!
This is awesome! I've got to try this. I do have some cooper pipes left from a bean teepee. Thank you for the inspiration and above all, the recipe :-).
A little word of caution. My father recently had a bad gas leak in his house caused by a box of miracle gro which had eaten a hole the size of a 50 p coin in the 22mm main gas pipe. lesson don't store the fertiliser next to copper pipes.
I think over here in the tropics, natural oxidation process is pretty fast.
FYI I just tried this with the red Miracle Gro for vegetables and it didn't work. I tried again with the regular Miracle Gro and it worked wonderfully!! So easy.
First Anon: Was the Miracle-Gro bag actually touching the pipe, or just near it?
Second Anon: good to know about the red type -- I didn't even know there was a red type!
Very cool! And how timely that I would stumble upon this post! Just yesterday, I was looking at an exceptionally shiny copper fountain, wondering how long it would take to mellow it out a bit. And, now I know. Thank you so much for that. I wonder if it is all the salts in the Miracle Grow that enable it to happen so fast...
I'm so glad I found you and that you posted your detailed results. I have some copper window screening that I want to distress so this is wonderful.
Ok, you can buy copper powder, use waterproof pva glue & sprinkle the copper powder onto the item. Then get a mix of vinegar & salt, spray it on, a patina is created in 24 hours.(green) if you want blue use ammonia spray as well. If you wish you can use a variety of metal powders which sprayed with vinegar & salt has an amazing reaction. Iron is great if you want that rust look. Note you need to use the glue then dust on & leave, I tried mixing it with the glue but basically it gets sealed that way. When happy spray a mat or gloss lacquer to seal it, or maybe some more pva.
Pretty! This has been a really wonderful article.
Thank you for supplying tis info.
Great job! Just a note, your 1st solution may have been strong enough if your metal was cleaner. Even if a piece of metal doesn't have a coating, it still needs to be cleaned really well. Many tutorials out there will tell you to clean with alcohol, etc but even that isn't enough. Trust me, I've been doing this full-time for about 15 years. Think of the metal as skin and you need to open up it's pores so it can soak in the patina. The best way to do this is scrub it well with fine steel wool. This also helps to get an overall clean coating of patina. Thanks for sharing your work! :)