A few missed details
There are a few details about my day digging bamboo that I didn't tell you about yet. As I mentioned, Michael has a lot of really interesting plants in his garden, and besides the bamboo, he wanted to give me some Irises. The colors of this variety are pretty unique from what I know about Irises, but since I know nothing about Irises except the rhizomes grow on the surface of the soil, I could be wrong.
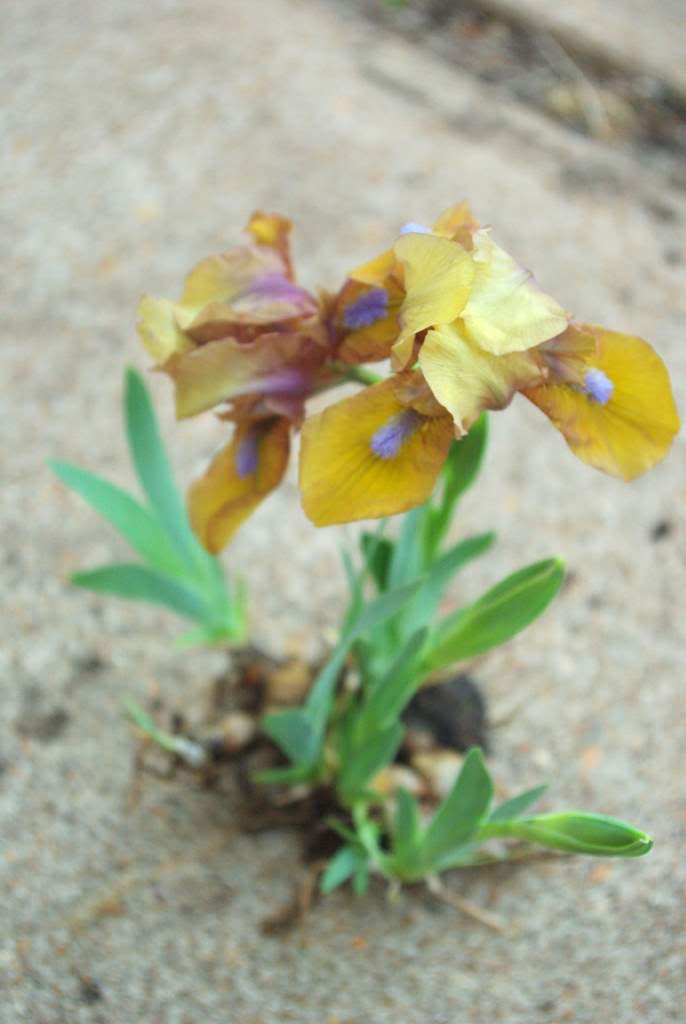
They've got a really nice, mellow "khaki" color (as Michael calls it), which makes the color of their "beards" stand out so much more.

I'm going to have to plant these somewhere near the stream -- I think that will be the perfect place. I'll just pot them up for now and keep thinking about where they will look best.
He also gave me a bunch of "regular" blue/purple Irises, but they're miniatures. No photos since they're not blooming right now.
The other part of the planting bamboo process that I didn't share yet involves potting up a good chunk of rhizome. I didn't document that process since I've done that before in a previous post, but there is one interesting thing about the process this time: reusing old, big nursery pots.

If you've ever planted a tree or other large plant that was in a nursery pot, you know that you can't just pick the pot up and tip the plant out as you can with smaller pots. To get the tree or plant out of the pot you need to cut the pot. The problem with this is you're left with a pot that can't be reused, and I find that I always need more pots -- especially the big ones! The second-best option is to recycle the pots, and I'm lucky in that the garden centers nearest to my home participate in the Missouri Botanical Garden's nursery pot recycling program.
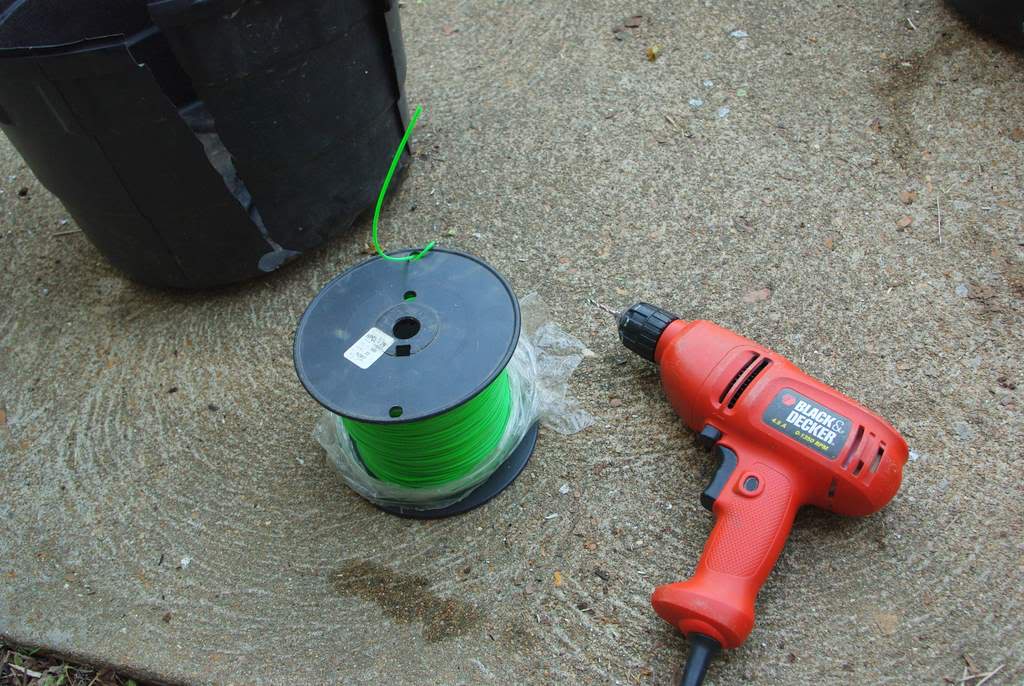
Still, I'd much rather reuse these big pots than recycle them, so I've come up with a method to repair them. You'll need a drill of some sort with an 1/8" drill bit or slightly larger, some plastic string trimmer line, and scissors or something else to cut the line.
Drill holes about 1" apart along both sides of the cut. You want the top holes even with each other, and want to end up with the same number of holes on both sides. You can be off by one, but more than that and things will start getting difficult.
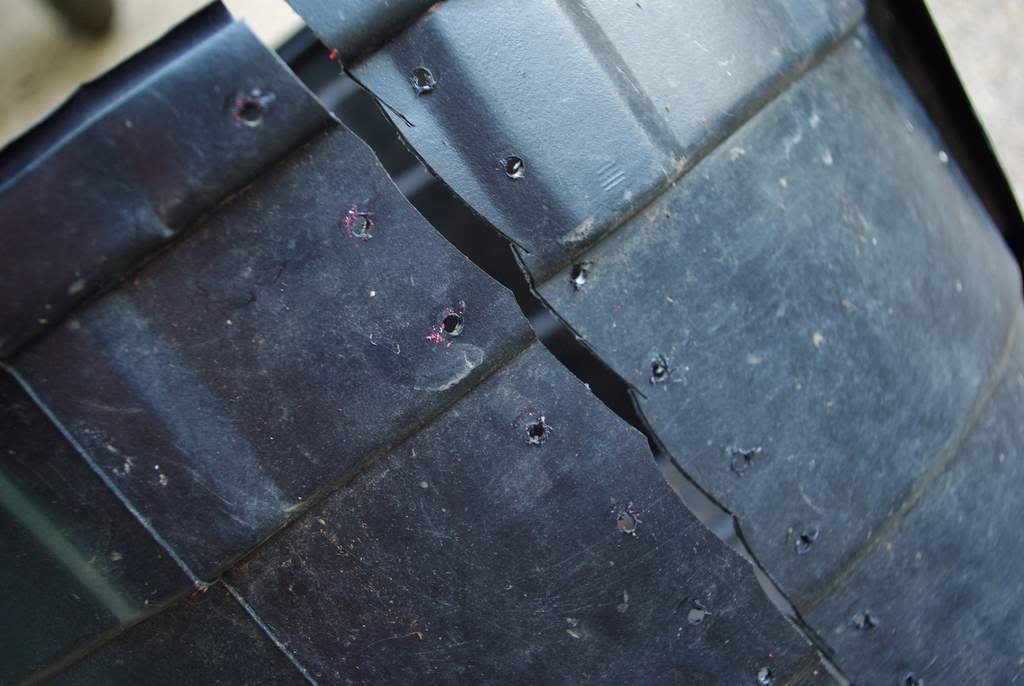
You'll want a length of string trimmer line that is about 3 times the length of the cut. If you make it too long it will be a lot of extra work pulling line you won't need. Just put 6" or so of the line through one of the top holes -- you'll use that to tie a knot later.

Then just start "sewing" the cut closed. You'll want to keep the line pulled fairly tight. This may cause the edges to overlap, but that's not a problem. It's better to have overlap than a gap between the two sides because you left the line too loose. You'll want to make sure you end with the line going inside the pot -- this may mean that you'll have to leave one hole unused, or drill another hole.

Then loop the line around one of the other exposed portions of line and tie a simple knot or two. The line I'm using has little ridges on it, so when you tie a knot it really "sticks". You can tuck the extra line under the loops, or cut it off. Tie a knot at the top too.

That's it -- a large nursery pot ready for use again! After I started using this technique, I've thought more carefully about how I cut a pot when I do need to get the plant out. I'll make as straight a cut as possible, and will only cut vertically. Straight cuts are easier to sew back together later.
Another nice thing about this technique is that when you're ready to take the large plant out of the large pot again, you can just cut the line to open the existing cut again. Then you can "sew" the pot back up again.
Please don't throw nursery pots in the trash. Reuse them if you have a need, return them to the nursery you got them from so they can reuse them, or recycle them if possible.


