Bamboo removal, part 2
>> Wednesday, September 29, 2010 –
bamboo,
bamboo rhizomes
The big bamboo removal project I started the other day continues. All that's left to do is remove some remaining rhizomes and dig out the hardware cloth that lined the bottom of this planting box.
That's a list with just two items, but it's not going to be easy. In fact, I'm going to tackle it over two evenings. This should be fun.
I first want to get out the side stakes, as I suspect I will either trip on them, bang my shins, or fall on top of them. (My garden projects rarely go perfectly according to plan. Stay tuned for an example of that.)
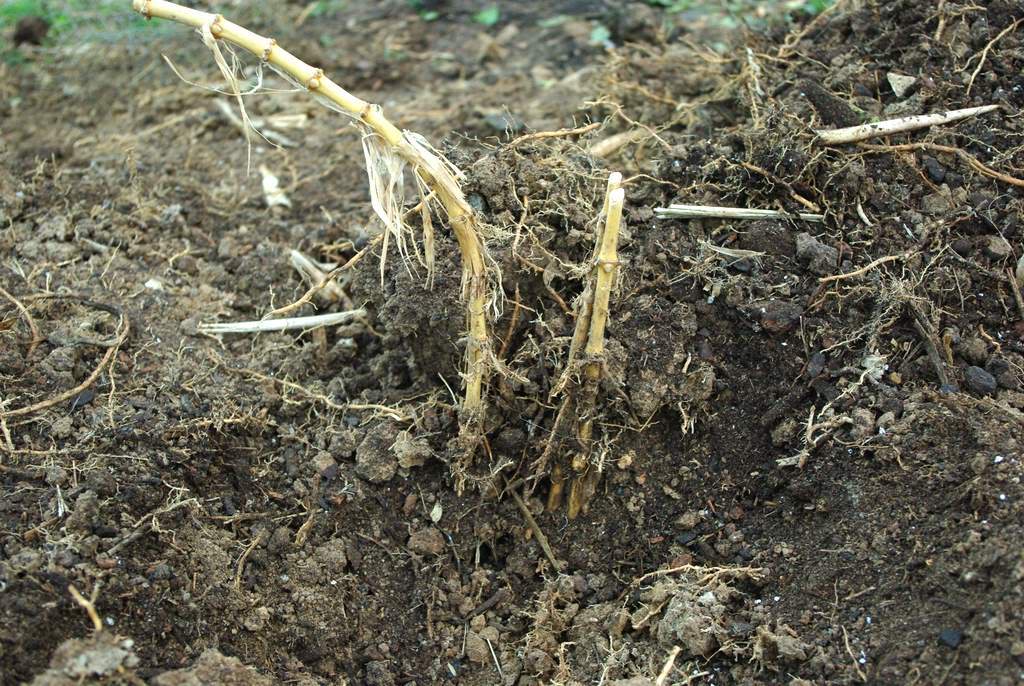
Most of them pull out pretty easily, but one has several rhizomes next to it, and one remaining culm. I'll tackle that one later.
This whole job is pretty straightforward: just dig with the mattock down to the level of the hardware cloth, removing rhizomes as I find them.

Most of the rhizomes were removed with the plant divisions I took the other day, but there are a few rhizomes that seem to go pretty deep for some reason.
The hardware cloth is a major pain, but once I get the soil off of it I can use the mattock to cut through it pretty easily.
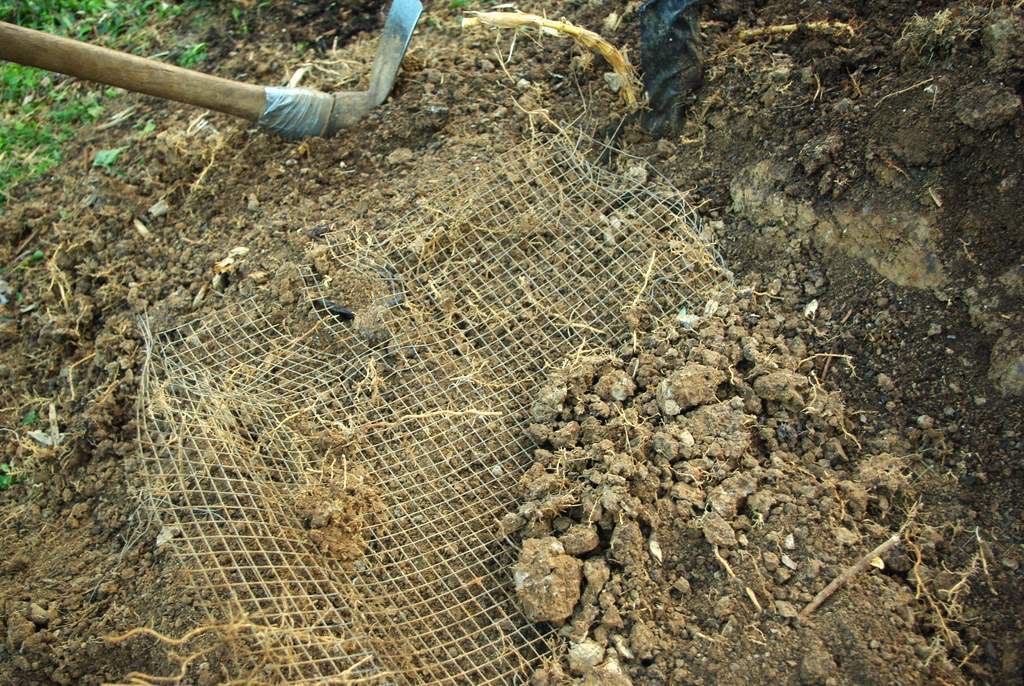
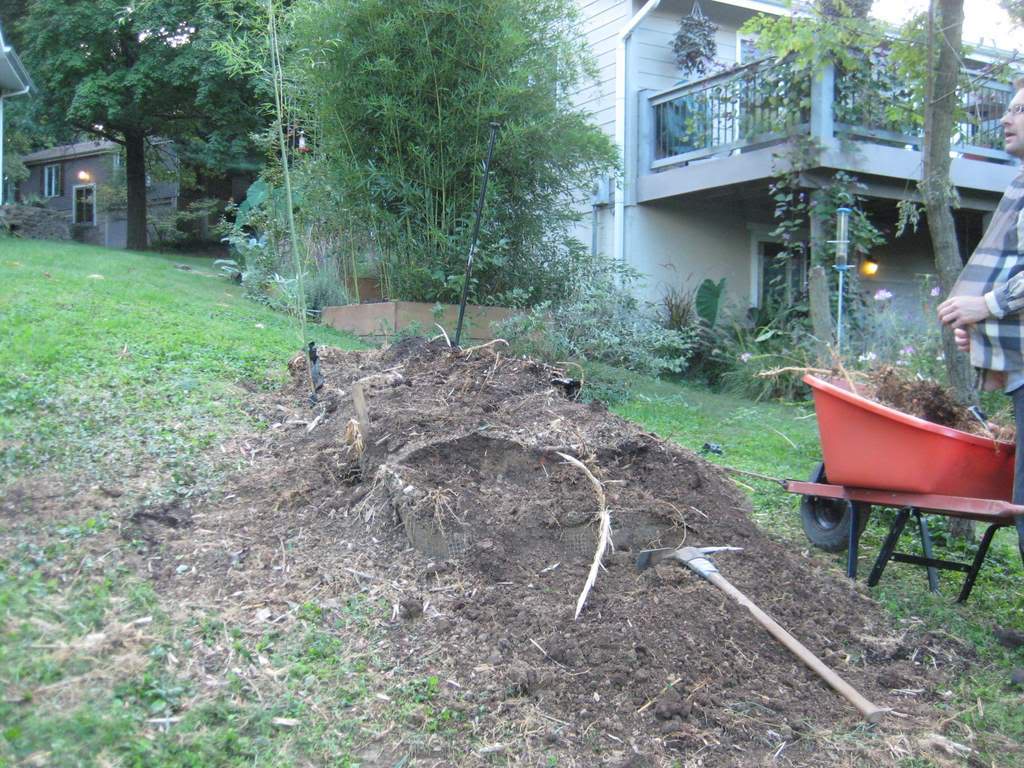
I'm switching to the heavy digging bar once in a while, so I'm keeping it handy:

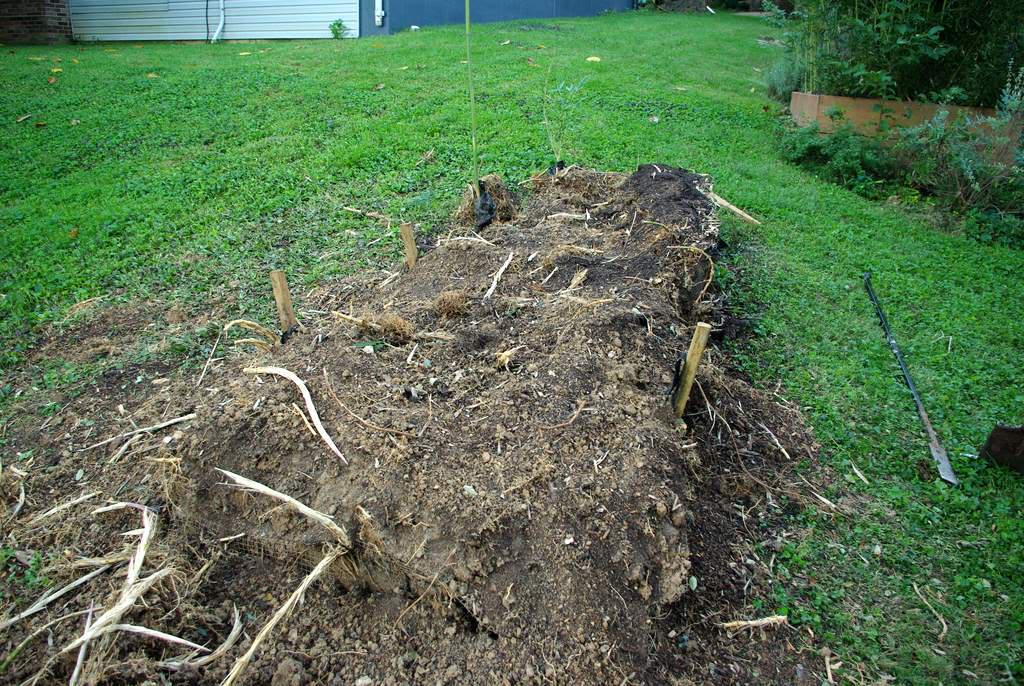
Unfortunately I don't always lay it down on the ground. Sometimes I stick it into the ground so it's standing up and ready to grab. This is somewhat risky. Notice in this next photo the black digging bar is standing upright, but leaning a bit to the right (right in the center of the photo, behind the soil mound):
Next notice that the bar is no longer visible, and I am taking a close look at something:

I heard the bar fall and hit the ground, but it made a weird sound when it fell, as if it had landed on something...
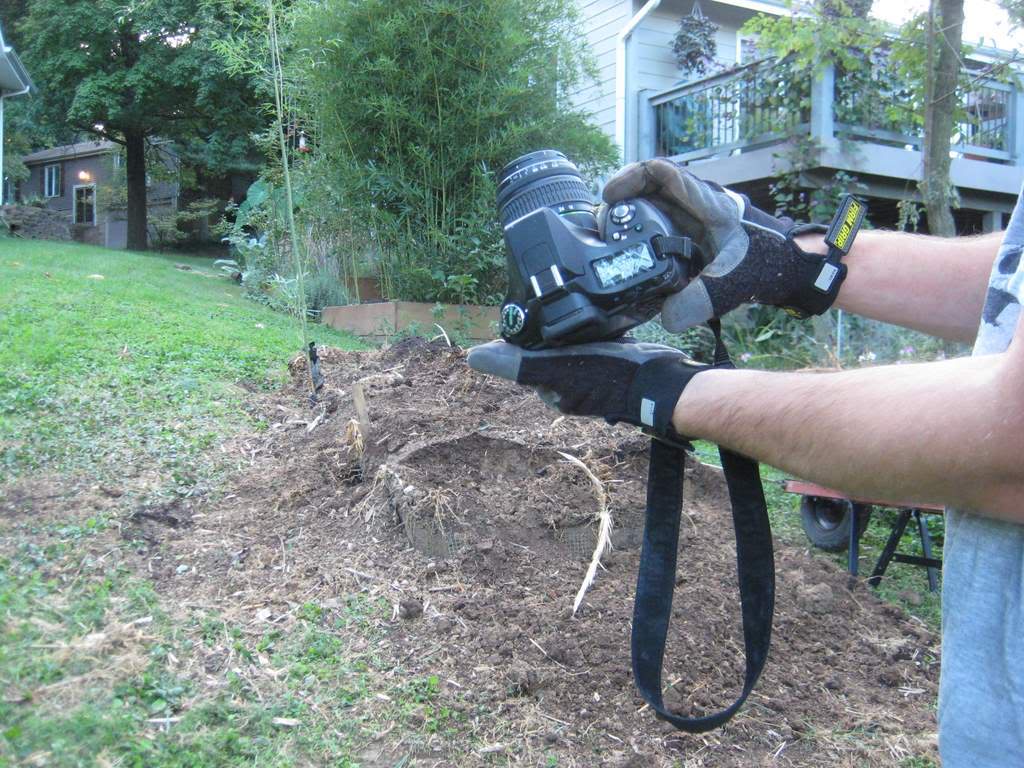
Yep, it landed on something.

I have no idea why the camera wasn't demolished. Everything works fine except for the LCD on top of the camera. The adjustment wheel is a little harder to turn too, and there is a small crack in the upper part of the housing. I think all of the information that got displayed on that screen is available either through the viewfinder or the screen on the camera's back, so I can still do everything I need to... it's just going to be a little less convenient since it won't be displayed right there on top.
I'm surprised I wasn't more upset, but it could have been so much worse. Lesson learned.
Back to the dig. Remember the ant damage on the treated lumber at the end of the first day of this project? Those same ant tunnels were made in the ground too:

Interesting! The lining they create in the tunnels is really cool -- I wonder what it's made of?
That's about all I can do tonight, as it's getting darker. I've got a fair amount of rhizomes pulled, but there's still more to do tomorrow.
(the next day)
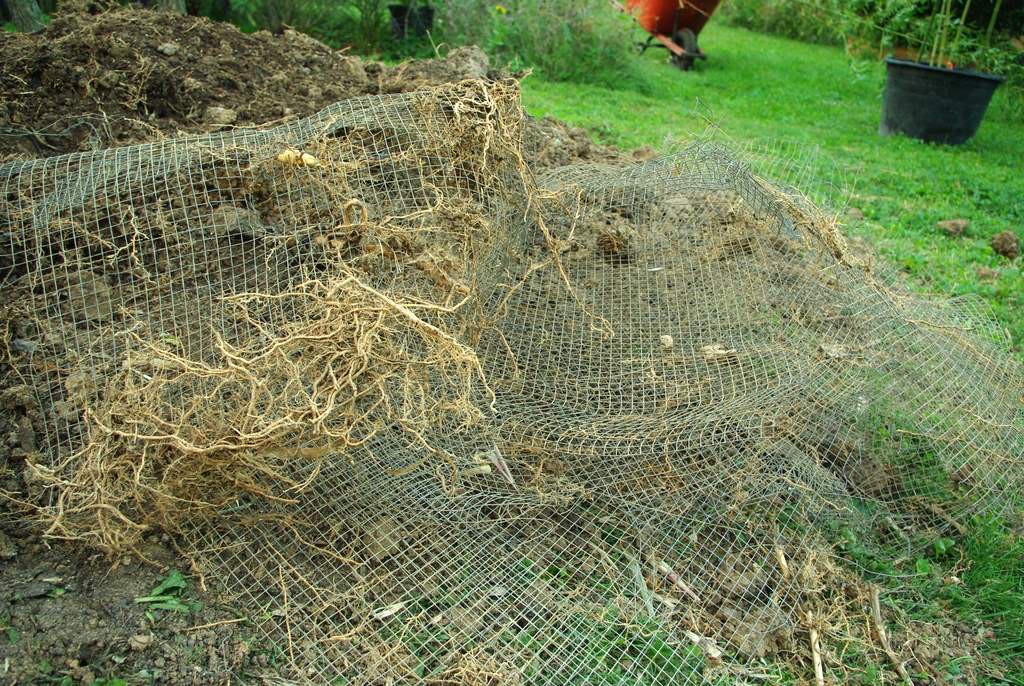
Continuing with digging and rhizome pulling today, and hardware cloth lifting:

I sure wish I hadn't used the hardware cloth. It's a pain to get out.
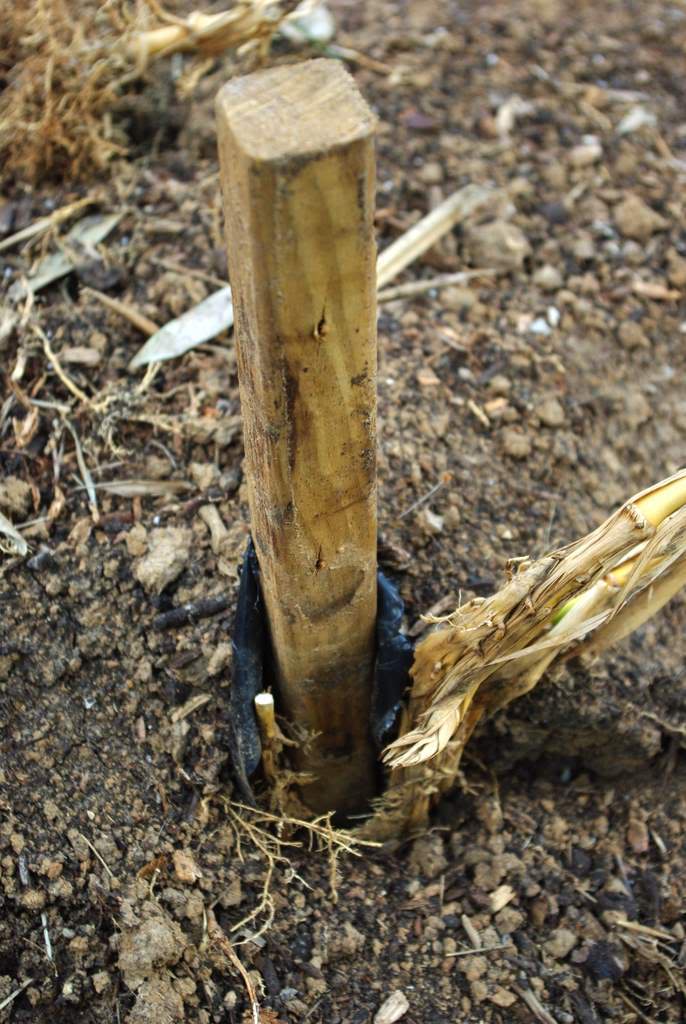
I'm down to the last post and culm now -- I think they're somewhat locked together, as the stake will not budge.
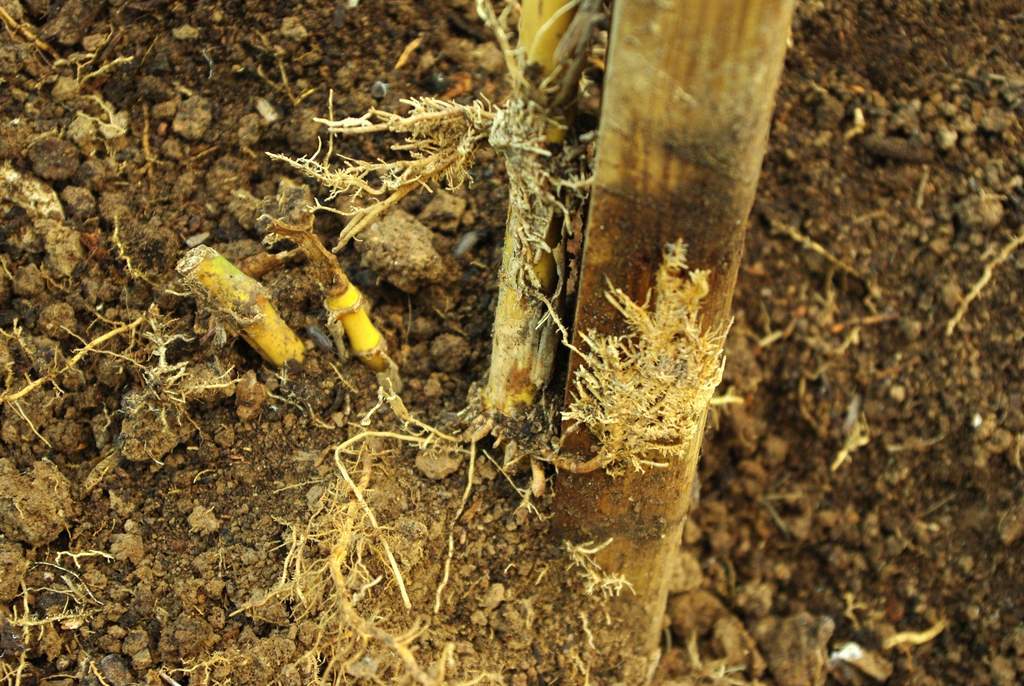
Although the culm is a nice one, I won't be saving it. That makes it so much easier to dig -- there's no worries about damaging it. A little digging and wiggling, and the stake finally pulled free. I then used the digging bar to get as much of the rhizome as possible, and got the culm (and its rhizome) removed.
With that gone, I just need to finish up this last corner, which is the shallowest:

It's also the most packed with rhizomes and roots. There doesn't seem to be much soil left in this corner at all!
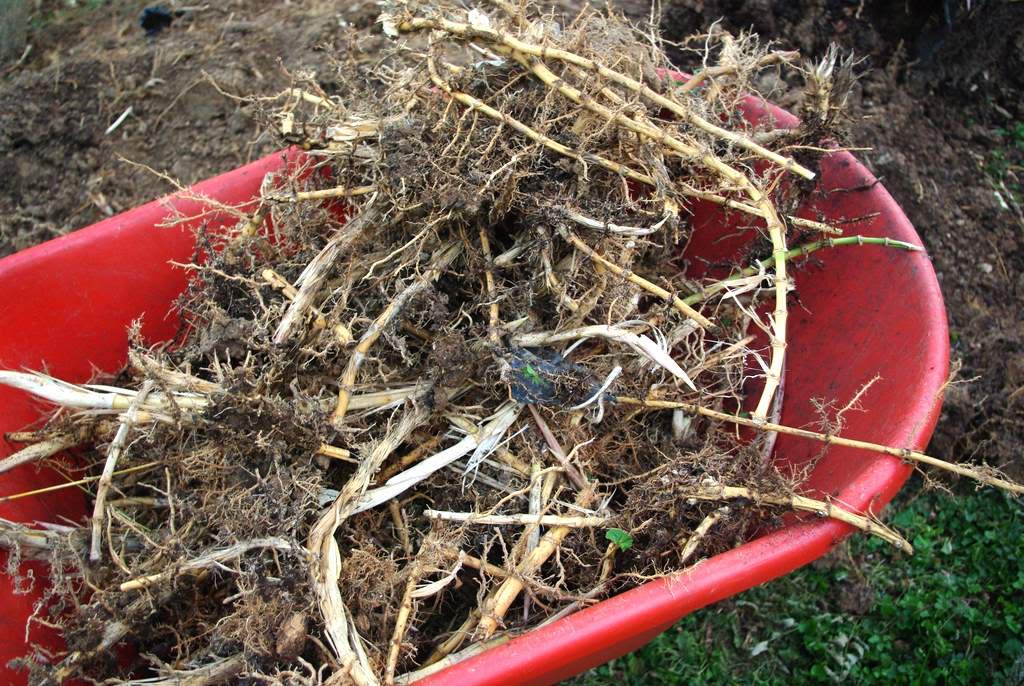
So that's about it... a bit more digging, prying, yanking, and cutting, and I'm left with a big pile of rhizomes:

a big pile of hardware cloth:
and finally a big pile of soil:

Although I got as much rhizome as I could, I'm pretty sure that there are some sections in there that I couldn't see -- probably too deep. Therefore I expect to see some shoots from them in the spring. Luckily the new plant will have shoots that look different and emerge at a different time, so it should be pretty simple to spot the old plant's shoots and remove them all immediately. Any rhizomes left will eventually die without any leaves feeding them.
This job took about 9-10 hours from start to finish. That's 9-10 hours of hard digging, heavy lifting, and general exhaustion.

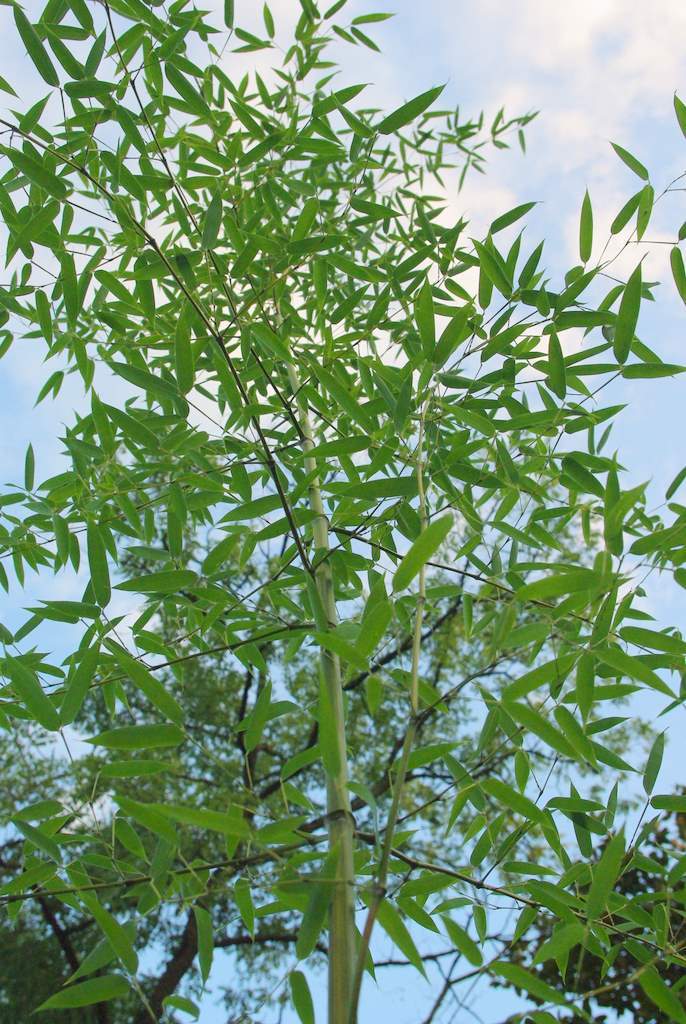
It was worth it though, because the new bamboo is eager to get into its new home! Planting will have to wait for another day though, because I'm exhausted.
(Note: I had a camera in place taking photos every minute or so. Once I finish the project by planting the new bamboo I'll create a timelapse movie of the whole project. Should be cool!)


Alan,
This is an great series of posts. I have always wondered how hard it would be to take out some of my bamboo. Not that I want to. It is really great to see the process in your pictures. I think a digging bar is in my future!
In my yard I have found that my Nigra, in a raised bed made from railroad ties, is much harder to prune than my Spectabilis, with a slight raised bed and a trench. After this experience, what rhizome control method are you planning for your Atro?
Keep up the good work!
Alex
Portland, Oregon
The atro (Phyllostachys atrovaginata) will be planted in the ground on a mound, pretty much like what's shown above. I'll then rhizome prune to control the spread. I probably won't trench.