Pond Makeover, part 2
Did you miss part 1 of my pond makeover? Monday started with more bailing, and this is when it started getting really, well, crappy.

I'm not really sure how deep the muck was at the bottom, but it was at least 6" (15cm). It could have been double that. Those buckets got heavy.
The important thing during this was to keep my footing. Do not slip in!
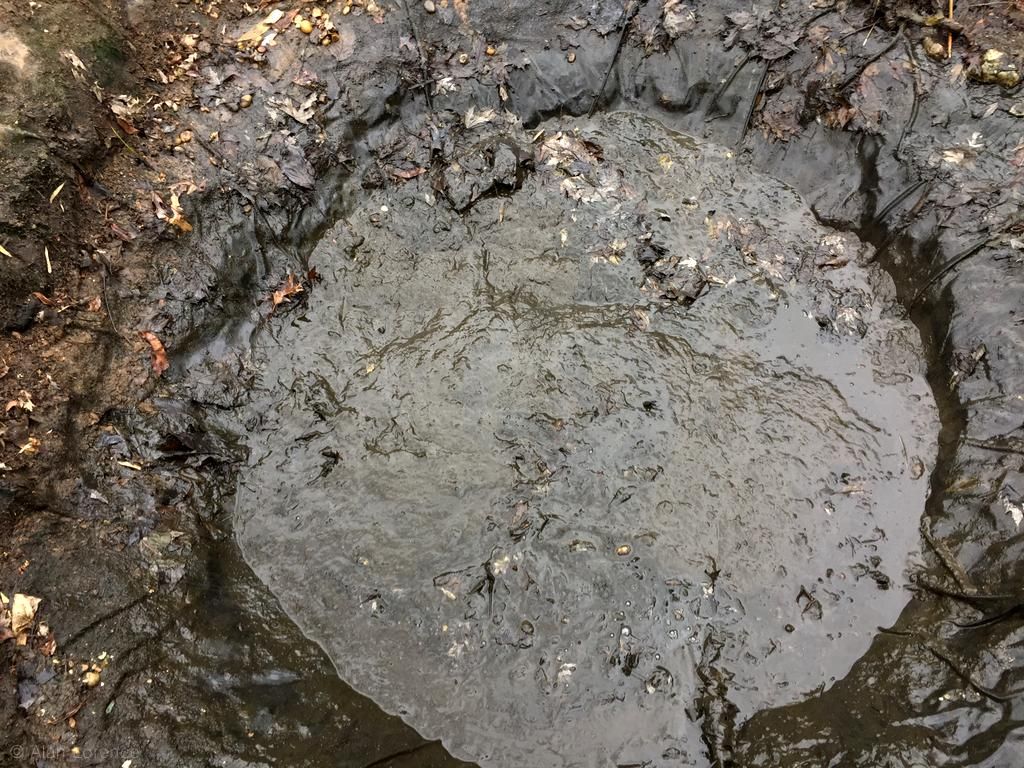
Toward the end I used a scoop shovel, then I used a piece of wood as a "squeegee" to push the mud toward the low side.

I didn't try to get every bit of mud off, as I knew it was pointless.
Yes, this was as horrible as it looks.
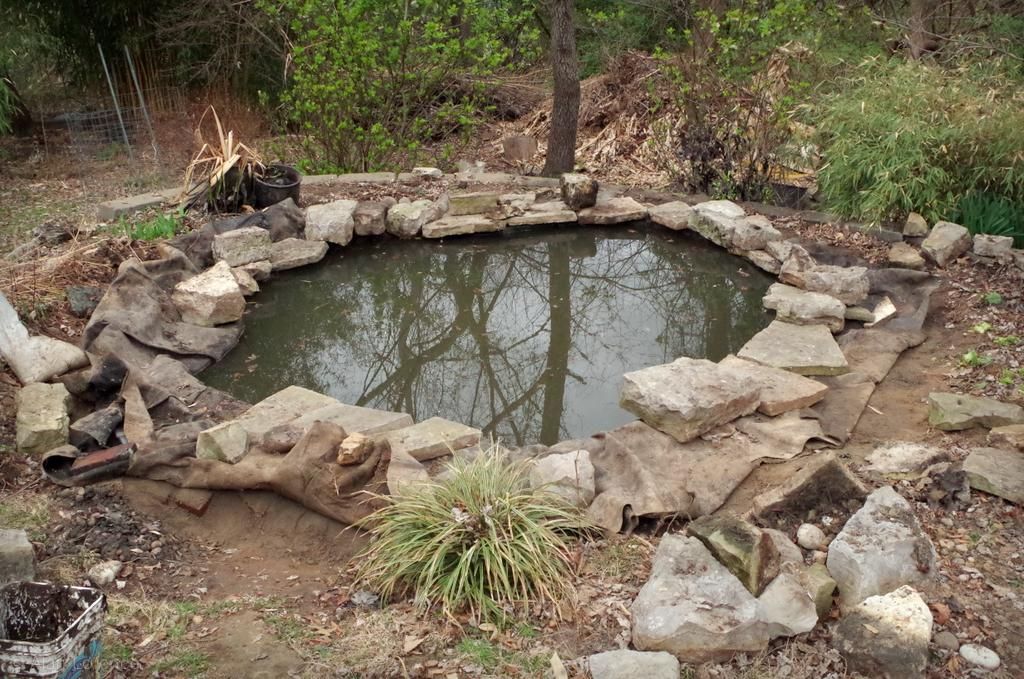
It's only slightly better when you step back a bit:
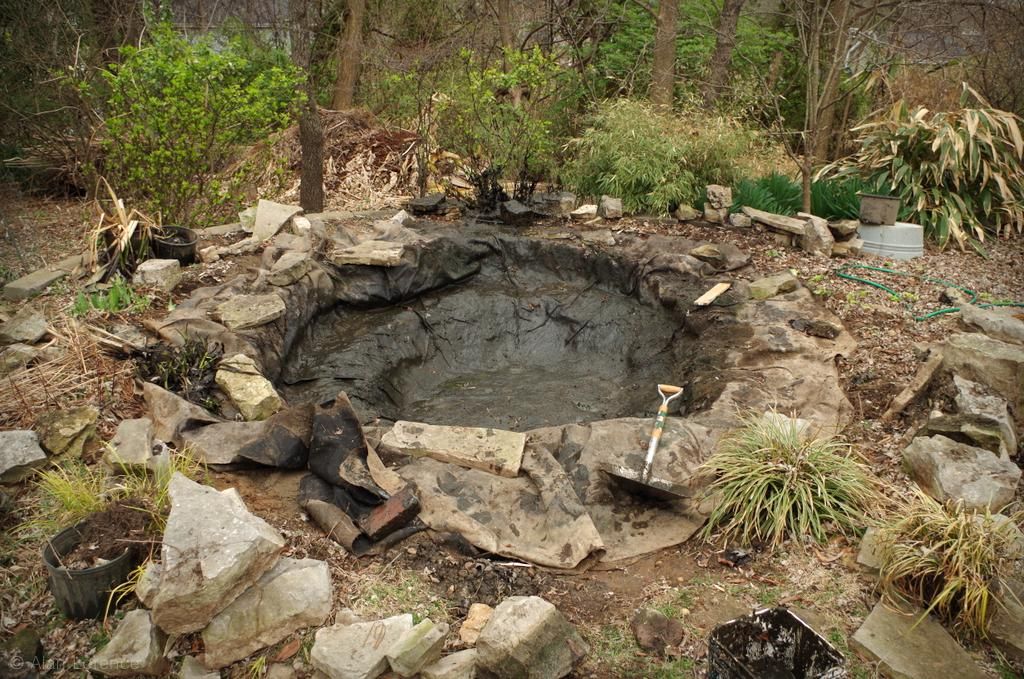
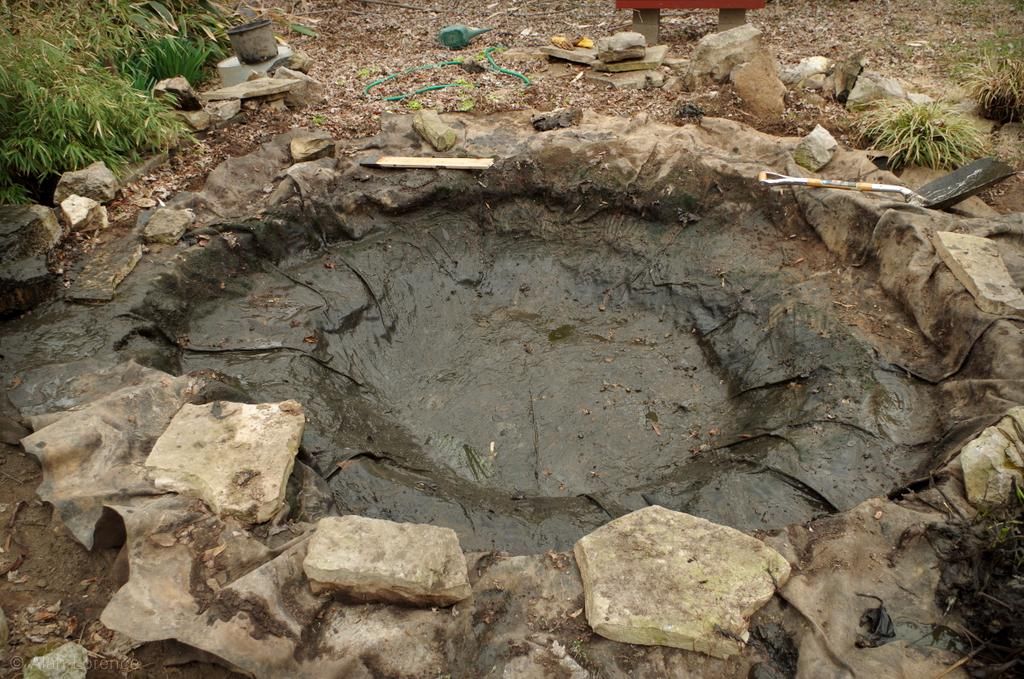
Clearly there is still a shallower ledge around most of the perimeter, but the walls will be nearly vertical and that's the important thing.
So what did I do with all of the mud?
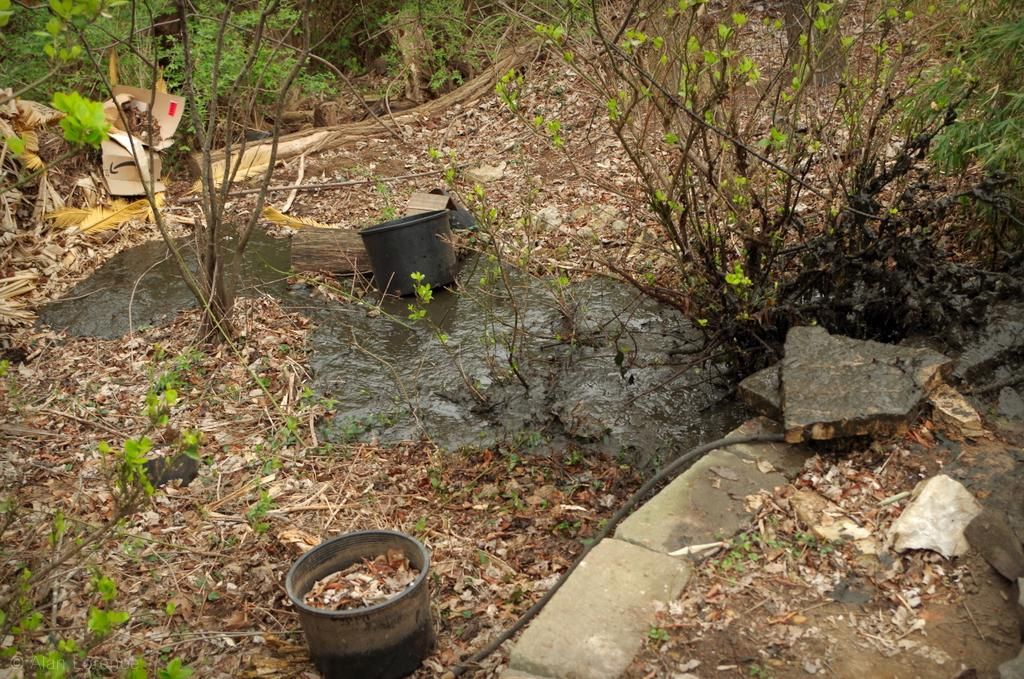
It just went to the same place that the water did, right over the edge. That euonymous took a hit, and the river of mud will be there for a little while it seems. I'll cover it with leaves when it dries out a bit. Note that this unexpectedly flowed in front of my compost pile so I won't be dumping much there in the next few days.
With everything "clean" now, it was time to start filling it up again! This was almost as exciting as the first time I did it (when the pond was brand new).

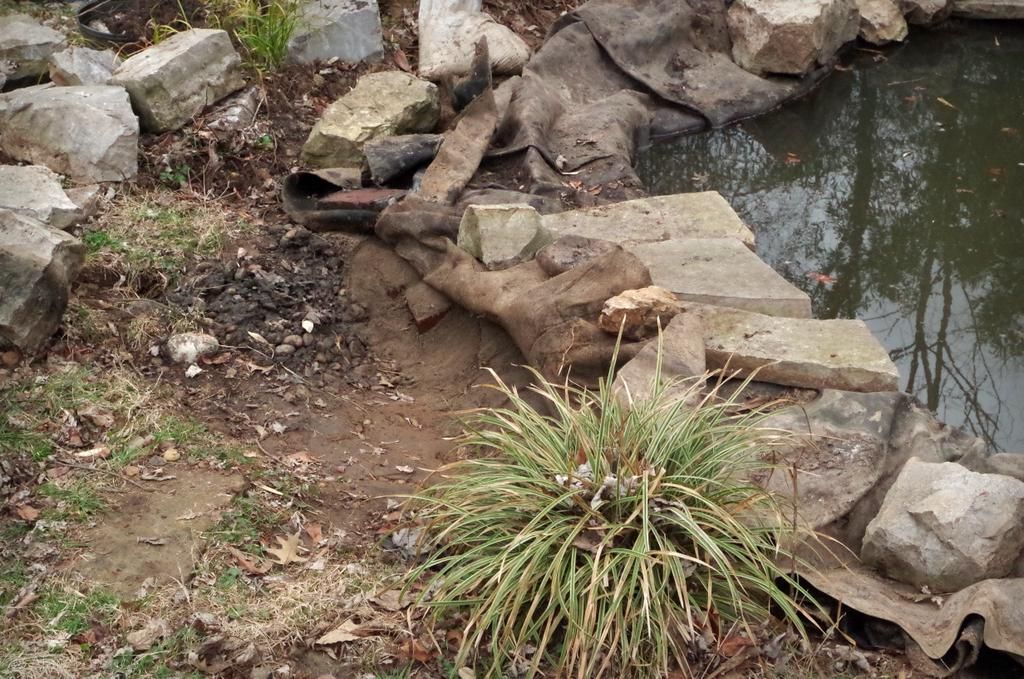
Once the water level got above the ledge I could better judge the wall height. A few places needed more height, and while I was scrutinizing everything I found this:

Another small rip! Again on a fold like the big one. I still think those raccoons mistake the fold for something smooth and edible so give it a chomp. Regardless, this was quite disappointing. Have you ever seen Cool Hand Luke? When he digs the hole, has to fill it in, then dig it out again? That's a bit how I felt.
After a few minutes of consideration though, I realized I could probably just move that portion of the edge in even more and raise the rip above the waterline. So that's what I did. Not shown here. (If Cool Hand Luke was a blogger he would not have taken photos during the hole dig, as it just makes every task seem harder!)
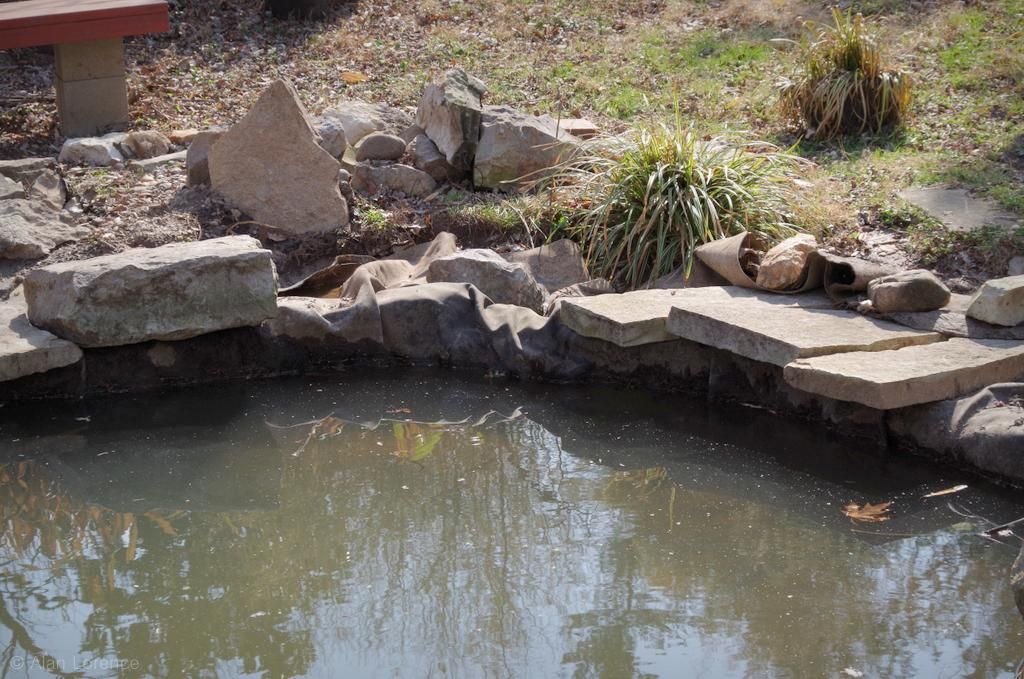
I then finished filling the pond, adjusted the edges a bit, then started adding the border rocks back. I hate this part, as the rocks always look "wrong" to me until they are softened with plants.
Not bad, and doesn't actually look that much smaller. It is though.
My biggest remaining question is what to do with the former beach area, which is a depression right now:
I want to make sure that rain runoff doesn't go into the pond, so I may need to regrade things a little to divert the flow around. That's not something I'm doing soon though!
An hour or two later, guess who gave their approval?
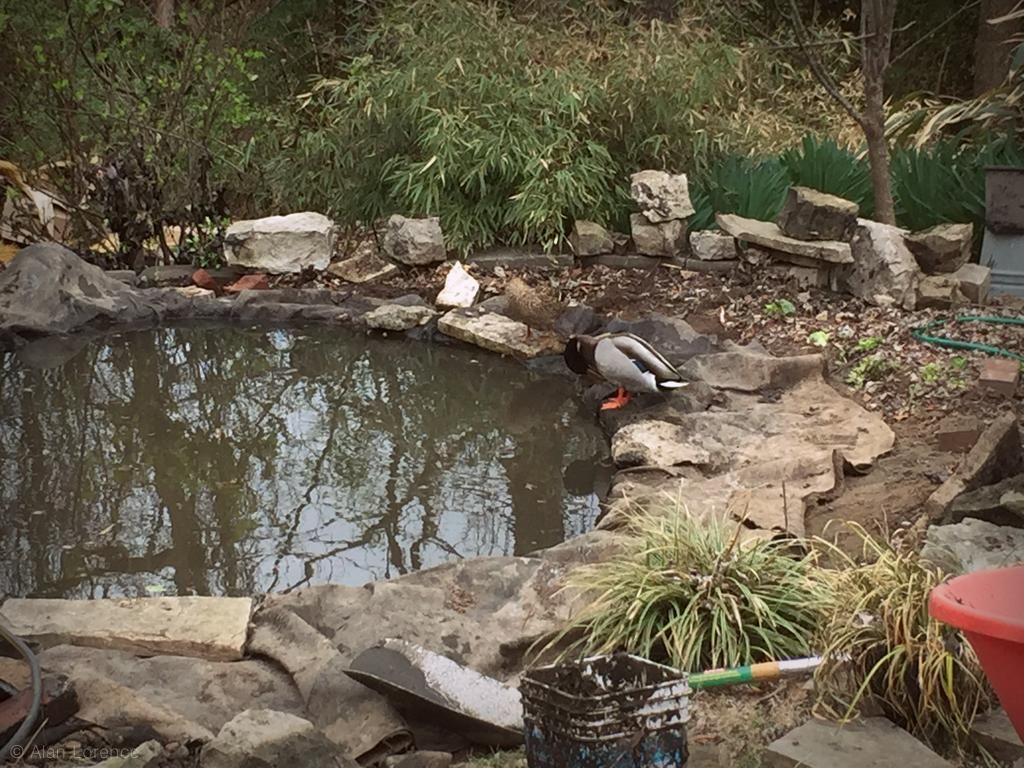
Terrible zoomed phone photo, but it's the ducks! That was fast!
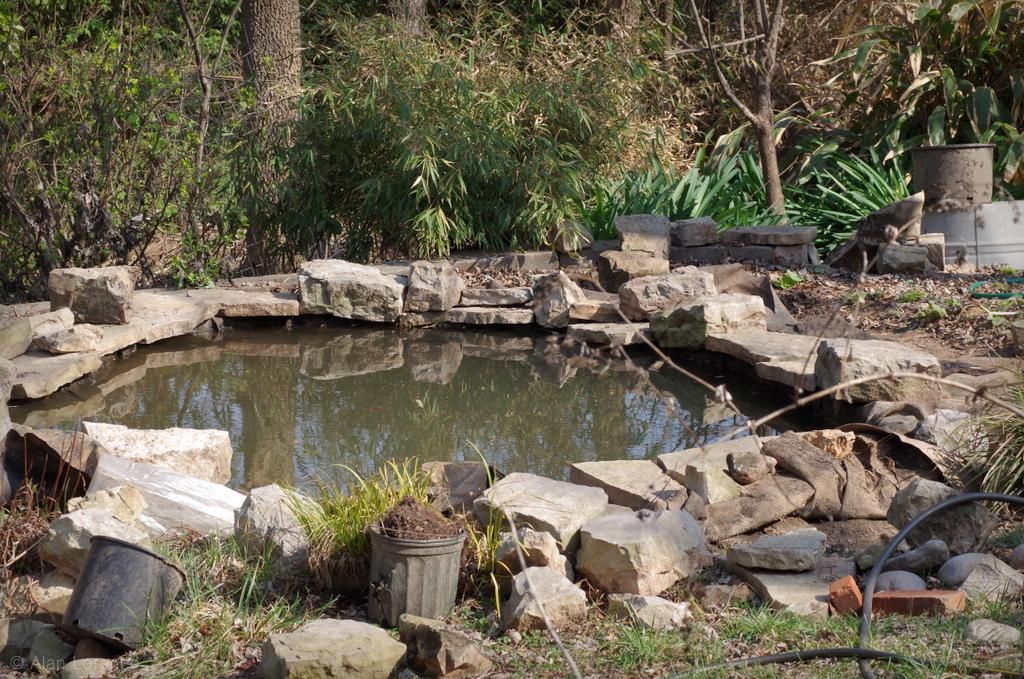
Today (Wednesday as I write this) it was sunny, so I thought I'd see what it looks like in the sunshine.
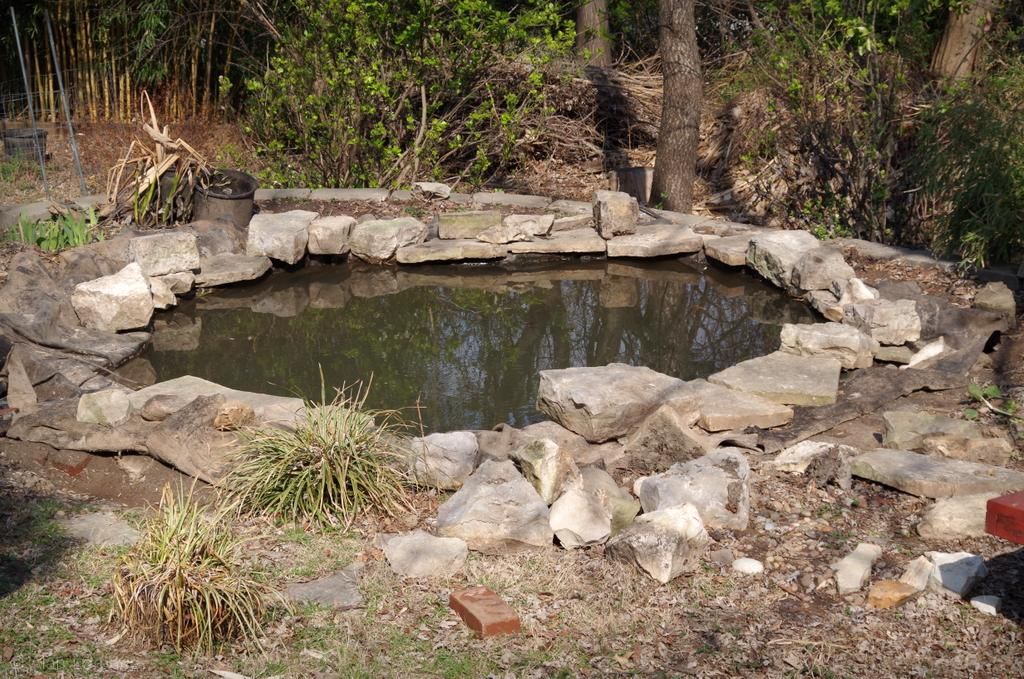
This part is probably a bit too high, but easier to lower than to raise:
There's a bit left to do, but 90% of the work is done, and more importantly, all the nasty stuff has been finished!
I'll be moving rocks, trimming the liner, adding soil, and relocating plants soon -- all fun stuff!
This was one of the two major projects I had planned for this year, and it's already done!
.


Great work! It's wonderful when the back breaking labor leads to something you can enjoy for a long, long time! And come fall, I bet you remember to get the leaf net in place. If not... come back and look at these photos to remind yourself!
As for the old beach area... you could sink a tub and do a lotus garden. Or how about a carnivorous bog?Or a recirculating vegetable bog... do you have electricity near the pond?
My first thought when I saw the old beach area was also a bog! I think you can grow pitcher plants in your zone? Those are so cool! And maybe the higher rock walls will keep the critters from eating your liner? Thanks for sharing your progress!
So now you are way ahead of the game. Good to do this when there are not so many plants and such to move around. Love the idea of ducks using the pond. Good job!
Great job. I can already see plants growing along the edges.
I bet the muck would have made great fertilizer for your veggie beds!
Congrats! It looks great (we gardeners can see into the future). Hope you took a long, hot, shower.
That really looked like very hard work! Hopefully you have an outdoor shower. Looks great an totally worth the effort!
I meant to add - if you had a pump like mine, you could have pumped that muck. You would have had to keep adding water to keep it a bit more "flow-y" but my little pump would definitely be able to handle that. And you could have used the hose to direct that delicious stuff wherever it would be most useful to your garden! Just for future reference!
Time well spent. Three words I use about gardening. Maintenance, maintenance, maintenance. Look forward to seeing the pond again as the planting grows back in and a welcome to your little friends.
Well done. I love the stones hanging over the edge: its an attractive look and hopefully more difficult for raccoons to access. The duck showing up to examine his new hangout spot is priceless!
Your pond really looks much better now and when the perimeter is softened with plants it will be fabulous! Looks like you got the jewel of your garden back and your summer projects are already 50% complete and it's still winter. Impressive!
I want to make a wildlife pond - but you should leave some of the much at the bottom! It's great for breeding hoverflies and many other little creatures which things like dragonflies can feed on.