Hole becomes a pond
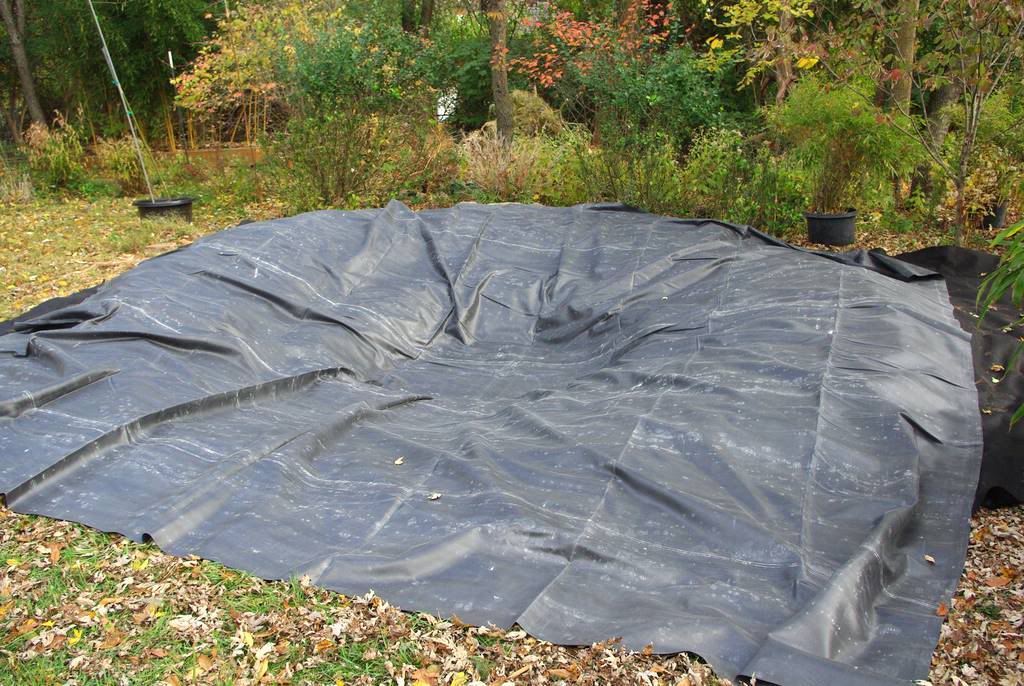
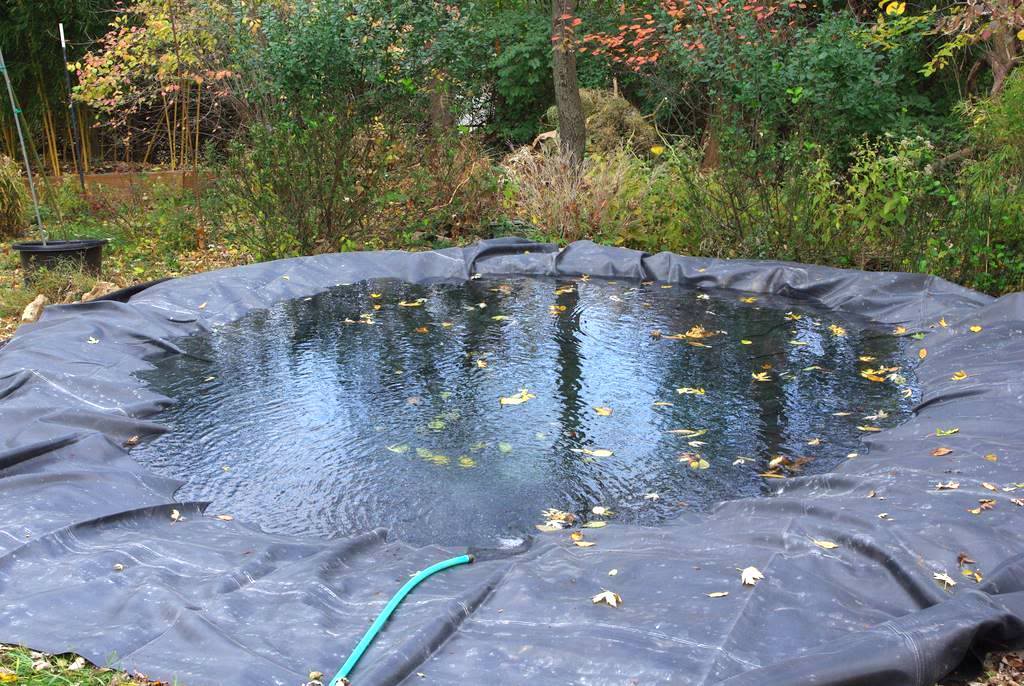
Saturday morning I was eager to get back to my pond project, but it was one of those hard-to-get-moving mornings. The weather wasn't helping, as it had rained overnight and although it was supposed to be a relatively warm day it started out damp and foggy. Luckily I had prepared by covering the hole with a large plastic sheet.

I weighed the edges down with some nice potted bamboos, with the unintended consequence of it looking rather attractive (for a plastic sheet). I had big plans for the day, so I had to brave the dampness and get outside.
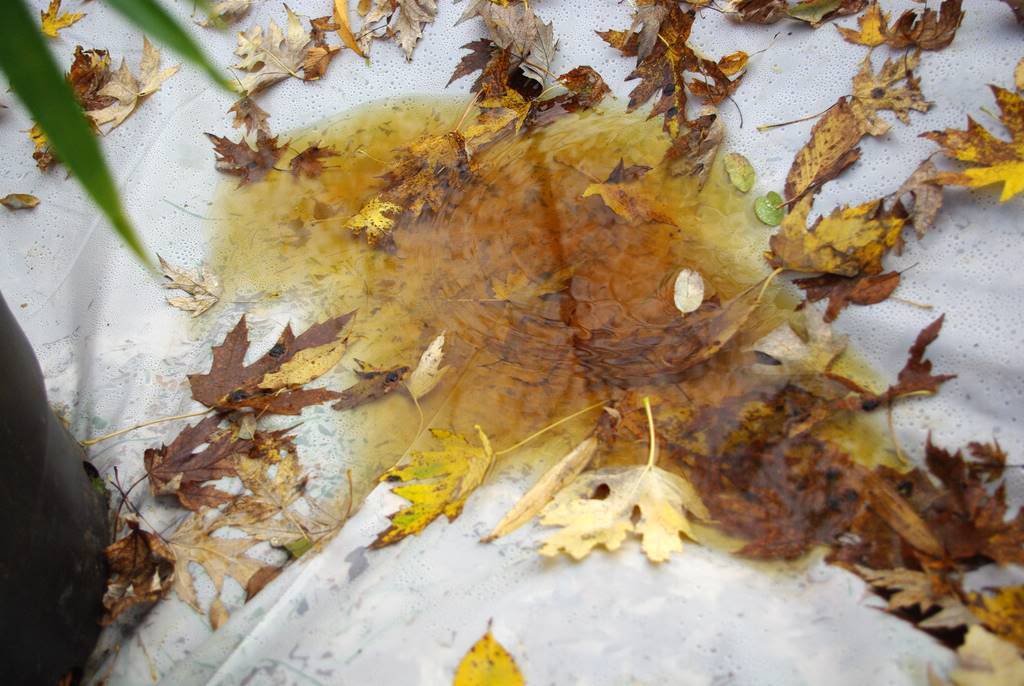
It's amazing how much tannin comes out of leaves, staining the water brown after just a few hours:
Here's how I supported the plastic sheet, creating a "tent" that kept the rain from collecting anywhere in the hole:

Although the hole was dry, my boots were still getting caked with mud from walking in the outer area which wasn't covered and therefore quite muddy, then moving into the dry, dusty area and picking up more soil. Heavy, muddy boots make garden work much less fun.
I then dug a little bit but mainly surveyed the project and killed some time until the pond supply shop opened up. Then I bought my pond liner and underlayment:
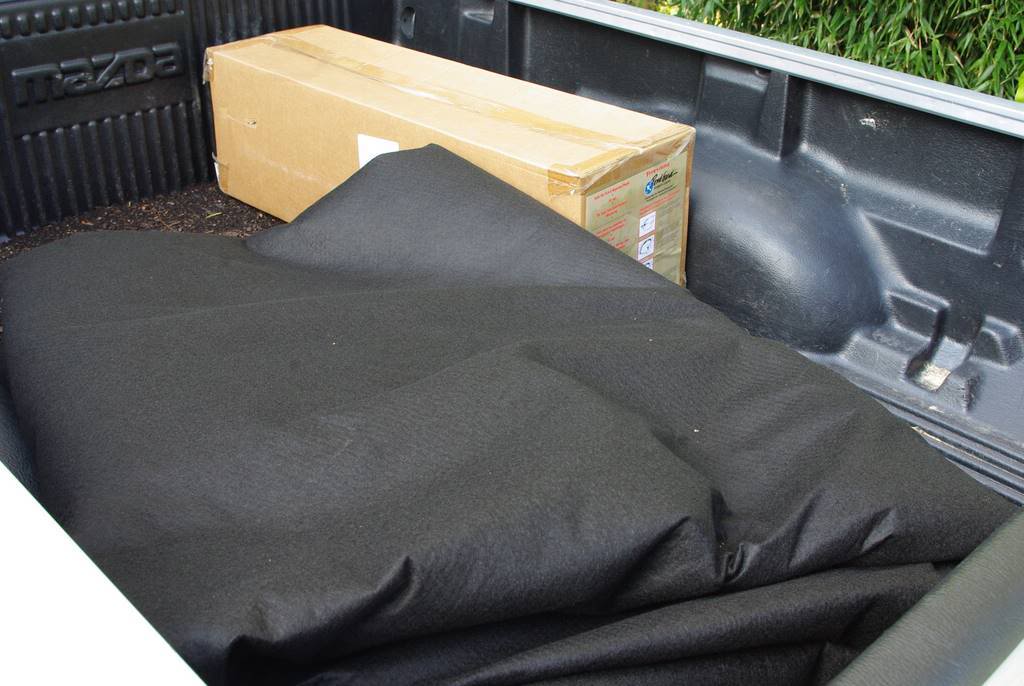
I wasn't quite ready for them yet, but I would rather have them on hand than have to make a trip to the store when I was actually ready. During this time the fog burned off and the weather turned a little nicer, with some sunlight helping to warm things up.
The first task today was to build a little retaining wall at the back of the pond to hold the raised soil in place. I hadn't planned on doing this, but it became obvious that it was needed after I started piling up the soil.
I thought about it for a while, and decided this would be a good place to use the concrete chunks that I've been saving for a few years:

I dry stacked the blocks first, to see if it would work and if I had enough of them:

It seemed to be a decent plan, and although I wouldn't have enough blocks for the whole wall (especially if I decided to wrap it around the left side of the pond a bit) this is a part of the wall that I think will be very difficult to see, so it doesn't need to be pretty. I can use nicer stones for the top row and to extend the wall into the more visible area.
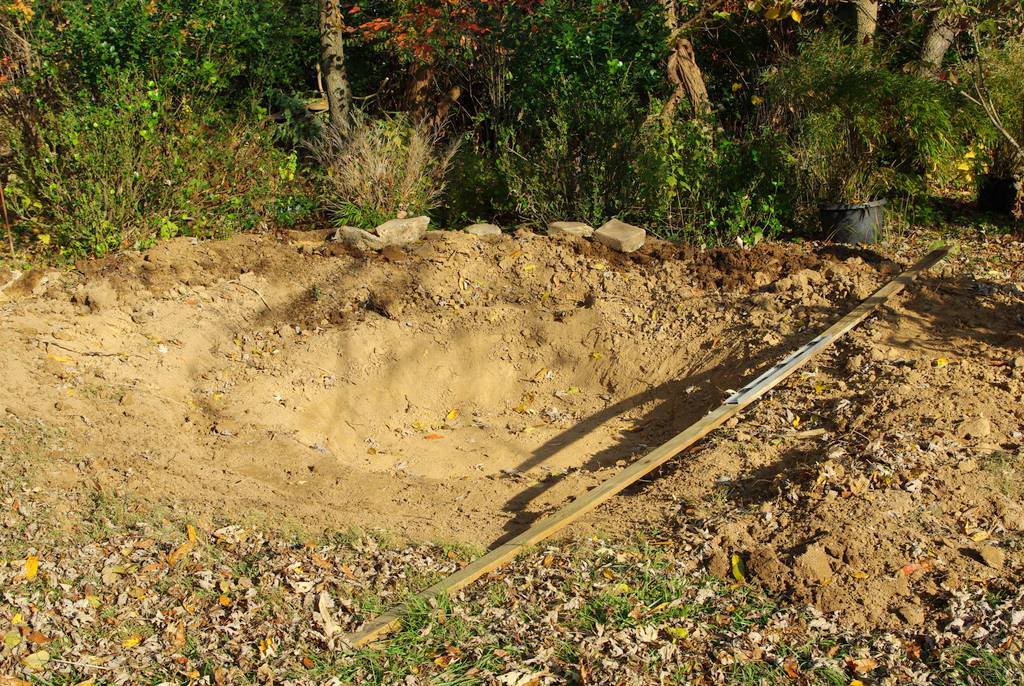
In that last photo you can see long board that I used to check the level of the edges of the hole. The wall is behind the hole -- you can see some of the stones on top. The nicer stones (which I'm pretty sure will be needed) will be used on the left side, as the wall wraps around the side of the pond a bit.
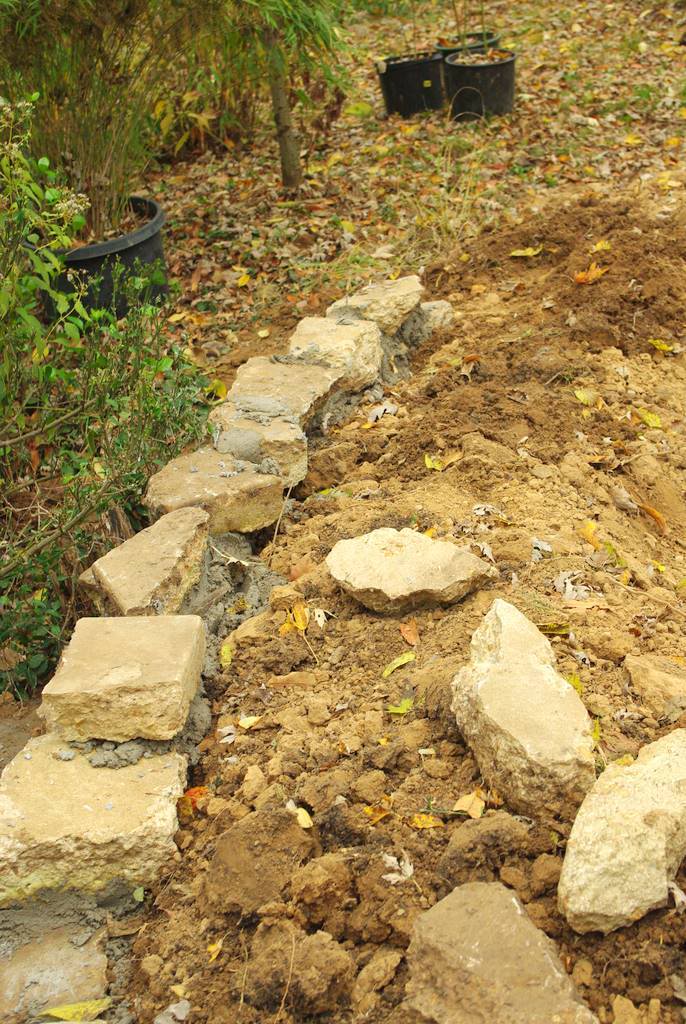
Anyway, I've never really mortared a wall before, but I did my best and it seems pretty sturdy:
I was rushing to get this done in the late afternoon, as I had to stop working around 4:30 and wanted the mortar to set up overnight before I finished my digging.
Sunday morning I finished digging, filled in the soil behind the retaining wall, stomped everything down, and determined that I even though I wasn't exactly sure how I'd edge parts of this I was tired of thinking about it and just had to do something. I often analyze projects for too long, which is one reason they get delayed (remember I've been thinking about doing this pond for a couple of years at least).

So I decided the hole was finished and was ready for the underlayment:

This is a strong, relatively thick material that looks quite a bit like wool:
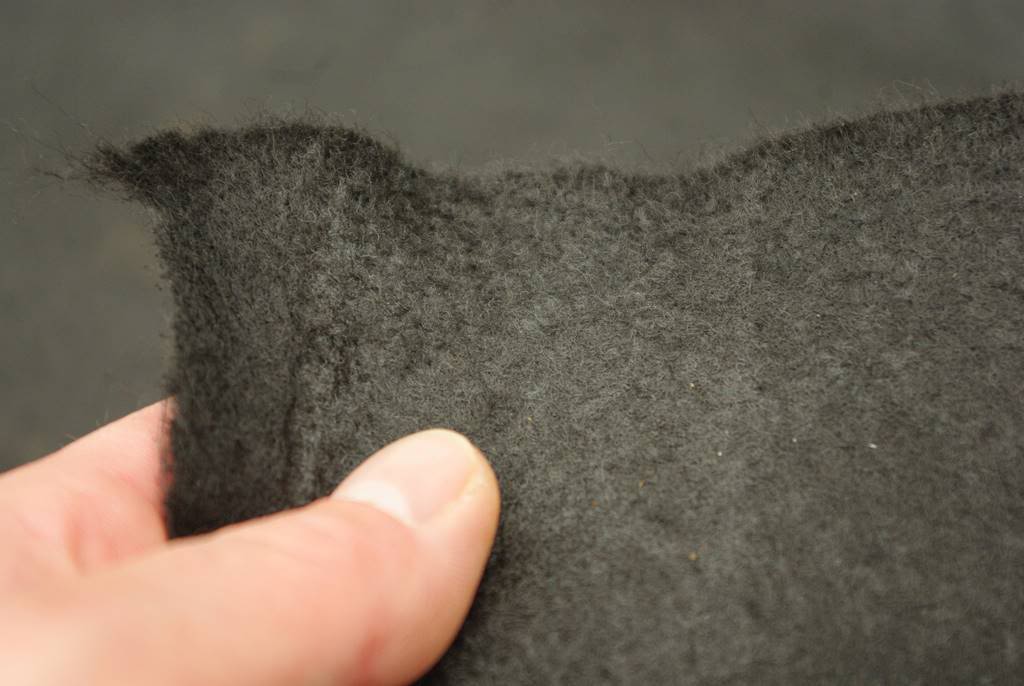
It's definitely not wool though, as it's very strong. Its job is to protect the waterproof liner from roots, rocks, or anything else that could possibly puncture it (like moles I hope).
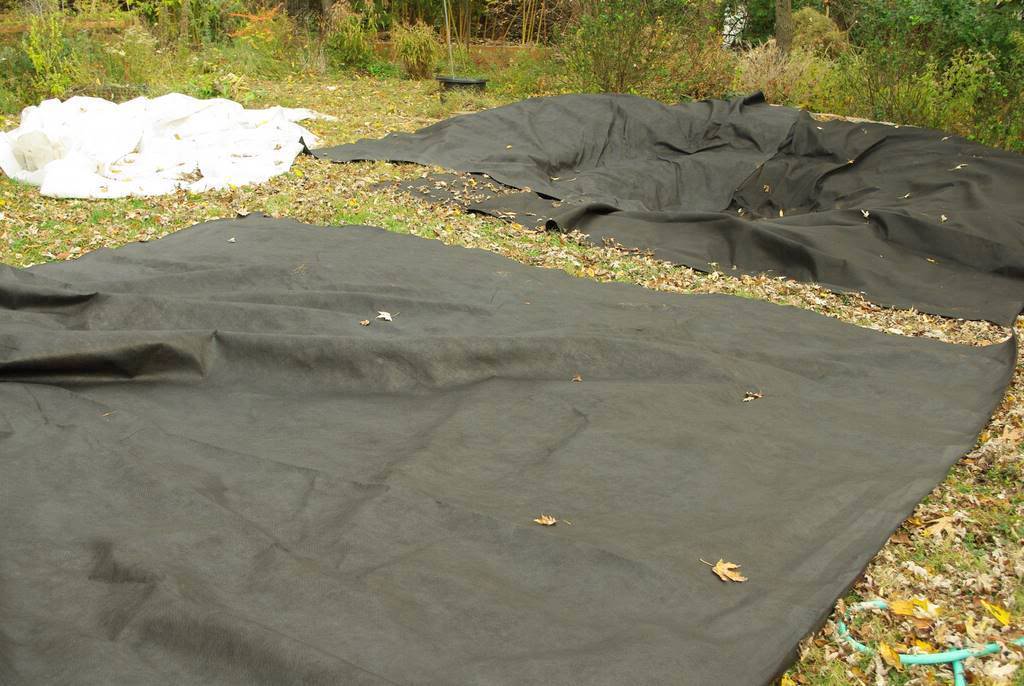
I ended up with much more of this stuff than I needed, which I can probably use for other projects -- like when I rebuild my stream.
With the underlayment in place it was time to roll out the liner. It came in a box and weighed about 120 lbs (54 kg), so I was concerned I'd have trouble getting it into position.
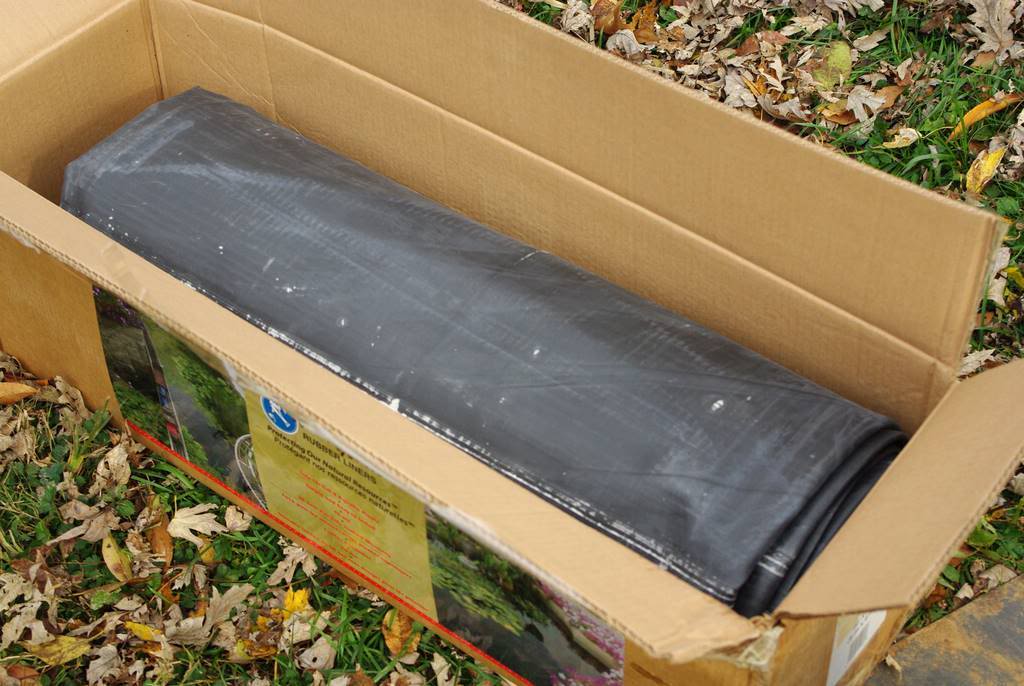
It was surprisingly easy to do this though, maybe because of the way it was folded up in the box:
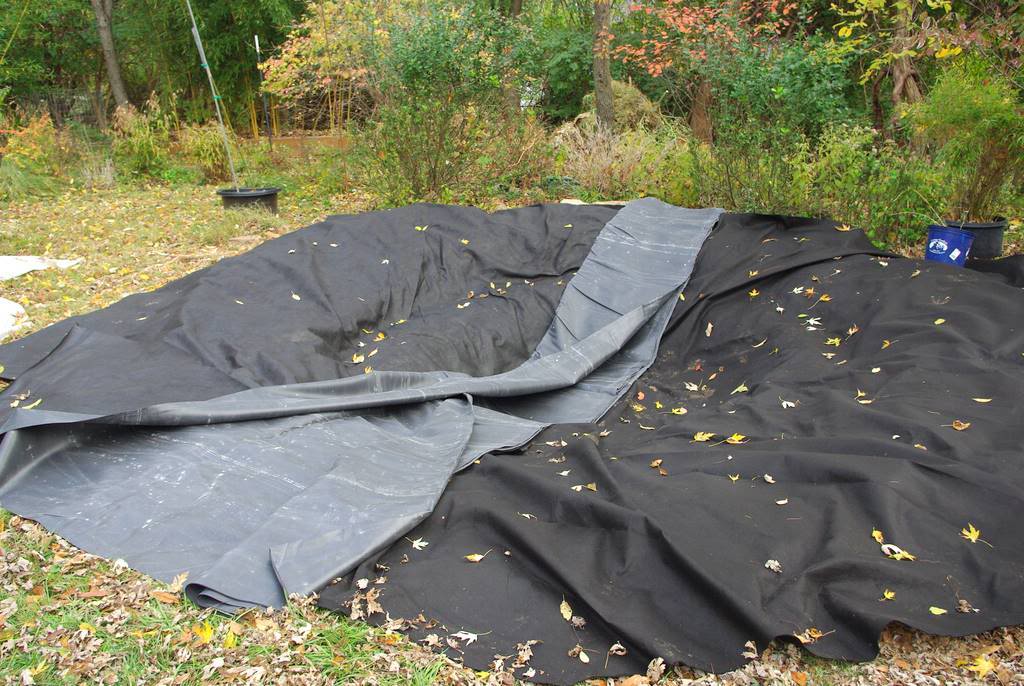
The liner is at least a few feet larger than the hole on each side:
It actually makes the hole look tiny! I couldn't pass up the opportunity to take off my boots...
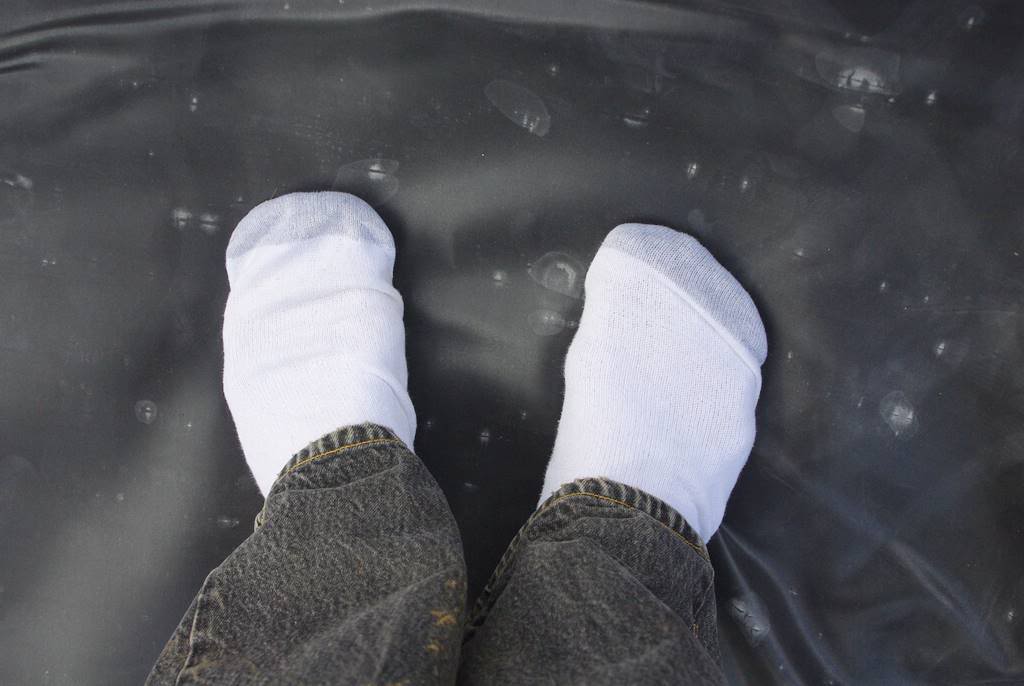
And get a view of my garden that the frogs and fish will see:

There are a lot of wrinkles as expected, but all information indicates that this is not a concern, and that they will be minimized by the weight of the water.

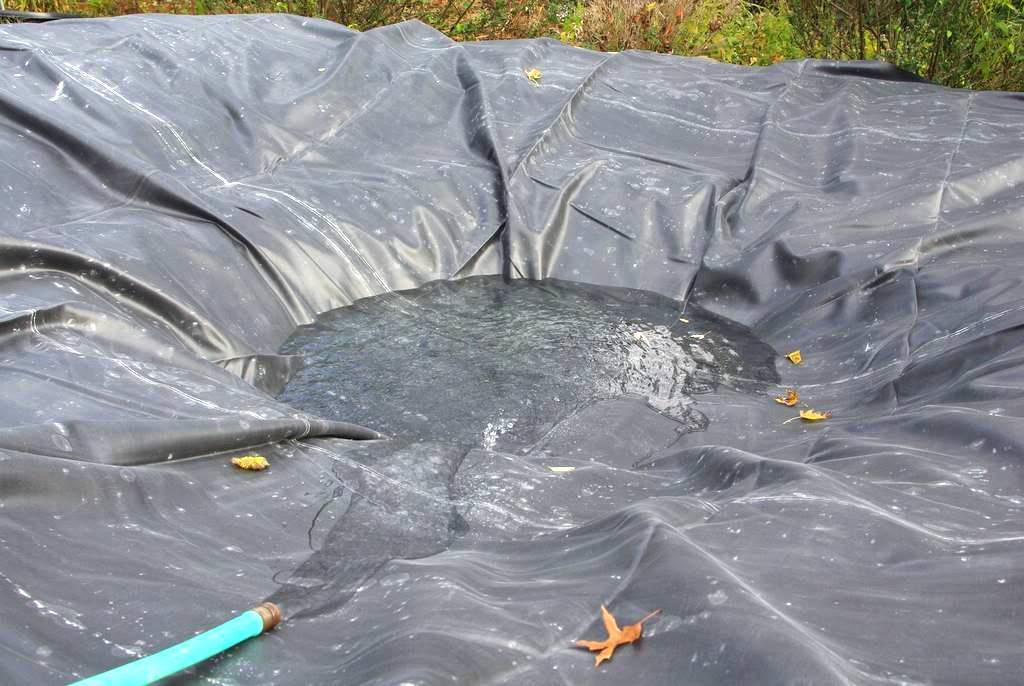
So time to turn on the hose and turn this hole into a pond!

As nice as it was having the sound of water back here, after a few minutes of sitting and enjoying I had to drag myself away to work on other projects (like raking leaves).
The nice thing about taking photos during a project is that each photo gives me a timestamp so I'll know later how long a project took, without needing to check a clock. I wanted to know how long exactly it took to fill the pond so knowing the start time was important, but I'll get back to this in a minute.
As the water level got higher, I could see which areas needed to be raised. I knew the back (where the retaining wall is) was a bit lower than it should be, since the retaining wall isn't full-height yet, and I added more soil in the low areas as needed.
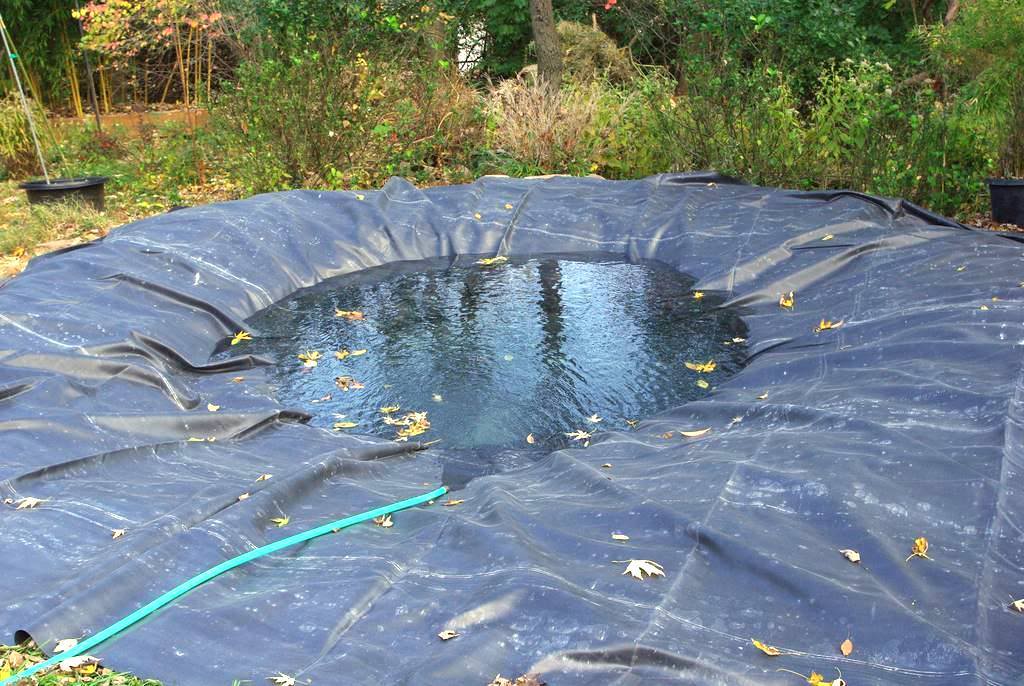
After two hours I decided to stop filling. I'll need to finish that retaining wall and get the soil level in back higher before I can get the pond to its final depth. The front edge of the pond (closest to the camera) slopes gently down, as I will be creating a gravel "beach" here. As I mentioned before I'm not sure how I'll edge the rest of it though. I'm not a fan of the "ringed with rocks" look, so I'll do my best to blend this into the rest of the landscape and make it look like it belongs here.
I'll be incorporating many of the rocks from my chimney rebuild here, but I won't do any of that until the water is at its final level, which won't be until after the retaining wall is finished. So I'll have to put up with the ugly liner for a little while -- probably a few weeks at least -- but I already love seeing the reflections of the sky and trees here!
The birds are already interested in this too. As the water was collecting a flock of cedar waxwings quietly occupied the tree above me, and a few of the birds investigated. The flock didn't come down to the water's edge -- probably because there's no convenient place to stand right now -- but they did help christen the pond. What sounded like tiny pebbles being thrown into the water was in fact dozens of birds "contributing" to the ecosystem that this pond will contain.
Although I won't be able to work on this again until the weekend, I should have it finished by the end of November at the latest (weather permitting). The important thing is not when I finish it though, it's that I started it.
Ah, I almost forgot! I mentioned earlier that taking photos lets me know how long projects took. This is often useful in planning other projects (oh, I see the bamboo planter boxes take three hours to build), but in the case of filling the pond it was a little more important. While filling I took a pump sprayer that is graduated (marked with volumes), filled it to the two gallon line and timed how long that took: 20 seconds. That's 10 seconds per gallon, or 6 gallons per minute. Knowing that the pond took two hours (120 minutes) to fill, I know that the pond's capacity (at the level it's filled to right now) is 720 gallons. This can be important when trying to figure out how many fish can survive here, or how much of certain chemical treatments to use if they're ever needed.
.


Even though the pool liner is still showing it already looks stunning. I think the spot is perfect for this. Awesome ... I'm envious :)
Exciting project. Can't wait to see the finished pond. Isn't it amazing how much you have to did out to make a hole? Always amazes me. New socks!!!! You should see mine. They will never come clean.
I am interested in a small pond but it is going to be a tank.
I've always wanted a pond but since we have no room for one, I'll enjoy yours vicariously.
I love posts in which you build something because you're so good at it.
:: Bamboo and More ::
L Rose: definitely not new socks, but this was early in the day, and nothing makes socks look dazzling white than standing on a nearly-black pond liner!
One pond edge option is a small berm under the liner at the water edge, then shallow dug dishes behind it, for the remainder of liner to lay across, around the edges of the pond. Slash the liner in a few places in the bottoms of the dishes, and backfill with bog soil/gravel. Whole new opportunity for ecosystem and it vastly expands the sorts of plants you get to grow. A strategic rock or three here and there, and its a very convincing wetland surround- much more natural than the 'eyeliner' look of a ring of rocks. It does encourage herons, though...
Fun post on a fun project. I work the opposite way you generally do. I start things with no idea how they will turn out. Gardening without a plan!
It looks great! I love the idea of the gravel beach. It's important to have a place where you can walk right up to the water. And I agree on avoiding the ring of rocks - or "pearl necklace" as I've heard it called. So many other good options!