Pond Makeover, part 1
Yesterday I mentioned that the sight of my pond stopped me from continuing with my spring garden cleanup, and teased that today I would reveal what nastiness I enjoyed next.

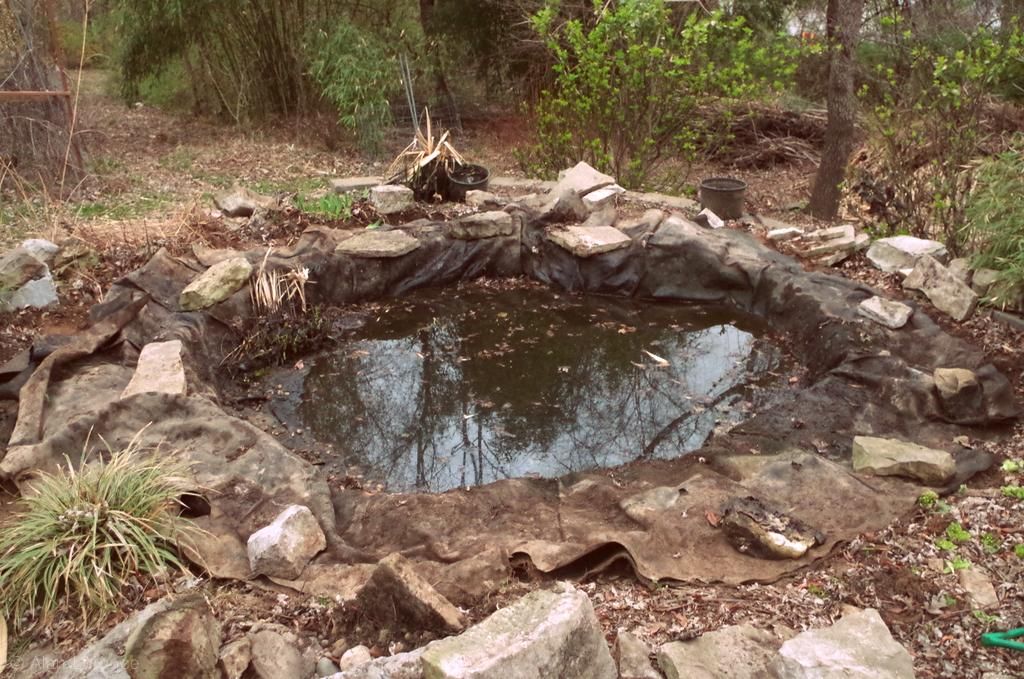
So I now hesitantly show you my pond, which was once the jewel of my garden. A leak created last summer resulted in months of neglect, the end result being a pond unfit to even show in photos. Sunday I had enough and decided to do something about it.
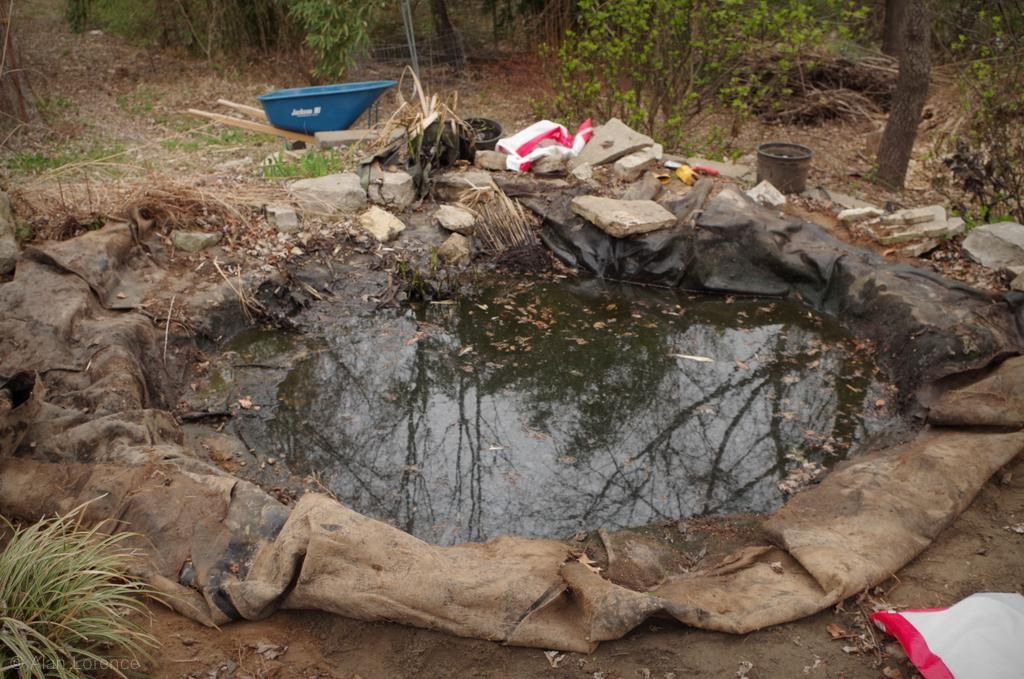
Let's start by seeing the state of things. Here's the south edge of the pond:
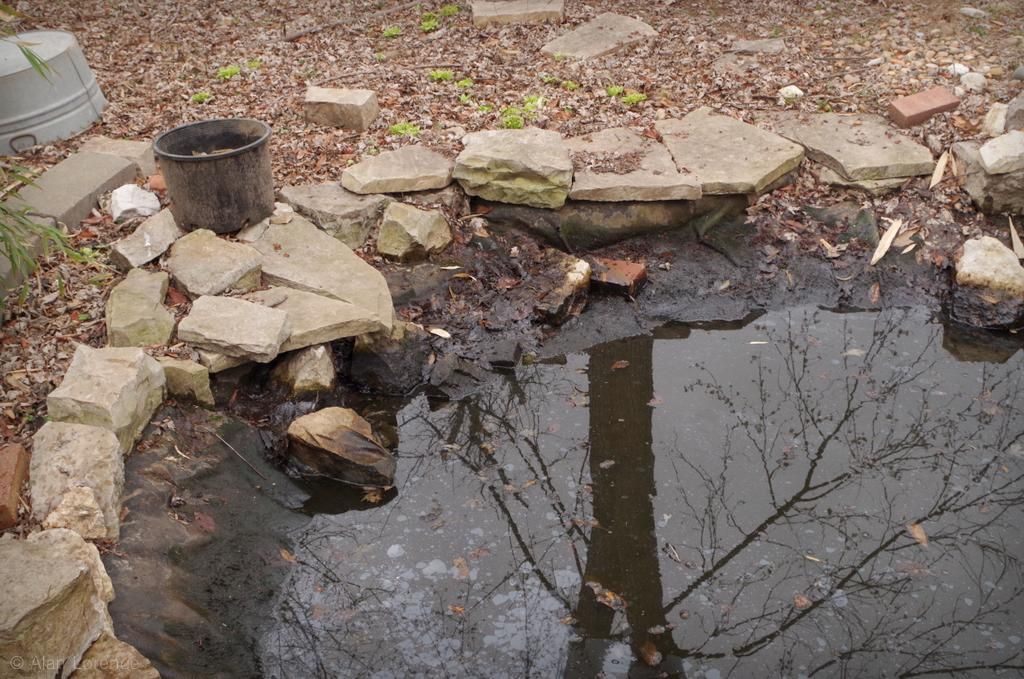
The west side, which contains the "beach":

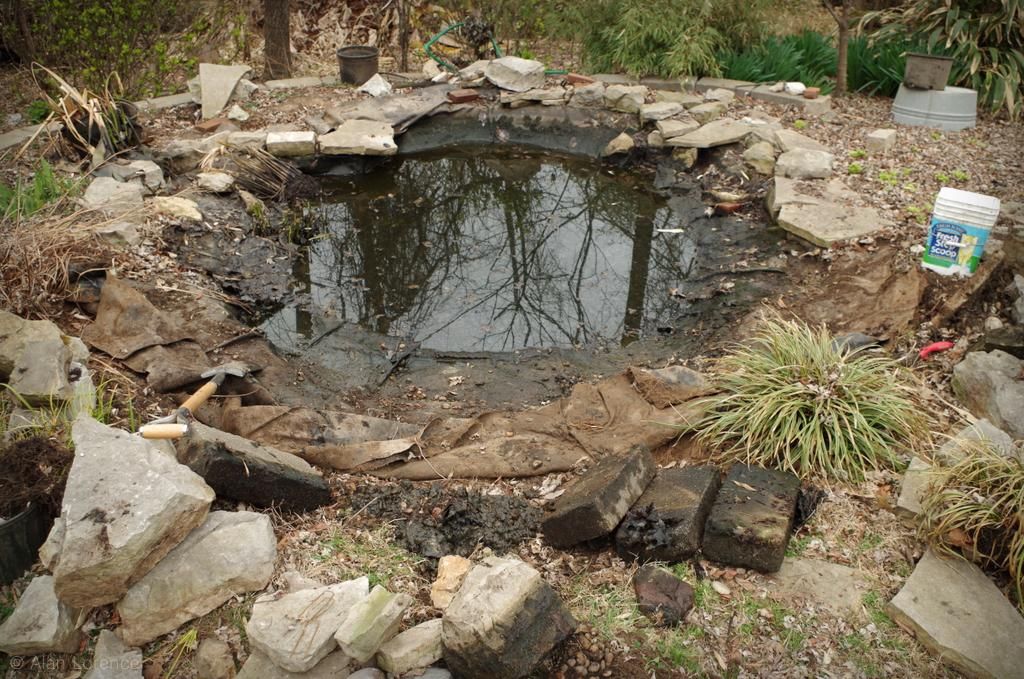
And the north side, which is where most of the water plants were:
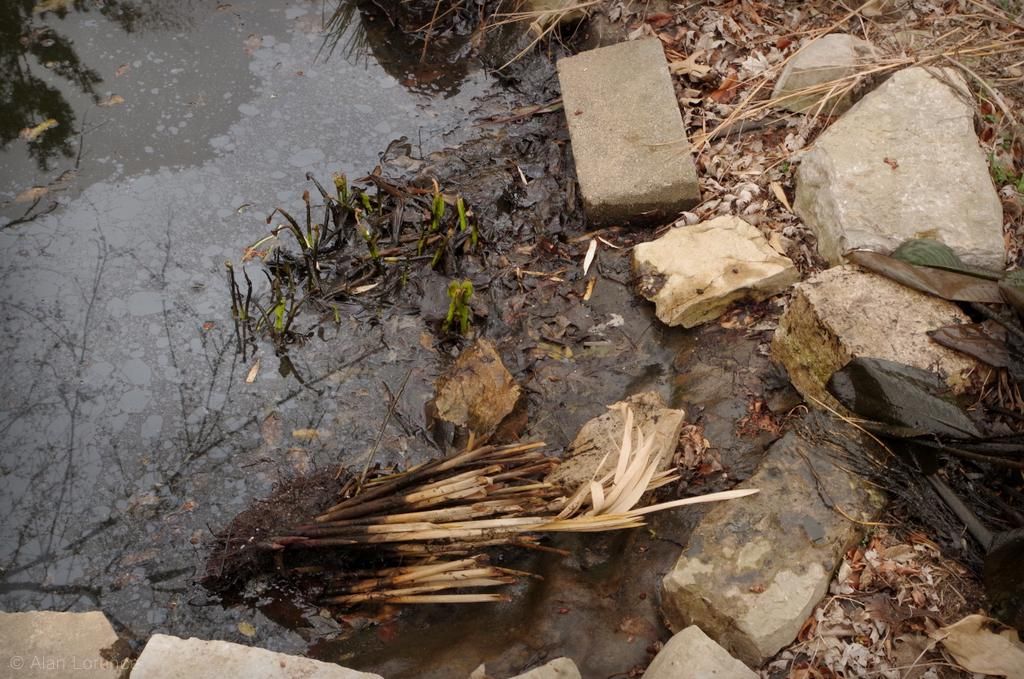
You'll notice a few things I think. First, the water looks quite dark. Black even. Second, there's a lot of black "muck" exposed at the water's edge. All of this blackness is caused by excess organic material rotting in the water. As I said earlier, neglect, as in "I neglected to cover the pond with netting to keep the leaves out", mainly because I just didn't care about it -- that leak really bummed me out.
Another thing you may have noticed from the photos above is that the edges of the pond slope downward rather gently. The idea was to leave shallow areas for wildlife -- this was a big mistake! Besides being a constant source of aggravation with pots and rocks sliding down into the deeper water, it also left the liner relatively exposed. My theory is that raccoons felt the folds in the liner, thought they were something worth biting (maybe a snake?), and tore holes.
Another huge mistake was the "beach". Although the river rock covered with a thin layer of water was quite attractive and a rich habitat, in practical terms it was terrible. An almost endless supply of smooth round rocks for raccoons to handle and drop into the deeper water, a place where deer always seemed to tread (forming hills and holes), and the place where muddy water flowing down the hill would enter the pond. Also the first part to dry out whenever the water level dropped a bit.
Luckily all of these problems could be fixed by one change: bringing the edges of the pond in a bit all around, getting rid of the gentle slopes and moving the liner holes above the waterline.
Step one was lowering the water level, which for me meant buckets and buckets of horrible water, bailed by hand. I thought about using a pump, but I didn't have anything that could handle the leaves and muck.
So buckets it was. Luckily I could just throw it over the east edge which is where the "wild" part of my garden starts -- my compost piles are back there.
If you're wondering what happened to all of the goldfish that were living here, well, that's the thing that I'm most upset about: they all died. The water was just too noxious after all of the leaves fell in.
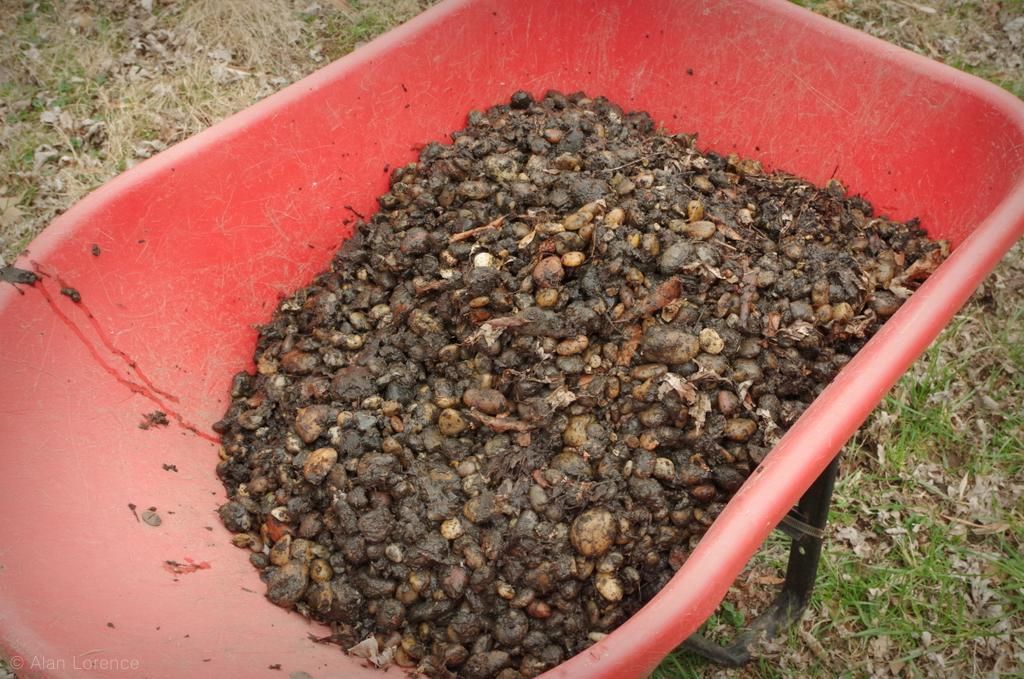
Proof of this was found in one bucket:
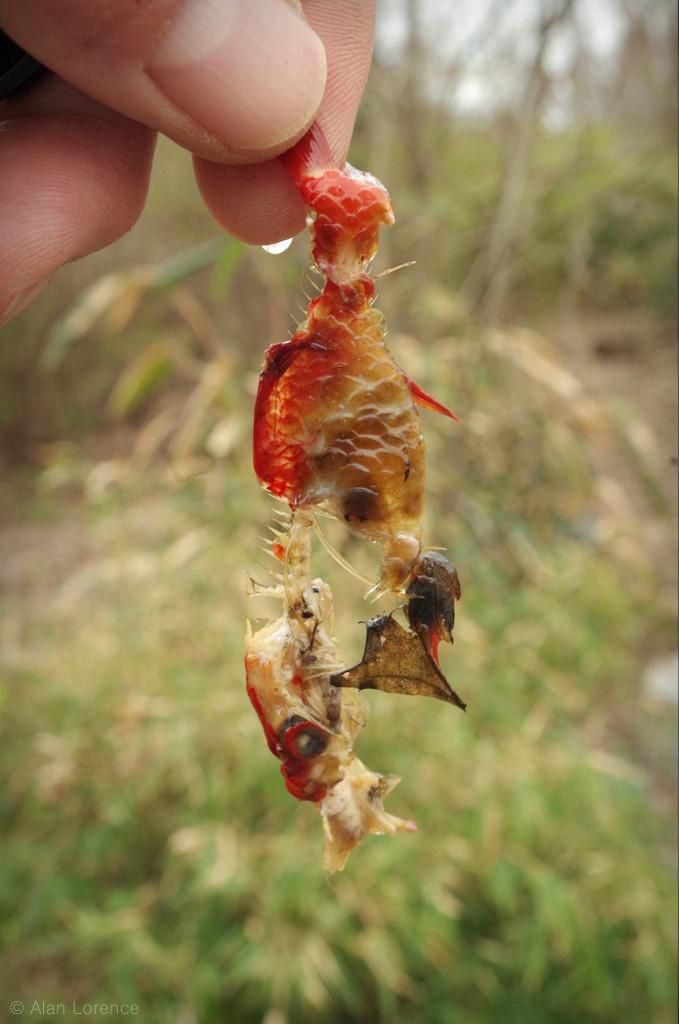
Blech. I'm so sorry fish!
So, let's get to the fixes. The beach was first. This...
...got converted into this...
...and this:

The cinder blocks which were holding the gravel in place gave me an idea: I'd build a wall under the liner! I actually didn't have much choice. When digging a pond you leave the solid walls of the existing, packed soil in place to form the pond walls. Once you've removed that soil and need to rebuild the walls, it's just not possible to pack the soil back in. So a block wall it was.
Blocks removed:
Another angle, better showing the shallow area:

After putting the blocks into place and backfilling with some topsoil:

This sedge (on the left) was at the water's edge before:

Now it will be high and dry. Adjustments will have to be made.
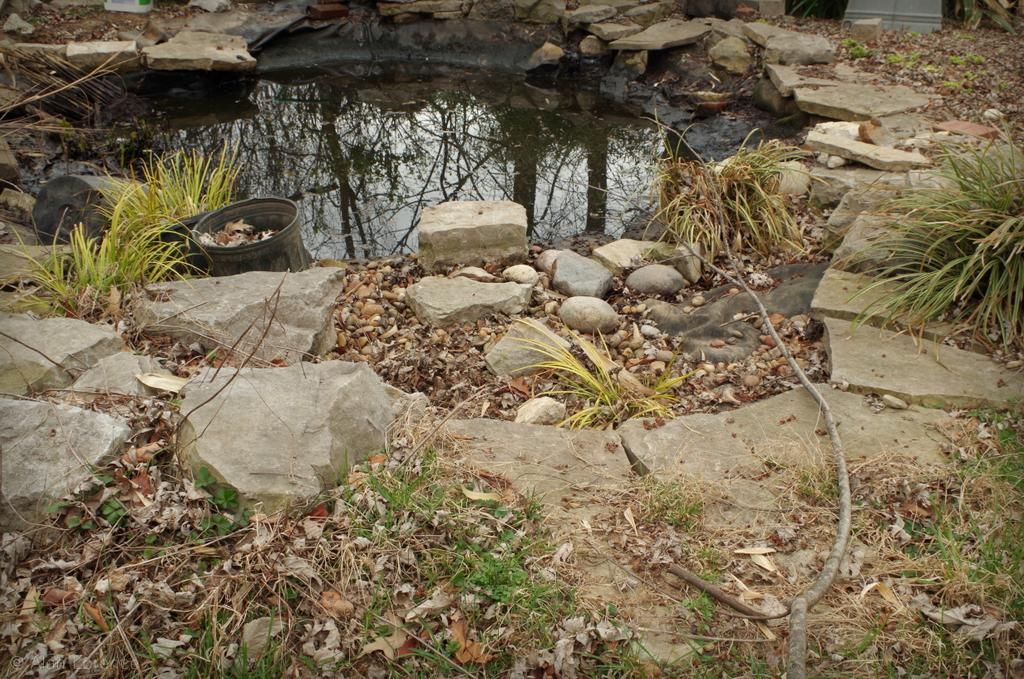
Here is the former "beach" as seen from the water side:

It needs a bit more defining, but it's going to work. Weird to see the edge move so far in (at least 3'), but it's worth it.
The Petasites japonicus at the southwest corner are blooming:

And now will have more room to spread out toward the pond. If you're not familiar with Petasites, it spreads via snakes! Now visible with the liner pulled back:
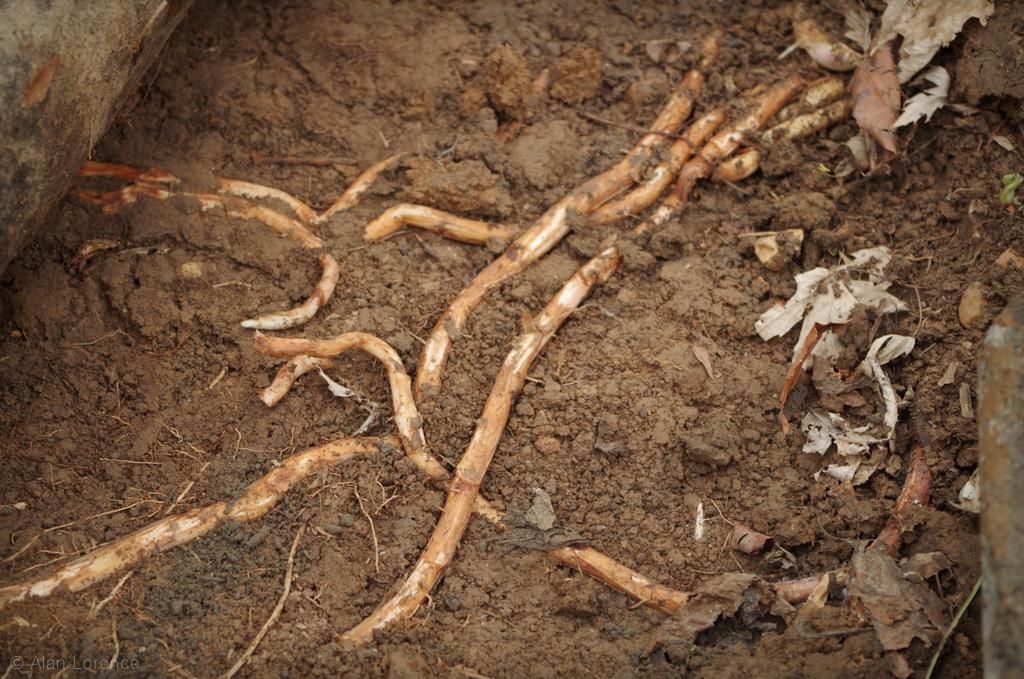
Okay, they're not really snakes. Softer than bamboo rhizomes though.

After working on the former "beach" area I built up the wall around the rest of the pond, using blocks and old bricks. I knew I had been saving those for something!
In that photo the north edge still hadn't been worked on, but the rest was taking shape.
The spot that got moved almost as far in as the beach did was where the main liner rip was:
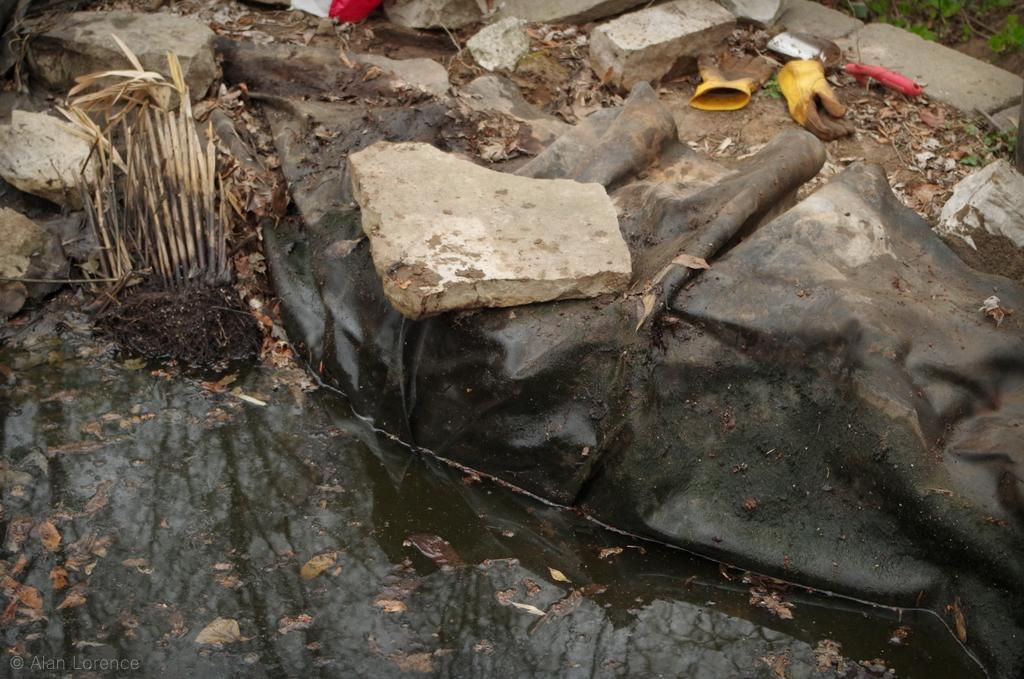
That flagstone is covering the rips, which are now above the waterline. Note that the planting space between the pond and the retaining wall has increased -- about double! Also note that the yellow leather work gloves are dirty, but in good shape compared to how they'd look soon.
With the edge built up now all the way around, it was time to call it a day. My legs were exhausted after dozens and dozens of buckets of water lifted, and I was quite dirty. It felt good on both counts as it has been several months since I've jumped into an all-day garden project like this!
Tomorrow things get worse before they get better -- in part 2!
.


OH! A part TWO! I love it!
Here's a tip - invest in a sump pump. We paid about $90 for one 25 years ago and it works as good as the day we bought it. We use ours all the time with a pond and pondless waterfall for various projects. I will even occasionally drop it in the pond and pump water to water my garden. The fish get fresh water and my plants get good, delicious fish poop water! Win-win!
Cant' wait for the rest of the story!
Looks like a lot of work but having your garden's jewel back will certainly be worth it! Looking forward to part two. I'm tired just thinking of all of that hand bailing. Being far too lazy for that, I use a shop vac for the muck and let the recirculating pump empty excess water.
I can't wait to see part 2... I hope your pond will be back to its previous glory this summer. Are you worries at all about making it smaller?
Lisa: the sump pump -- do you use it occasionally or long-term in the waterfall? Seems like it's intended for intermittent use only. Does it handle leaves and mud?
Peter: I don't have a pump here, and there was so much muck I'd probably burn out a shop vac. Plus the hard labor reminds me to be a better caretaker or suffer the consequences. :)
Renee: I'm not worried about it being smaller, in fact, I see that as a good thing. It was too big to easily protect from leaves in the fall. Since I really only removed the shallow parts and added a couple of inches to the height (depth), I think the water volume is pretty close to what it was before.
We use it just to pump when needed. It won't pull up big stuff, but it doesn't mind small debris or mud. It has a screen on the bottom that won't allow it to suck up anything bigger than, oh, a small pebble I guess. We bought it to pump water from the basement years ago, never dreaming we would have a pond one day... it's one of our better purchases!
A "trash" pump for dirty water. I have a little portable that I use to empty the fountain and pump collected rain water to the dry spots in the garden. Saves the back!
That is some project. I am anti-"beach" because that is exactly what Raccoons want: a beach to wade in. It looks better already.
Pond people say it takes at least 2 rebuilds to get a pond right, so once more after this... ;^)