A bit of a change...
>> Friday, August 22, 2014 –
project
It's been a while since I've done a post about a project in the garden: building a trellis, a bench, an arbor. My trip to Portland last month and the cooler weather that we had after returning motivated me though, and I created something!

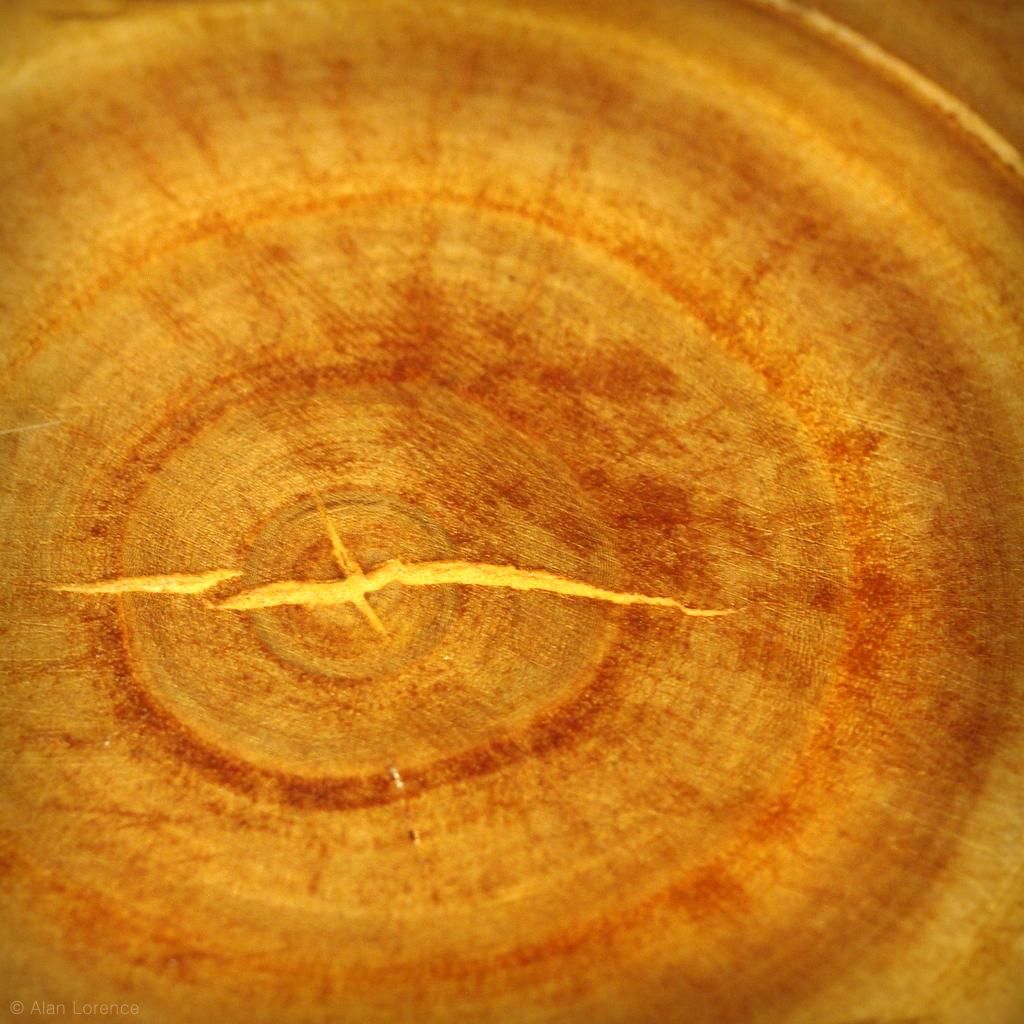
The difference in this project though is that it's not ending up in the garden: it's starting there! This big log section has been in my garage since early last summer, taking up valuable plant storage space, reminding me that there are so many projects planned but not started.
I don't know what type of tree this was, but when my wife called saying that there were some nice big log sections across the alley from the bakery she was working at then I got excited. She thought it might make a nice table or something and I agreed.
(Freshly-cut wood is heavy, especially when in a big section like this, so getting it into the truck then into the garage wasn't easy! It's quite a bit lighter now, but still not light.)

In Portland you see tables made out of big slabs of wood everywhere, but what really motivated me was a table at a friend of a friend's house (where my wife and I were on Saturday afternoon, the reason that I wasn't with the Garden Bloggers Fling group that day, even though I still saw some of the gardens). It was a big, chunky thing in an otherwise modern and quite attractive living room -- I decided then and there that my log would become our new coffee table.
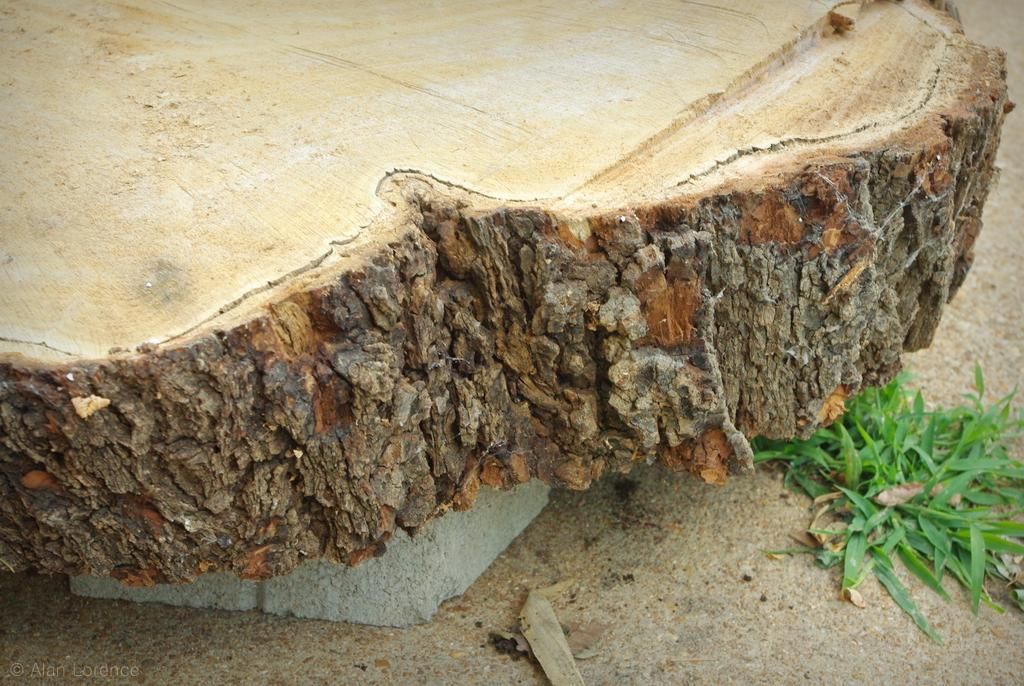
The trouble was, this thing was really rough.
It wasn't cut with the intention of becoming furniture, so although it was surprisingly level on one side there were some saw gashes...
...that made what I wanted to be the top have to end up as the bottom -- I just wouldn't be able to smooth this blemish out, and it was too severe to leave as a feature.
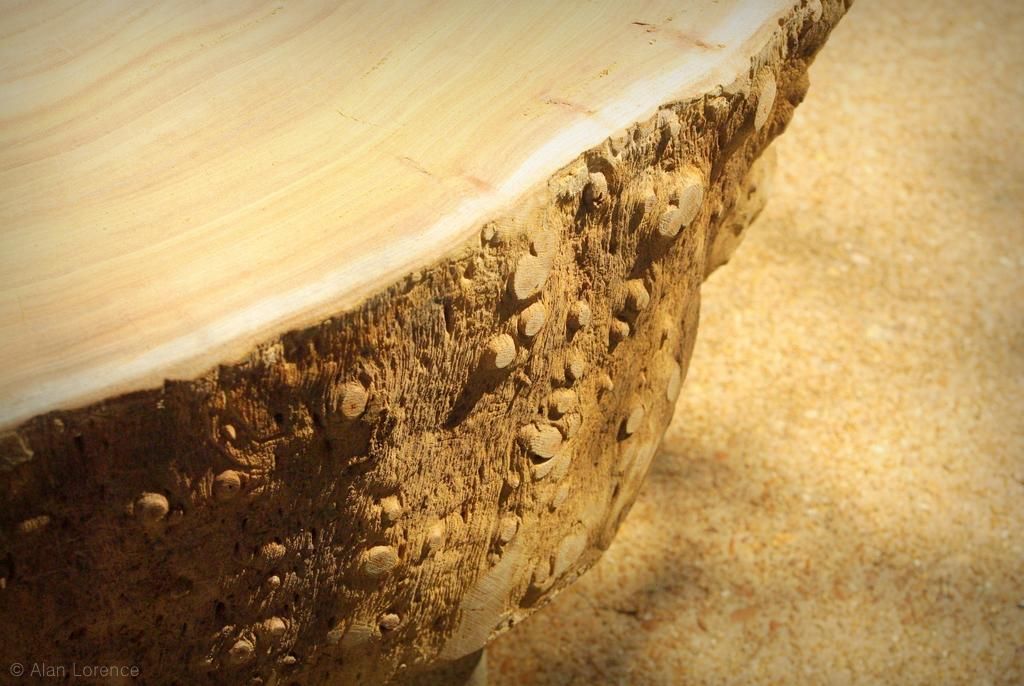
All of the bark had to come off:

I was tempted to leave the bark and try to seal it somehow, but bark is never attached as solidly as you want it to be, so I did the smart thing and removed it all.
A little time with a wire brush cleaned things up...
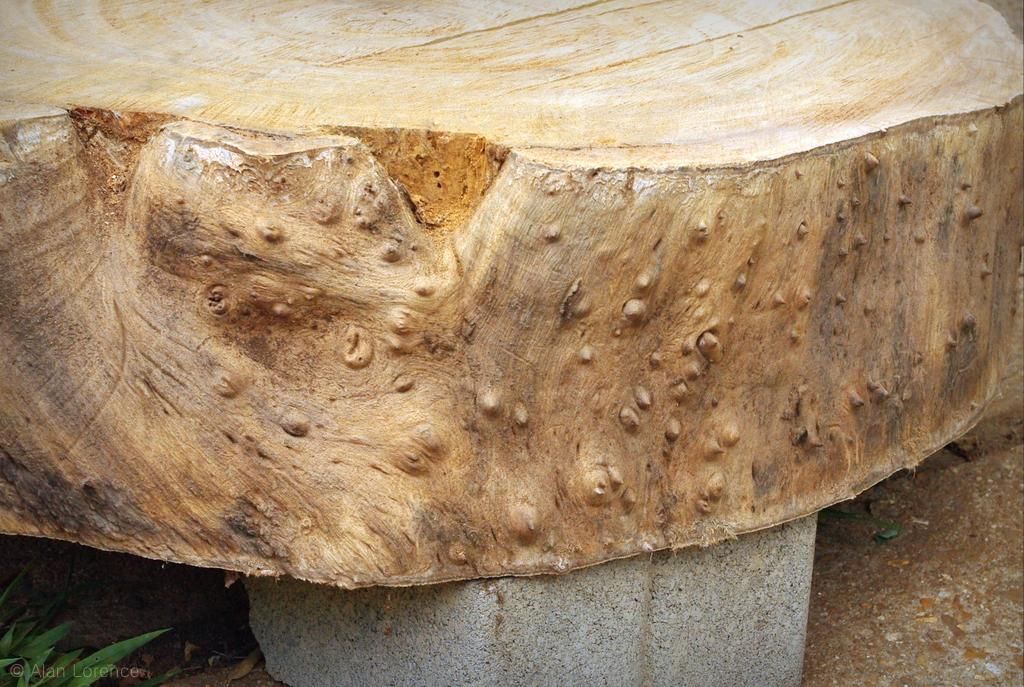
...although these spikes that were revealed would have to be dealt with:


I know that if I left them sharp we'd both have rings of scars on our legs at table height -- just too dangerous!
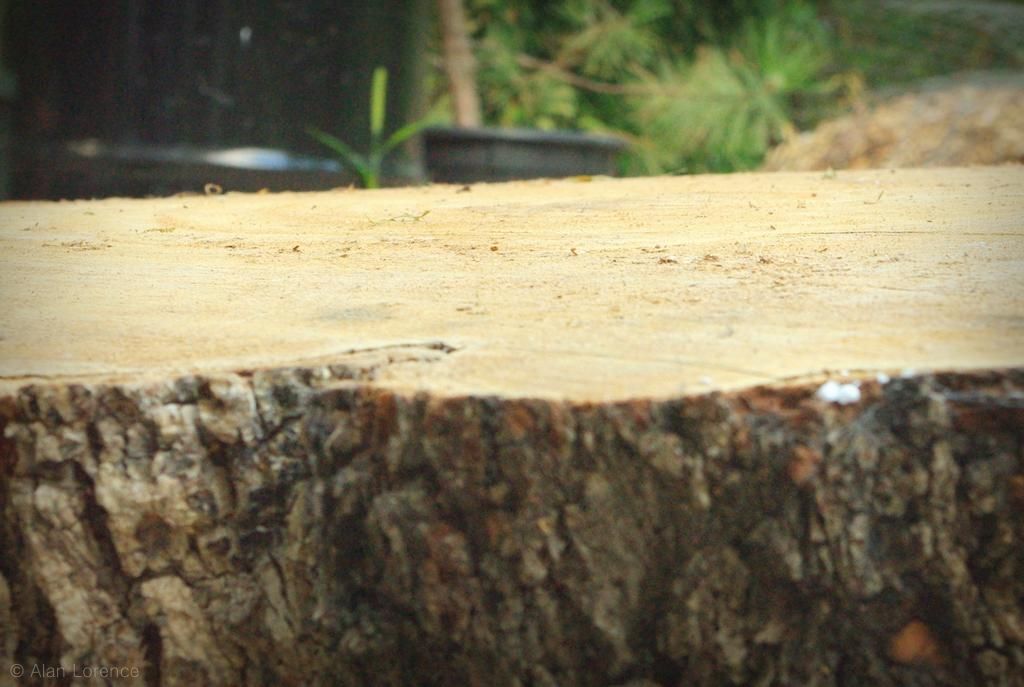
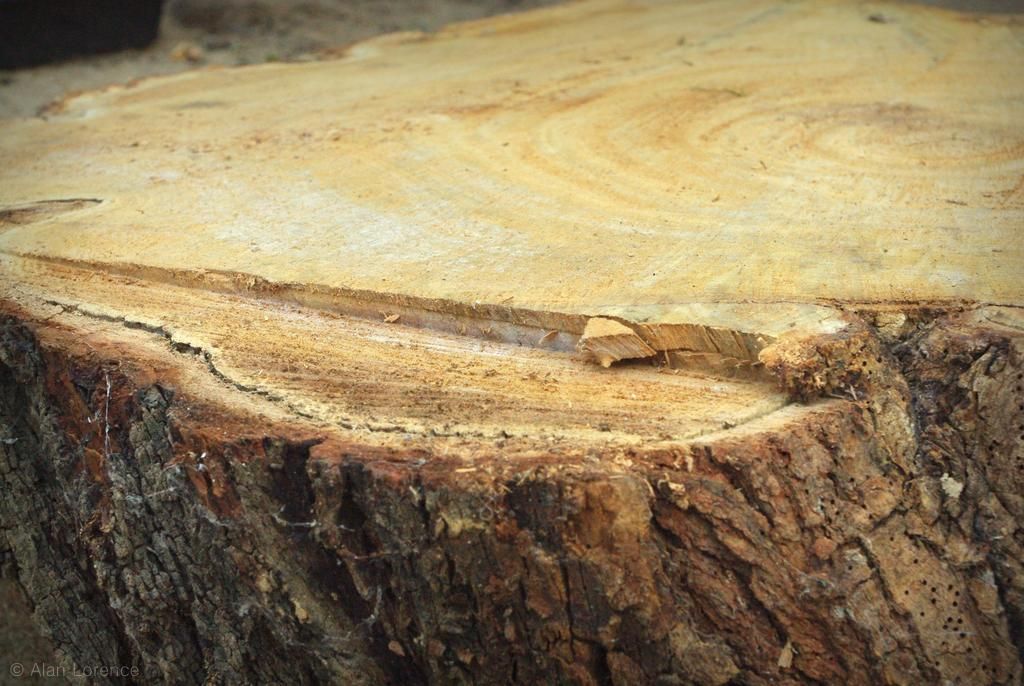
The side that had to be the top wasn't as level as the other side, but had only this minor ridge to be smoothed out:

So the sanding started...

...and went on for quite a while. This was the perfect excuse to buy a new tool though (a belt sander), but since chainsaws do not really leave a smooth surface this took quite a long time.

The tips of the spikes were sanded down too:
The top was looking really nice!

The sides weren't bad either:
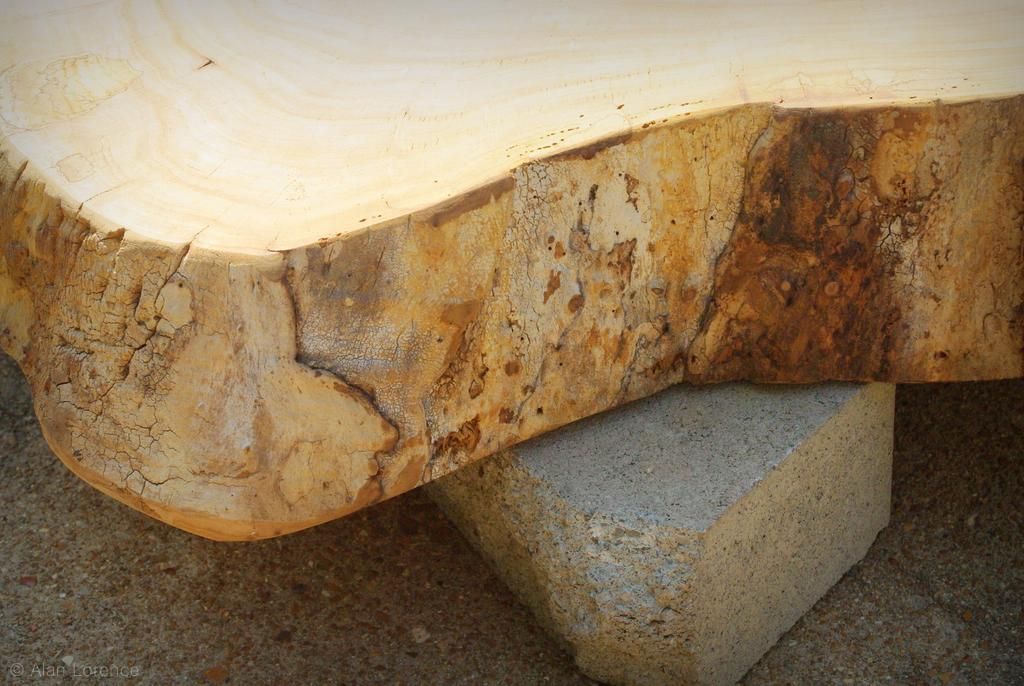
With the surface smooth and the sides cleaned up, it was time to tackle the legs. The problem here is that this was not an even slab of wood: it had more of a wedge shape that sloped in two different directions (it's 7" thick on one side and 4" on the other). I thought that going with three legs would make things simpler, as it can't wobble with only three legs (three points define a plane).
When turned over the legs splayed out at unacceptable angles:

After much thought and even discussing it with my neighbor, I decided that I could make a template and use my router to cut a flat spot for each leg.

Basically I made the template level with the floor, then ran my router around it. The bit would barely remove any wood on the one side, but would take off about 1/2 inch (13mm) on the deeper side. The resulting circles were flat and level with the top of the table, which was facedown on the floor.
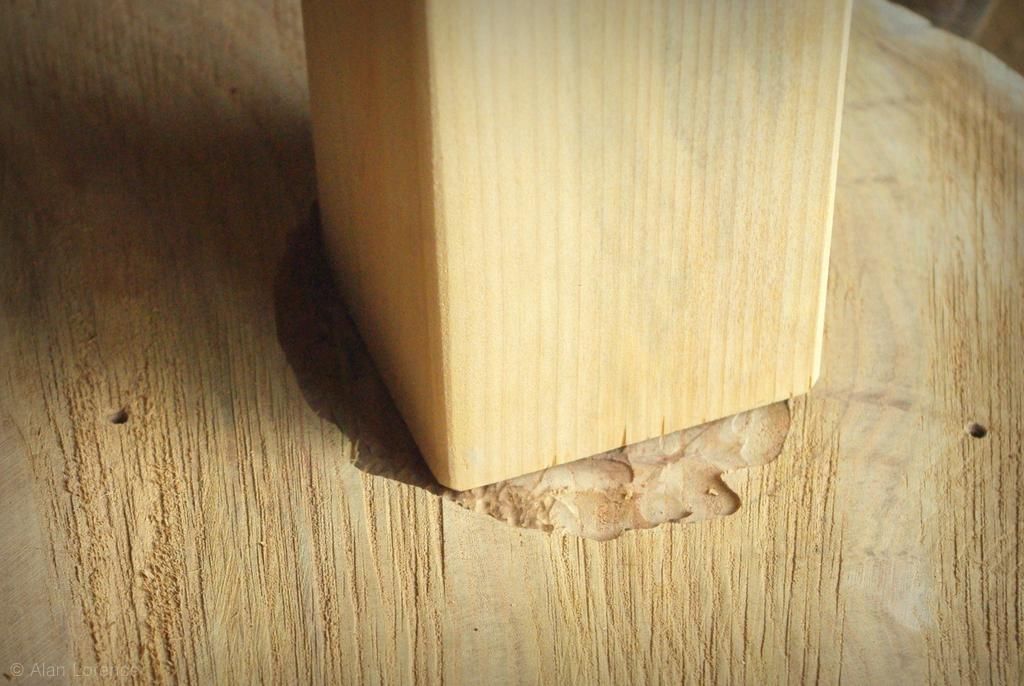
The first one came out kind of ugly, but I changed router bits and did much better on the other two.
Ah, nice and straight now!

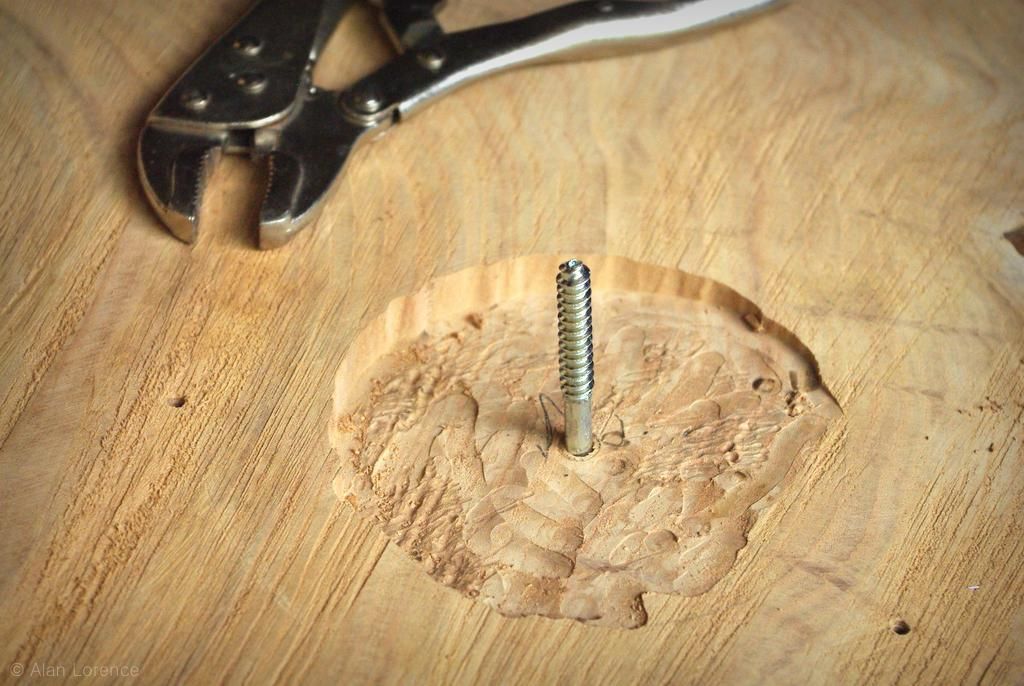
A dowel screw (with threads on both ends) would attach each leg:
Once the table was flipped over, I realized two things. First, that with three legs it was possible to lean on the edge of the table and tip it -- not good! Second, I did not like the way it looked with three legs -- it looked strange. (Planting in threes may look better, but four is the number for furniture!)
The thought of having to cut four new circles sapped my energy, so I let the project sit for a few days before jumping back in.

Four legs looked much better, although I had to remove a little from one of the legs to stop the table from rocking. It was a bit tedious to unscrew the leg, cut it, screw it back on, then repeat a couple of times until it was right, but the end result was worth it.
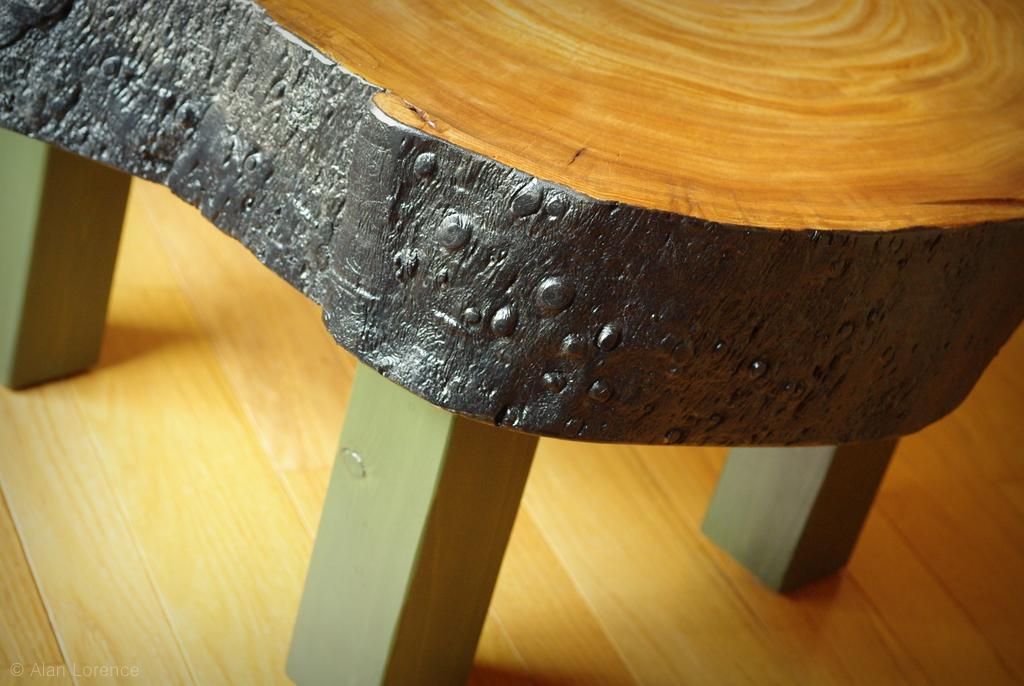
So the surface was smooth and clean, the legs were good -- all that was left was to stain and protect!
From the start I knew that I wanted to get a bit bold with the colors for this, and although I had a moment of doubt when I first applied the black (and a second one when I put the first coat of green on the legs), I'm quite happy with the final result:


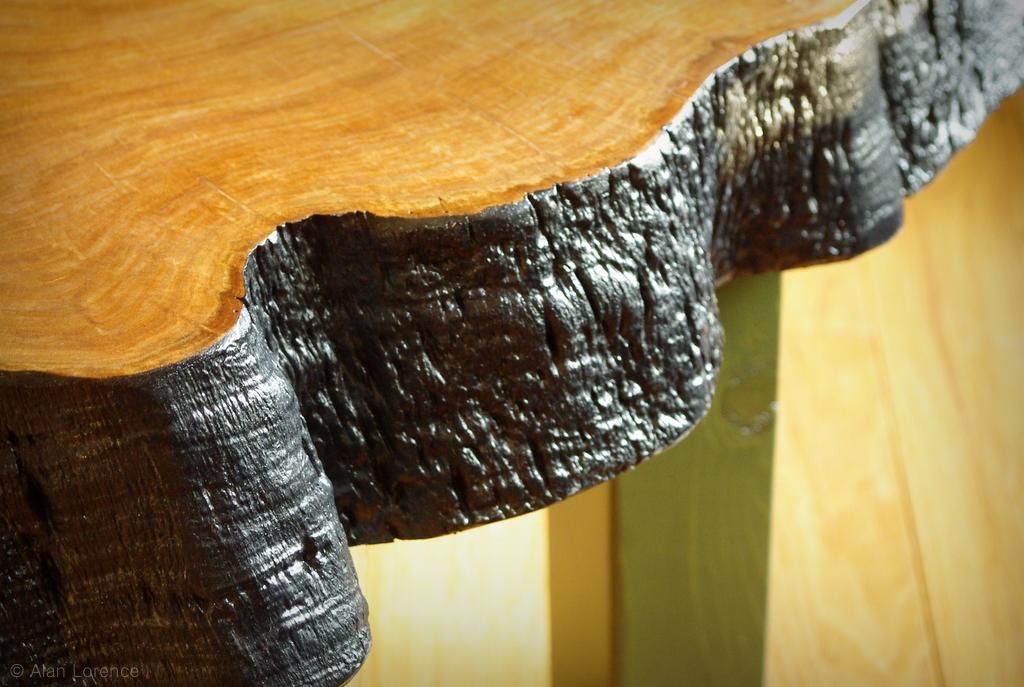
The surface is quite smooth, but not perfectly so:

I love the small imperfections, the natural detail that only a "raw" piece of wood has...


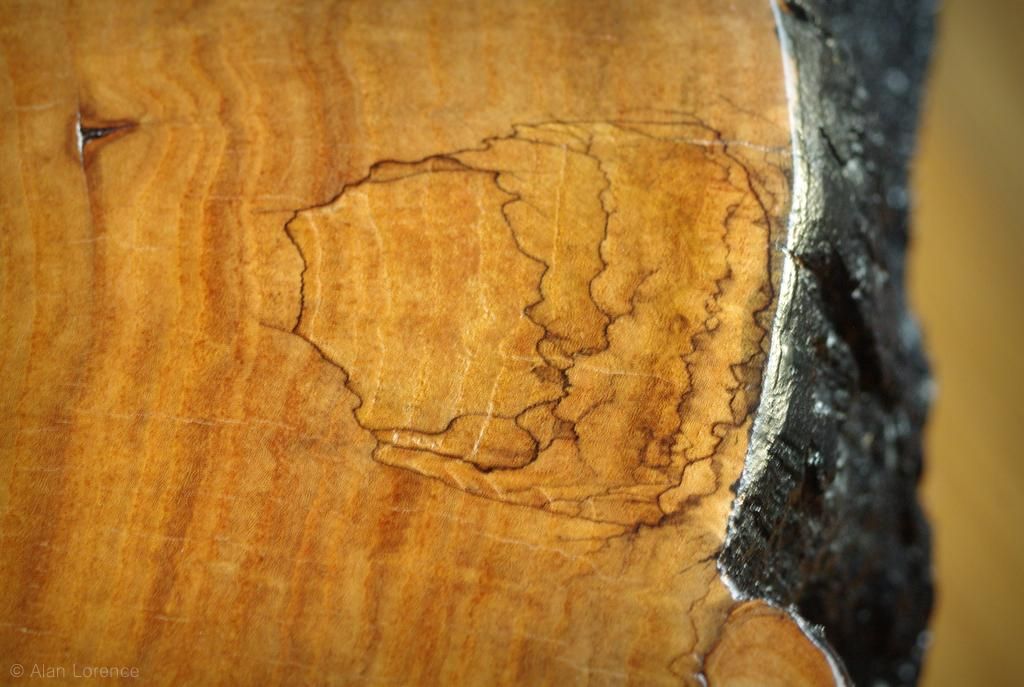
 |
| I wish the wood filler took stain better, or that I had used a dark-colored filler instead. |
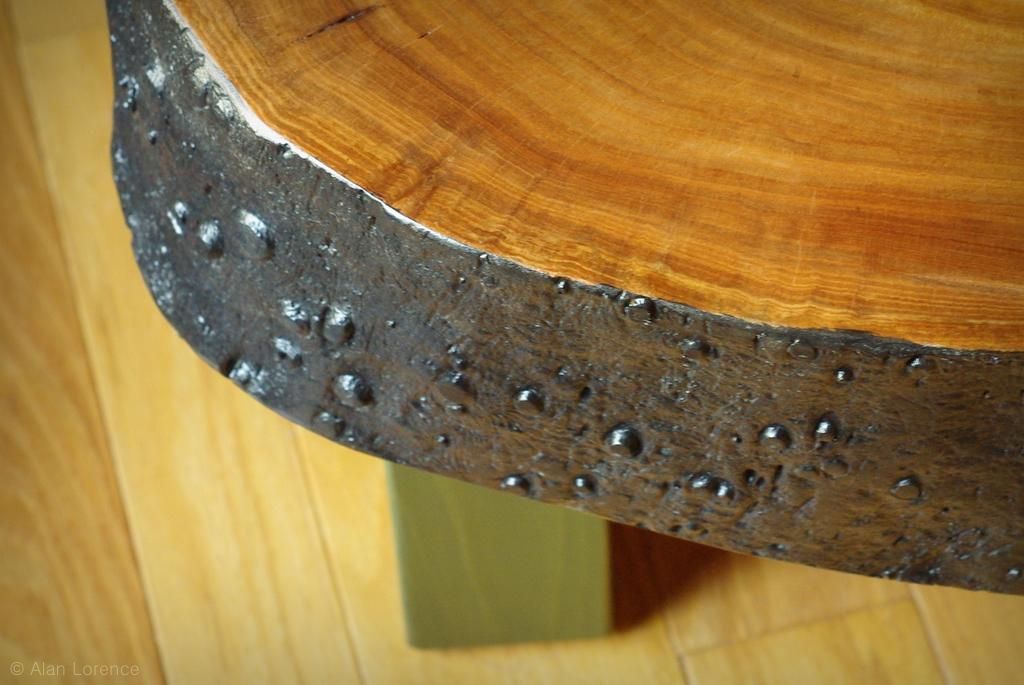
I'm quite pleased with how this turned out, and it is the most solid surface in the house. I suppose a granite countertop would feel similarly solid, but setting a glass, game controller, or remote down on this thing is so satisfying!
So it's not going into the garden, but has brought more of nature indoors, and that's a good thing!
Does anybody know what type of tree this was? Maybe the spikes under the bark are an identifying feature...
.


You can come to my house and make furniture any time! The end result is beautiful.
Wow Alan, fantastic work there, it looks great and a fine individual piece of furniture!
I don't know anything about what it was but what you turned it into is beautiful. You can be quite proud of your efforts. Nothing like bringing something in that is natural.
You are a man of many talents, Alan! Your table is very handsome.
I wasn't entirely on board with the square legs until you showed the finished table, fabulous! The black edge looks burnt to me (which is nice) and the green is just perfection.
Beautiful and functional what more could you ask for. I like the contrast of the dark edge and the green legs are a bit of fun! Love nature inside : )
Thank you everybody!
Loree: I never thought about other shapes for the legs -- were you thinking "round"? That would have looked good, but would have been harder to find or make, or would have been much more expensive. Would have been easier to tighten though -- the square ones need to align with each other, so you can only stop at 1/4 turn increments. If it's too loose another 1/4 turn might make it very tight.
I also never thought about anything but a dark edge (to hide some of the messiness), and how much darker than black could I go? (None. None more black.) :)
I also failed to mention that the green matches another piece of furniture I made that's in the same room.
Gorgeous!