Bench project #2: build it!
Recently I did a simple bench project in which I just sprayed a clear coat finish over a metal bench I bought this winter. Since one of my goals for this summer was to add more seating to my garden, that was a step in the right direction. It wasn't overly satisfying though, because I like designing and building things, and there was none of that involved with that project.
So with a couple of days off after the holiday last week, I built another bench. Nothing fancy, but I like the end result and hope you will too.
***
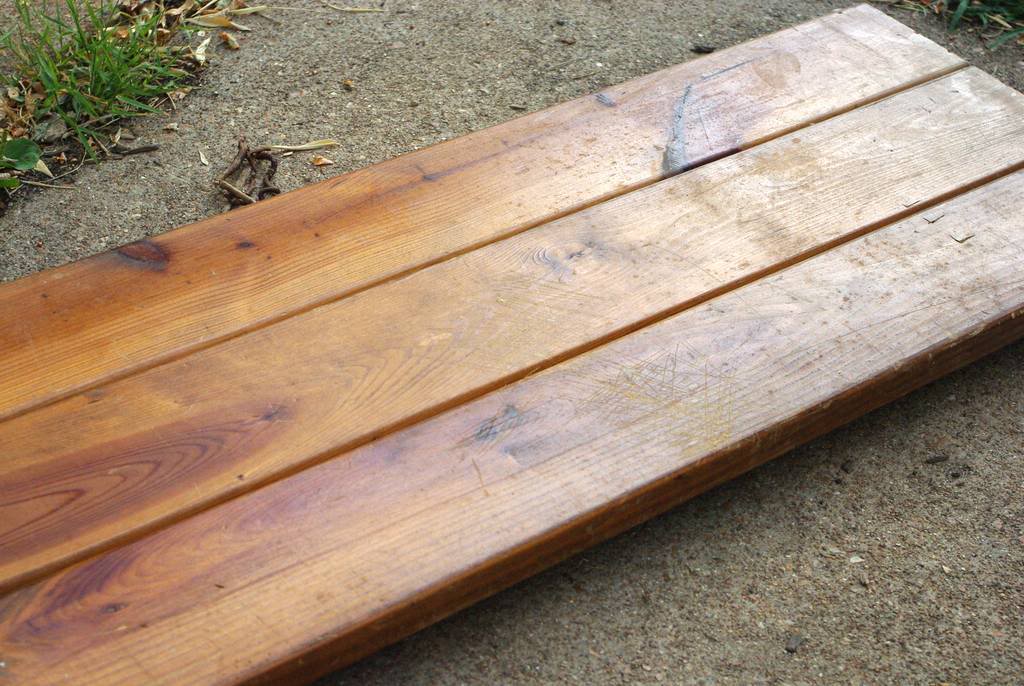
I started with some reclaimed wood, which is how I start a lot of my projects. Several years ago an old, chunky dresser was relegated to the garage. This was not a high-quality piece of furniture, as the drawer slides were quite cheap, but the wood was solid:
I dismantled the dresser last fall when I cleaned the garage, and when the sides of the unit came off in one piece I immediately thought "I can make benches out of these", and that has been in the back of my mind ever since.

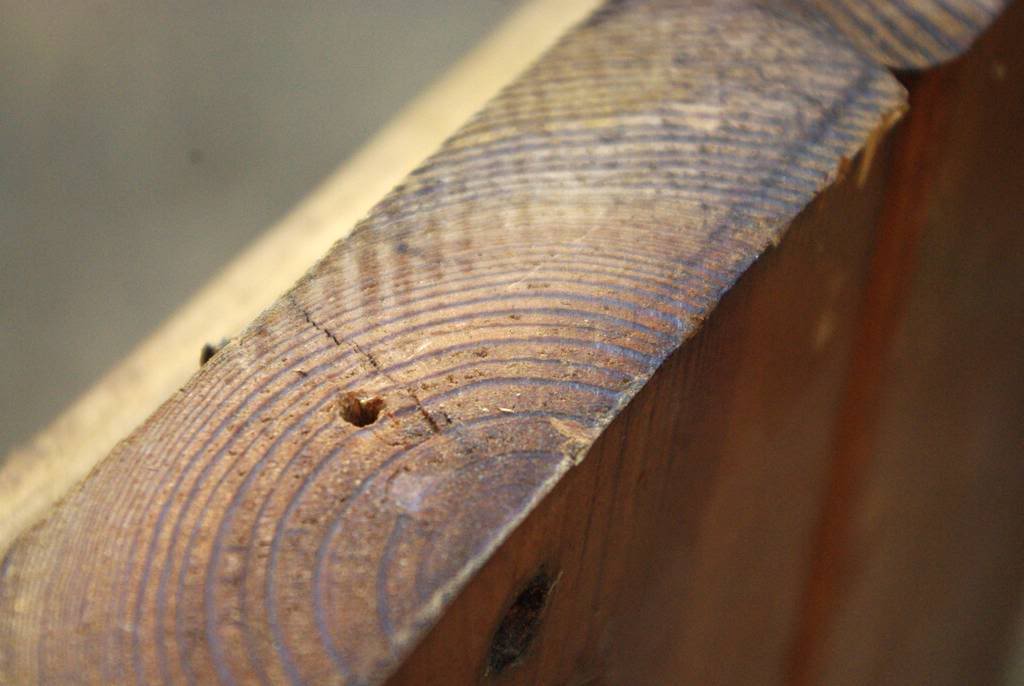
Step one is to sand the existing finish off:

Not too difficult, although a belt sander would have made this step even easier.

I decided I would use a type of cinder block as the base for the bench, so took an initial look:

There are a couple of problems with this. First, the seat is too thin compared to the thick and solid supports -- the proportions are not right to my eye.
Second, the boards that tie the planks together are visible:

The easy solution is to create a border around the edge of the seat to thicken it up and hide the ugly parts. For this I cut some other reclaimed furniture into useable lumber:

I'll discard the curvy part (save it for future use) and use the rest to frame the seat:

The other end has a support in the way, so I had to remove it:

No big deal, as the end board I'll be adding will take its place.
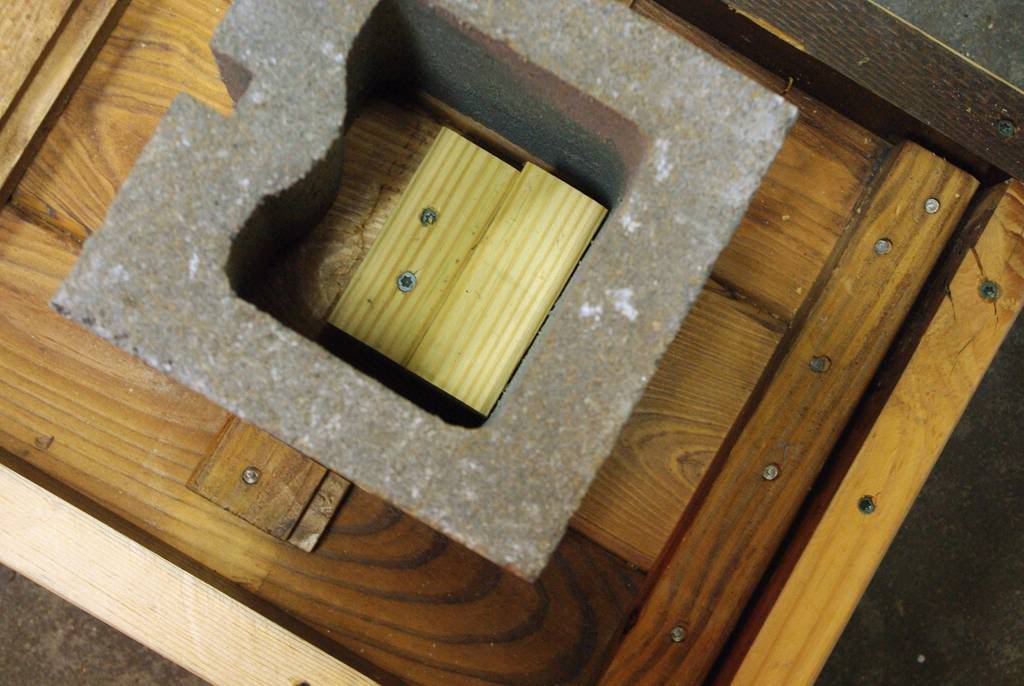
The next step is to figure out how to connect the seat to the cinder block supports. Since the blocks are hollow...
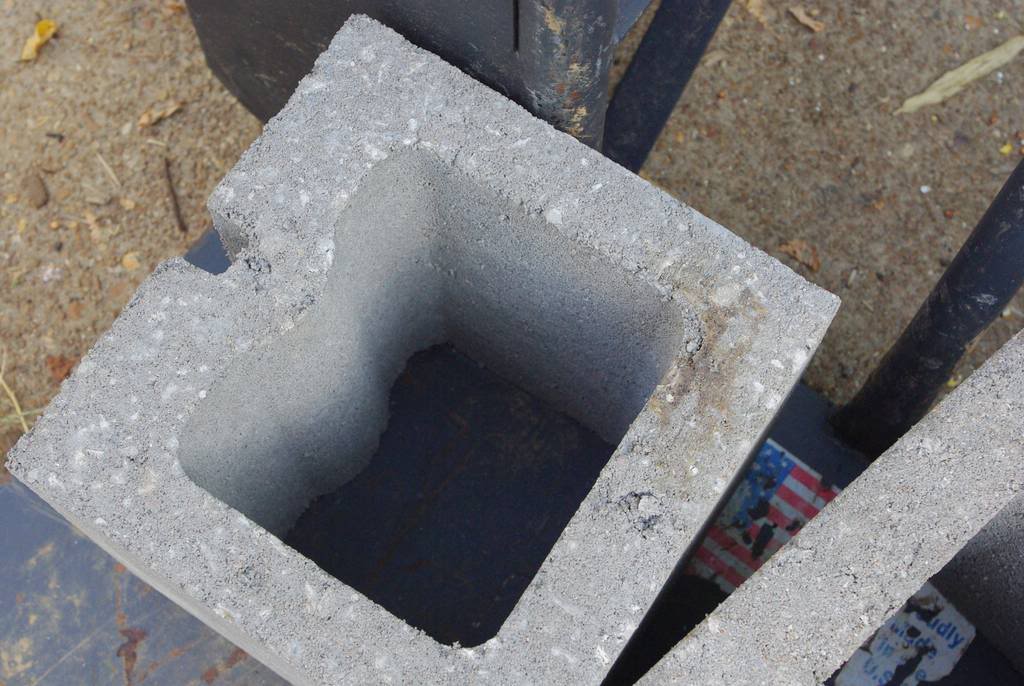
...my thought was to attach a block to the bottom of the seat which would fit into the hole, and I could then screw through them both. As you can see I also cut away part of the cross supports where they were in the way.

This was the most difficult part of the project, as I had to cut a few different sized pieces before I got them attached solidly. It would have been easier if I had a wider variety of screw lengths to choose from, as I couldn't have the screw points come up through the wood of the seat.
In any case, this seems like it will work pretty well, so the construction is now finished!


It looks much better with the "heavier" seat on top of the blocks, doesn't it?
Now, how to finish this... paint? No, I hate painting nice wood. Leave it natural, with just a clear coat of spar urethane (for outdoor applications)? Not bad, but I think I want this bench to add a bit of color to the garden, so I decided to stain before coating with the spar urethane.
I like water-based wood stains, as I can get them in a huge variety of colors, and for this bench I chose red:

It's actually Minwax "China Red", and seems to have a bit of orange in it. I was hoping for more of a brick red color, but this is quite nice. I used semi-gloss spar urethane to waterproof.


The bench is just in a temporary spot on the driveway right now, but I hope to find a permanent spot out in the garden for it soon. This is not a pick-up-and-move-it-around-on-a-whim type of bench, so I need to choose location carefully.
So that's two benches done, two benches looking for permanent spots in the garden.
I have one more of these to make -- the dresser had two sides remember -- but I'll hold off on that project until I see how installing this one goes. Changes may be needed.
But I'm pretty happy with how it turned out!
(I'll post about the installation process next week -- I'll site this over the weekend I hope.)
.


VERY NICE! I think the bench looks great in front of bamboo, like in your driveway, so you should find a similar spot in your garden.
Very cool...and I actually LOVE that color!
An elegant result with simple and reclaimed materials. Love the color, might try something like that here.
wow that is so lovely, i love a bench like that too!
I love the colour you used - it looks fabulous against the green of the bamboo and other plants and the yellow bamboo stems. Very, very nice.
I like it! I've been looking for a bench for my garden, maybe I'll follow your example and make one from wood and cinderblock... And I love that color.
totally awesome! may steal your idea and use my bro-in-laws tools to make one myself!
I love your bench and I like this color too.I might be inclined to paint the blocks some contrasting color. Maybe a darker shade of the one you have used. DO you have some special power tools or did you use the circular saw I saw in the background? Would love my H to make one for me and we have the blocks already.
Jenny: I used two power tools mainly for this: a cutoff saw, and a table saw. The table saw to "rip" the boards to the correct size lengthwise, and the cutoff saw to cut them to length.