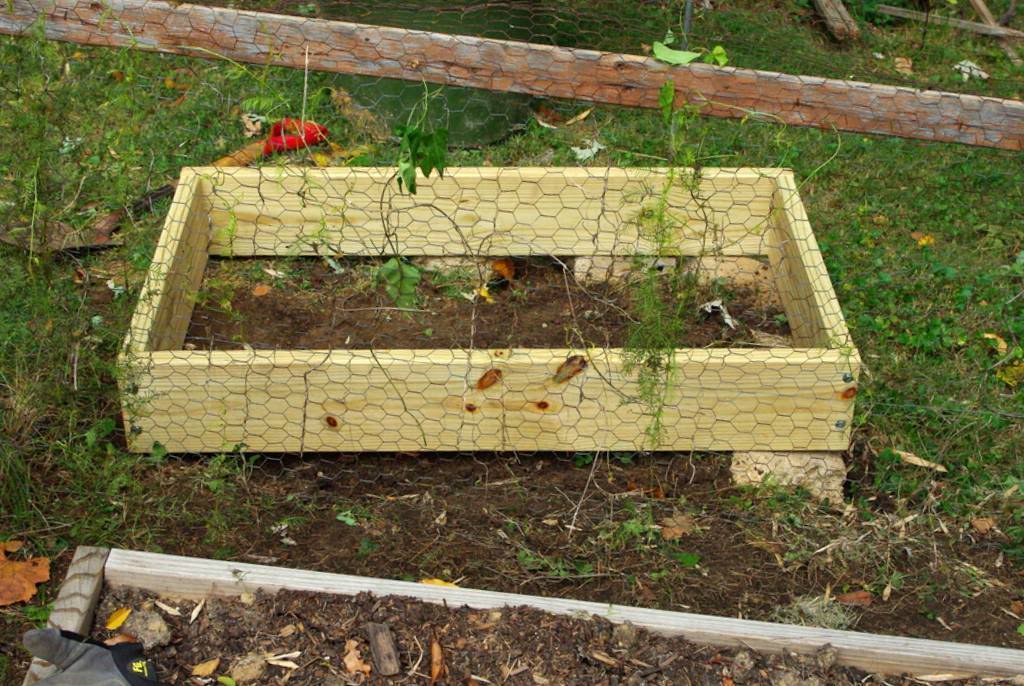
Another bamboo planter box
In yesterday's post I moved the back wall of my veggie garden fence to give me a bit more room between the fence and the property line.

Today I make use of that extra space to build a new planting box! Let's jump right in.
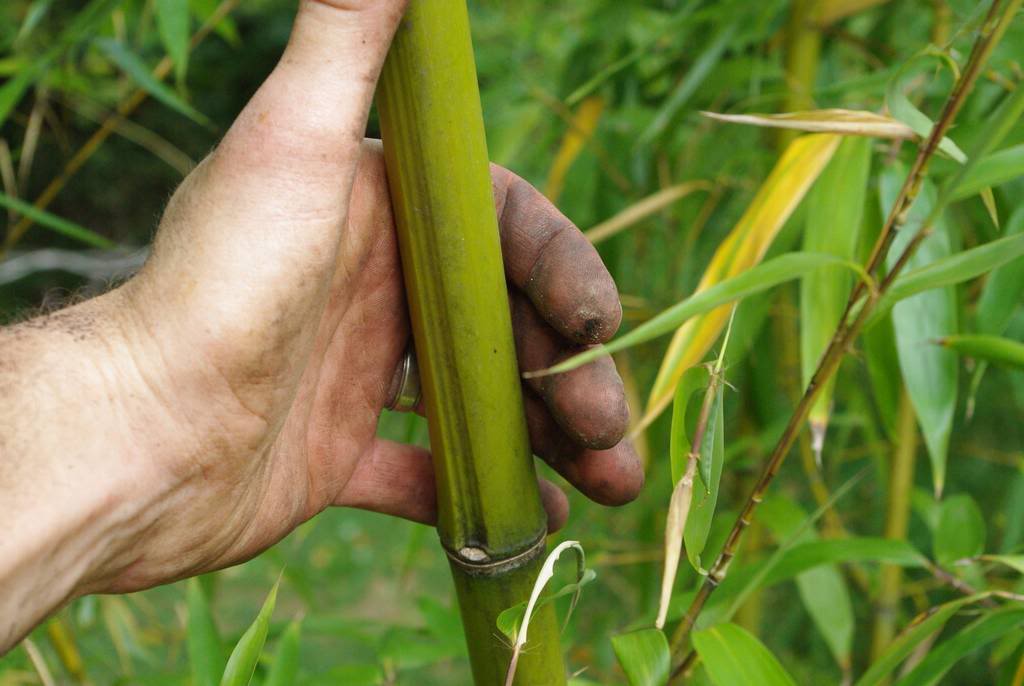
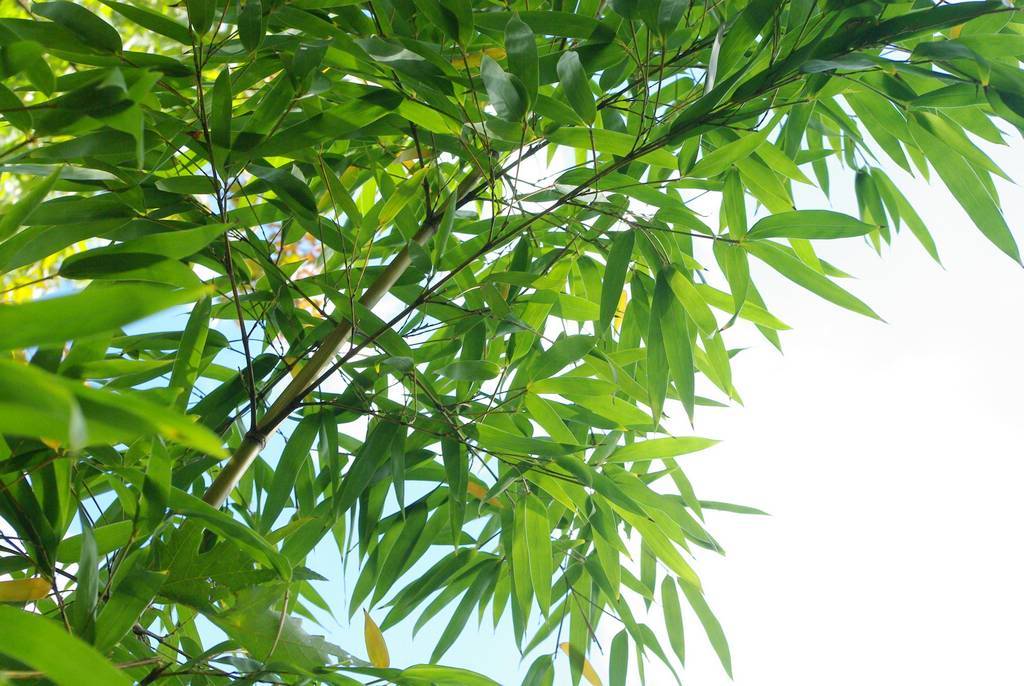
This will be another of my bamboo planter boxes, which I build as temporary (or semi-permanent) homes for my larger bamboos that have outgrown their pots. Here's the bamboo I'll be planting, a big Phyllostachys dulcis:
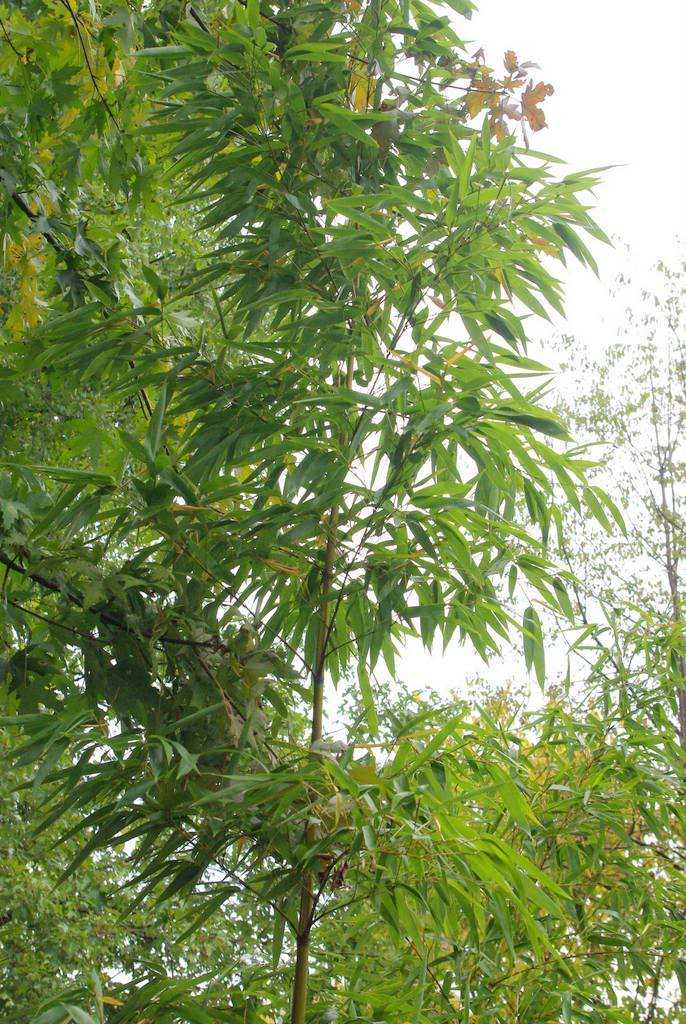
This species is fairly cold-hardy but it's not bulletproof in our climate (unless mild winters are the new norm) so I'm not sure how it will do. It's the bamboo that is most in need of more space though, and I don't have any place to put it into the ground, so into a box it goes.
First I need to create a level patch of ground here:
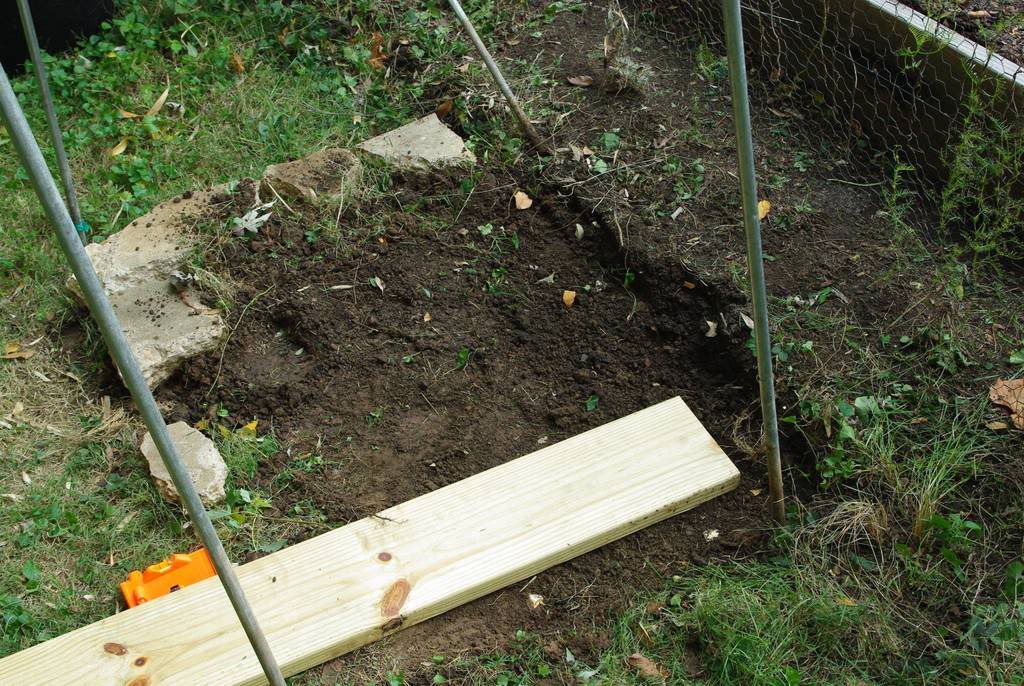
I built one box last year (or was it the year before) and I didn't take care when leveling the ground, and that uneven box aggravates me every time I see it. I still plan on fixing that sometime this year, but it's a job that can easily be put off until next year if needed.
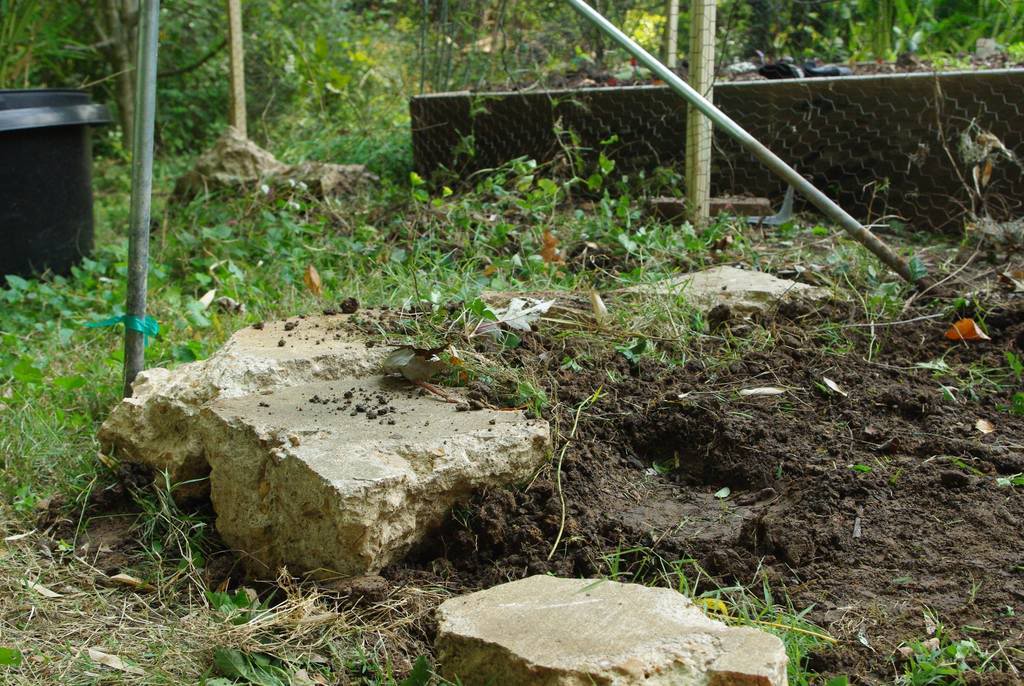
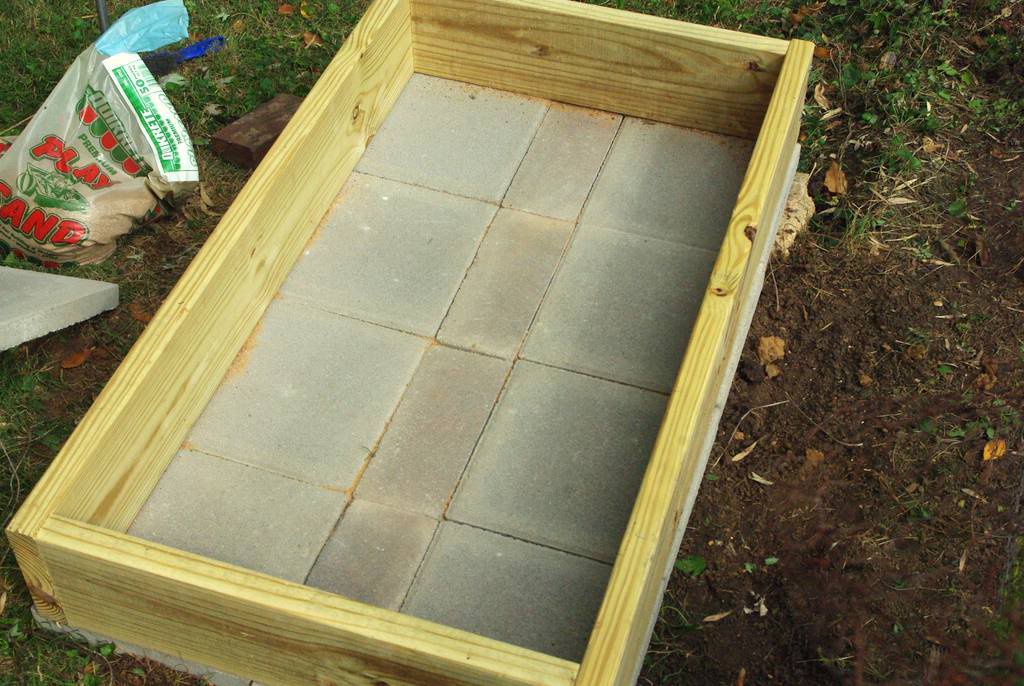
I used some old concrete chunks to create a small retaining wall for the soil:
Then built one section of the box to check for levelness:
 |
| The box is level, but doesn't look it when you see the angle of the fence |
Once I got it pretty good (doesn't have to be perfect) I packed the soil in:
I then removed the box frame, added sand, placed the base stones and put the frame back:
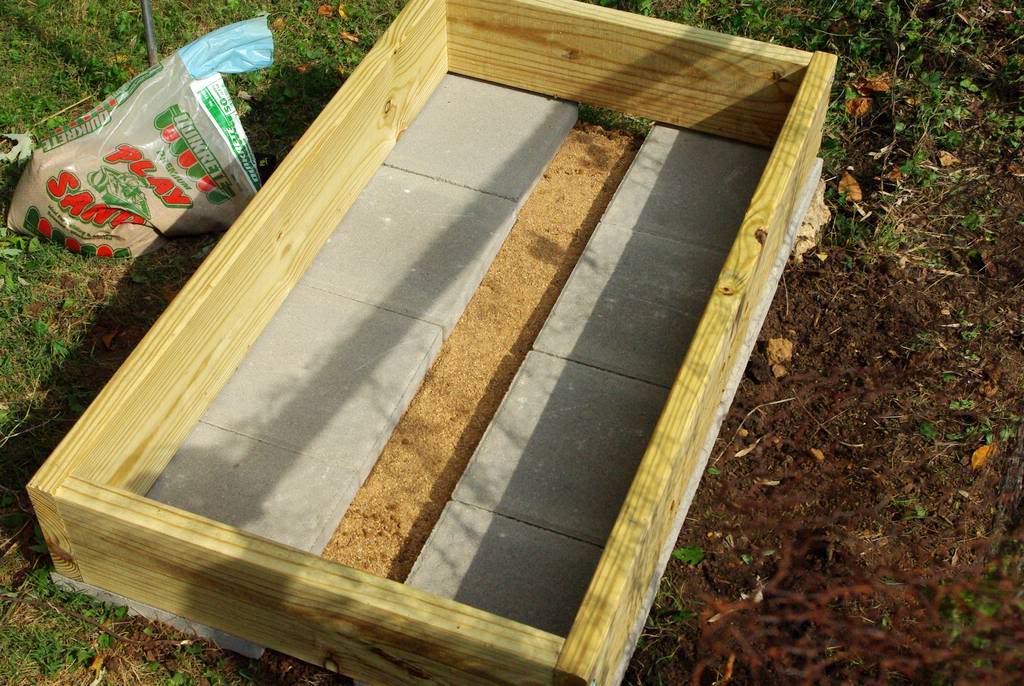
These concrete pavers are the key to these boxes -- I don't want the bamboo rhizomes to escape. As you can see, the width of the box was not an even multiple of 12", the size of the pavers. So I had to use the circular saw with the stone-cutting blade (the same one I used on the walkway stones) to cut some filler pieces:
Then some landscape block adhesive:
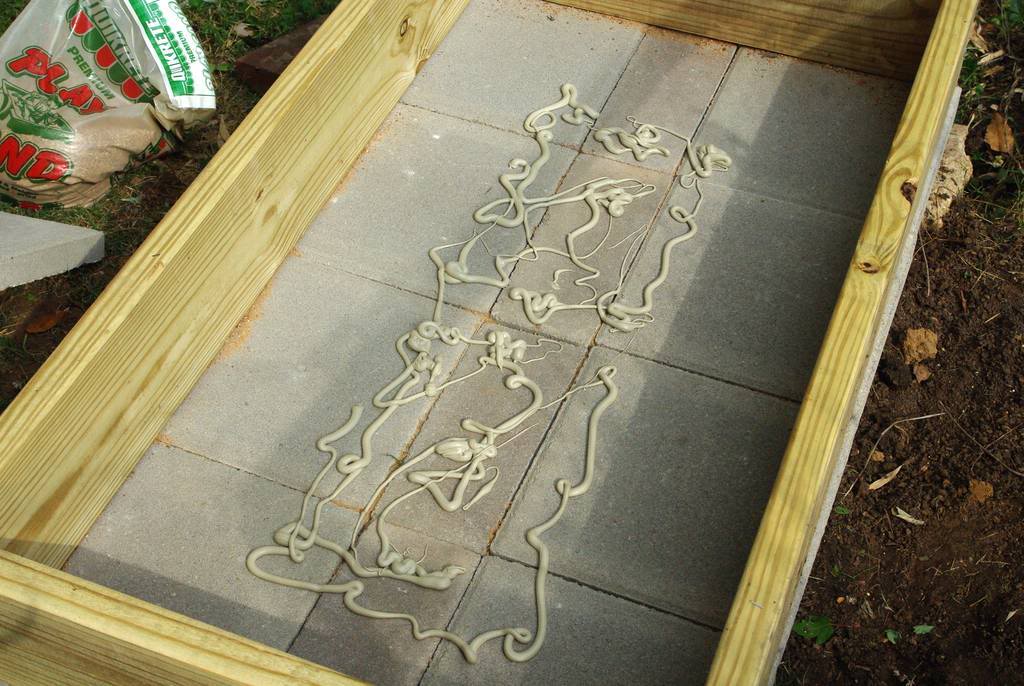
And a second layer of pavers to tie things together:
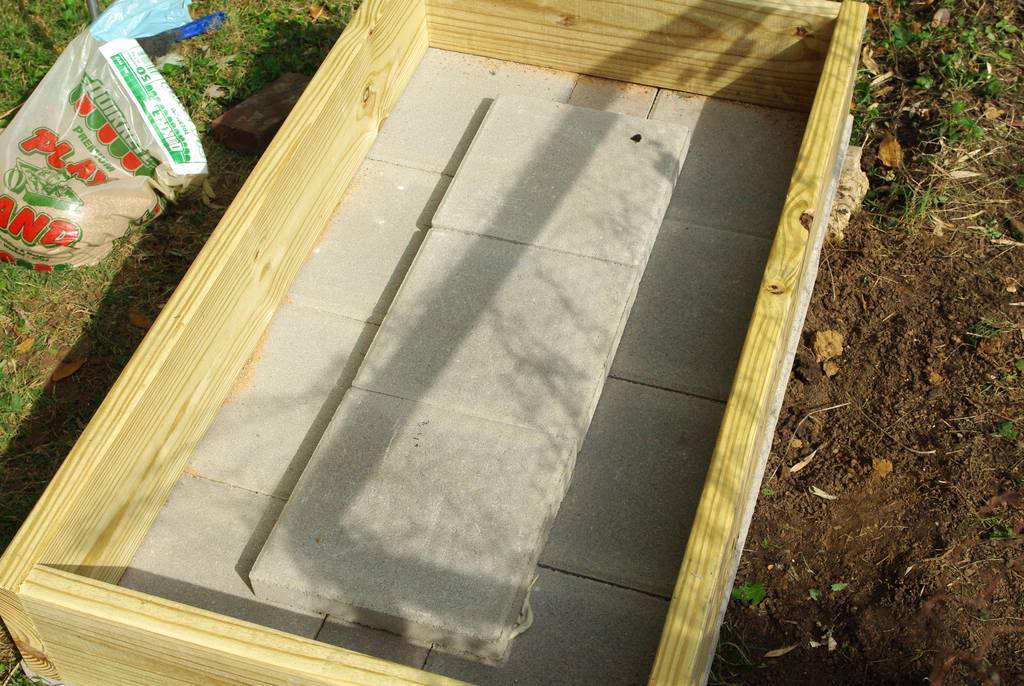
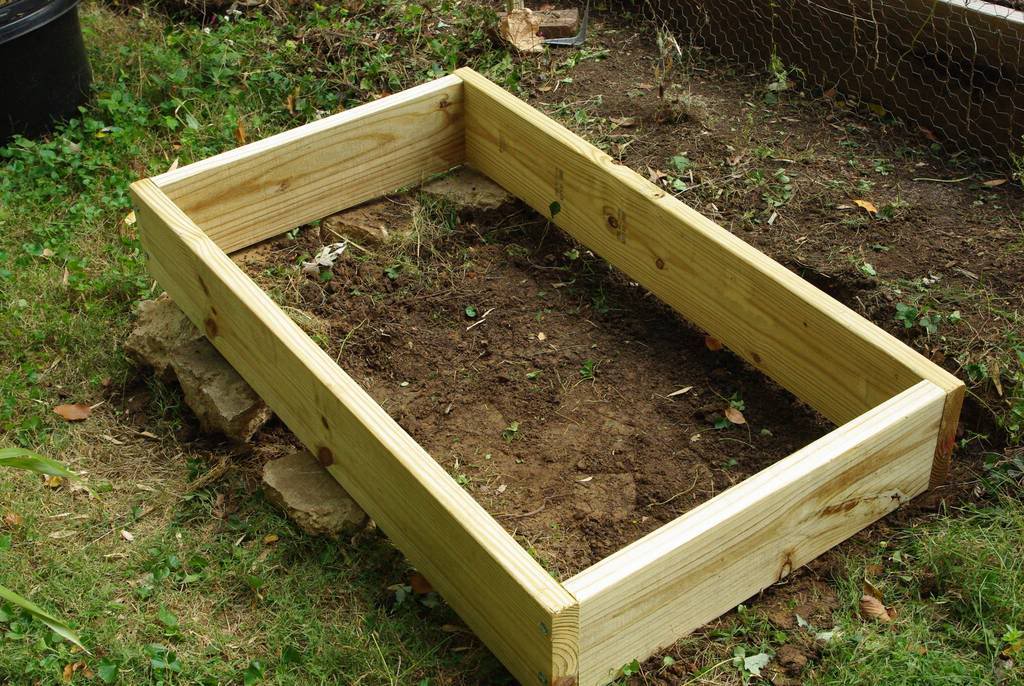
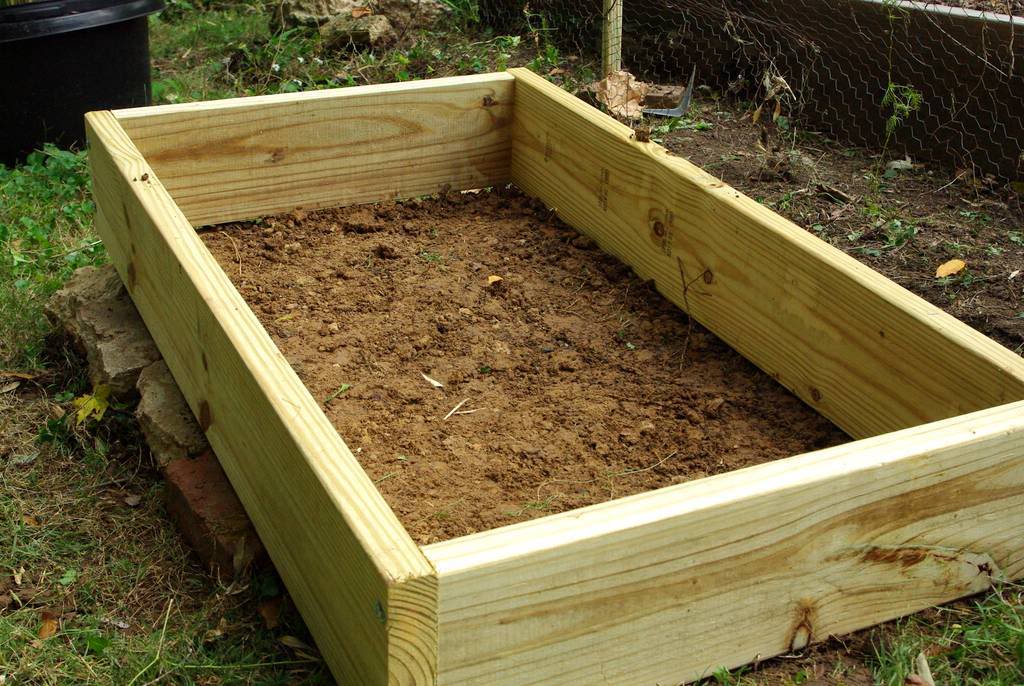
Then I built the two remaining sections of the box and stacked them all up. I build them on the driveway and carry them down here, as it's easier to assemble on the flat concrete of the driveway. I also added some supports to tie the three sections together, and that was it for Saturday:
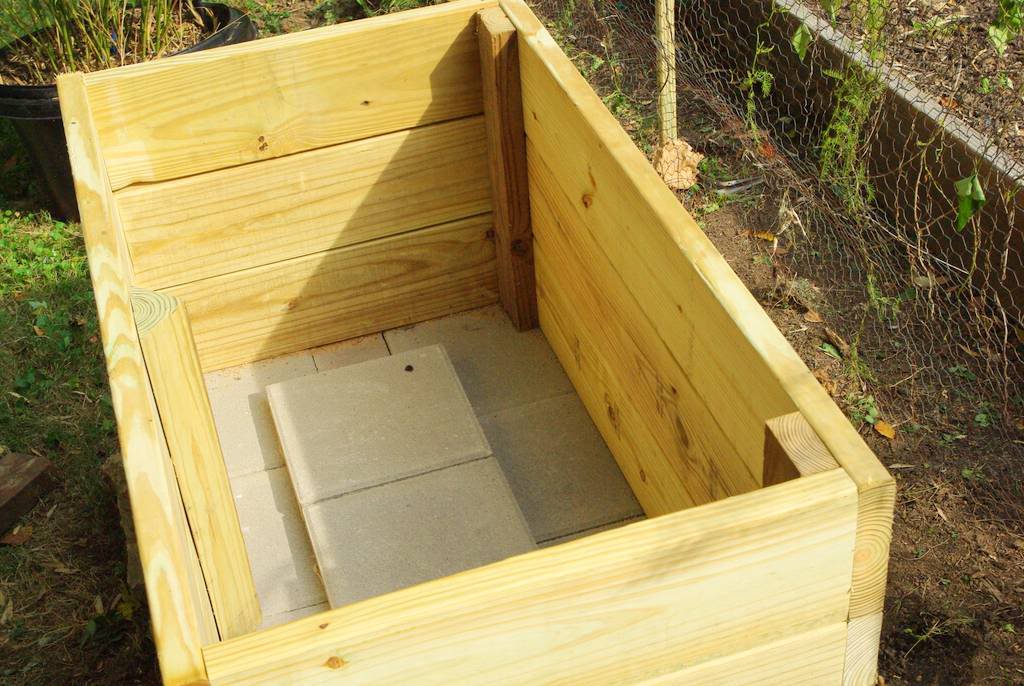
That triangular support on the left side was a piece I had left over from a box build a few years ago, where I cut the corner posts diagonally like that to fill the corners -- a way to help the rhizomes from getting "stuck" in where the two sides came together. I don't know if it actually worked and it was quite difficult to cut the triangular pieces, so I stopped doing it. In this case though it's a great way to "deflect" rhizomes back into the center of the box, instead of just letting them wrap around the outside edges.
Sunday morning I awoke to a vey wet and extremely windy day. There were times when I was certain that at least part of a tree was going to fall on me as I worked. Still, work on the project continued:
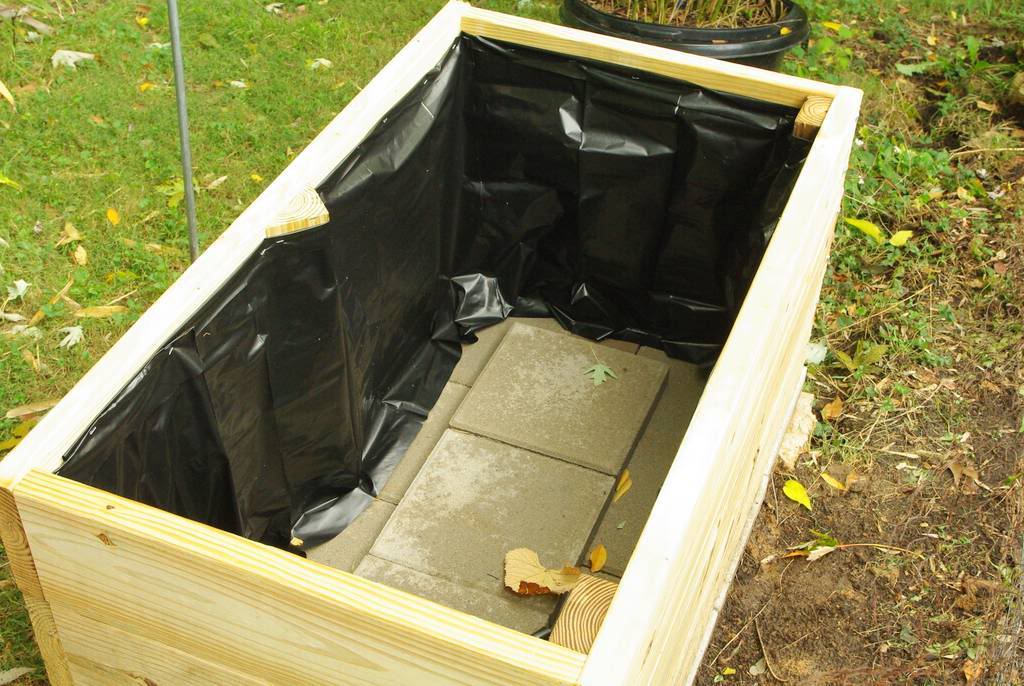
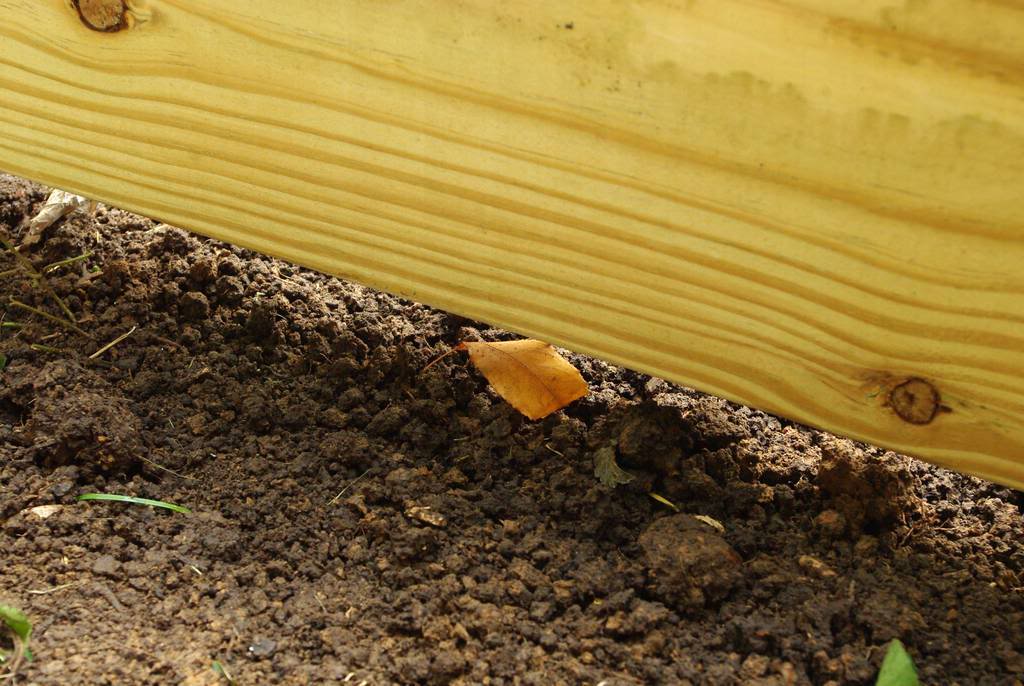
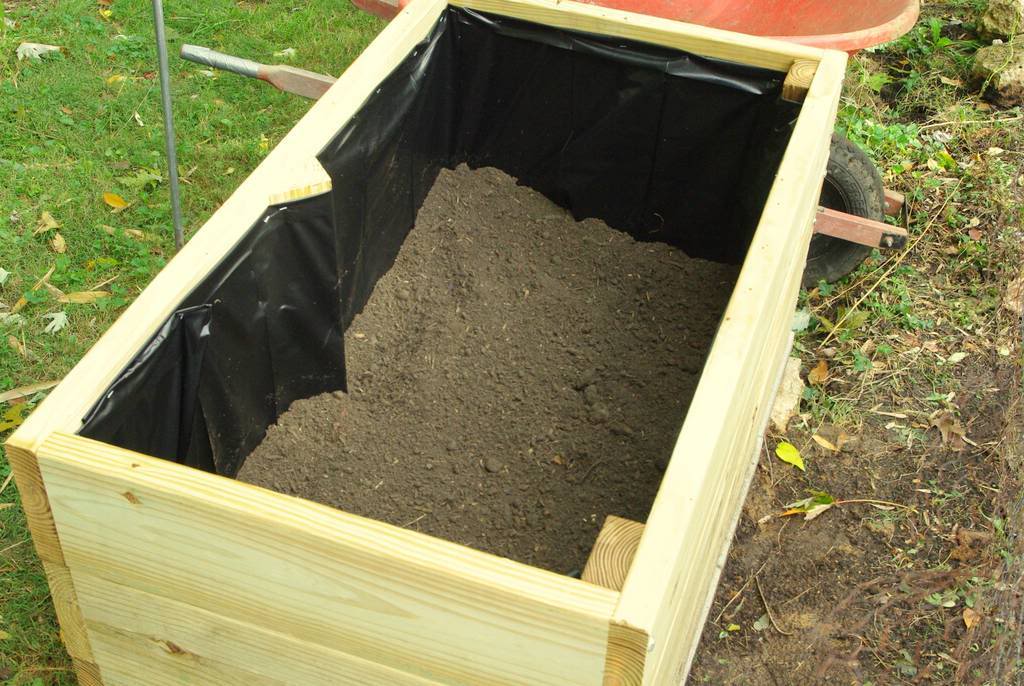
I add plastic to give the wood a bit more protection from soil contact. If it can give me another year or two of rot-free wood, I'll be happy.
I should point out that as the morning progressed the wind died down a little bit and the sun came out, but conditions were changing so quickly I wasn't sure what was going to happen. Would it rain? Would it be cloudy? Will it clear up and stay sunny? Here's an example:
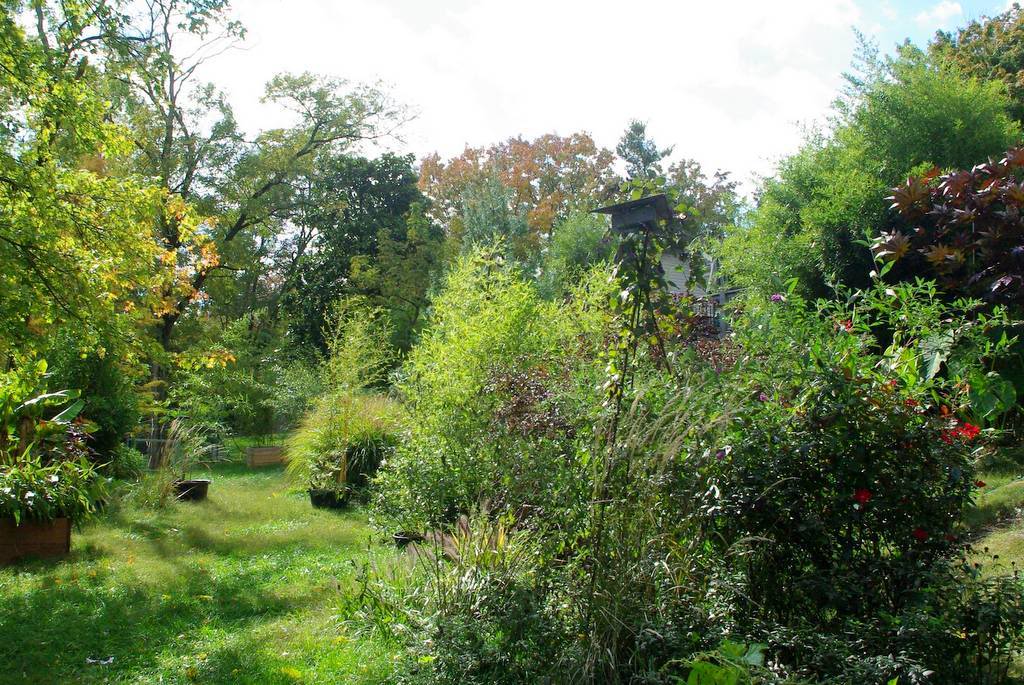
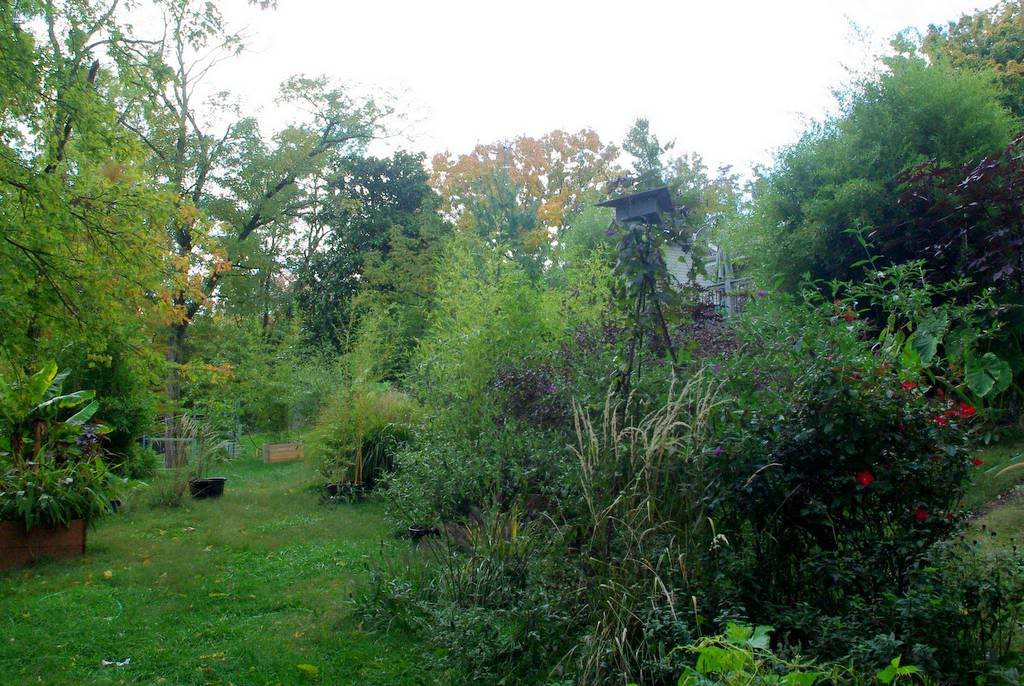
All three of those photos were taken less than a minute apart. I stopped trying to wait for the "right" lighting for each photo and just snapped and hoped for the best.
Back to the project -- some bagged topsoil went in:
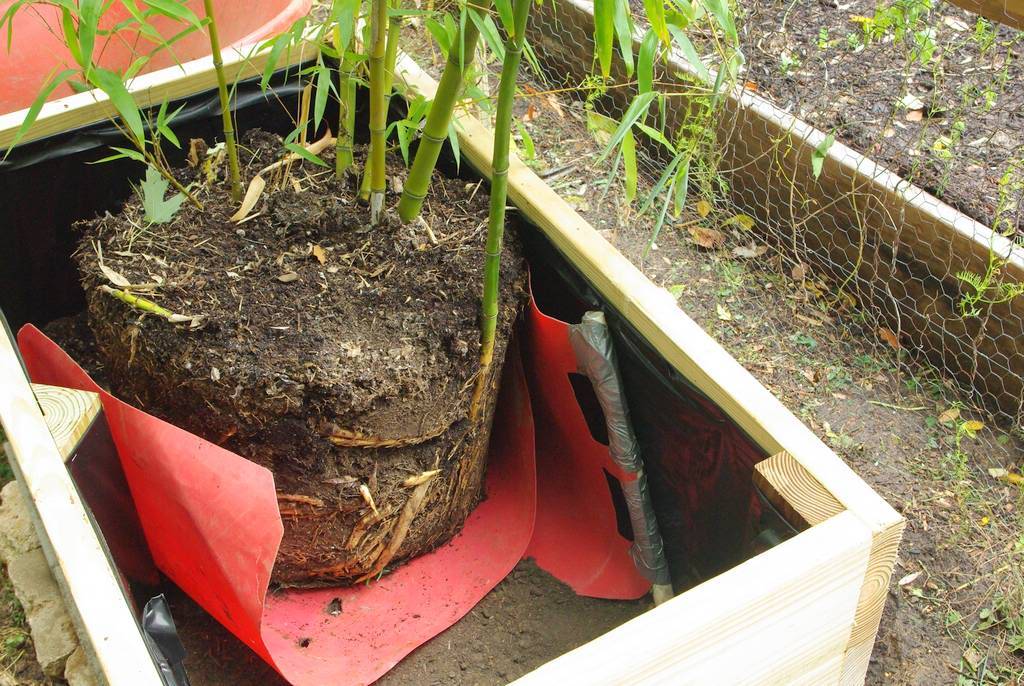
I tried using some of my extra native soil, but it was too wet and sticky from the night's rains. Once I had the soil level built up enough, it was time to get the plant in. It's a big one:
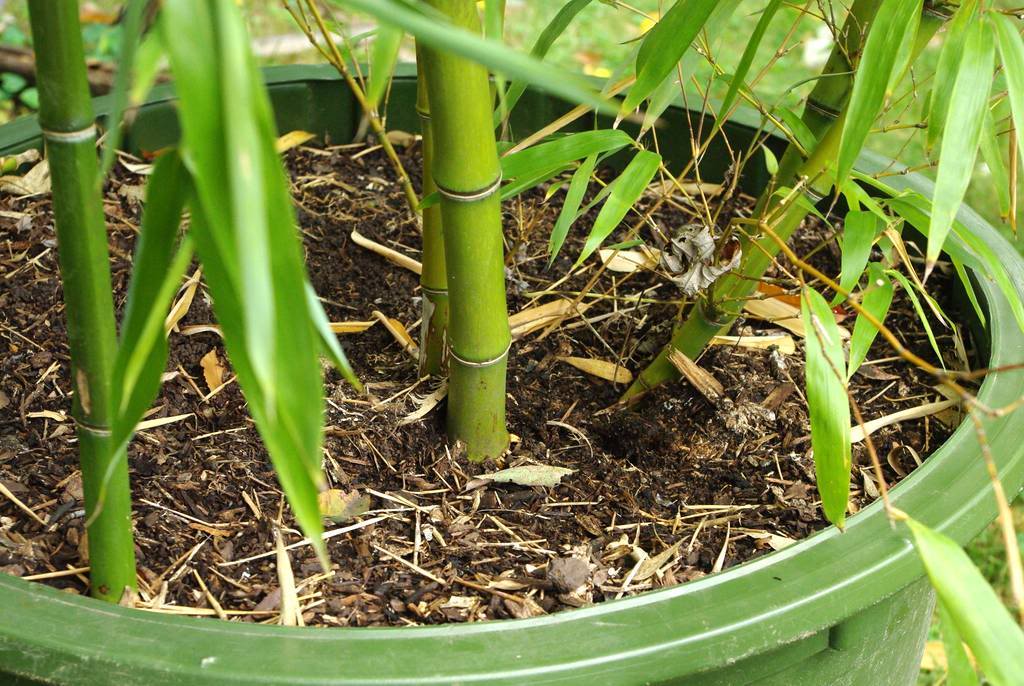
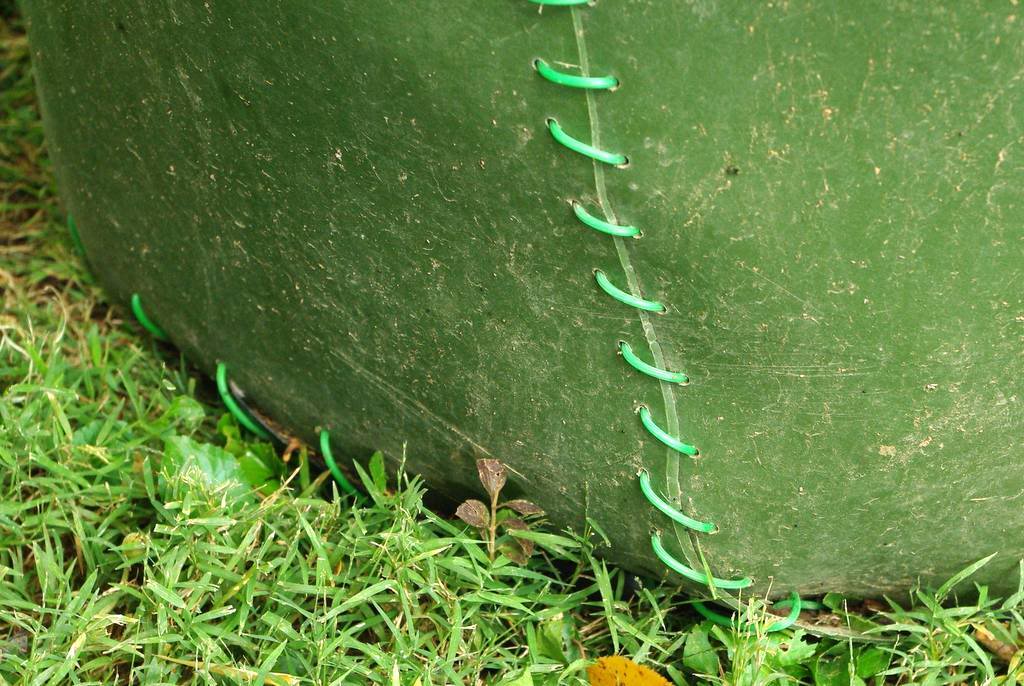
Since this was a pot that I had previously repaired, it was easy enough to open up the stitching to make it easy to get the plant out.

Here's a tip if you repair pots this way: don't cut every loop, unless you really like picking up small scraps of plastic. Make just a few cuts and pull longer sections of the line out -- much less mess.
Here's a tip if you repair pots this way: don't cut every loop, unless you really like picking up small scraps of plastic. Make just a few cuts and pull longer sections of the line out -- much less mess.
As you can see, this guy was really ready to get out of the pot:

What you can't see is that this rootball was very, very heavy. I didn't think I could lift it up and into the box, so I went with plan B: the power of simple machines.
I used a ramp and my trusty pulling sled to much more easily move the rootball:


Once it was up on the edge of the ramp, I grabbed the low end of the board, pushed it out a bit, then lowered the rootball until it fell into the box (by raising the other end of the board):
Then it was just a matter of filling with topsoil, a bit of compost and manure, a few handfuls of fertilizer and the job was done:
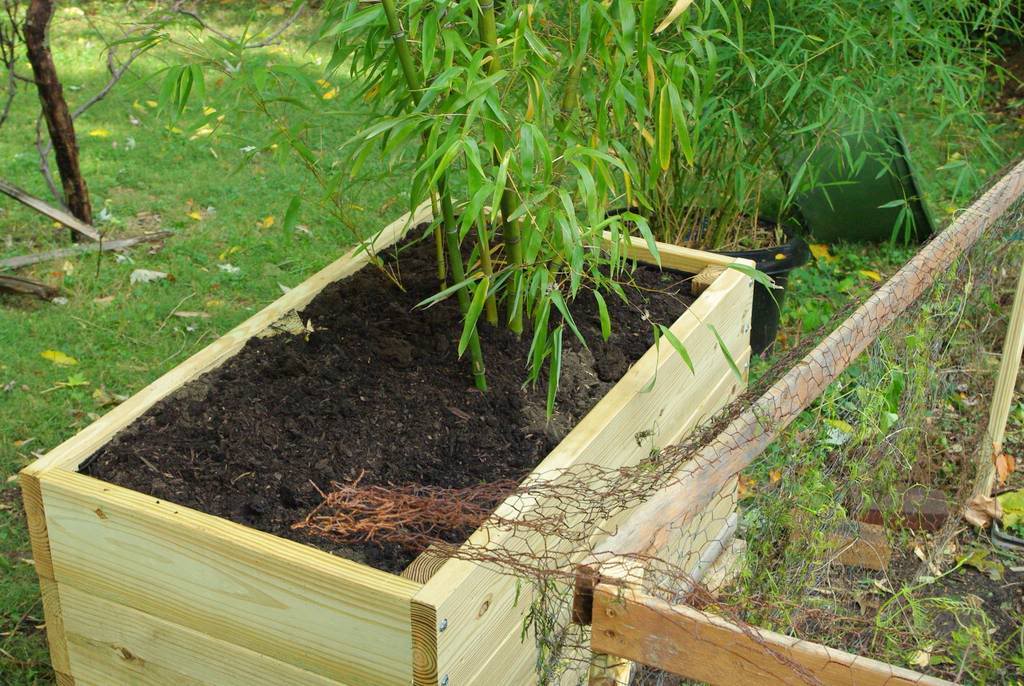
This bamboo is happy now, and we'll see how it does for a couple of years. (It's hard to see in the above photo, but in a few more weeks when the deciduous trees are bare its contribution will be clear.)
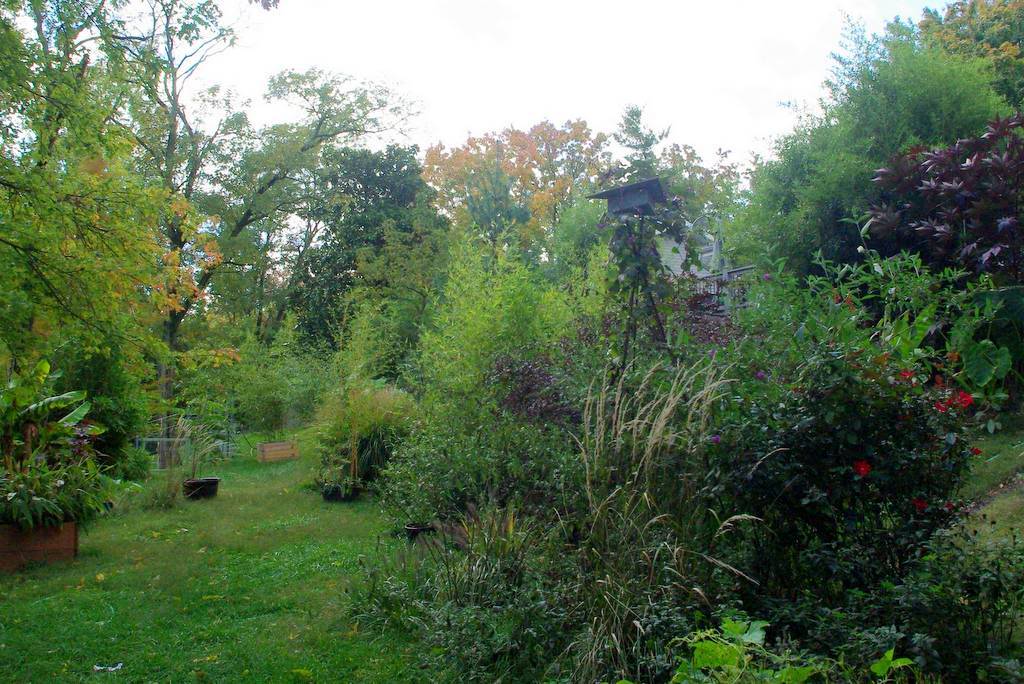
I've often thought that it would be great to have a nice wood fence as a backdrop for the garden, but there aren't too many fences in my neighborhood. This box does a nice job of defining the "edge" of my garden here though, even though it's only 4' long and less than 3' tall.
Never underestimate what a small section of wood (or stone) can add to the garden!
.


Another great project, Alan: I love those planter boxes!
I would definitely like to see how that compares with ground plantings. You probably can't tell its results until the spring of 2014, but if you have a good potting mix in there, I wouldn't be surprised if you got 2 inchers by the year after next year.
Since you're so close to Needmore Bamboo, I'm guessing you probably have S3 too so you could probably try putting that one in the ground to see how it compares with raised bed planting.
Its interesting to see you construct the planter box, but I was just wondering about the drainage part since the whole base is covered with pavers.
I planted a clump of bamboos so that I can use the sturdy ones as stakes for my climbers.
You know I really like the planter box and how you single-handedly got the heavy bamboo in. Will put that into my memory box for future. :-)
Looking good!
Stiletto: water runs out of the cracks between the pavers, as well as between the wood and the pavers. No problems with drainage!
Steve: I wouldn't consider it a "potting mix". It's mostly soil with some organics added.
I was wondering if you can comment on the longevity of the planter box? I just salvaged two really large crates made from heat treated wood. I want to convert it to an outdoor planter, but it will take some work to stain it etc. So, just wondering if it will last long enough. Thanks.
Agnija: honestly I don't know yet. A few years at least, but my oldest is only 3 years I think. It's important to keep the soil out of contact with the wood -- if you don't, my experience is the wood will rot quite quickly. Of course I didn't use very high-quality wood.
Thanks, Alan! I think I will finish mine. Three years is encouraging enough.
How have the planters held up?
They're all in great shape still. Must keep soil away from the wood -- that's the key.