Walkway phase II
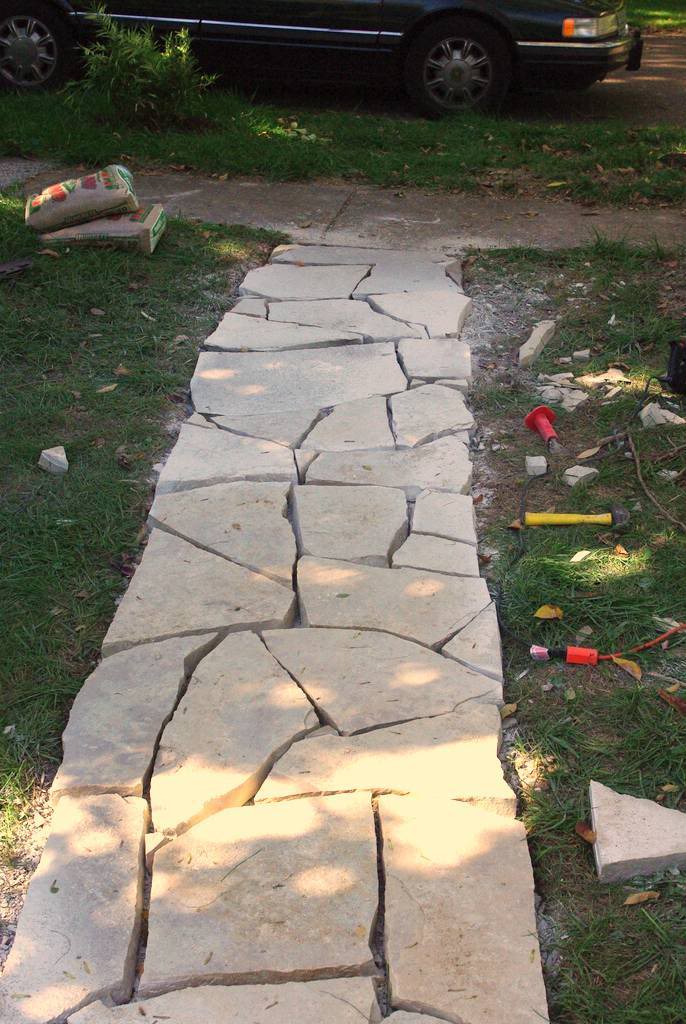
Yesterday I "finished" the walkway that I started earlier in the week. That first day I dug the walkway, filled with base rock, and laid most of the stones. There were a few holes to fill, but I just couldn't do any more and was out of daylight.

After a few days of recuperation my body was ready to finish this project, and I was excited to get to work. Oh, I did spend an hour or so on Thursday and Friday evenings cutting stones -- the only way to fill the remaining gaps. Here's what I did yesterday.
Some of the pieces I cut were larger, but most were the small filler pieces as seen in the above image. I trimmed off the edges of the stones that went outside the border of the walkway too. Here's what it looks like when all pieces are cut and positioned:
How did I cut these? With a special blade for my circular saw:
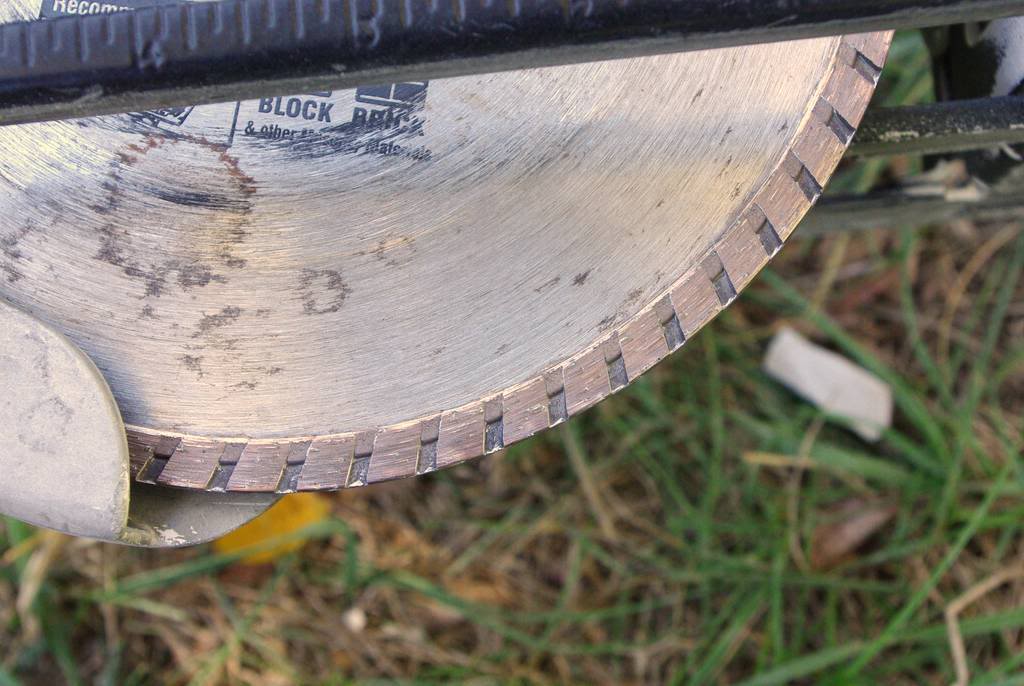
This was left over from six years ago when I built the patio, and although it felt dull it still cut quite well. My saw is too old and underpowered though, as it kept bogging down. It got the job done though!
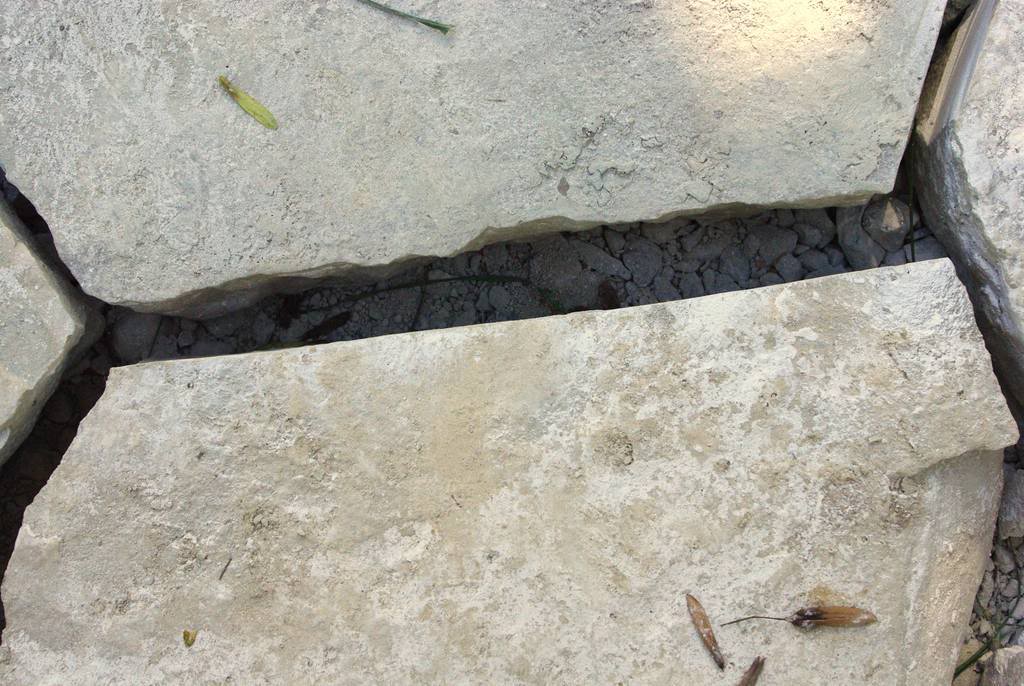
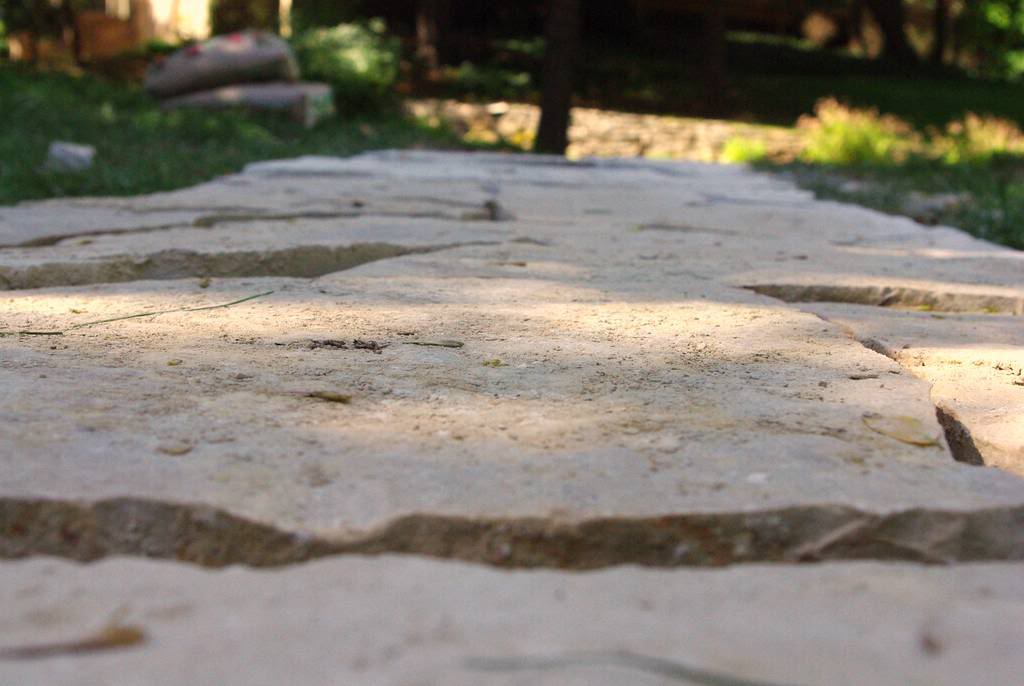
The problem with cut edges for me is that they don't look natural. They're too sharp:
So I usually take the hammer and/or chisel and beat up the cut edges a bit:
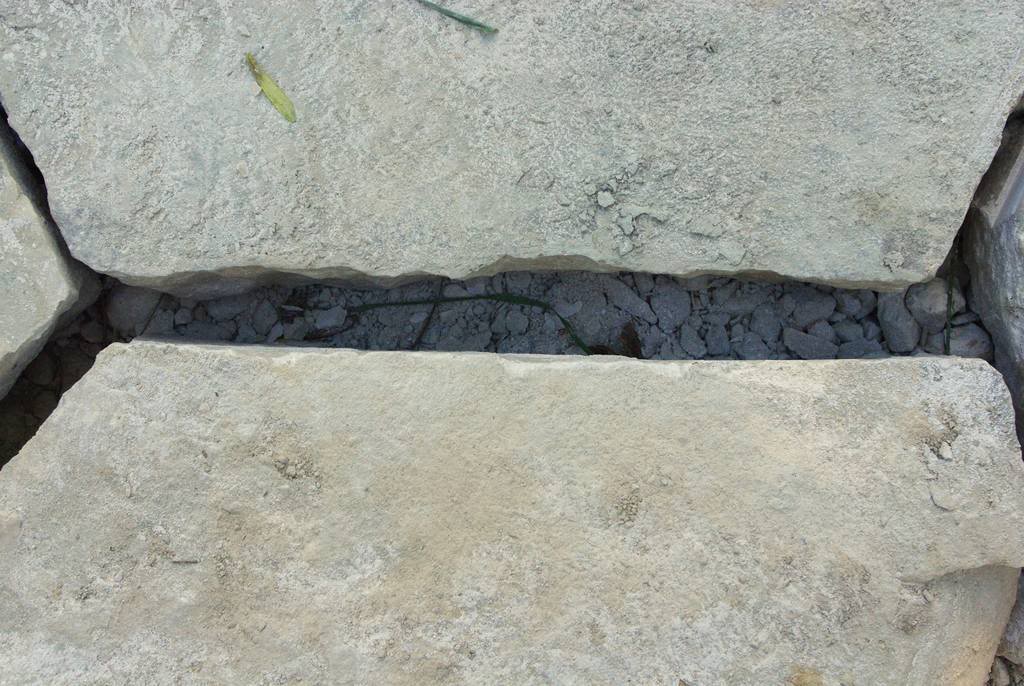
Maybe not a huge difference, but it matters to me.
At this point the stones are all fit, but haven't yet been leveled or stabilized:
So it's just a matter of starting from one end and raising the parts that need to be raised with some sand, or occasionally lowering a stone by removing some of the base because it's too high. I kneeled on an old pillow after a while because I couldn't find my knee pads.
Here's the walkway leveled:

Can you tell any difference? It's pretty hard to see, but you can certainly feel it when you walk.
Since the next step is to fill between the stones to lock them together. Since I raised the walkway above the level of the existing lawn a bit there was nothing to hold the fill in at the edges, so I installed steel garden edging:
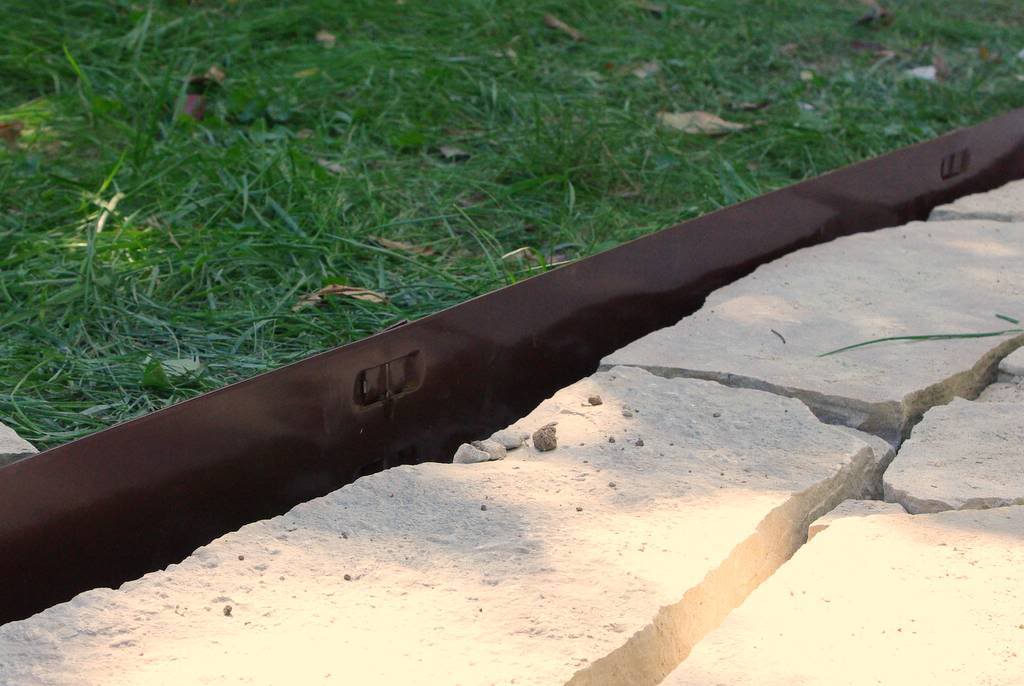
The ground is not completely level here, so the edging is higher in some places than others. This won't be noticeable soon; the important thing is that these are sturdy to support the fill. They are.
So what am I going to fill with? As I mentioned in the previous post I was debating whether to just use the "screenings" of the base material, or to use polymeric sand. I decided on using both -- a base layer of the screenings, and a top layer of the polymeric sand. Today I'm just adding the screenings.
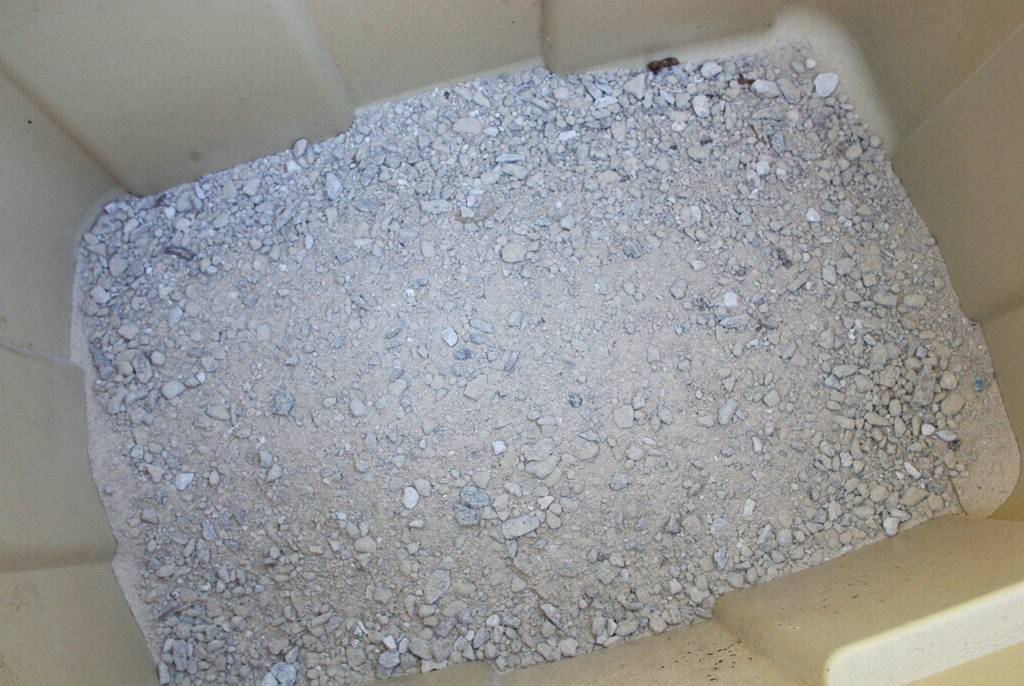
What are "screenings" you ask?
Start with the "minus":
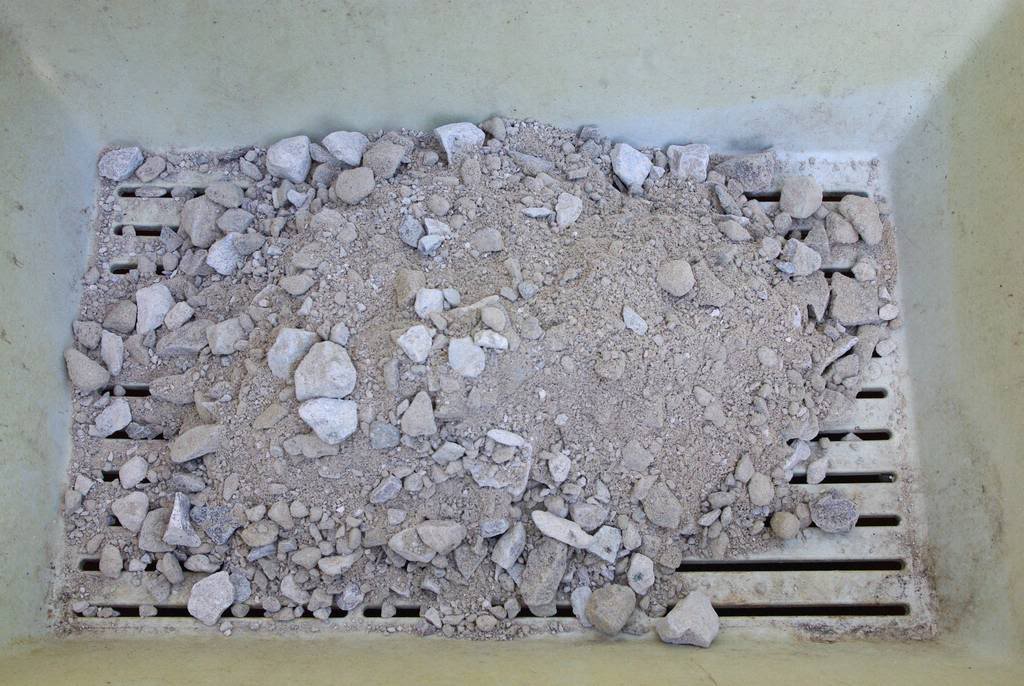
Shake to separate the larger rocks:
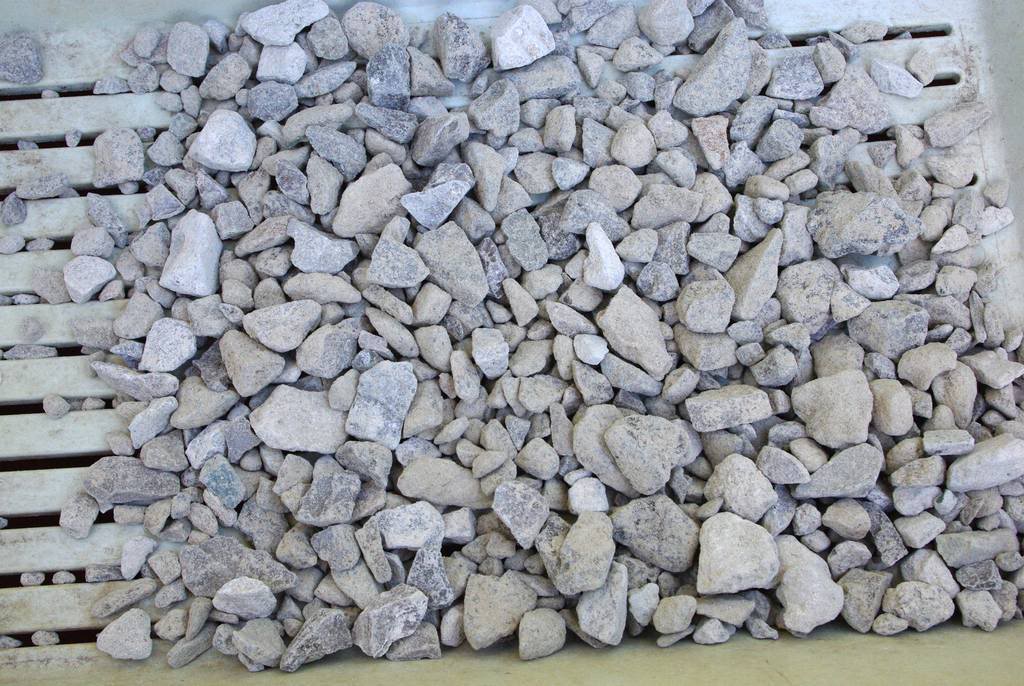
and you're left with dust and small rocks: "screenings":
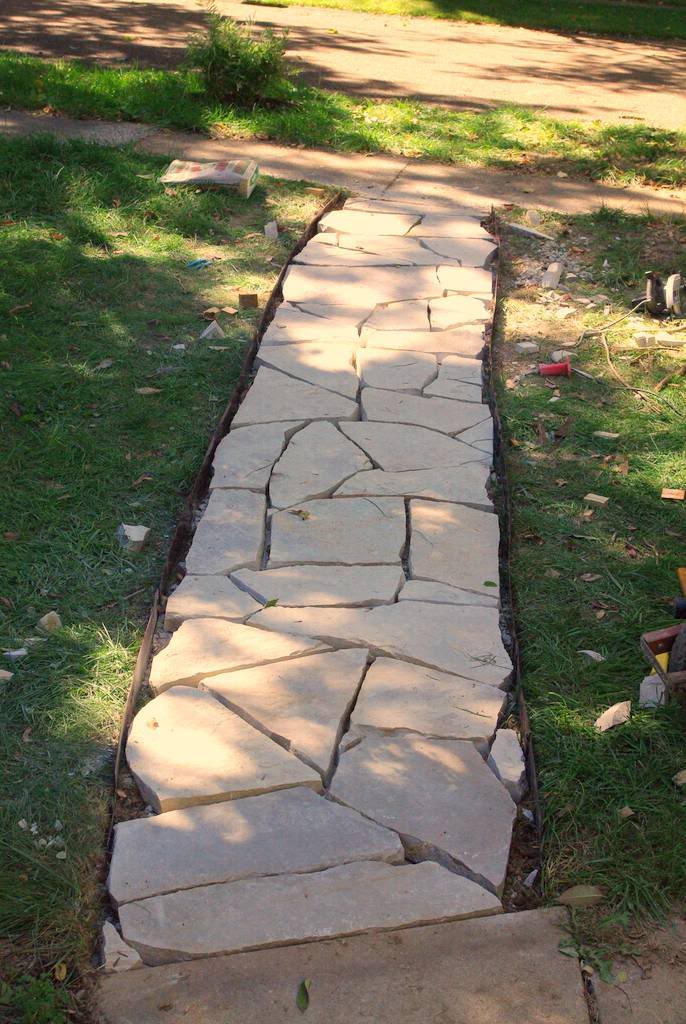
My method is to sweep this stuff over the cracks then use a stick or similar to pack the material into the cracks. Here's what you get:
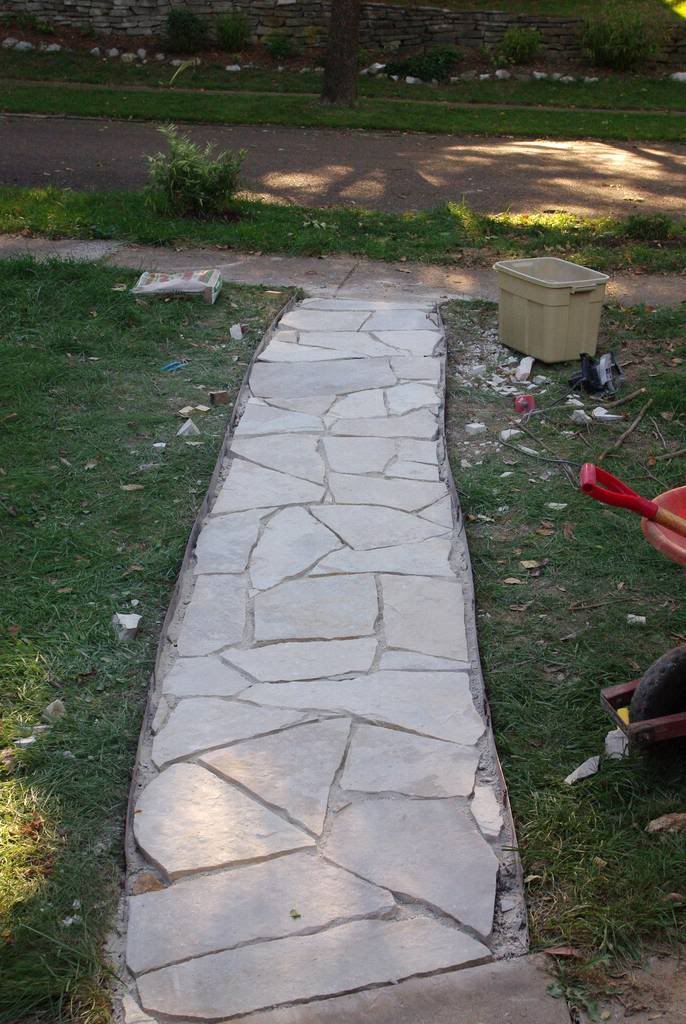
A beautiful stone walkway that is solid and relatively smooth.
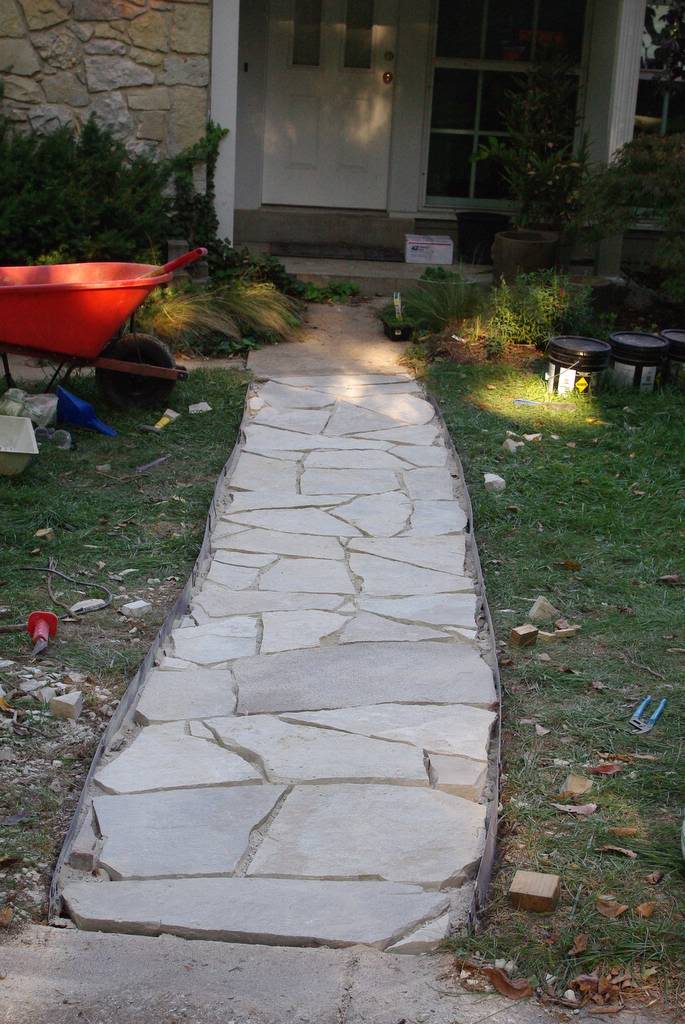
The stones are still quite dusty so will become less white once they're washed clean. I may do this later today, as the water will help wash the screenings into the cracks better.
I'm still undecided about using the polymeric sand, mainly because it's a bit darker in color than I like. Although it will prevent weeds from growing in the cracks and the little stones from dislodging and being tracked into the house, I'm not sure if I want to change the "grout" color from light gray to a darker color -- it will lose harmony with the mortar on the house. I'll probably do a little test before committing to using it, so it will be a few days before the walkway is 100% finished.
For now though I'm quite happy with how it turned out.
This project isn't finished yet though: phase III tomorrow!
.


Beautiful! And I do like the way it integrates with the stonework on he house! Nice work!
Nice! Love the way you 'aged' the cut stone. It does make it look better.
For this project, your blog should be titled It's Not Gardening, It's Work!
Wow! It's beautiful. Great job
Looking awesome!! Gonna check out III now! :-)