Bamboo Planting, part 2
In the previous post I showed you the "easy" bamboo planting. It was "easy" because it was something I could do myself. Sure it took three hours, but that's garden time so it's fun, right?
_a.jpg)
Today I show you the two bamboos on the other edge of the yard, and describe the planting process.
***
I say "describe" because there are not too many photos to illustrate each step. (Too much work for photos!)
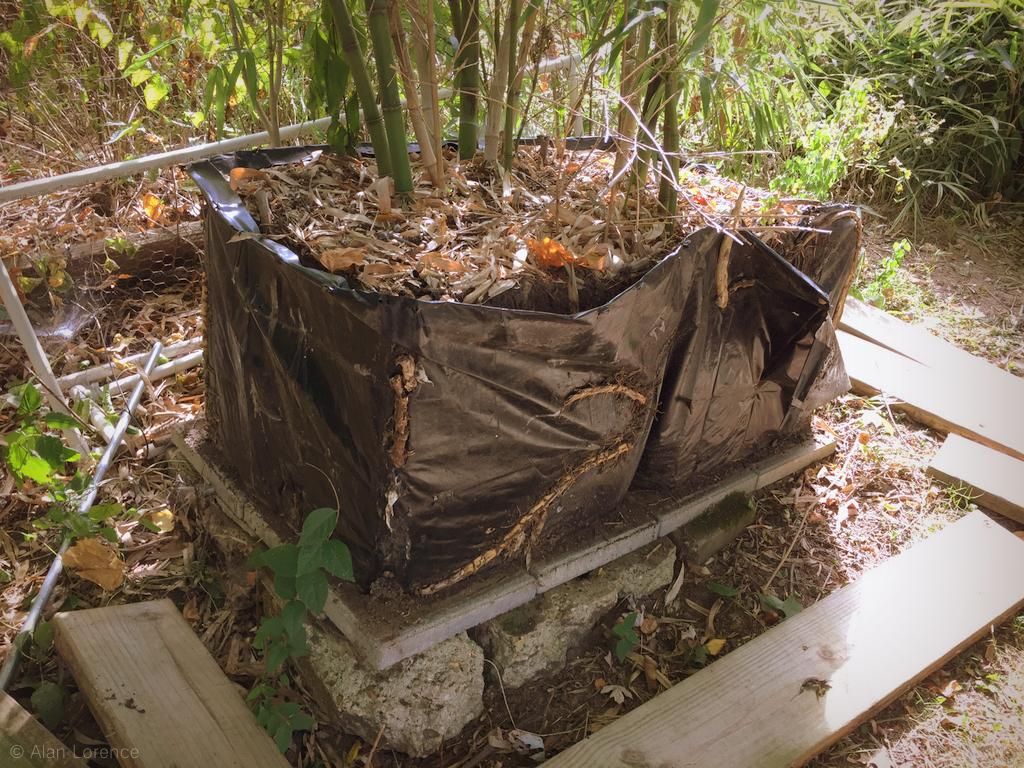
My helper (who provided all of the muscle to remove the old bamboos) would be available on Monday (Oct 2) so on Sunday the 1st I removed the boxes, just as I had done with the first bamboo:

This was the second of the two that we'd be moving. That's the type of rhizome growth I was glad to see! (And what I expected to see on the first plant) I left the plastic in place to keep the roots from drying out too much.
It was good that I removed the wood a day before...

...as there were loads of ants here!
Before I go any further, I'm going to give you the word of the day. It's "uphill". Keep that in mind.
Plenty of rhizome activity here too!
Here's a look at the path that these two bamboos will need to take:
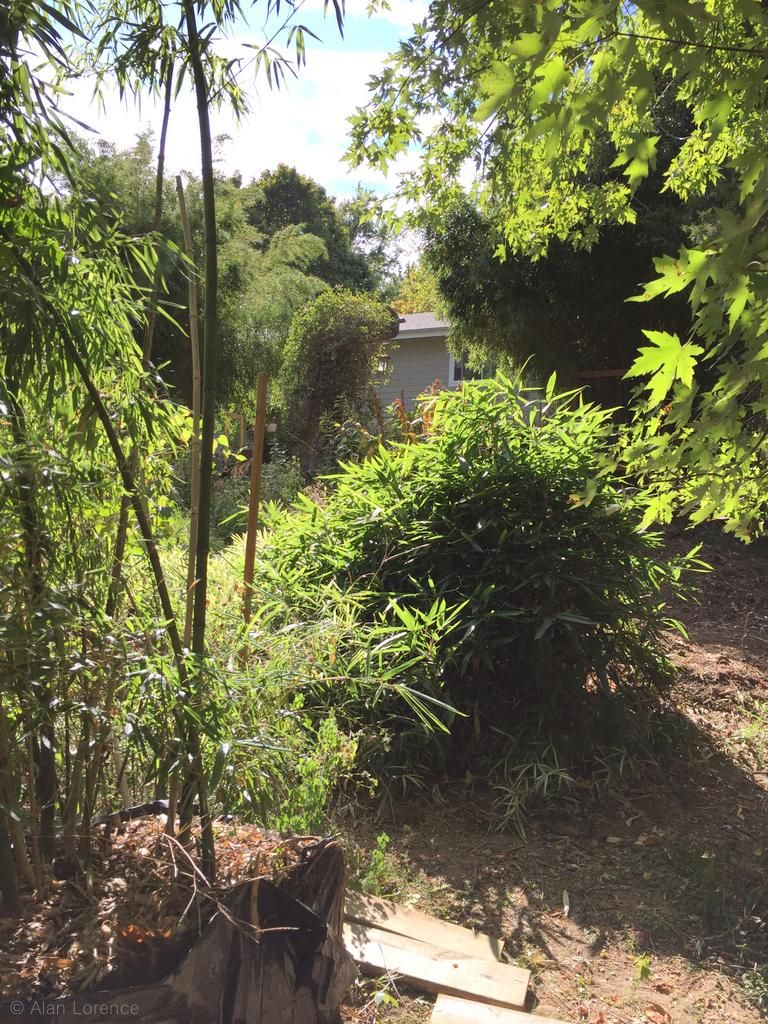
They're going around the big-leaved bushy bamboo (Indocalamus sp. 'Solidus') on the right side, up the hill, and into the holes that were ready for planting.
My garden is really pretty at this time of day, at this time of year, when seen from this side, don't you think? I took a moment to look...

It will be a little harder to see this view once the bamboos are planted, so I enjoyed it while I could. The upper 70's F temperatures (25ºC) helped make it a perfect afternoon.
(The next day the temperature jumped to 88ºF (31ºC), which made the work that much harder.)
Okay, on to the work.
A note about the first bamboo (the other day): it took me maybe 10 minutes at most to pry the rootball loose from the pavers underneath. I suppose that might have been another indication of that plant's lack of vigor, as this plant took about 30 minutes of chopping and prying. We went tag team on it, but it was still exhausting. Those roots would not let go!

Finally we worked it free and got it onto the sled.
The first 10' (3m) or so went very quickly... took maybe 10 minutes. After that the ground sloped upward more steeply. When you're relying on rollers to move something heavy, flat ground is good. This was not good. Uphill.
About an hour and fifteen minutes later we had gotten the plant even with a planting hole:
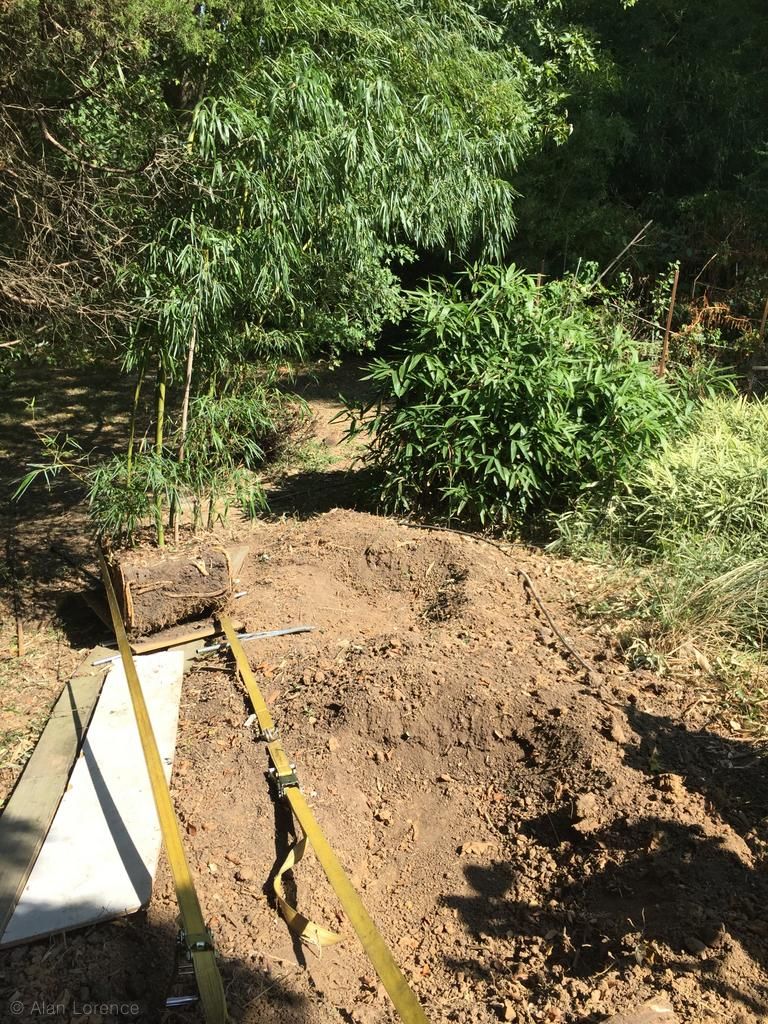
It was the wrong planting hole, but at least we were making progress. This is the point at which things really got difficult. The rollers were impossible to use here, as any forward progress we made was quickly lost when the heavy plant slid backward.
So we removed the rollers.
Then spent what seemed like another hour trying everything we could think of to move that monster of a rootball further:
- Sliding wood on wood (the sled on the track)
- Sliding soil on wood (rootball on track)
- Wood on soil (sled without track)
- Soil on soil (just dragging the thing)
Nothing worked. We could not budge it. I really thought that we might need to give up and I'd have to hire somebody with power equipment -- although how they'd get it back here I had no idea.
Then I realized that the rootball was now pretty much rounded on the bottom due to our manhandling of it, so I had a thought.
This might be difficult to envision, but here's what I came up with:
- Damien grabbed the culms and pulled them forward to the ground, which exposed the underside of the rootball; got it up on "edge".
- From behind I wedged the heavy iron pry bar under the rootball as far as I could.
- I then lifted up on the pry bar, which raised the rootball slightly...
- ...while Damien pushed the culms back upright.
- This caused the rootball to slide forward down the pry bar a small amount.
By "small amount" I mean anything from 6" (15cm) down to 1" (2.5cm). The smaller increment was much more common. Repeat steps 1-5 dozens of times, and we were slowly crawling our way up the slope. Literally inching along.
When the thing finally dropped into the hole it felt like a major victory! Yes! Job done!
Not quite -- we were only half finished (two plants).
Unbelievably, the second plant was even harder to pry loose from the pavers! There were one or two escaped rhizomes, but that didn't really explain it -- there were just too many roots.
Thankfully this one didn't need to go as far up the hill, so we were able to get it pretty close to the hole before we had to ditch the rollers and return to the "ratchet" method.
I can't say exactly how long it took to move the second plant, or how long to get the first plant up that last part of the hill, but I do know that the entire process took about five hours. That's 5 hours of hard work -- my arms were exhausted.
Damien was still planning on going to the gym that evening. Kids today, right? (Although he did admit that he'd probably focus more on stretching than lifting)
I added more soil later, but here's the finished job:

This angle isn't great...

...but it's perfect for a before/after comparison!

Not exactly the same angle in both shots, but it will do.
For reference on the left the Semiarundinaria fastuosa 'Viridis' was replaced by Phyllostachys dulcis, and on the right the Phyllostachys nigra was replaced by Phyllostachys heteroclada.
It's weird seeing through to my neighbor's yard.
I still have a little bit of cleanup to do...
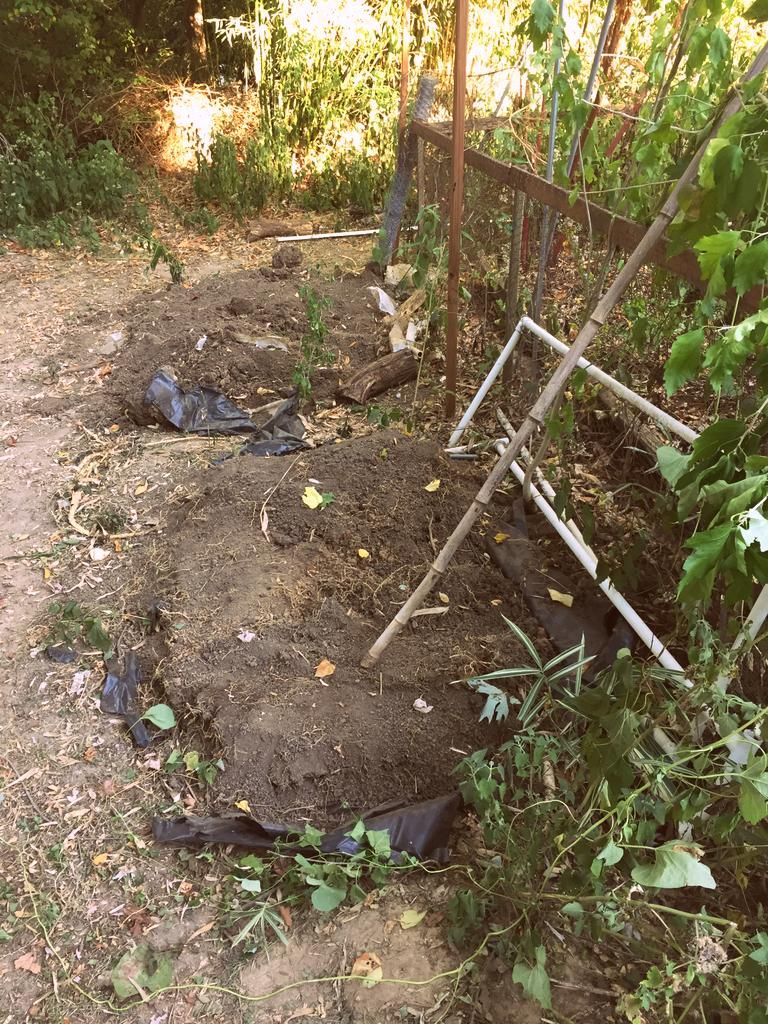

...and need to figure something constructive (hehe) to do with all of this slightly weathered wood.
I'm pretty sure that's my last bamboo planting project ever...
...unless one of these three ends up being disappointing too. I won't know that for at least three years though.
(It may take my body that long to recover)
.


I'm exhausted just reading about this adventure! Could you send Damien out west for a few days this spring to help me battle my phyllostachys vivax rhizomes that want to take over the world? Your bamboos look really great in their new locations!
Peter beat me to it - I too would love Damien's help. I have escaping rhizomes of Phyllostachys nigra 'Hale' that are scaring the crap out of me right now... I can only imagine how your body would have felt after a day like that. If it were me, I'd be hobbling around for days... Well done to the two of you! It looks great!
I don't envy you or your helper the task of moving those huge plants, but I suppose the instant impact once in place is gratifying! I think I'll stick to planting bamboos from smaller containers.
I'm exhausted just reading your description of what you did. I'd have given up a lot earlier - or asked Damien to come back with three of four workout buddies.
Monumental task. It looks great though, and hopefully you won't have to worry about it for a few years.
Wow. Monster moves in 88F? This proves beyond question bamboo are for Serious Bamboo Lovers only.
Congratulations on the successful moves. They look great in their new places. Three years to recover sounds about right.