Rose support, part 2
I started building the rose support last week, and if you remember I did not have a final design in mind yet -- I only knew that I needed two sturdy posts. Well, I finished the design on Friday and started building.

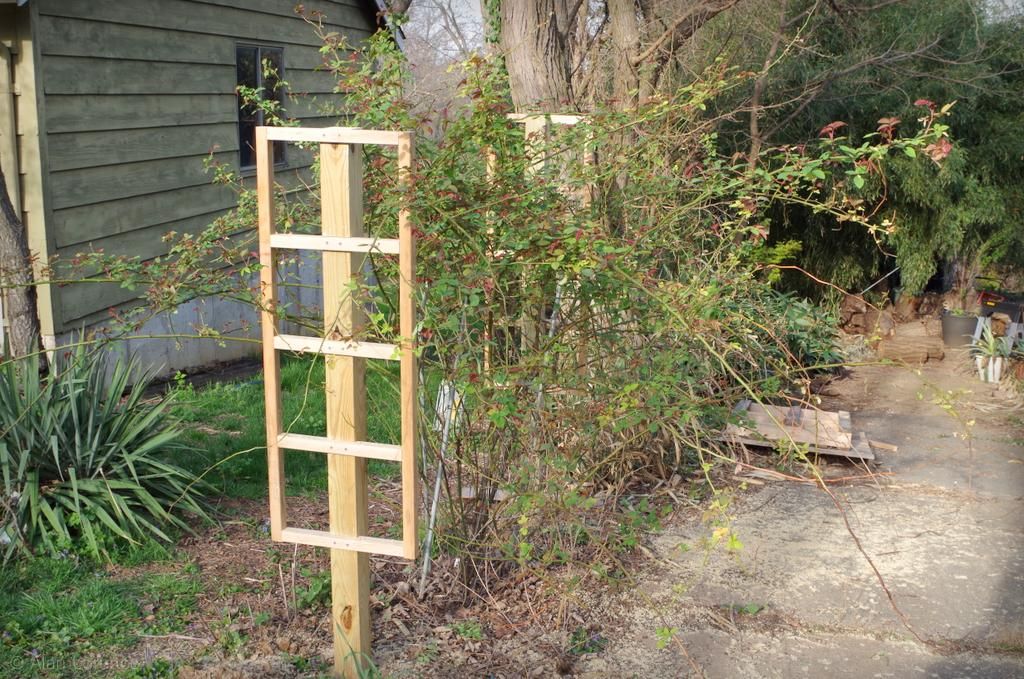
I'll show you my design process tomorrow, but you can see that the first step in building it was to add some cross members to the posts.
Actually, the first step was to cut the one post down by 8" (20cm) or so to make them both the same height because of the slope. Then I added the cross pieces:
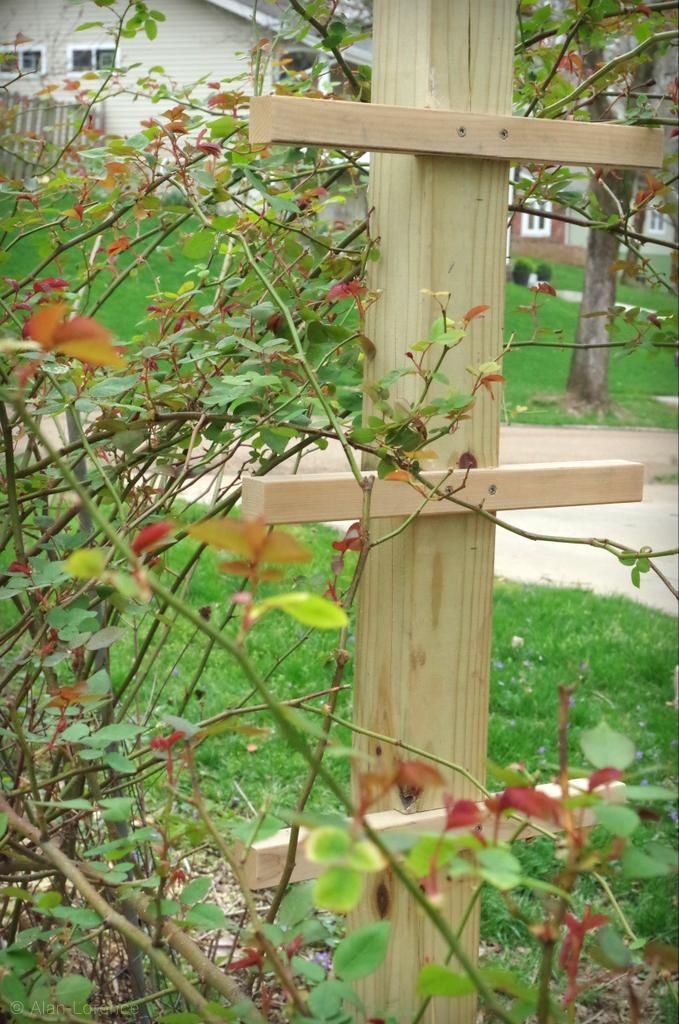
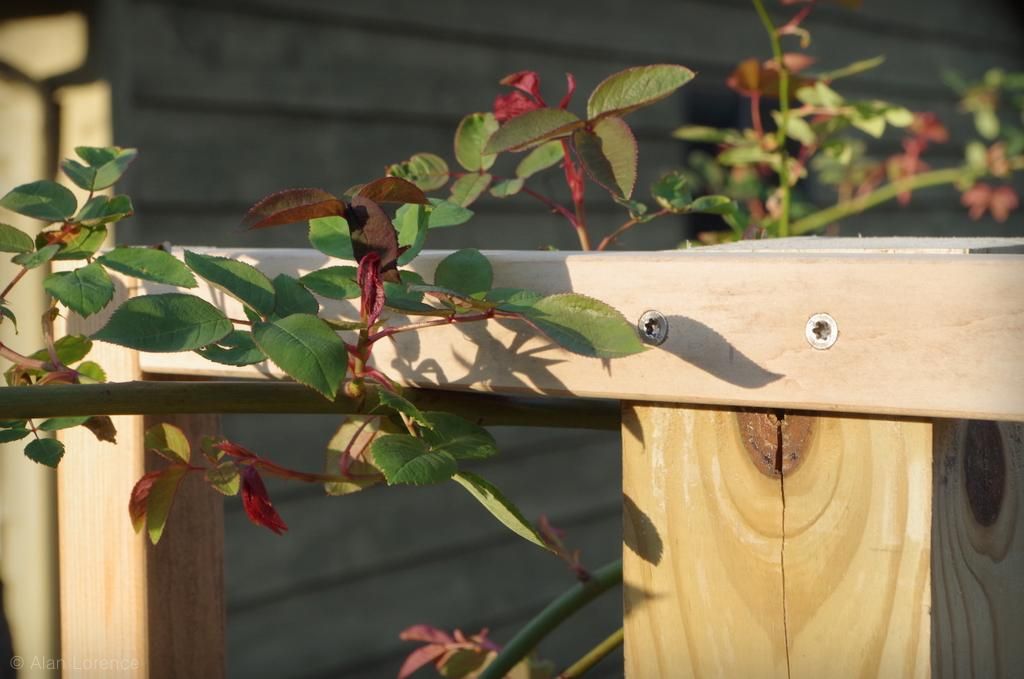
The posts were notched first...
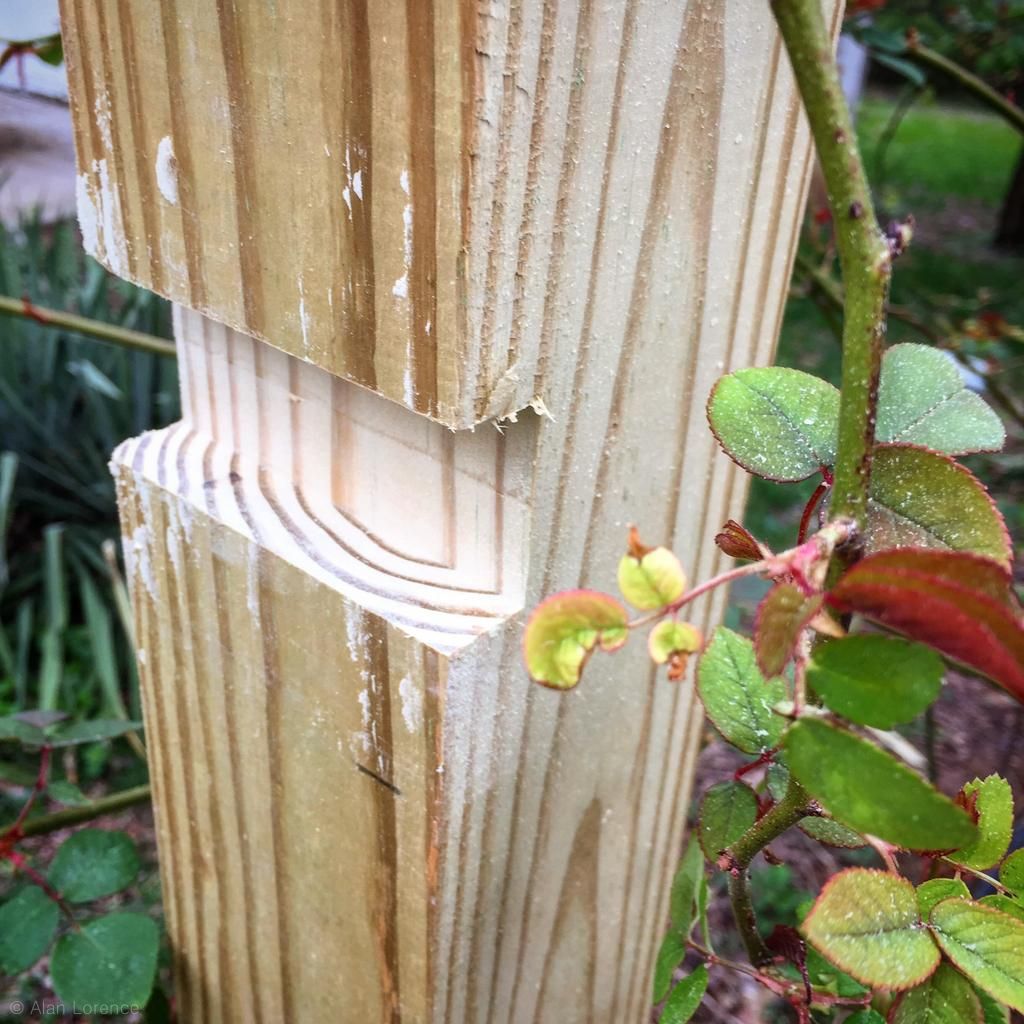
...which makes things sturdier but also looks much better.
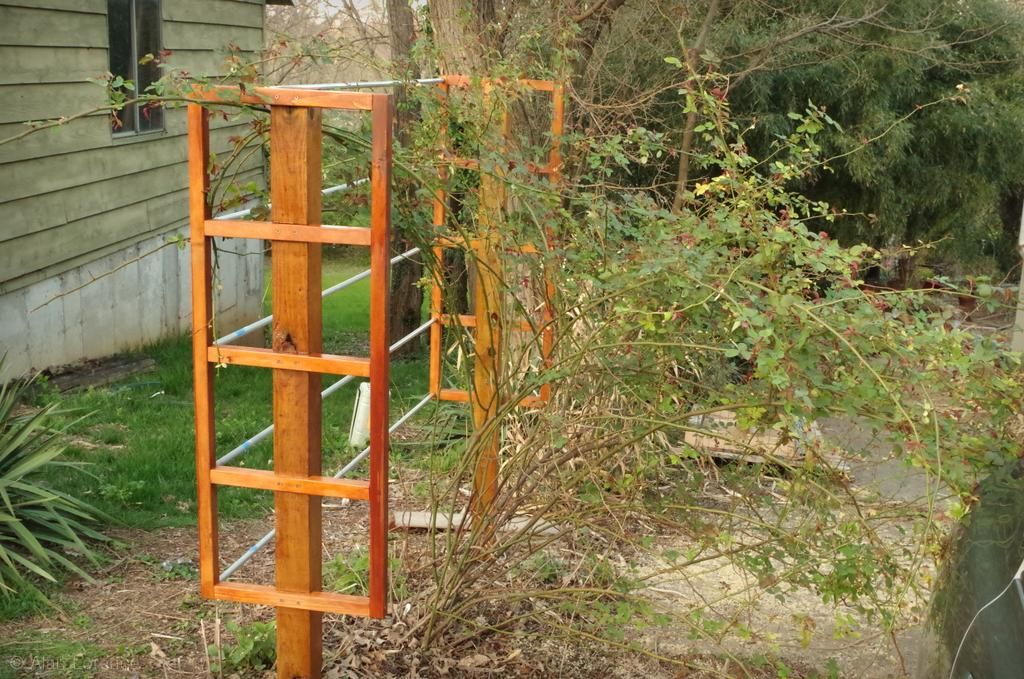
I like to step back and look at things from multiple angles as I go along:
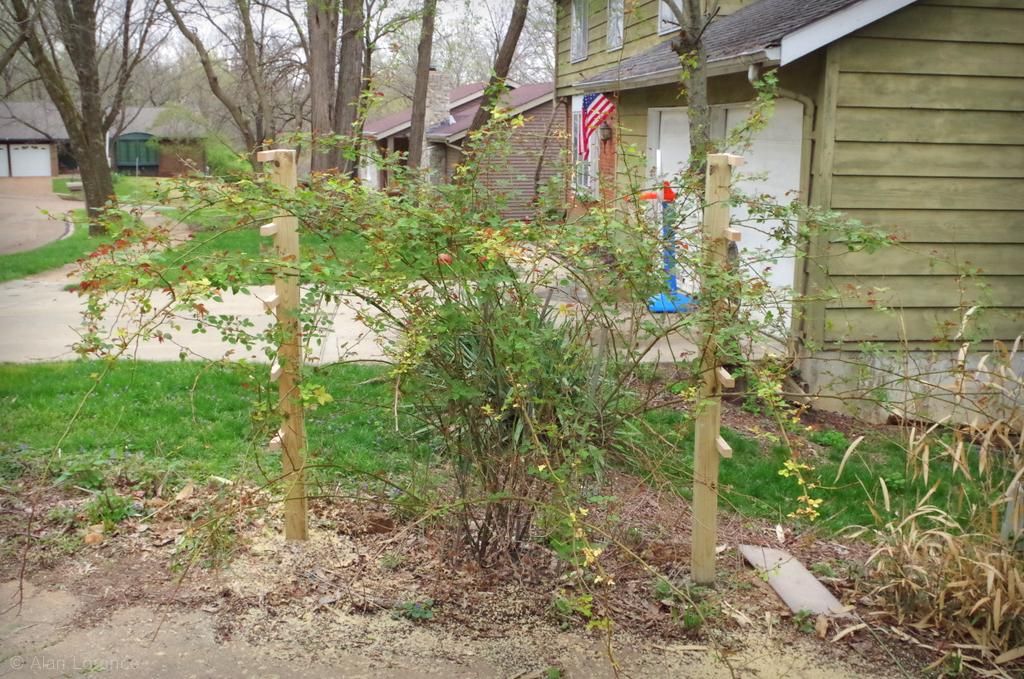
This is to confirm that I've made no mistakes, and also to see if the design might need to be tweaked. In this case everything looked good, so it was on to the next step...
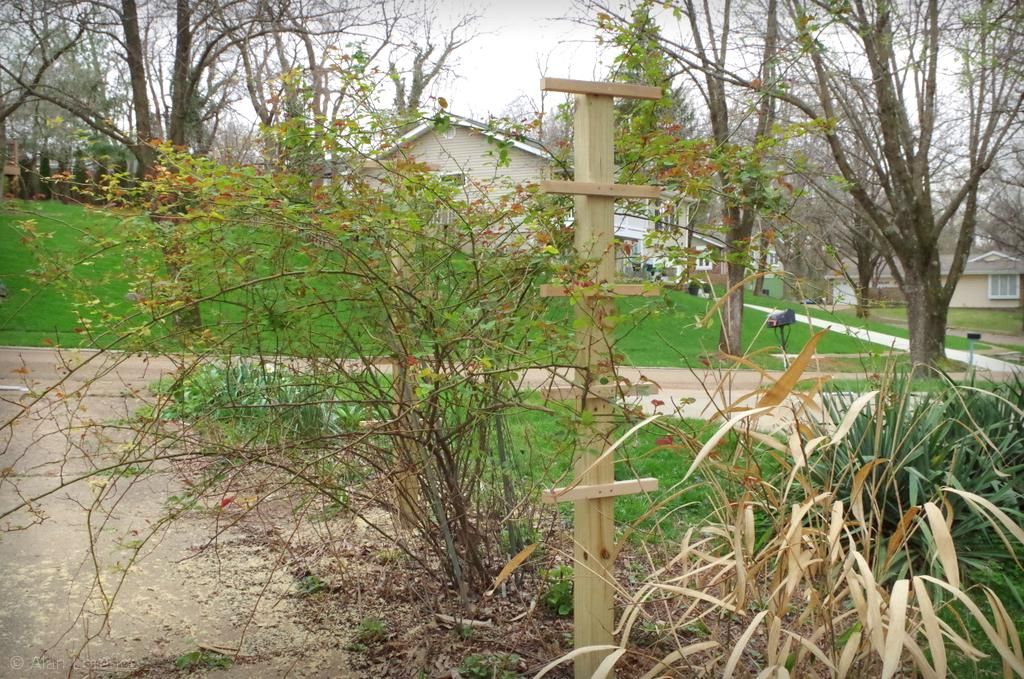
..the vertical pieces. Now it's starting to look like something!


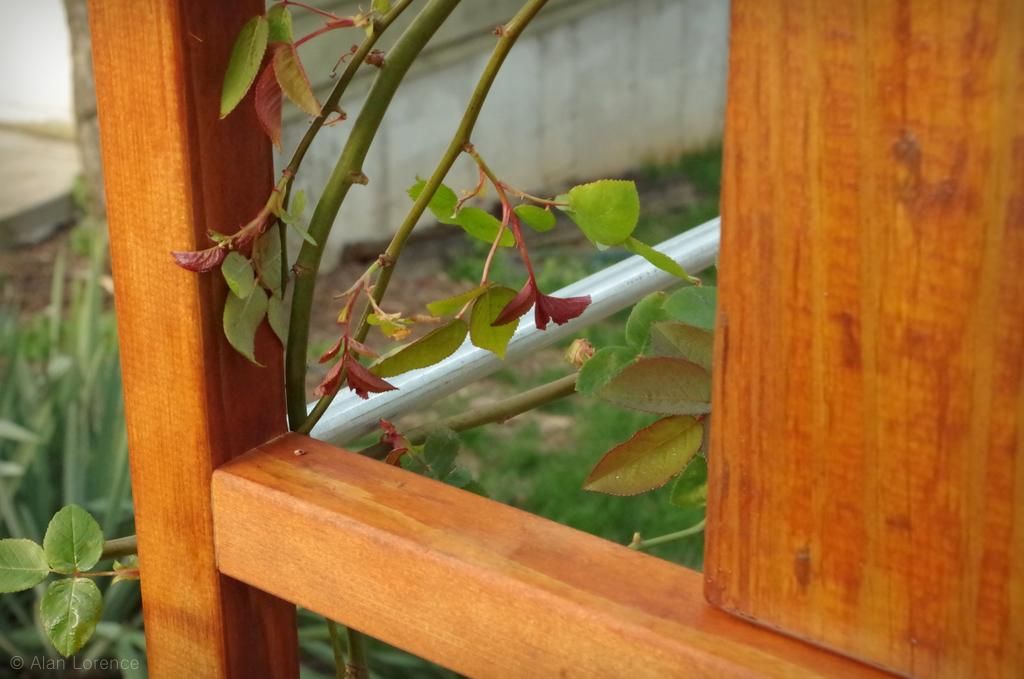
With those parts in place I could take measurements for the next step, but first I decided it was time to remove the "temporary" (three year?) cage, as those angled pipes were making things look wrong.
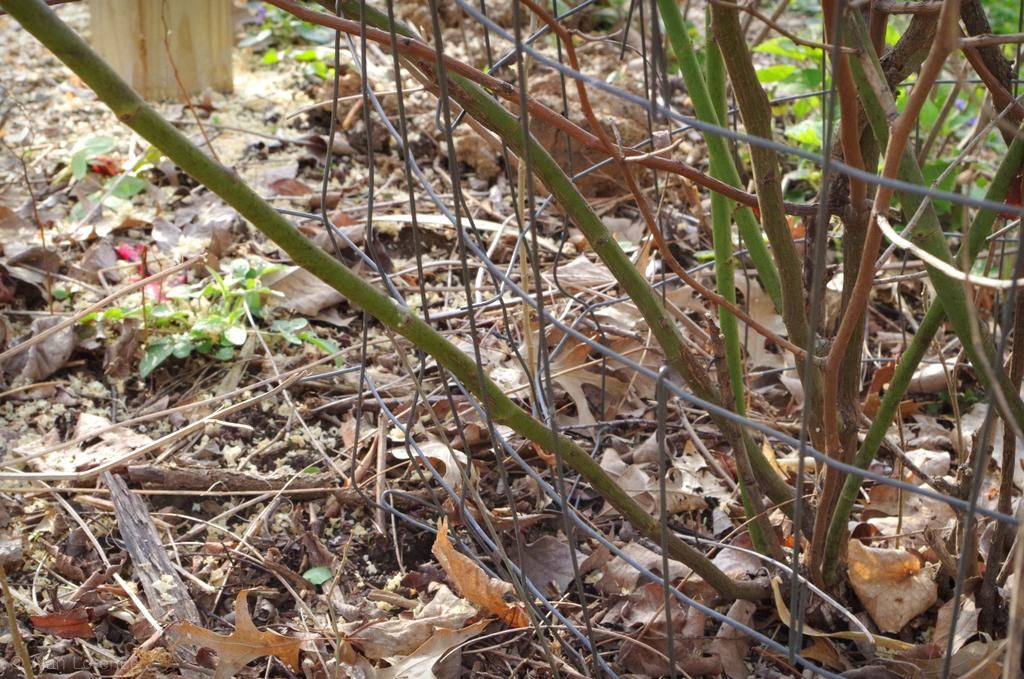
Since the canes had grown through the cage in several places, I just got the bolt cutters out and cut the cage to pieces. Of course that left the plant leaning over much more than before, but soon that will be resolved.
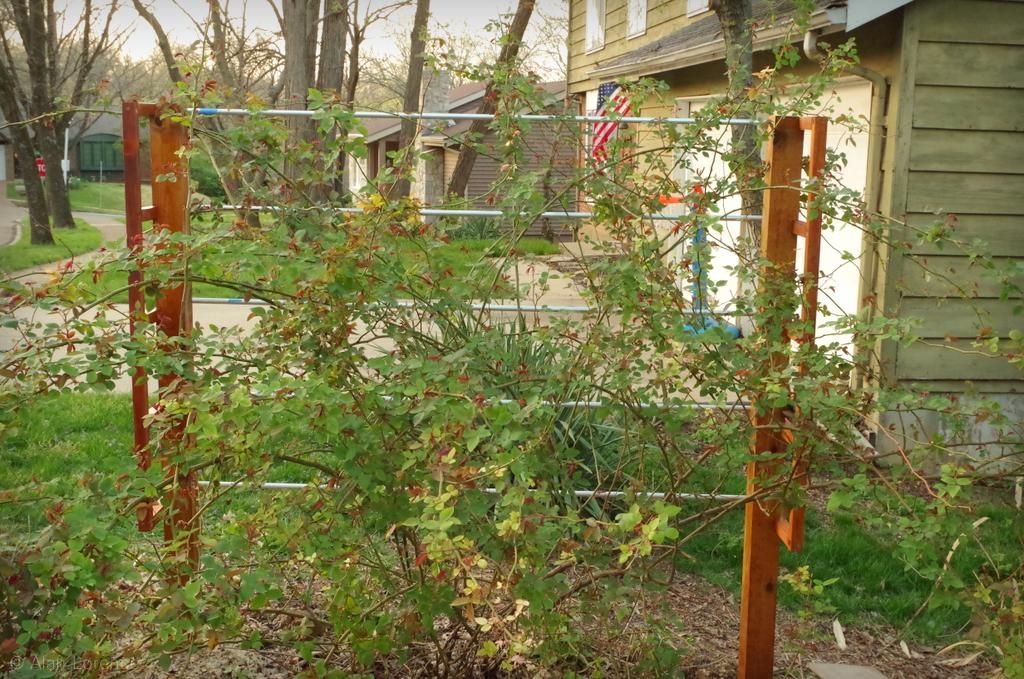
That leaning actually made the next step easier: adding the horizontal bars on the back side:
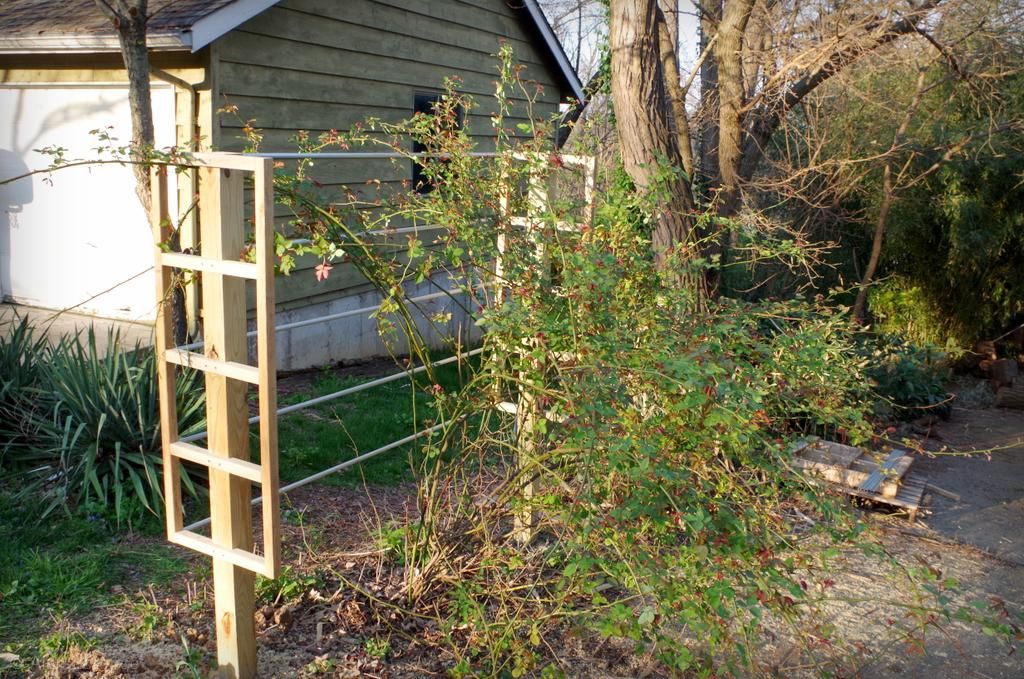
With those added it was really coming together visually! Next step would be to push the plant upright and add the front bars, so I started thinking about which canes needed to go through the end holes before I did that.
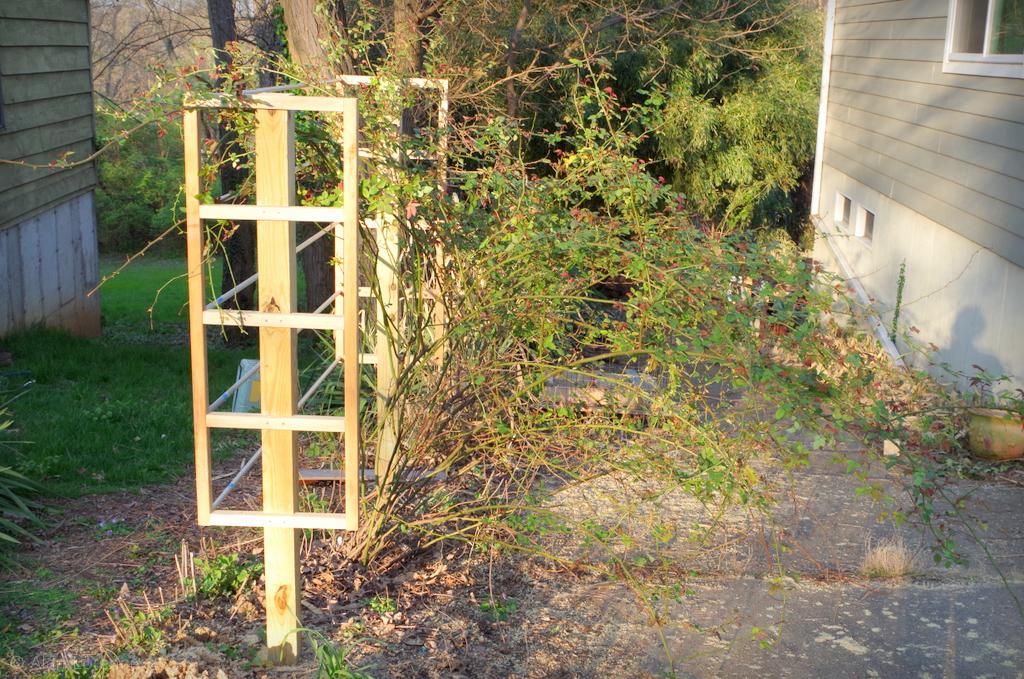
I even started pushing a few through, but then realized that I should probably stain the wood before I did more of that.
Luckily the forecast called for no rain for the next 24 hours, just the amount of time the stain/sealer needed to dry. So I jumped in and stained, even though it was late in the day.
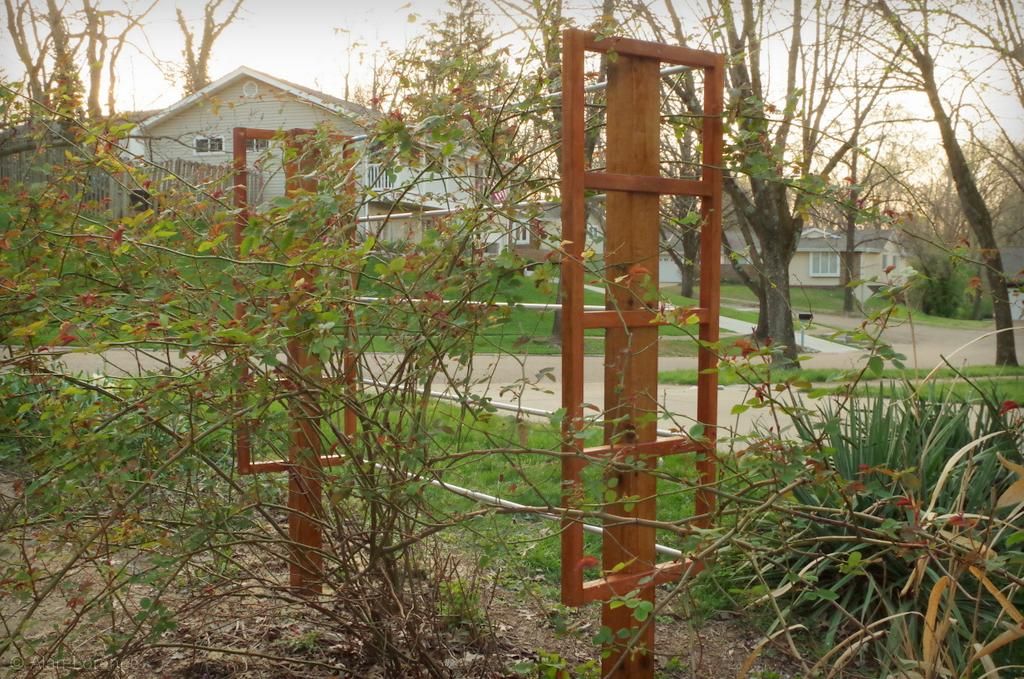
The end result:
I love the combination of wood, metal, and plant!
This is where part 2 of this project ends. I still need to push the plant upright and add the front set of bars, but it will be raining for most of the day today so I might not get to it until tomorrow. We'll see, as I might be able to sneak it in between storms.
I'm loving this already though, as it really adds visual strength to this border.
Next up: I'll show you how I arrived at this design.
.


I think it looks great! What are you using for those metal cross bars?
This is so perfect! Seriously, you should sell these as a kit.
Gorgeous!