Let there be light!
Over the past few weeks I've been working on a project that I've planned for a while. You see, the area under my deck is pretty much wasted space, relegated to winter plant storage and shade-loving plants that I need to get out of the way. It's just too dark for anything else:
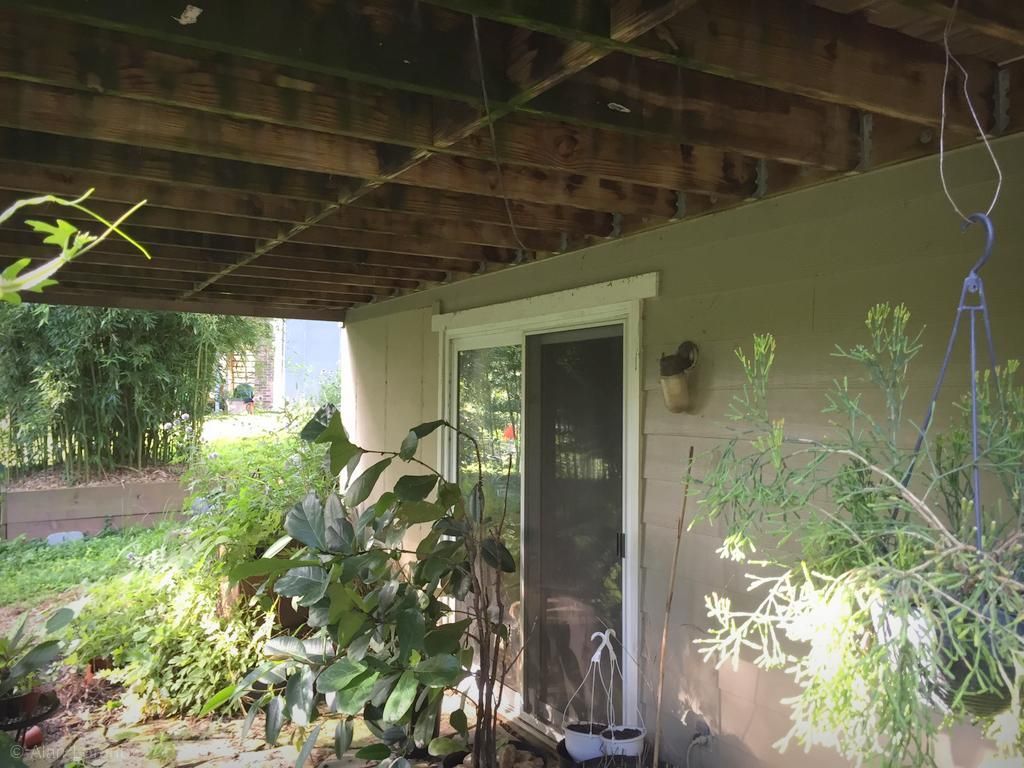
This has really been bothering me lately, so I did something about it.
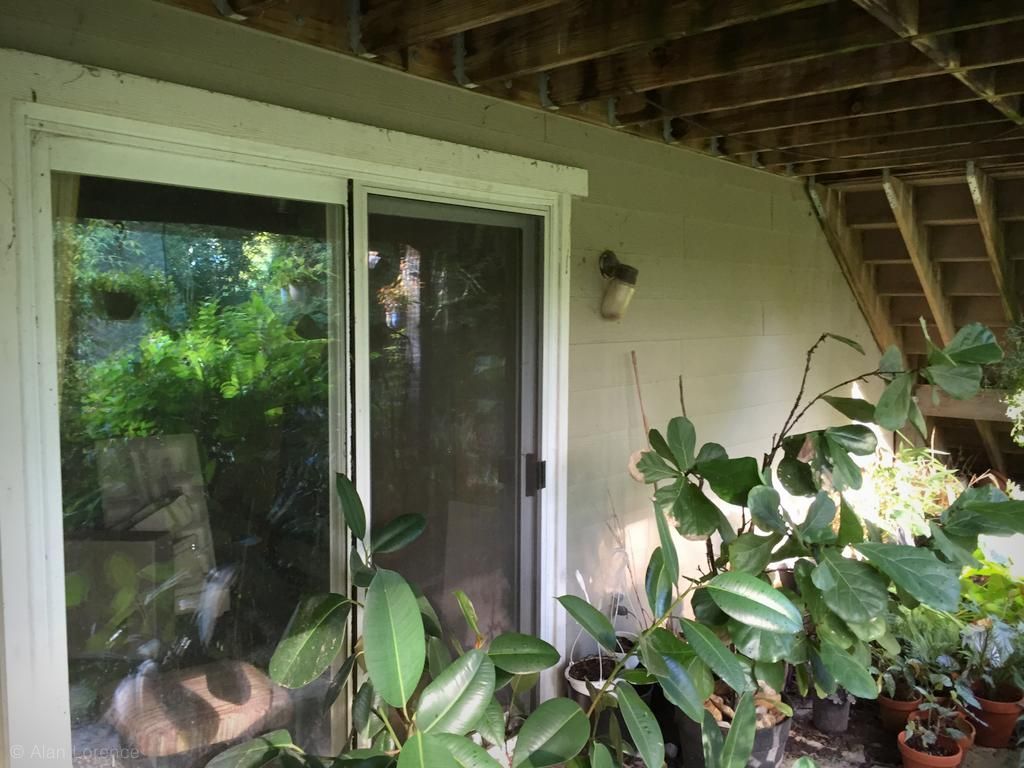

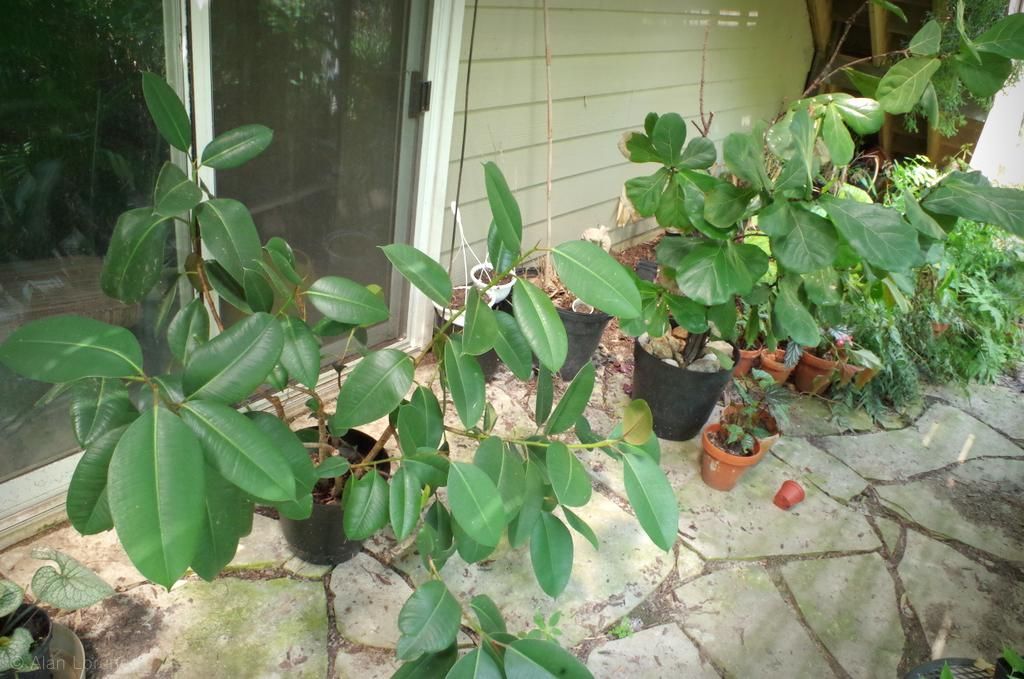
The view from inside looking out:

The broken light fixture is a nice touch right? Dark, webby, a mess, and in disrepair. A place to avoid.
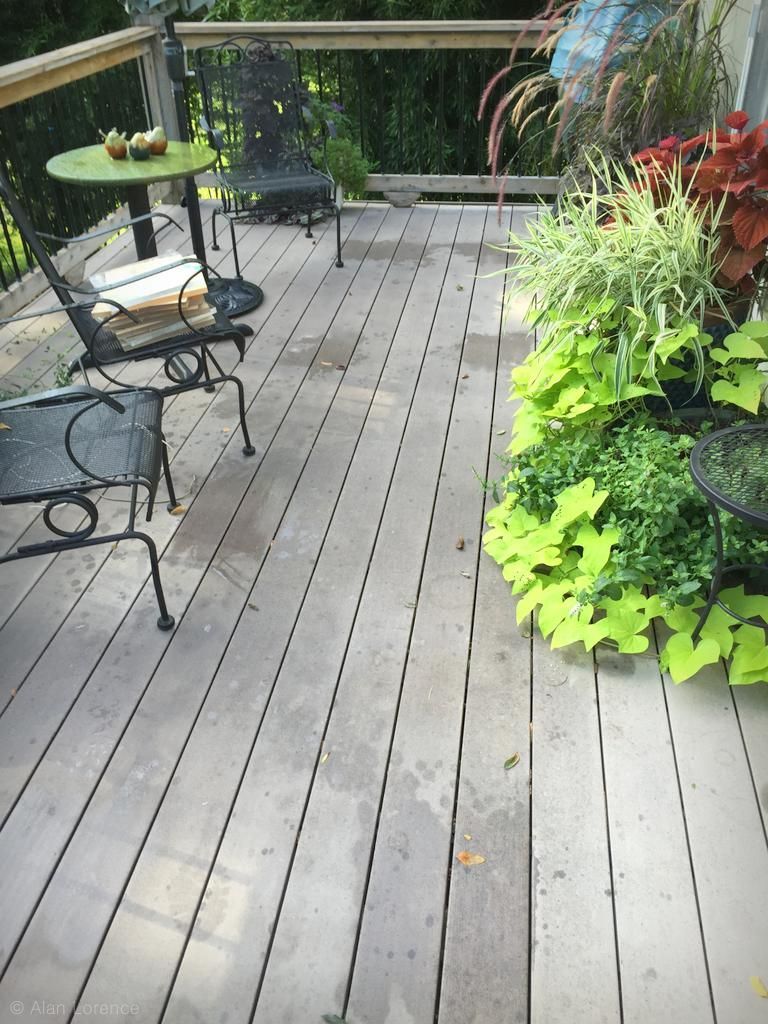
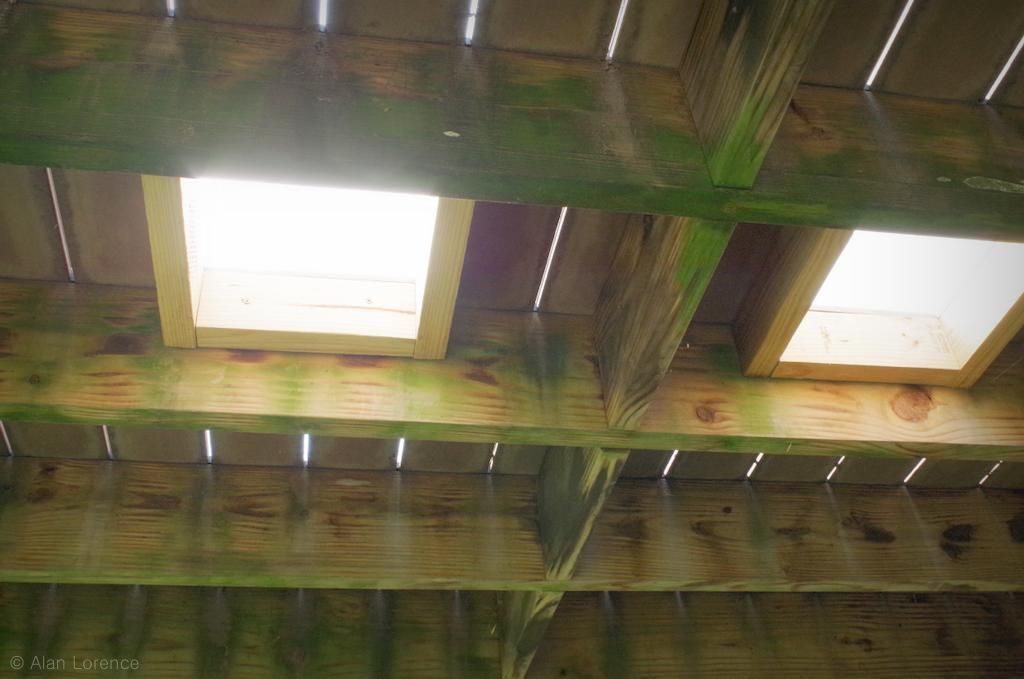
Only when the sun is directly in line with the slats do you get any light down here:

The top of the 8 or 9 year-old composite deck looks like this, uneven coloring due to rain that partially dried:
I only showed that image because of the next step, which is to reveal my solution:

Squares of 3/4" plexiglass that I'll arrange something like this:

Let's cut some holes!

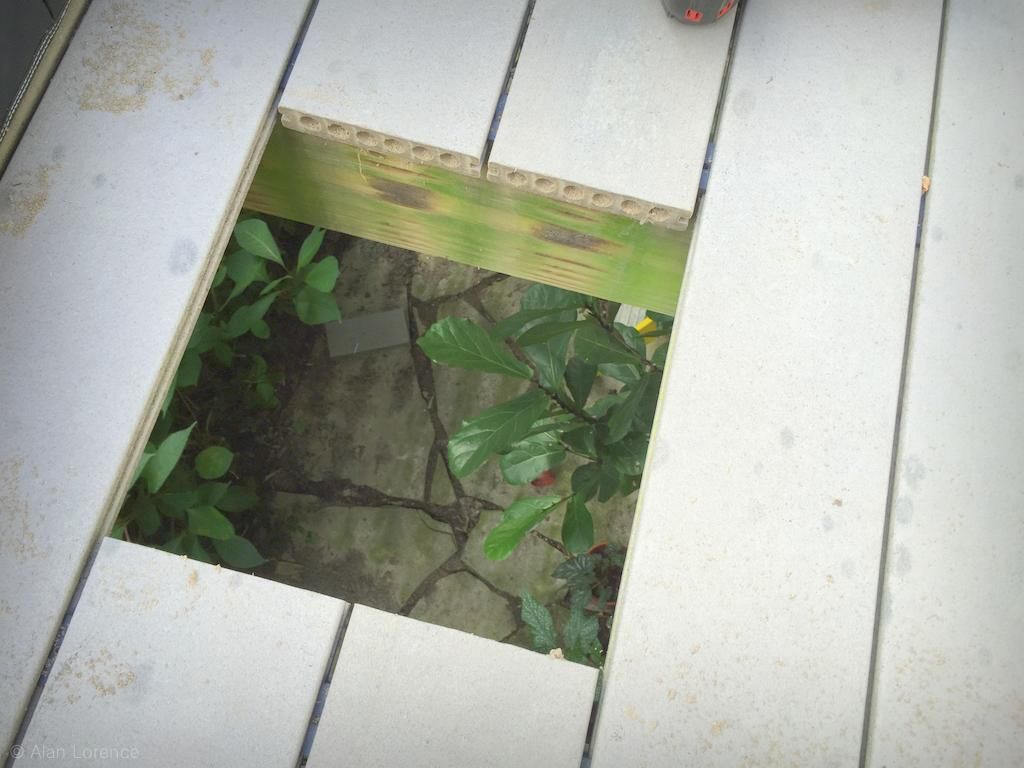
Sunlight below is getting me excited!

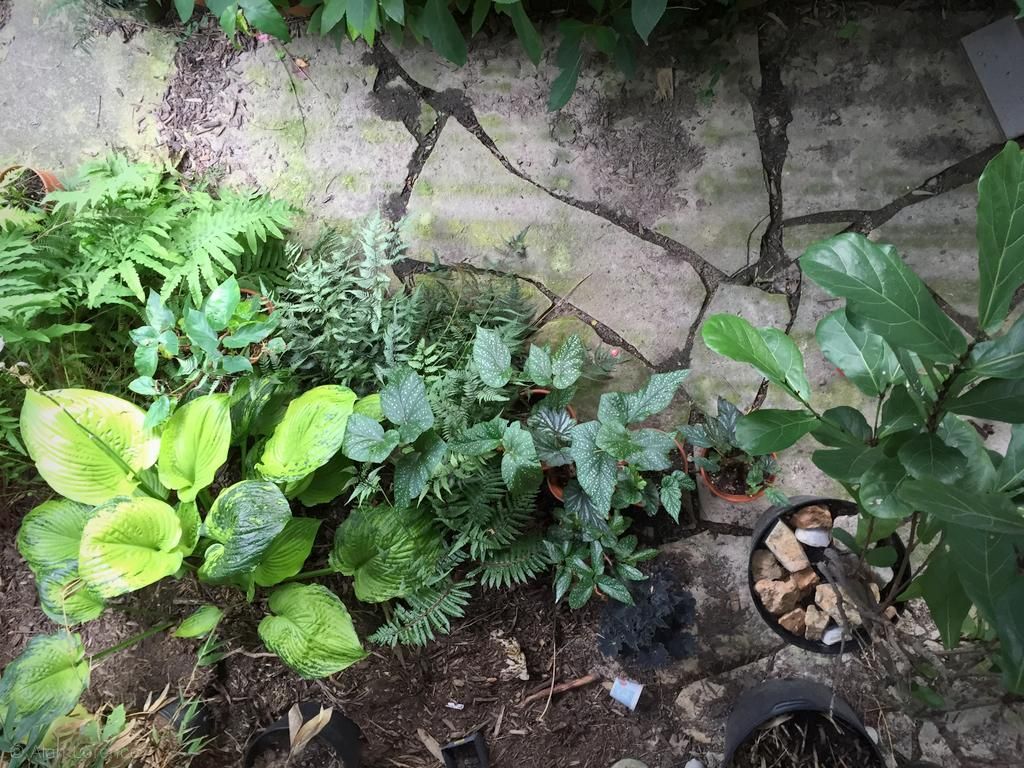
A view of my fern bed that I've never had before -- straight down:
I built frames to support the squares...
...and sanded the top of the plexiglass to give it a frosted look. This will not only hide the scratches, but will diffuse the light underneath. Plus it will prevent the wicked glare from the shiny surfaces and make it look safer -- nobody wants to walk on what appears to be windows!
So how does it look underneath with the "skylights" in place? Fantastic!

I mean, I still need to clean up and make this area useful, but there's light now!
The hosta and the ferns will stop leaning toward the front of the bed I hope...
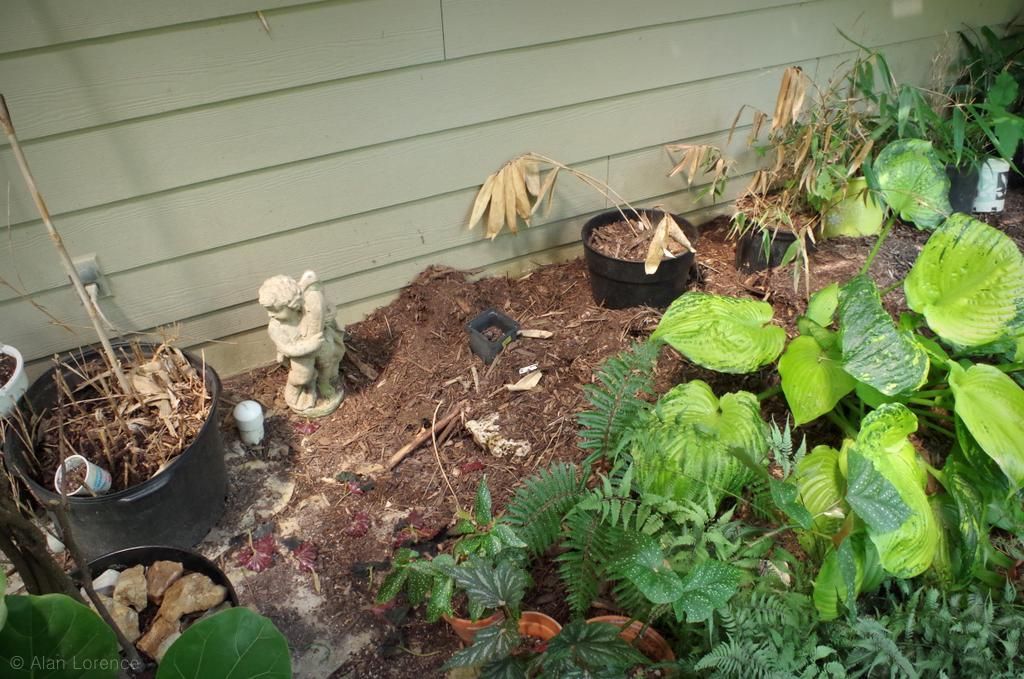
and look...

...the little fountain boy is casting a shadow! He's been in darkness for years...

In early afternoon the house will be shading the skylights so there won't be as much light coming in, but I'm so happy with these results!
The top of the deck is more interesting now too:

Obviously I haven't moved the furniture back into place, but it's nice isn't it?
The material was not exactly cheap -- about $200 for the eight squares, plus shipping -- but the improvement was definitely worth it!
(I'll show more of this once I clean up the area and make it more functional.)
.


VERY clever!!
This is genius!
Waiting for the "below deck" transformation into lushness: the Hostas would love it.
You never cease to amaze me with your creative solutions! This looks great above and below! Now about that light fixture...
Fantastic! This is an ingenious solution.
That is awesome! Will they safely bear the load of people, etc? I'm sure they will, but I was wondering how you managed it. Wonderful idea.
Seriously brilliant! What a great idea!
Thanks all -- I'm really quite proud of this project because it turned out exactly how I envisioned it!
Peter: if I'm reading your comment right, you want the broken light fixture when I replace it? Done!
Jeanne: 3/4" plexiglass is quite strong -- it's almost as thick as the deck boards themselves -- and since it's only 11.5" square there's no way it can flex. Very safe.
You've given yourself more gardening space--now that is clever.
Alan that is brilliant, well done!
Very nice, makes a huge difference!!
Wow! That's really neat! Good job!
To those who said this was "brilliant", big smile :^D
I'll be cleaning it up this weekend, so should be able to show you more next week.
There's nothing like the feeling of reclaiming a disused space that seemed to have no solution. Bravo!