The walkway: phase I
At some point this summer I decided that we needed a walkway going from the street to the front door. Our existing walkway goes from the front door to the driveway, and I've lived with that for 20 years or so. Why is 2012 the magic year for a walkway?
I really don't know. Perhaps it was because that strip of grass got completely scorched this summer which helped me visualize. Or maybe since my driveway has been covered in potted plants the last few years and I've had to park my truck in the street, I'm just tired of walking through wet grass. Whatever the reason, I jumped into the project yesterday.
After finishing the planter box and trellis on Monday, you'd think I'd be done with projects for a little while. Nope.

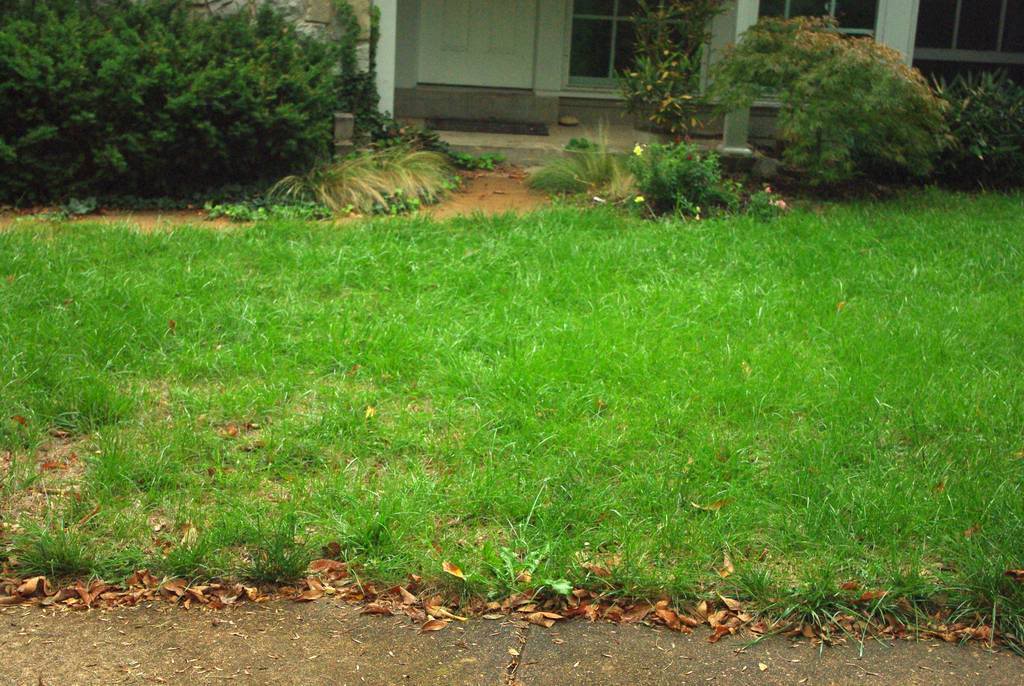
That is possibly the unintentionally blurriest photo I've ever taken, but it shows what I've got to do.
I've got to start stripping turf!
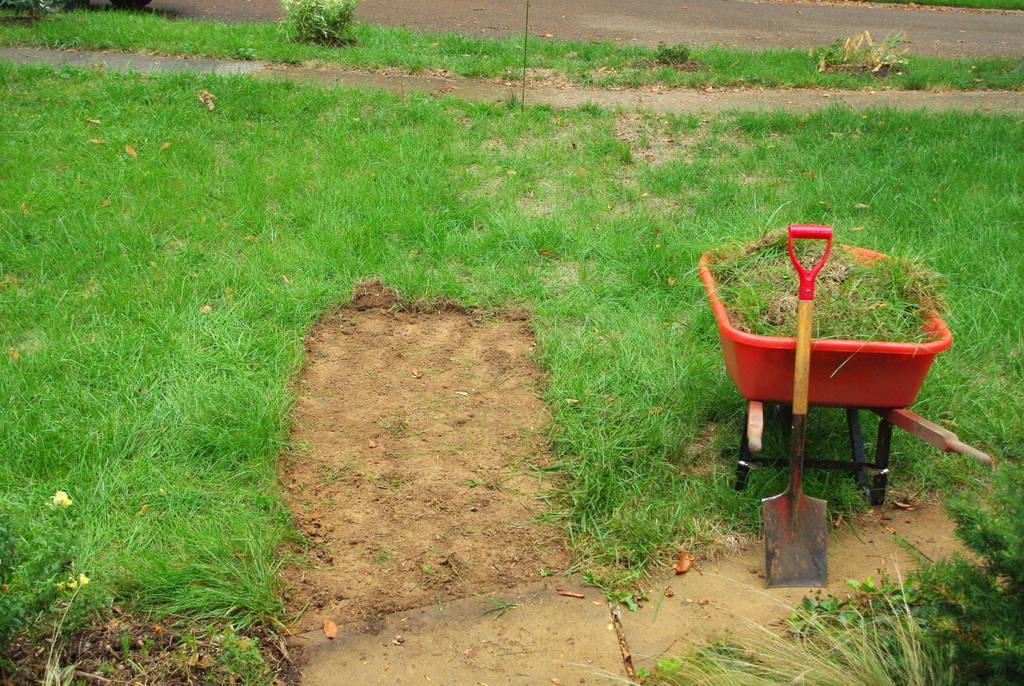
I did this Monday evening (yep, after the trellis build), so wasn't able to get photos of the path until morning:

Luckily I had covered in plastic, as we got a good rain during the night.

So yesterday morning I got started on digging. I needed to dig down 4-6" (10-15cm) so I could put the base rock down:

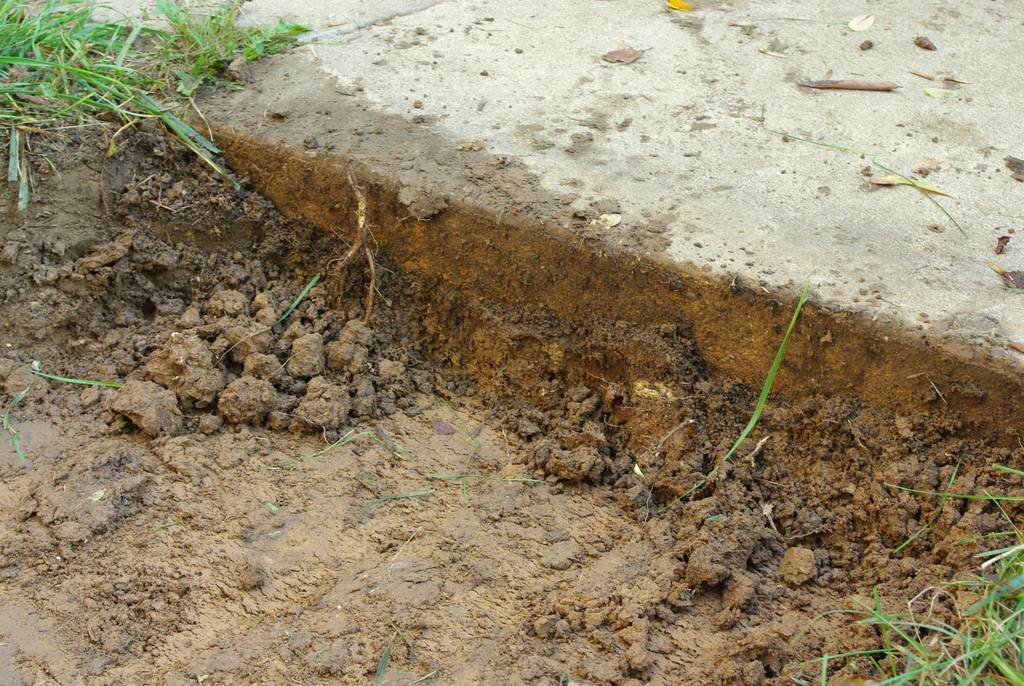
The clay soil was the perfect consistency for digging -- just enough moisture to make it diggable but not sticky:
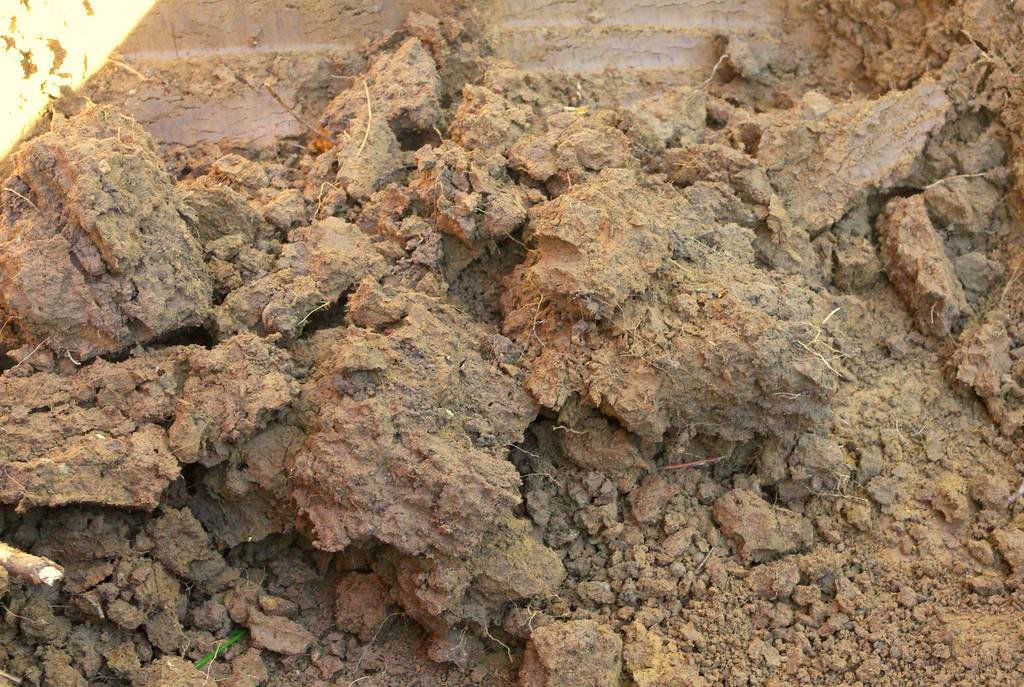
It's amazing how digging a few inches down will fill so many wheelbarrows! I took a few loads down to my holding pile in the back, until I remembered that I wanted to create some mounds for planting my Opuntias, Agaves, and Yuccas right here at the south side of the front yard. It was so nice needing to haul those loads only 30' (9m) before dumping!
I went very carefully near the sidewalk, as I knew they had just buried a new cable line here:

Good thing they stopped using black cables years ago and switched to the orange. No mistaking this for a tree root -- of which there were plenty in this area.
With the digging complete, you can see that I only had one major root to deal with:
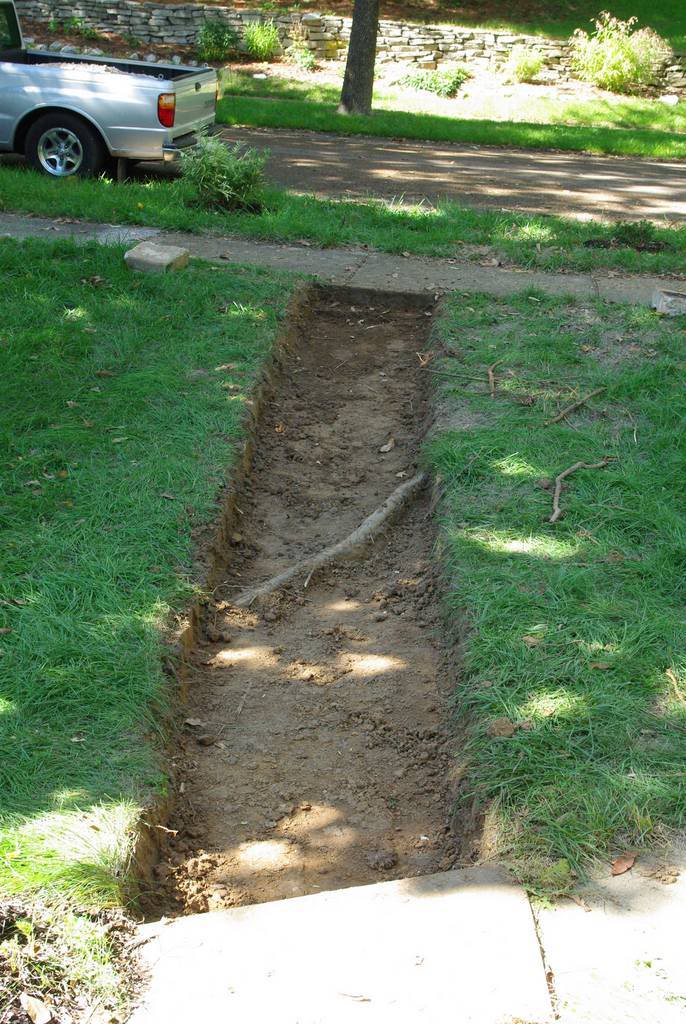
It was way too large to cut, but there's no reason it can't just stay there -- it won't get in the way of anything.

The next step is the rock:
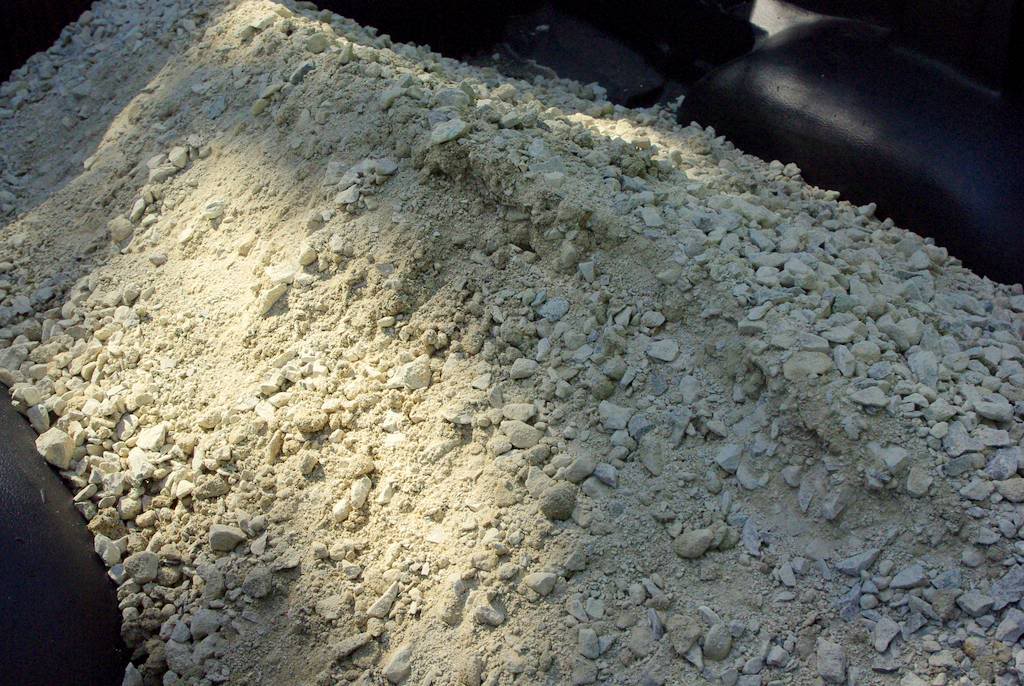
I'm not sure what the accepted name of this stuff is, but around here it's called "minus", or more specifically, "one inch minus". It's limestone gravel of all sizes, from dust to pebbles to rocks of about 1" (2.5cm) in size. It compacts very well, and is necessary for creating a stable base for patios and walkways. If you laid the stones or pavers directly on soil or sand it would be uneven after a couple of good ground freezes.
I decided to make this easier on myself:
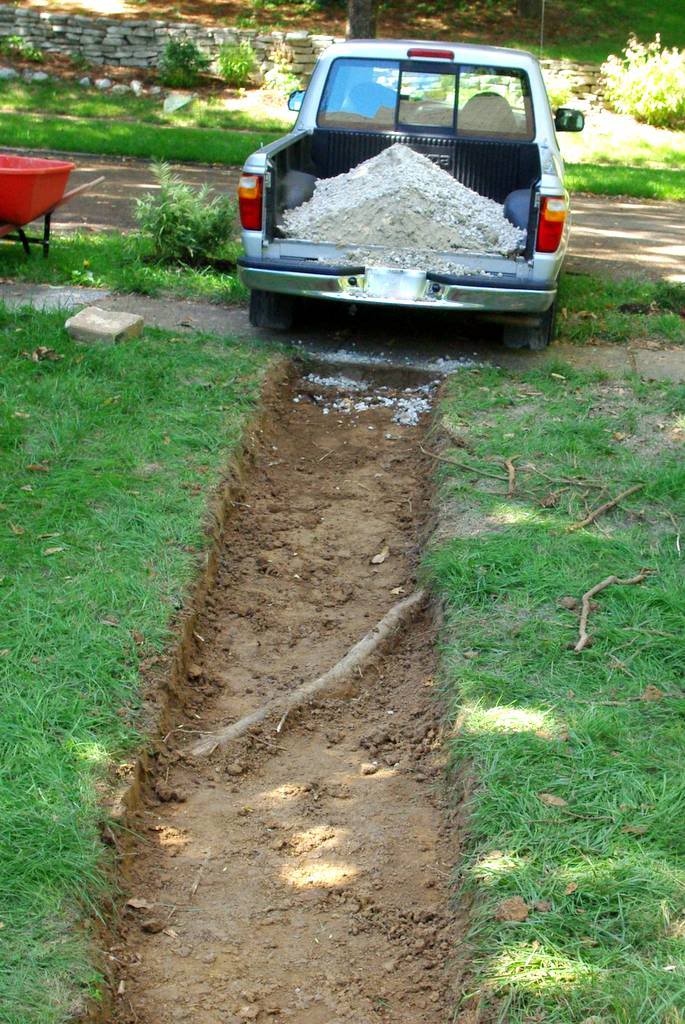
I filled the hole a bit deeper than I would have normally, as I had plenty of extra minus and wanted the walkway to be slightly elevated. I don't want water collecting here.

The last step before the pavers is tamping, to compact the base:
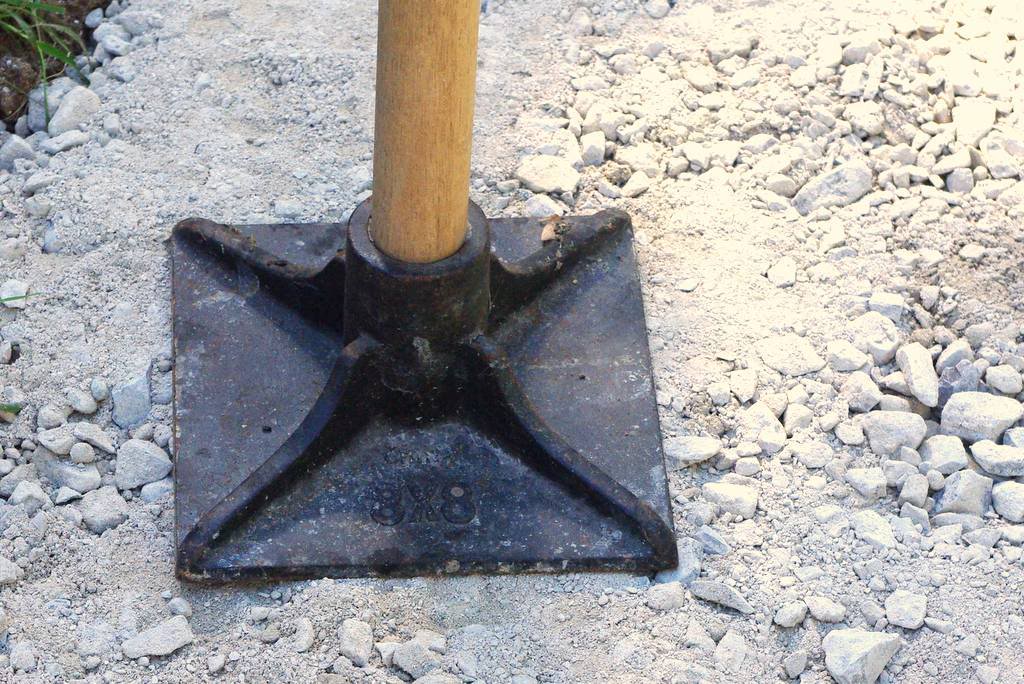
I'm not sure how to ornament the word "tamping" to convey the pain and exhaustion that I felt by the time I had completed the job. Let's just say that when I had to sign for the pavers at the material supply center, my signature was a shaky line that seemed to have a few loops in it -- it was the best that the cramped claw that was my hand could do.
In any case, it's the fun part now: flagstones!
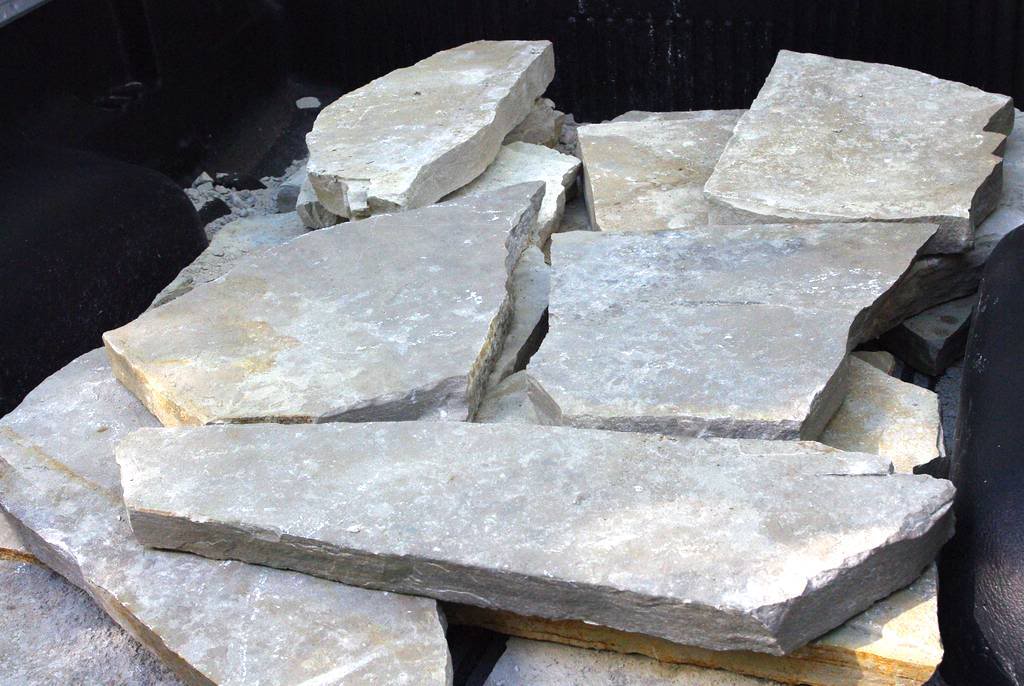
I like fitting the pieces together -- at least at first. It's a nice challenge.

Later in the process (after getting another load of stones) it becomes less fun, as the pieces didn't start fitting together as well, and required some adjustment. For instance, the edges may go "out of bounds":

Or there may be small voids that will need filling later:

Or some pieces may have little bumps that get in the way:

A heavy hammer and chisel usually fixes those though:


But when I got to the end, it was really difficult getting things to fit. I did some chiseling, but a couple of the stones cracked, and there were still voids:

So I resigned myself to picking up a few more stones from the center -- until I remembered that I still have the big flagstone that I removed when I built the planter box. So I'll remove some of these smaller pieces now and see if I can get that large stone to fit. I may need to get out the saw and diamond blade to ensure I don't crack more stones.
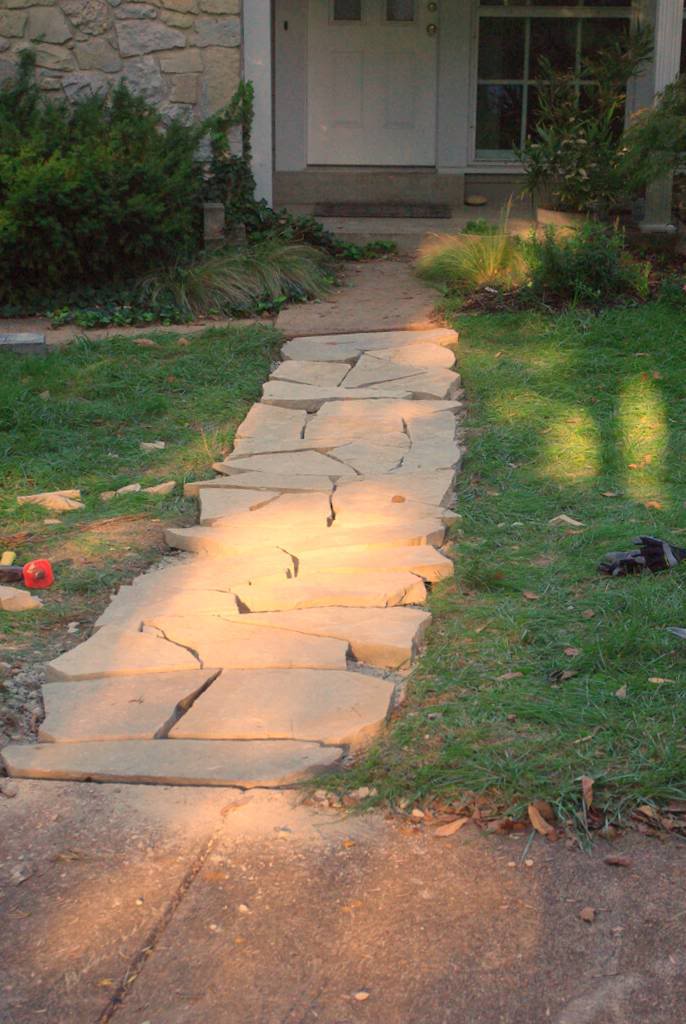
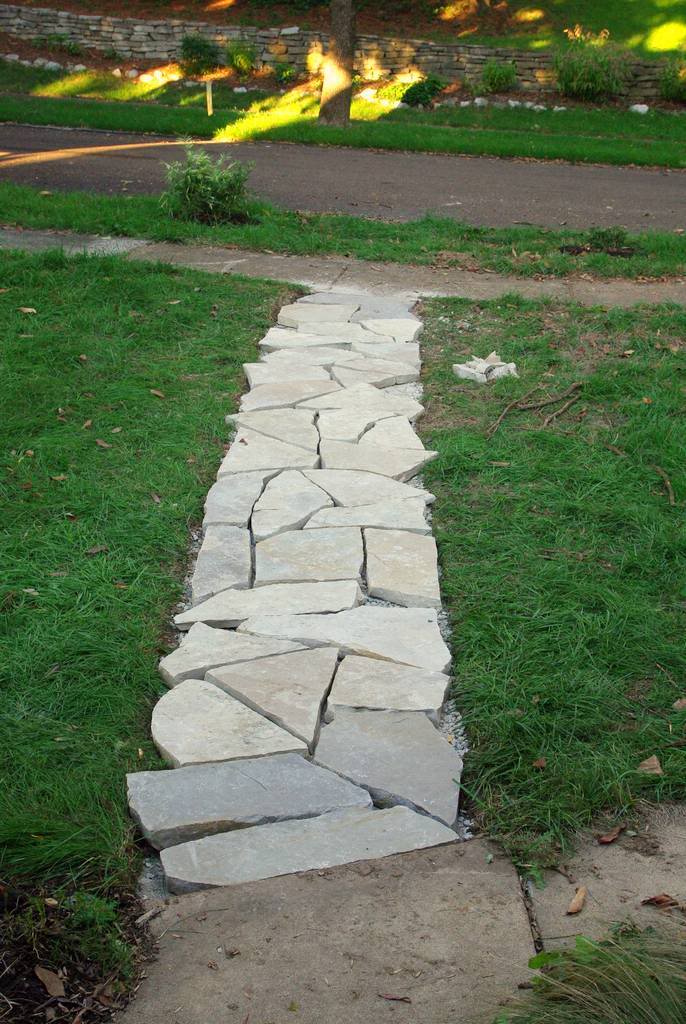
So that's the first stage of the walkway finished. The next step is to level them all out, trim off the extra bits, fill the small voids, then lock it all together with either "screenings" of the minus (with all of the larger rocks removed) or polymeric sand. I haven't decided yet what to use.
But I have a few days to decide, as I won't do that step until the weekend.
And my body thanks me for a few days off.
.


Looking good already. I feel sore just looking at the pics!
Love it! Here in TN the gravel is called "crush and run".
Looking great! I'm a sucker for flagstone.
While I've been doing virtually nothing gardening-related in the past six weeks, you've being working overtime :-).
Great job!
Have you considered pea gravel filler and spaces on the sides with edging between that and the lawn?
It's gorgeous. You cheated unloading the minus, but you worked so hard, well, I guess that's alright. :P
All in one day's work? That's impressive.
That's hard work for sure but you did a great job with it.
I'm a big fan of using the polymeric sand or "Gator Dust" as we call it out here. It's really easy to work with and does a great job at preventing weeds from growing in those cracks. It's basically a less-permanent mortar.
What a lot of hard work but the job looks very solid, you must be very pleased with the results.
It was an exhausting day for sure, and I slept poorly for it. I'm not going to edge with gravel -- stay tuned for phase II, or possibly phase III. :-)
Hi Alan - wow!! You are certainly industrious! I know that feeling well. I think it's the clay soil. We have a window of time to work with this soil otherwise it's cement or sticky glue...... timing is critical. I love what you did. I am also wanting to do a path in the back garden. A more rustic type and I have little time left with the ground still soft.
Here they call it "road base".
You chose beautiful flagstone. Looks really good, but yes, hurts looking at that kind of work! Ow ow ow. Now for that opuntia/yucca/agave planting area...