Something to climb
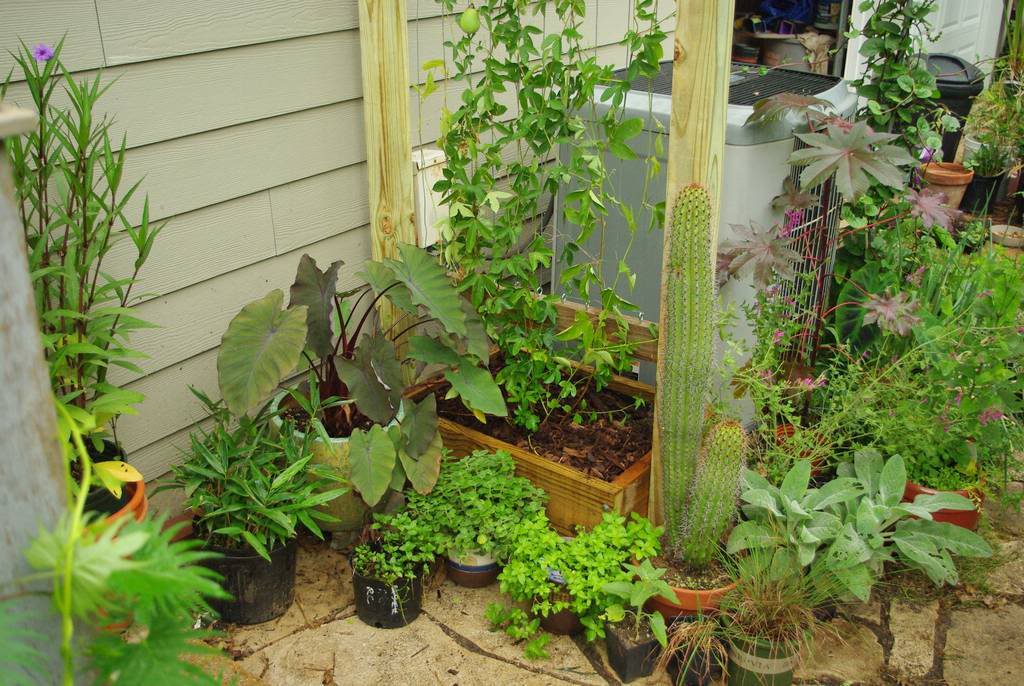
I've mentioned before that when the weather cools off, I get the itch to build stuff. There are lots of things to do in the garden, like get the fall seedlings into the veggie beds, or clean up this ragtag collection of pots:

So how do I take care of the garden tasks while still scratching the "need to build something" itch? Well fortunately the two sometimes overlap, as I'll show you today.
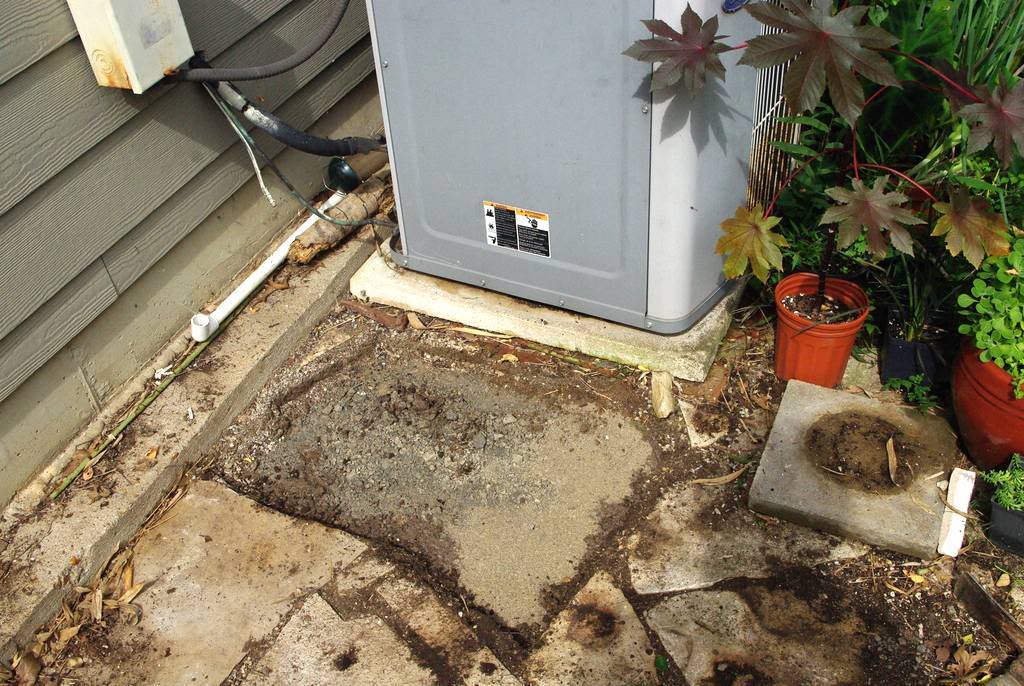
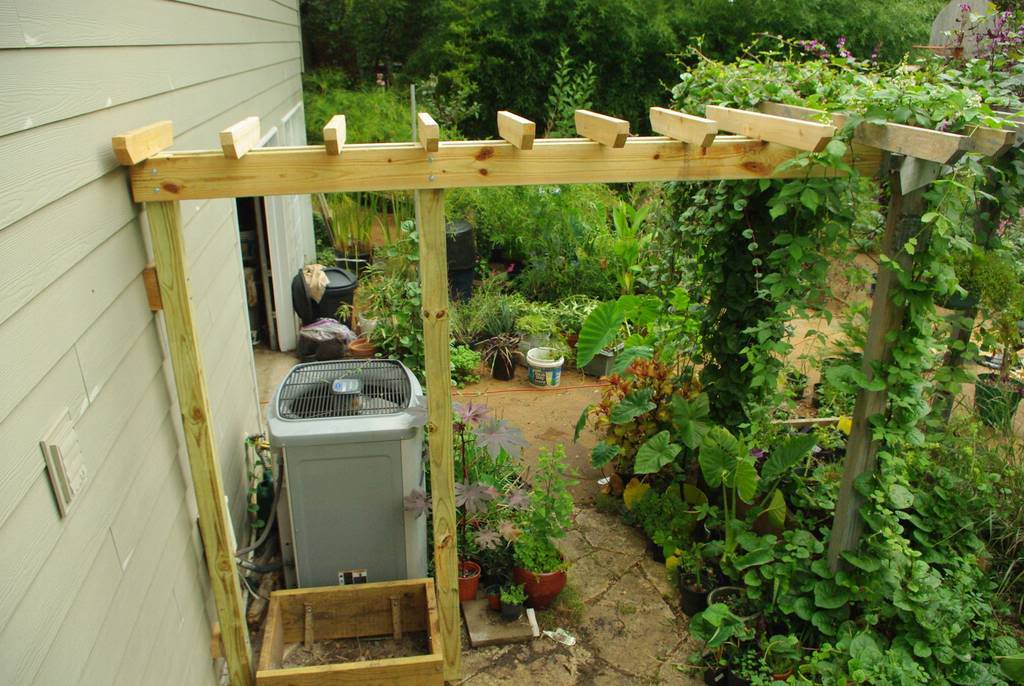
Here's a wider shot of the messy area:
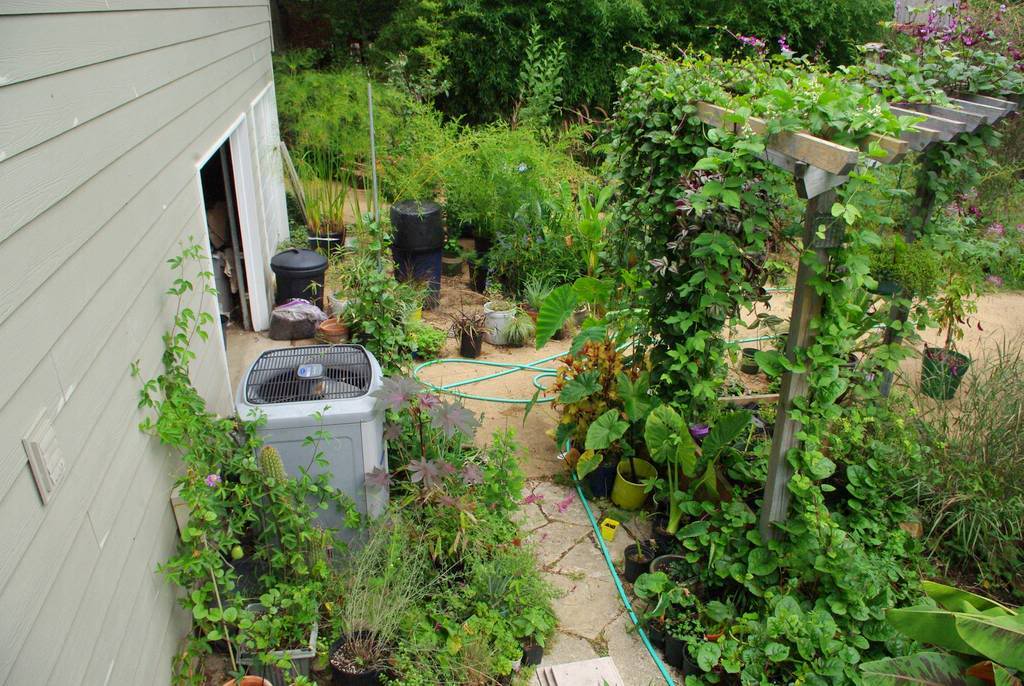
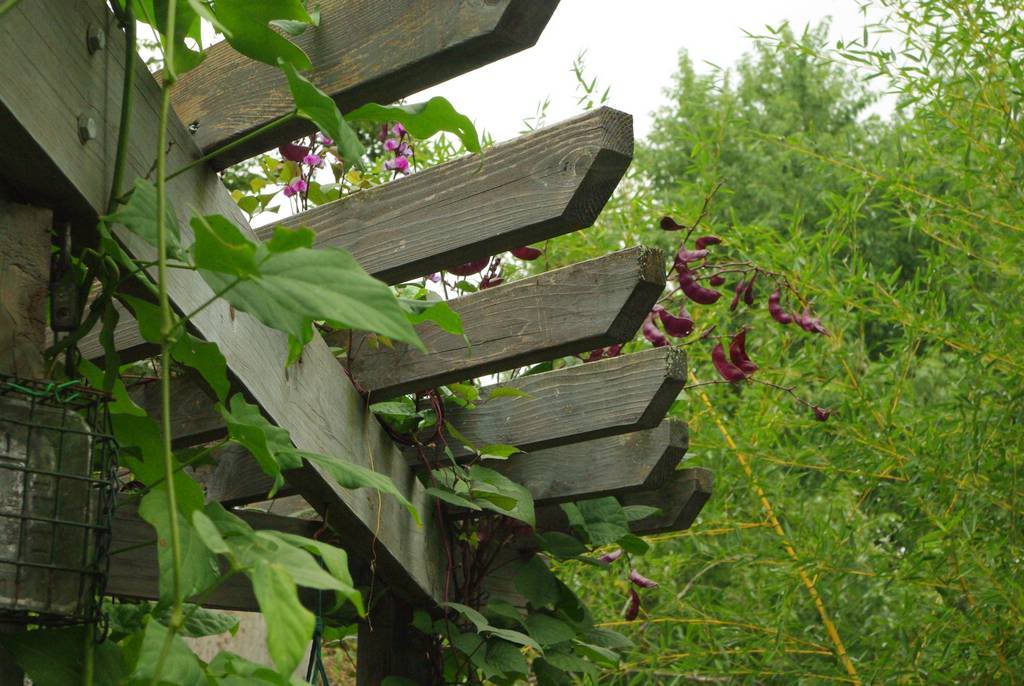
In previous years I've had a tall potted bamboo here, but it's a tough spot as it's a bit of a heat trap and the air conditioner is always blowing hot air. The small pergola is right next to this though:
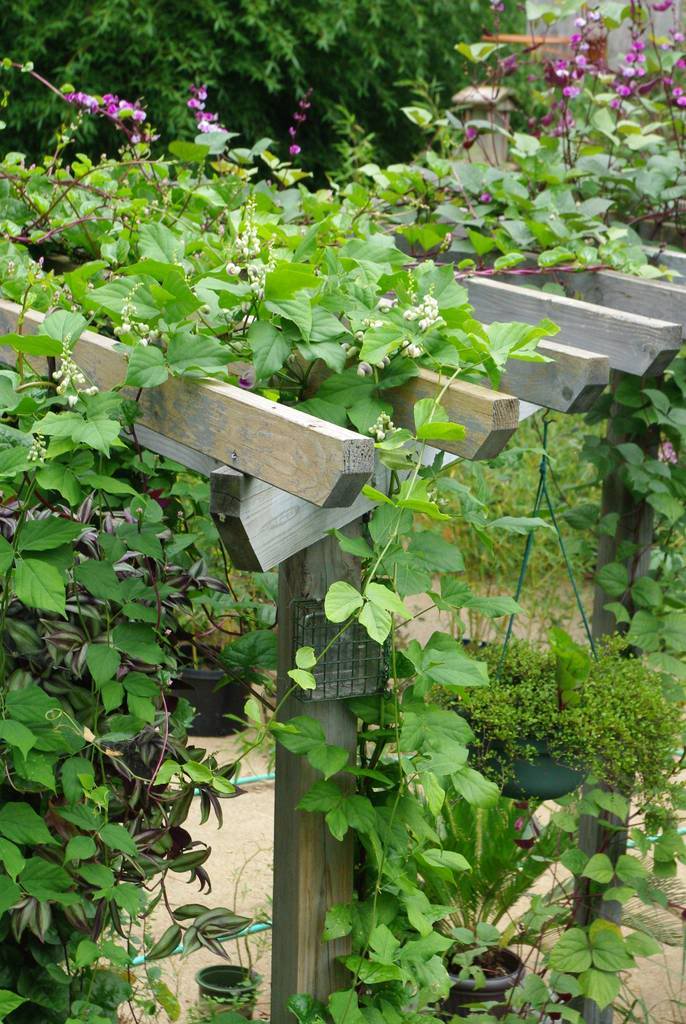
And that gave me the idea of what I can do over here!
First, I need to get rid of all of these plants:
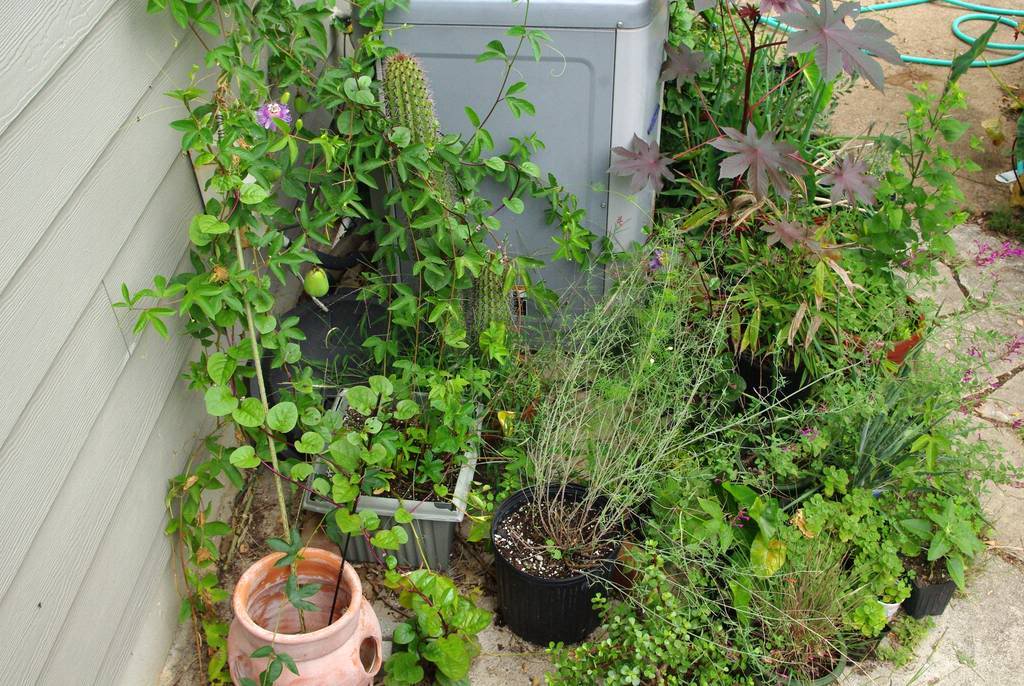
Cactus, perennials, grasses, annuals -- this is a sort of holding area that just isn't too attractive right now. All of the plants need to move out of here now, as I need a clean work area:

The fact that I left the potted maypop vine gives you a clue as to what I'm planning here, but I'm not going to tell you yet -- I'd rather build a bit of suspense.
I found out that the Cape honeysuckle that I overwintered in a pot found some of the patio cracks and rooted:

More pots of this to experiment with this winter! (Incidentally, the in-ground Cape honeysuckle survived our winter unprotected -- this is a plant that's supposed to be cold-hardy to only 20ºF or so, which shows how mild our past winter was.)
Back to the work area:
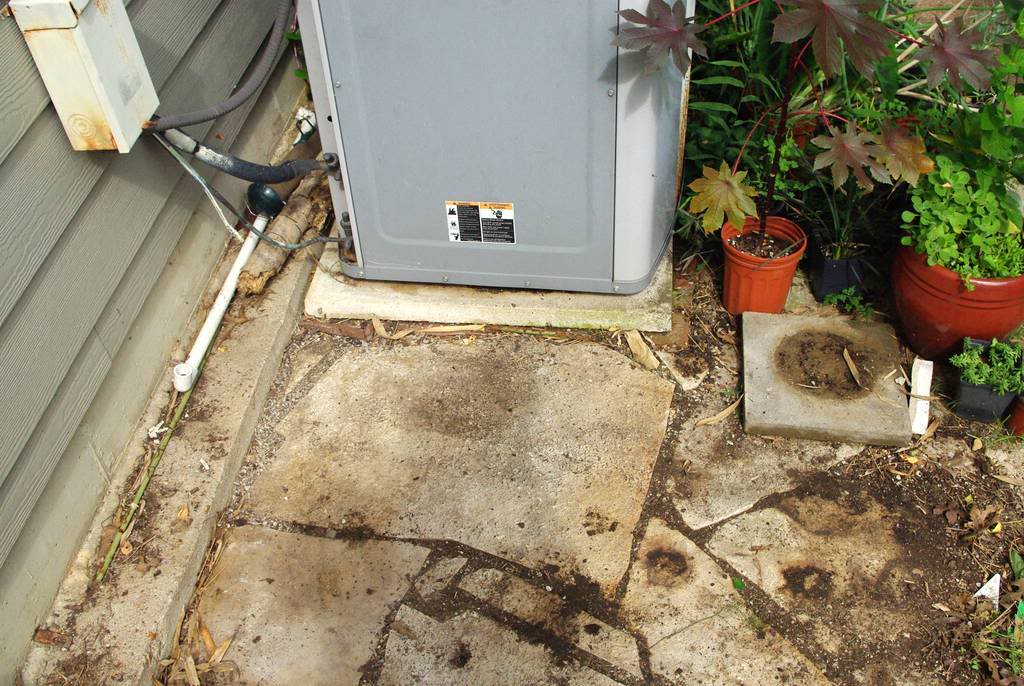
I need to remove this one really nice flagstone, which happens to be just the right size:
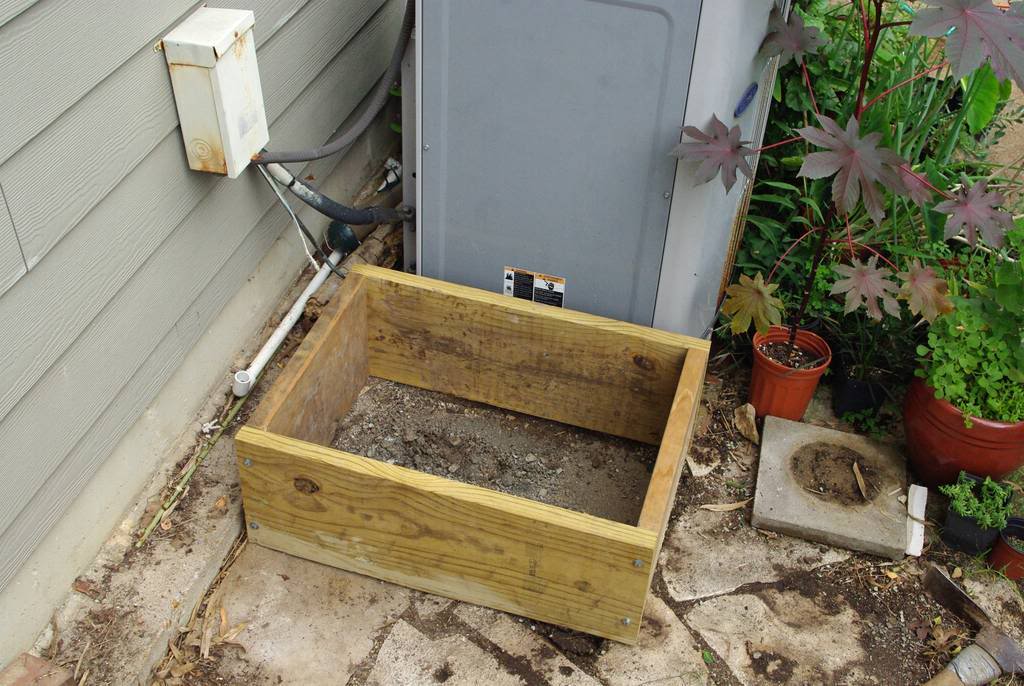
Just the right size for what? A planter box:
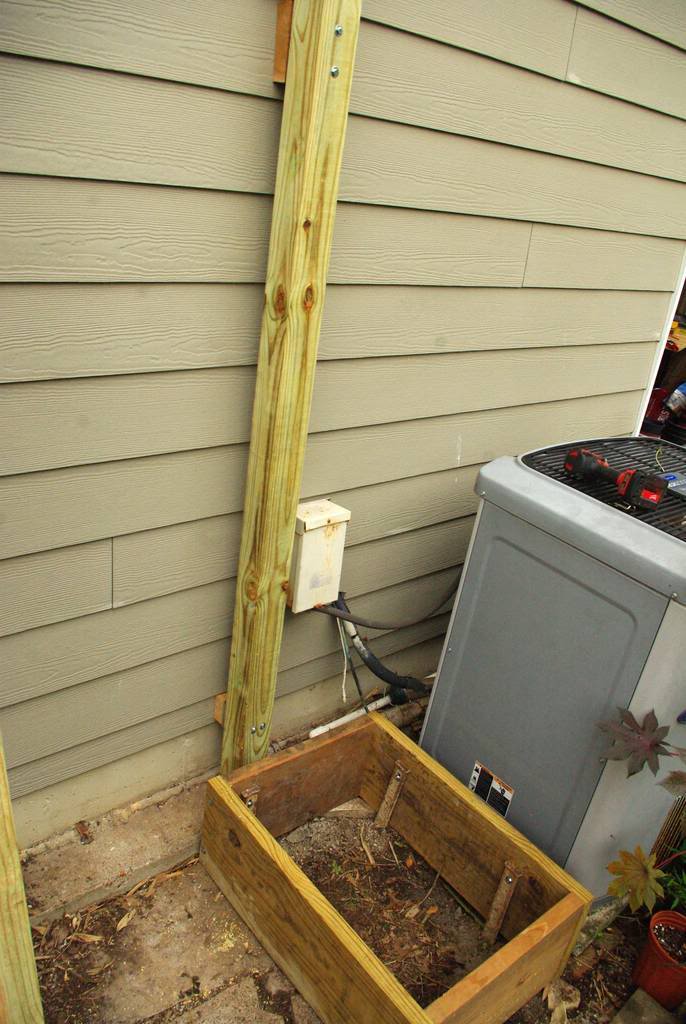
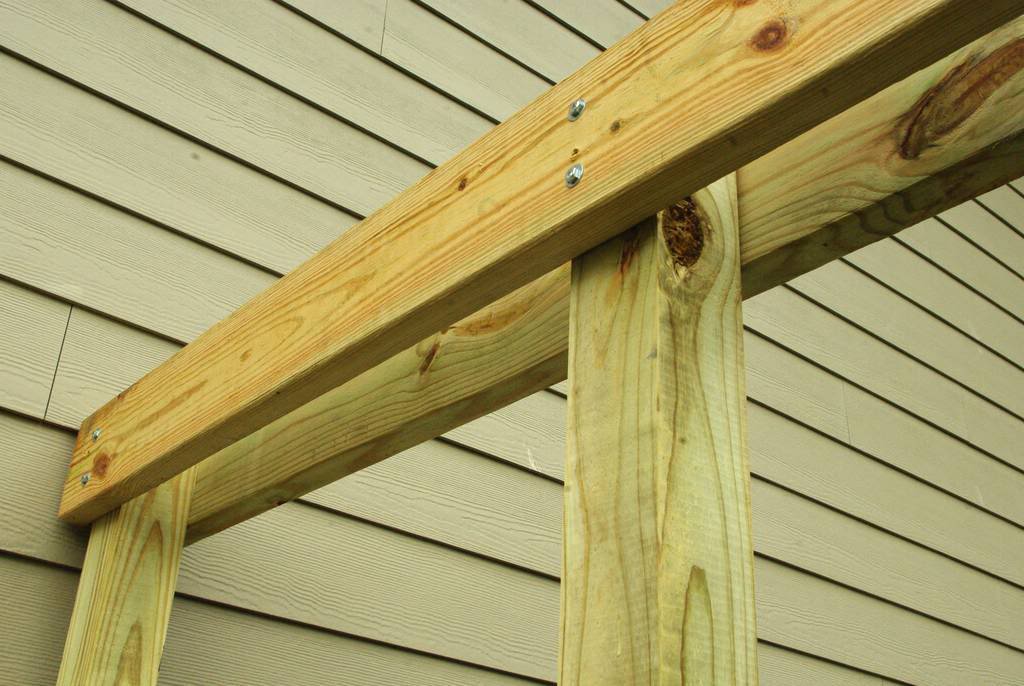
Next up, a support post. Although I cut it and started attaching it on Sunday, I didn't get it fully installed until yesterday. (I probably could have completed this project in one long day, but it spread over two):
Adding some brackets to the small pergola gives another hint on what's going to happen here:
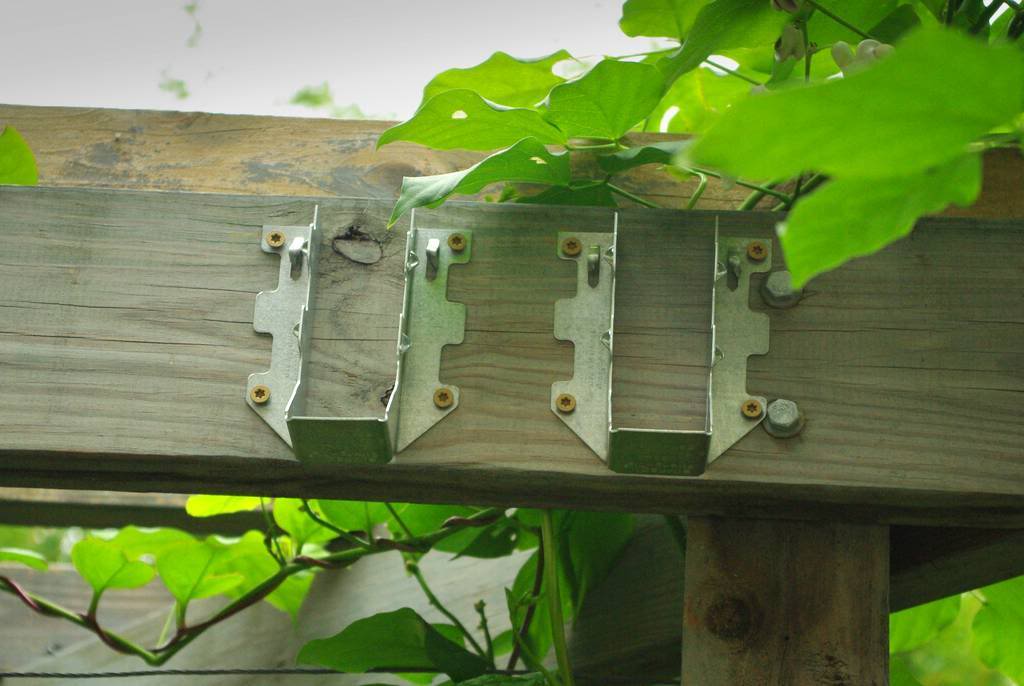
Let's not wait to put those brackets to work:
Adding a second support post, and it should be clear what is going on here now:

I'm building a planter box and trellis for the maypop!
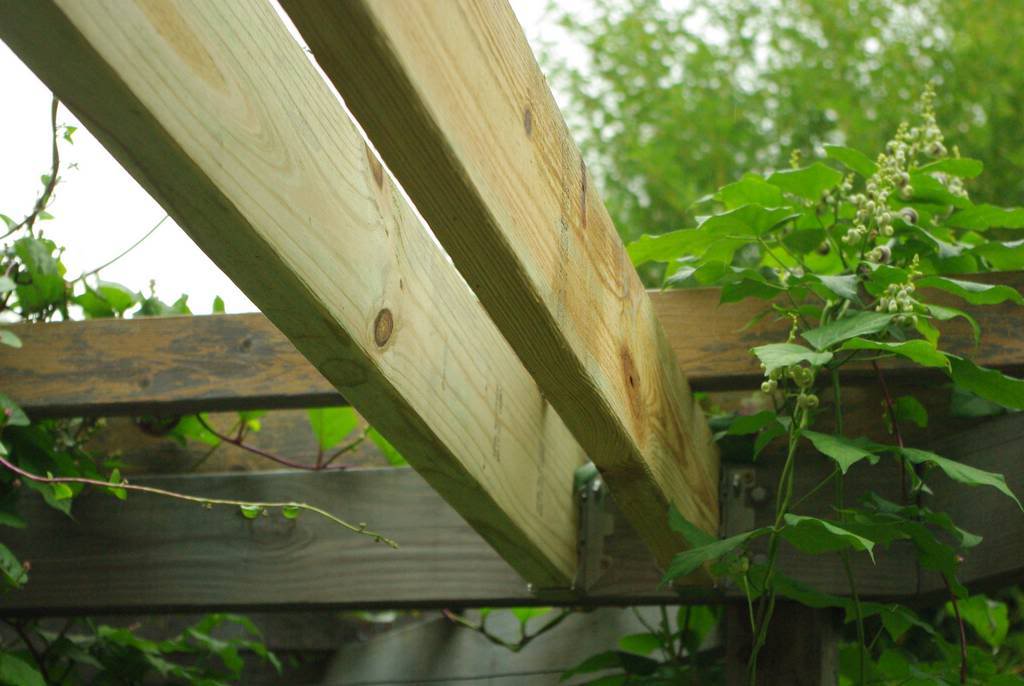
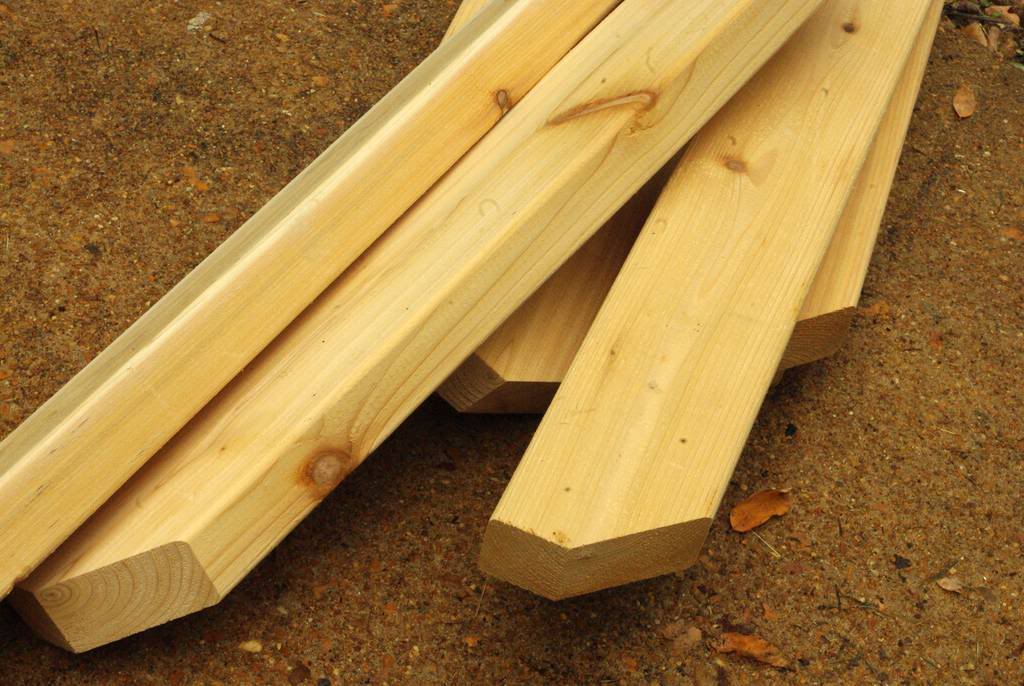
The structural work is done now, but there are a few details left. First, I want to match the look of the existing pergola:
So I need to do some cutting:
I transitioned between the two using a longer board, and I think it works quite well although it's difficult to see in these photos:
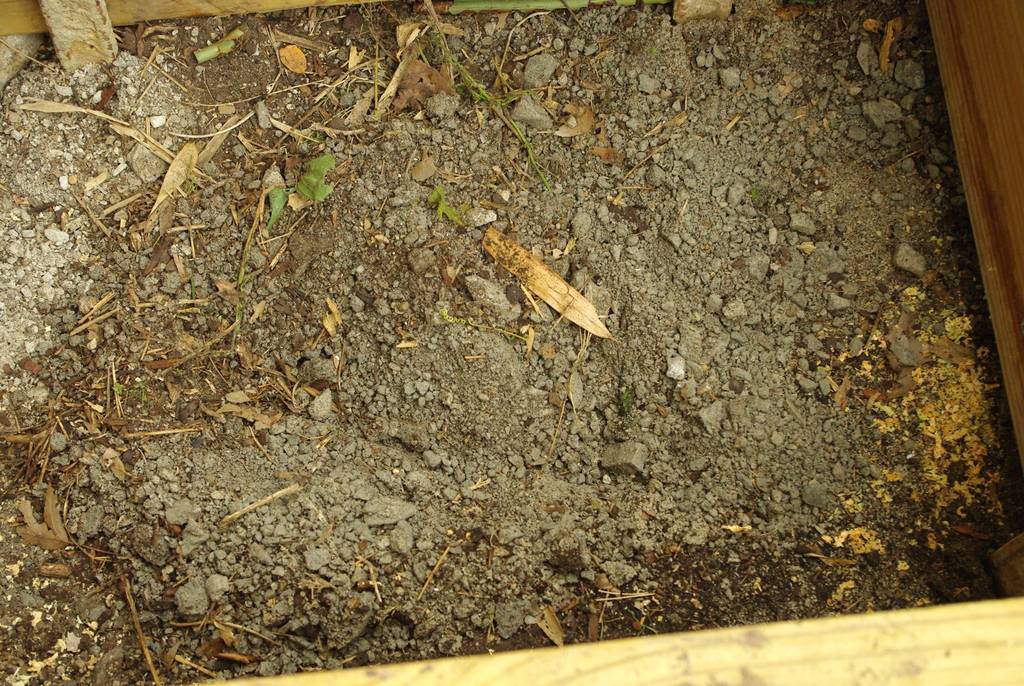
Okay, now to do some planting! The gravel base that was under the flagstone needs to be removed:
The plant roots will probably do just fine going through that rocky layer -- I have potted plants root here all the time -- but I'd rather remove it. So I dug down to the clay soil beneath, and also added some leftover pond liner:
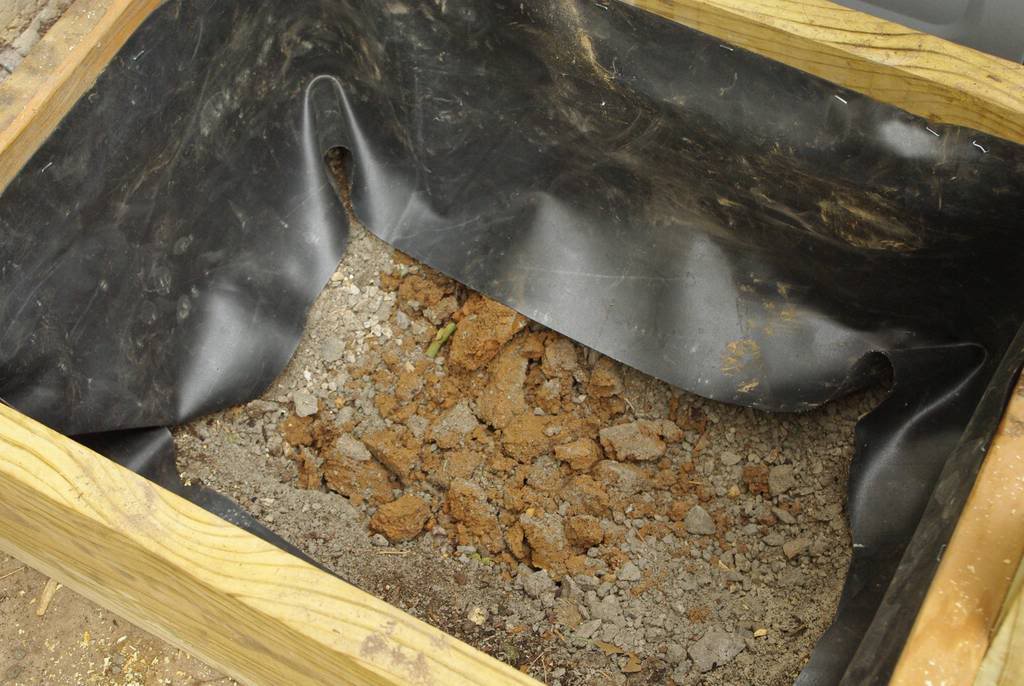
The liner will help protect the wood from contact with soil, but will also prevent soil from washing out from under the planter box -- there are some gaps between the wood and the uneven flagstones.
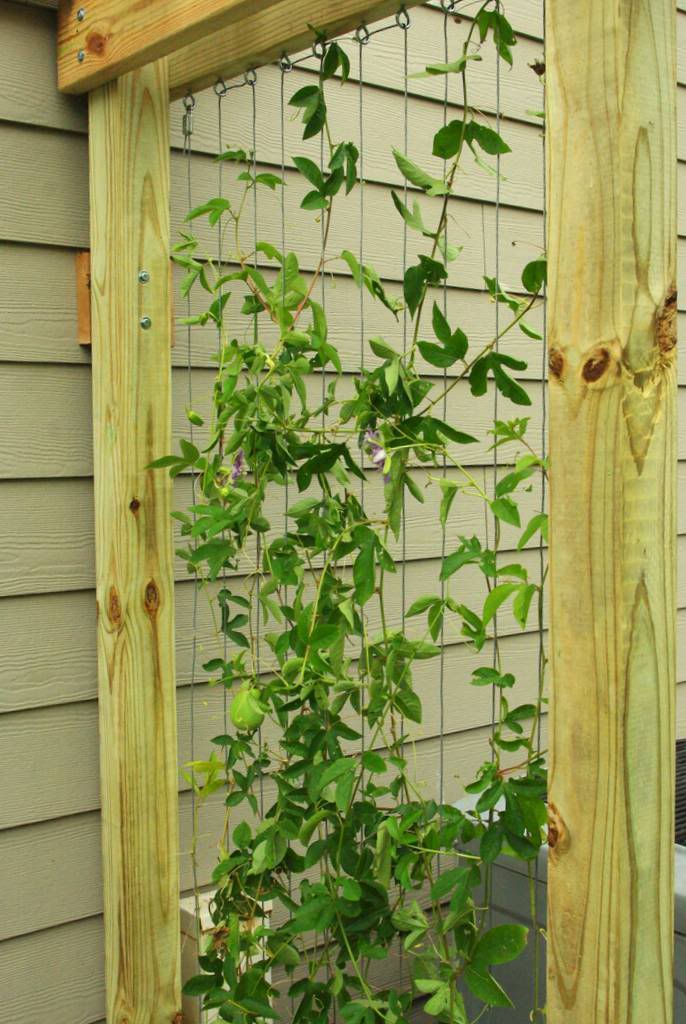
The last detail:
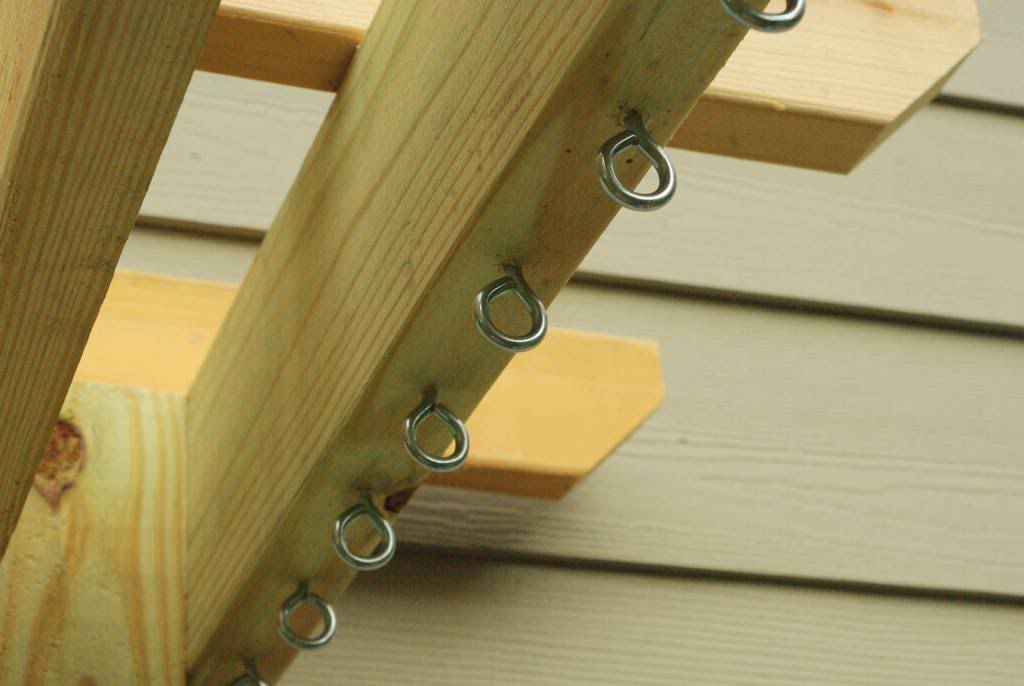
I was debating whether I should use the eye screws or just attach a section of fencing I had. I decided the fencing wouldn't look as nice:
So I spent quite a lot of time getting 20 eye screws in and stringing the wire cable. The cable was really difficult to work with as it was in a loose coil and got all tangled up. I didn't take photos of the tangle because I was pretty frustrated.
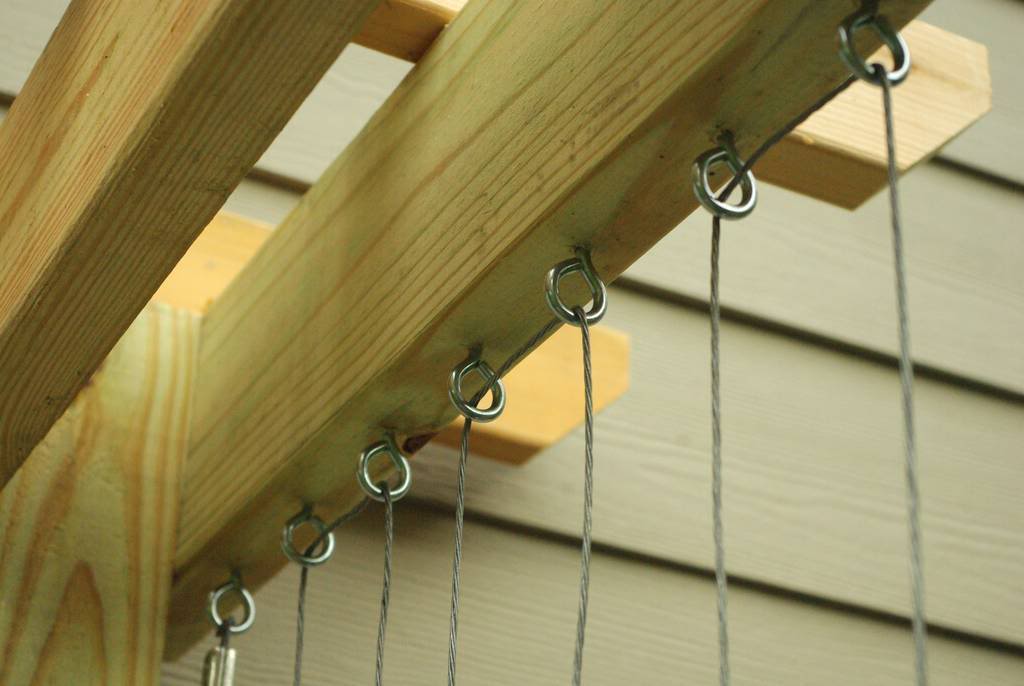
The fencing would have been much easier I think.
But I like the way the wires look:
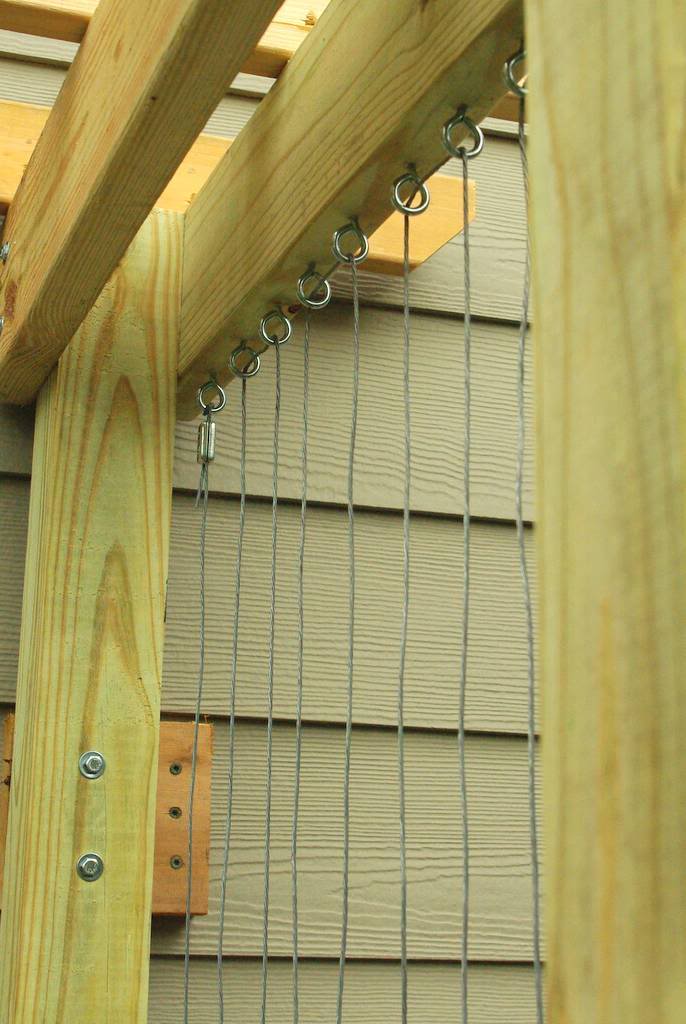
Here's an interesting tidbit: When trying to find a piece of wood to use for the lower wire support I went through all of my lumber scraps and couldn't find anything appropriate, except for the really old pressure-treated 2x4's that my neighbor had given me earlier this summer when cleaning out his garage (the same garage that had its floor and sidewall replaced). I really didn't want to use this old wood as it was probably 20 years old or more and I had no idea if it had any rot-resistance left, but I had no choice. The wood was quite heavy though, so I took a chance. It turns out that the first piece I selected was exactly the right length -- no cutting involved! I took that as a sign that this board needed to be included in this project and screwed it into place.
After the wires the final step was untangling the vines and getting them up on the trellis. This plant had been growing unsupported all summer so was a bit of a jumble. Quick tip: just cut as many of the tendrils as you can find -- you'll never untangle the plant if you don't.
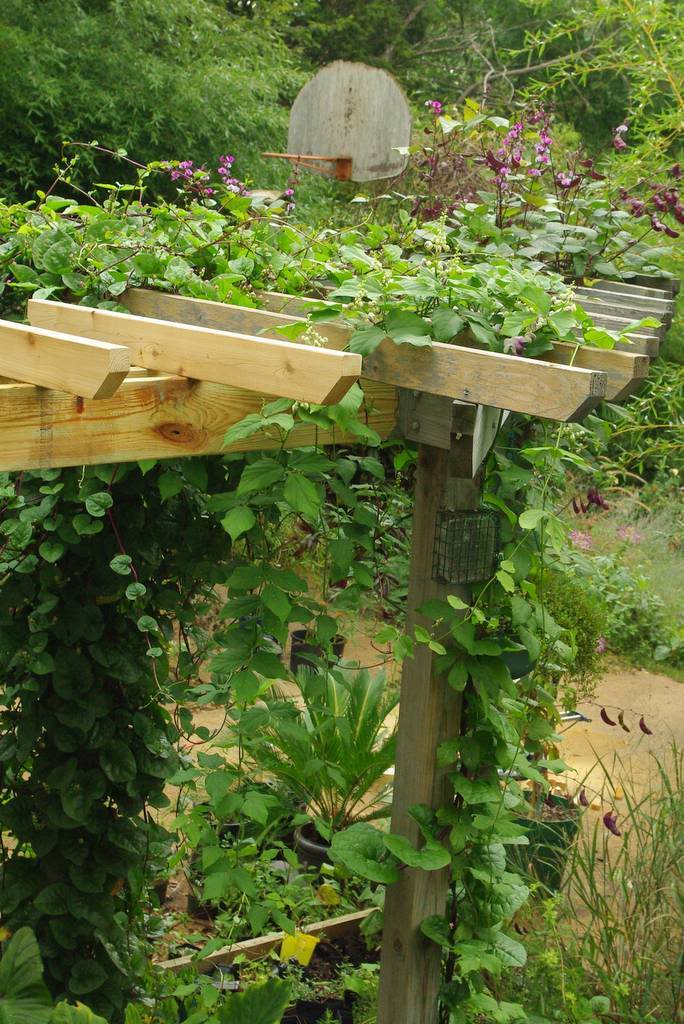
A few twist-ties, some careful twining of vines, and even some reconnecting of springy tendrils and the job is finished!
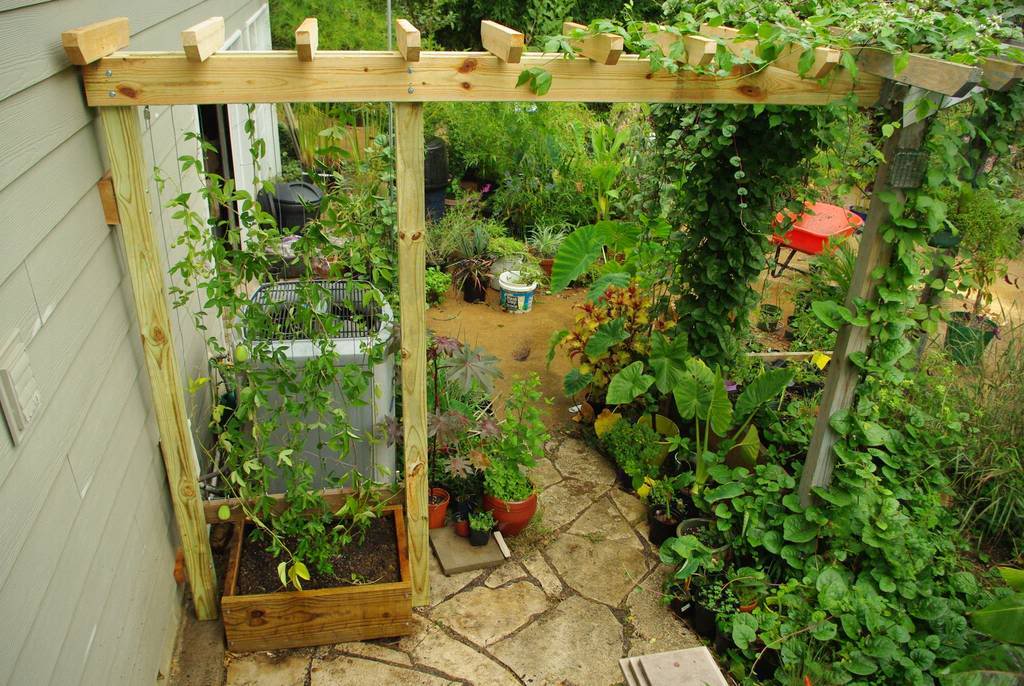
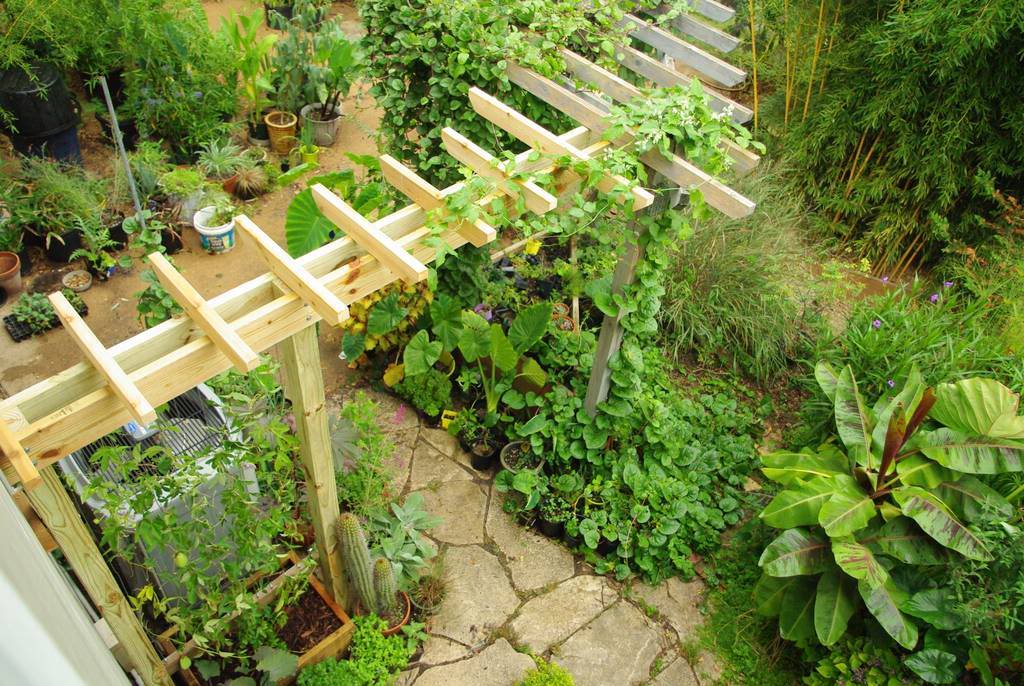
I moved a few of the potted plants back in front of the planter box, and this area now looks, well, amazing!
I'll stain the new trellis either later this fall or in the spring, as the existing pergola needs a new coat too and doing them both at the same time (when clear of vines) seems like the way to go.
The thing I like best about this project is that it creates a type of "gate" here, separating the driveway area from the patio and deck space.
I thought this planter box/trellis combo would be nice, but I think it turned out even better than I was expecting!
.


Wow, Alan, brilliant solution. I bought a commercial trellis yesterday as I'm certainly not handy. Not nearly as nice as your custom-made one. That area of yours looks really finished and inviting now. Good job!
This looks fantastic!! A handiman would have charged many hundreds of dollars for something this nice. When are you going to come stay with us for, say, a month???
Wow...that's fabulous! I had not idea where you were going at the beginning of the post, what vision. After you leave Gerhard's pack up your tools and drive north okay?
That was a great project. it looks stunning. I'm a bit like you. I'm project hungry but it is the getting stated that I need to get over. Much easier to pull out and cut back.
What a great project. You make it look easy. Now I've got the itch.
Great job! Sometimes thinking about an area, and thinking, and thinking, ends up creating the best solution. Looks like you nailed it. :)
Looks really great! You've given me a really good idea for a bare corner :)
I love what you did - so functional and it looks GREAT!! How do you attach the wire cable at the base?
Thanks everybody! Barbie: there are eye screws at the bottom just as there are at the top. You can see it in the second to last photo if you click to enlarge it.