Planter box build: day 2
Yesterday I wrote about the planter box I helped a friend build for his bamboo. We didn't quite finish, so today we'll finish the box and plant the bamboo.
We started the day with a trip to the community compost pile, where we loaded up the truck with free compost. I wish the park where this compost pile is located was closer to my house, but it's too long of a drive to make it practical for me. Maybe that's a good thing, otherwise I'd be picking up compost every weekend.
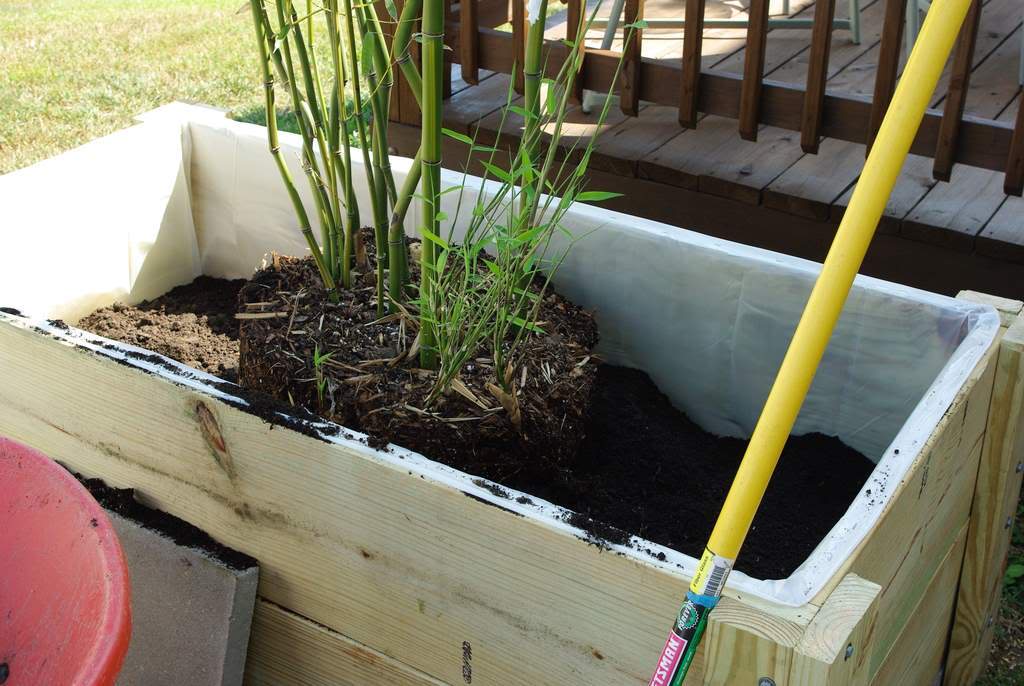
The compost was added to the wheelbarrow full of soil and turf grass that we removed when we placed the stones for the base and dug the post holes. We put all of that soil (and grass) into the planter, then mixed a lot of compost in.
Then we added the plant. If you've been wondering, it's Phyllostachys aureosulcata, or "Yellow Groove" bamboo. If you see bamboo growing somewhere in the St. Louis area, chances are it's this species.

We also needed half a dozen bags of topsoil to fill the box, again mixed in with lots of compost. There were a few rhizomes that had reached the edge of the pot and were turning up:
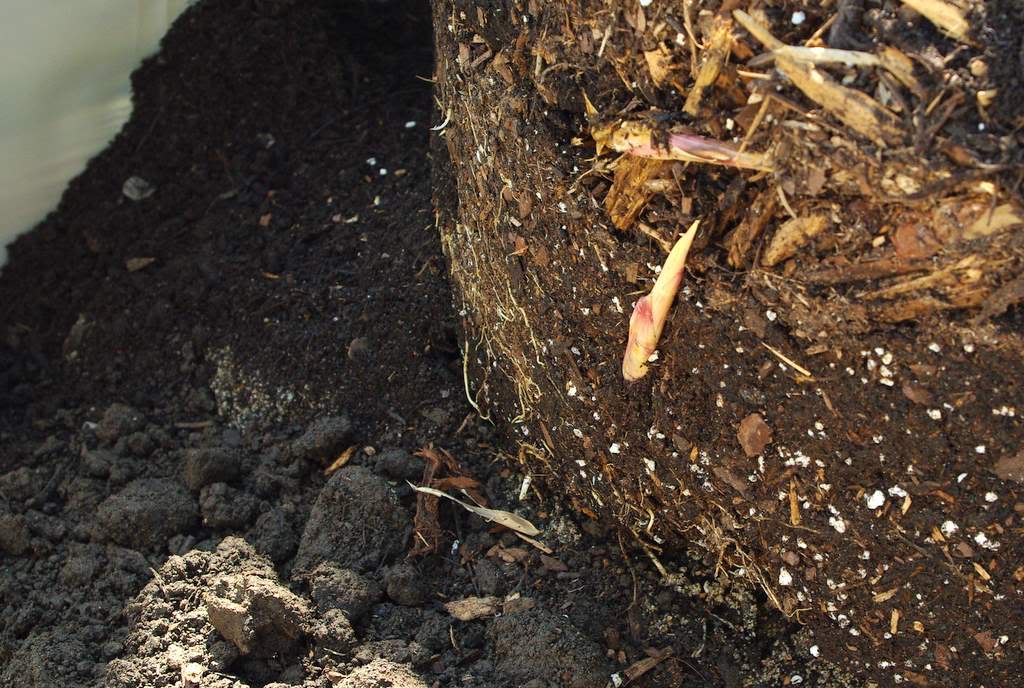
Hopefully they'll readjust and spread out instead of up now that they have some room.
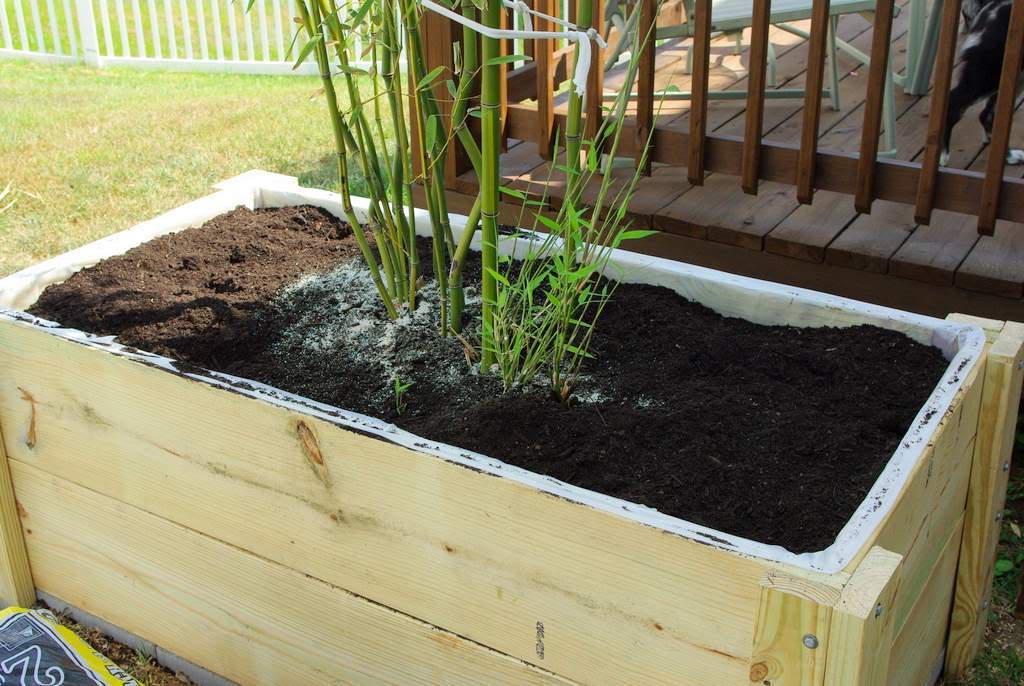
I sprinkled a little bit of fertilizer on top before we watered it to settle the soil. After the box was filled we added the top rail to the box:

Since we designed the box on the fly we didn't originally plan on adding this feature, but once we had the corner posts in we knew the top boards would really finish things off and look so much better.

While I was fussing with these boards trying to get them to match up as closely as possible, Eric said "it doesn't need to be perfect -- it's not like we're building furniture". Less than 5 minutes later when the top boards were all in place Eric then said "wow, that looks great -- it's like a piece of furniture!" Um, yeah.
A few inches of mulch, and this job is finished:

At least my part of it is finished. Eric was so caught up in the project that he immediately wanted to stain the box to match the deck. We debated for a few minutes about whether or not the treated lumber needed to dry for a while before it could be stained, but Eric decided that if he didn't stain it now it might not get done this year at all, so he went for it.

I couldn't wait around for him to finish the whole job, but I did get a couple of shots.
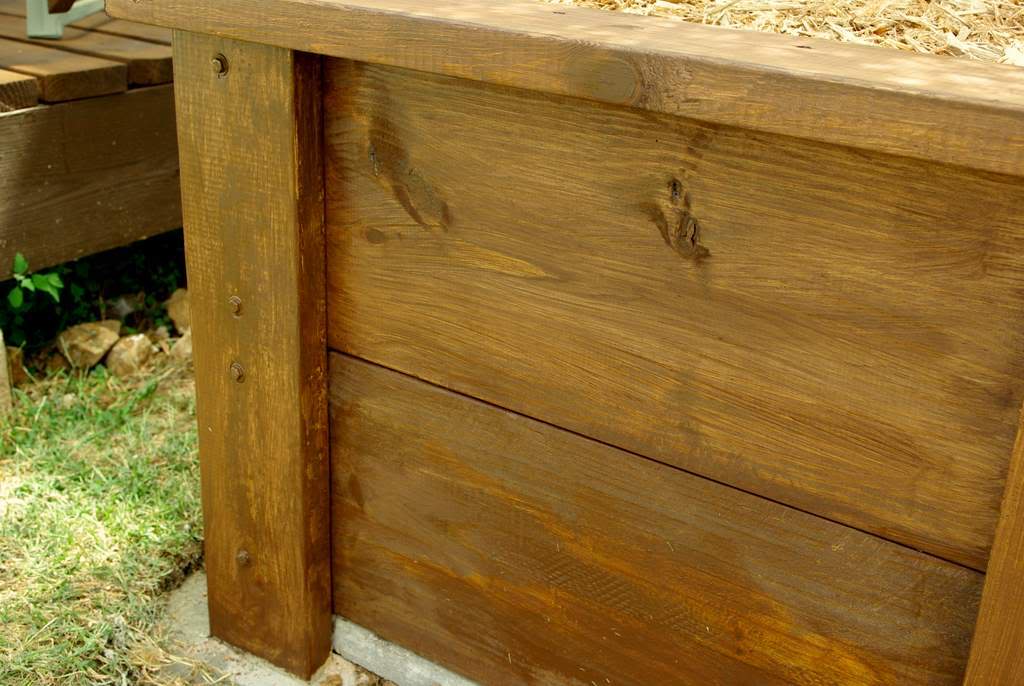
If you've never had the chance to stain a piece of wood, you should try it. It's very satisfying seeing the raw wood transformed into a rich, dark, uniform color.
I'll get a final shot of the stained box some time later this year.
One thing about this project that I was unsure about was drainage. Would the cracks between the stones and the very small gap between the stones and the bottom of the boards be enough to let the water drain adequately? I'm not certain, but I decided that it would be relatively easy to drill some drainage holes toward the bottom if we found that the box was not draining enough. Raised beds typically drain quite fast and dry out quickly, so we may not need to do anything. Time and careful observation will tell.
I'm really pleased with the way this box turned out, and it should contain the bamboo as well as give it enough room to reach a decent size. In a few years some culms will probably need to be removed, but this plant should be providing Eric and his family some great shade, greenery, and privacy by then.
In fact, I'd be surprised if we don't end up building at least one more of these boxes in another spot in their yard next year. I'll be up for it!


That's a nice looking box!
Just thought about it yesterday found this really fast
Looks great Thank you so much
You should add print option Somewhere :)
AK
That looks really good - by the way, did you use 2x4 or 2x6 lumber for the top rail? It finishes it off perfectly! I'm inspired by you to build my own, just drawing up plans at the moment!