Back working in the garden!
>> Monday, September 30, 2013 –
project
This weekend I tackled several of the tasks that were making my garden a place I wasn't excited about visiting. If you remember from my last post, travel has made it difficult for me to connect with the garden this year -- I was worried that I wouldn't be motivated to get out there and enjoy it. I'm glad to say that a couple of days of beautiful weather changed that for me. On Saturday I mowed the back yard and cleaned up the veggie beds, and those two tasks made the garden instantly more welcoming for me.
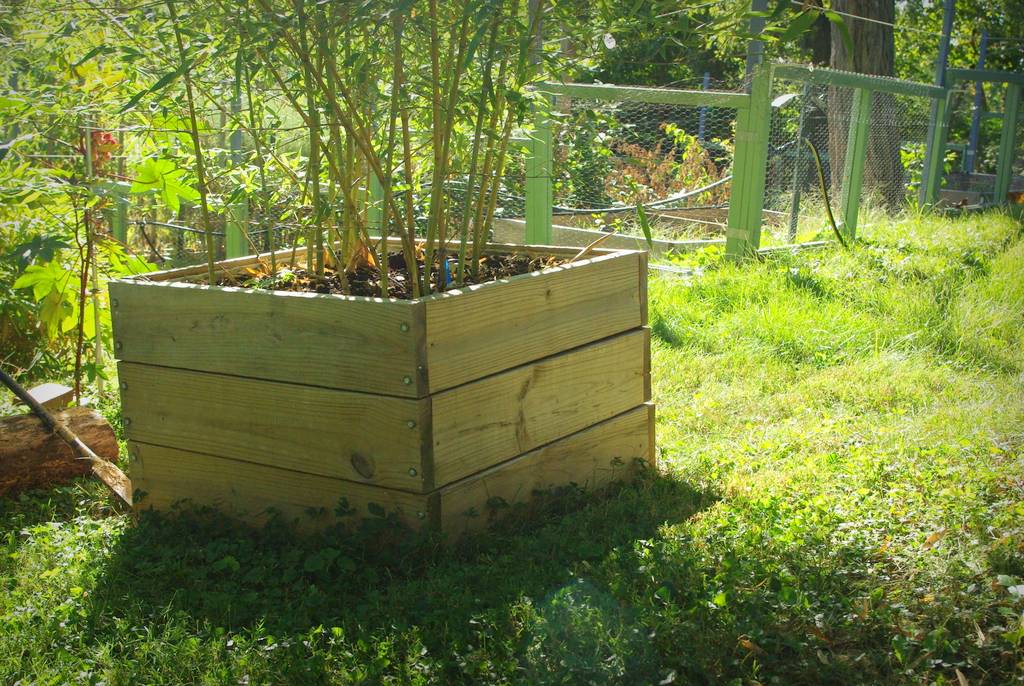
The veggie beds cleanup was quite a chore, but I'm not going to tell you about it yet -- I'm too excited about a project I tackled yesterday: this not-level-at-all planter box.
This thing has been bothering me almost since I built it last year. I'm not sure what was wrong with me at the time, but I didn't spend much time ensuring it was level when I made it. Its angle was really distracting for me, and I've been trying to think of an "easy" way to correct it for quite a while. (The photo above doesn't indicate the true amount of lean on this -- use the neighbor's fence in the background for reference on what "level" is.)

One of the latest ideas I had was to try and jack it up. If I could do that, I could cut some boards for the bottom to straighten it all out. I thought this was a long shot, and a quick test with my pry bar confirmed it: the boards would probably break long before they started lifting.
Luckily, I had another plan that did not require me to lift 400+ pounds (180+ kg): I would hide the problem.

Here's an idea of how much out of level this thing is -- this corner would have to be raised 3 or 4 inches (7-10cm).
So I got started by attaching the first board:

Yes, that really shows the problem better, doesn't it? Yike. Stick to the plan Alan, just stick to the plan...
Once I got the entire top level, I added "legs" at each corner:


It's already looking much better, isn't it? The legs are a little wonky at this point, as they're just temporarily held on by a single screw each. As much as this work has improved the situation, I wasn't done yet -- there was more I could hide by adding horizontal boards to hide the diagonal cracks:

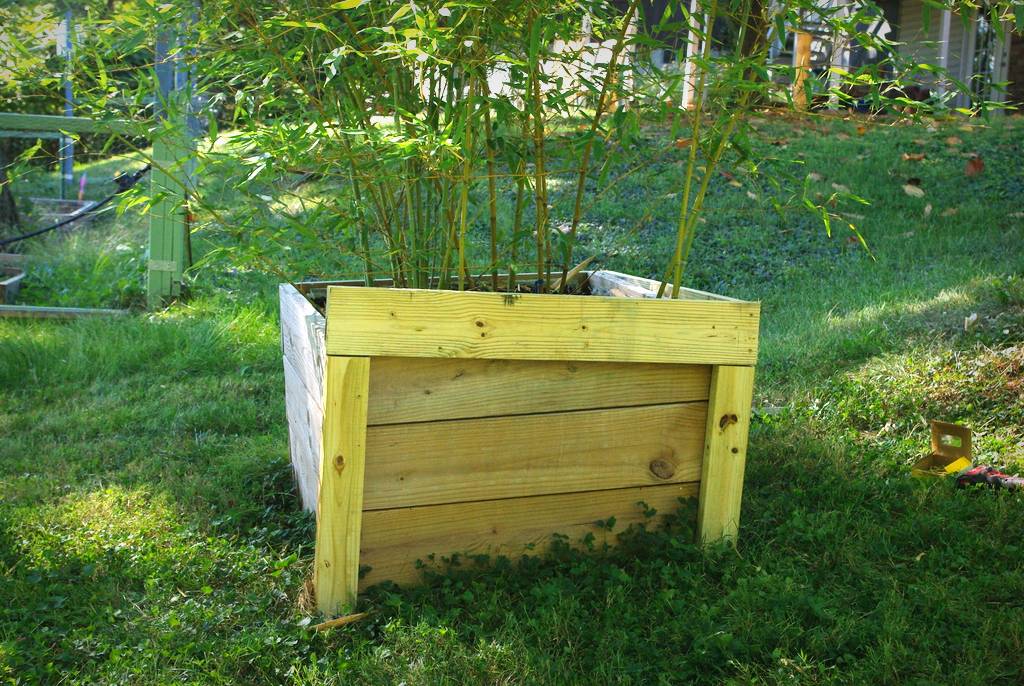
And that's the job finished!

This looks fantastic from this side! From the other side, not quite as nice, but at least it's level:

You can see how out-of-level this was when you take a close look:

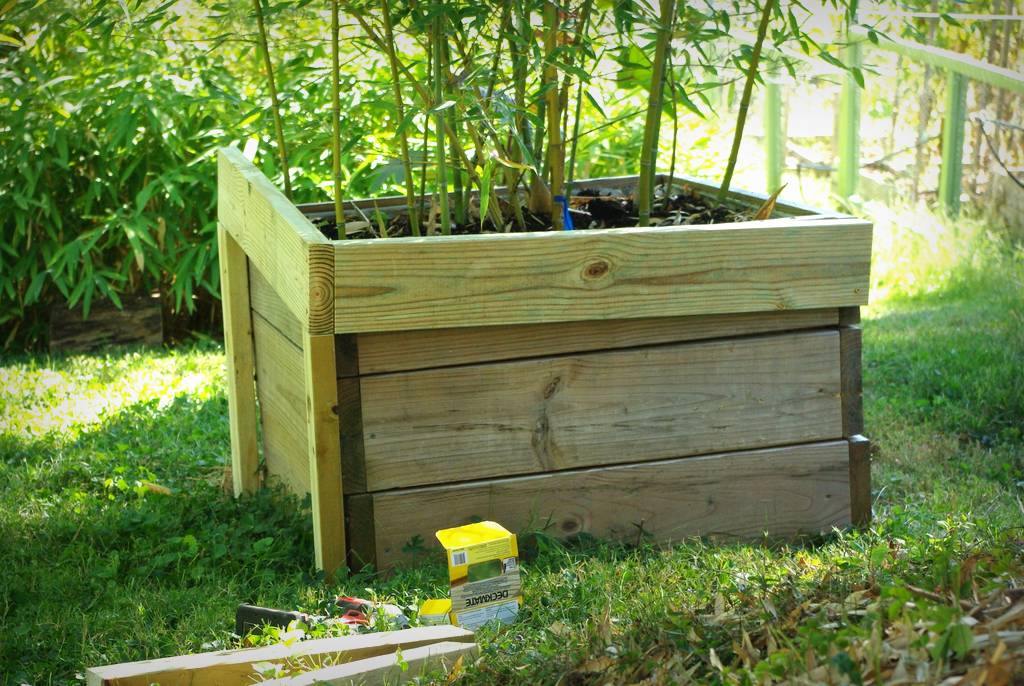
I have to say that I'm extremely pleased with the way this turned out. It required a minimal investment in time (a little over 2 hours) and money (about $30), and now I'm not ashamed of this planter!

Now it's just up to the bamboo (Phyllostachys makinoi) to do its share of the work to make this an impressive feature in this part of the garden!
It's so nice to be working on garden projects again!
Any questions about the details that I didn't talk about? Please ask in the comments!
.


I like the planter's design.Its a nice planter for herbs.
Herbs? It's full of bamboo! :)
I love the "I don't know what was wrong with me" part... I ask myself that 8 or 9 times a day!
Clever solution to the problem! I love thinking outside the box...ahem!
Lisa: nice one! :) I should also point out that this extra layer of boards created even more little hidey-holes to help insects make it through the winter (hopefully).