Filling the cold frame
>> Tuesday, March 19, 2013 –
seedlings
Yesterday I showed you how I built a simple cold frame over part of one of my veggie beds.

Today I show you what I planted, because an empty cold frame is a sad sight.
The first step was to get an empty storage box so I could carry all of these outside easily.
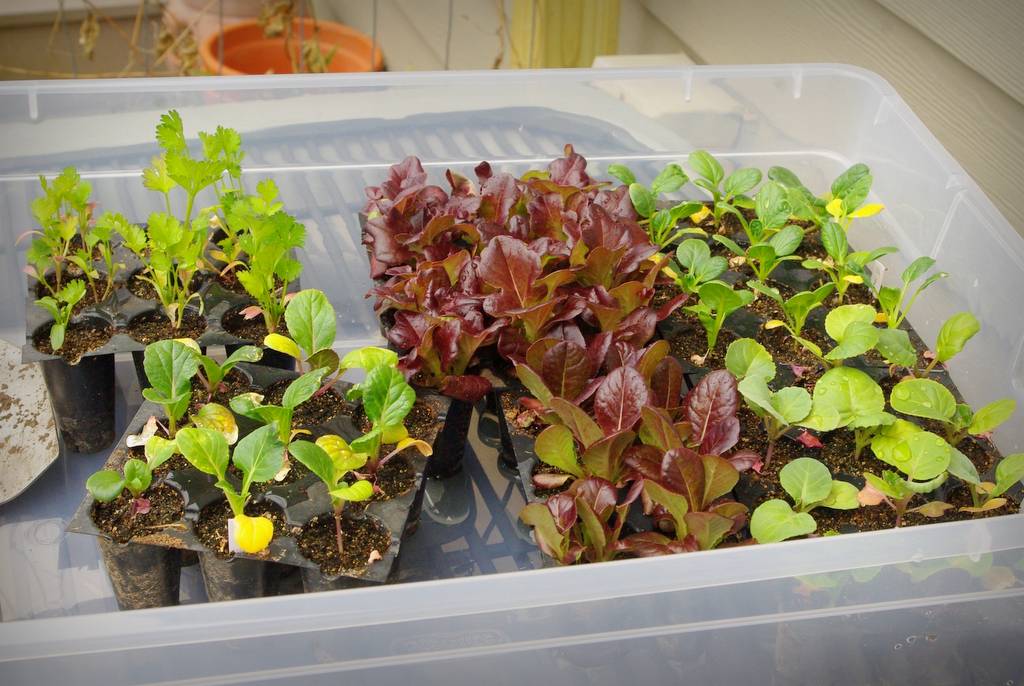
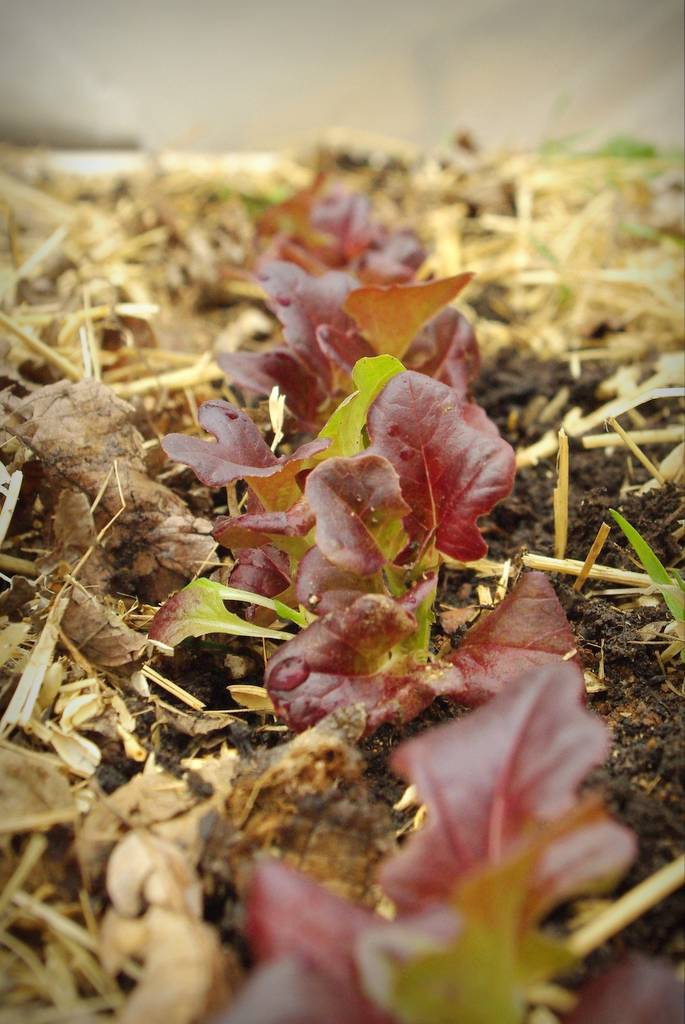
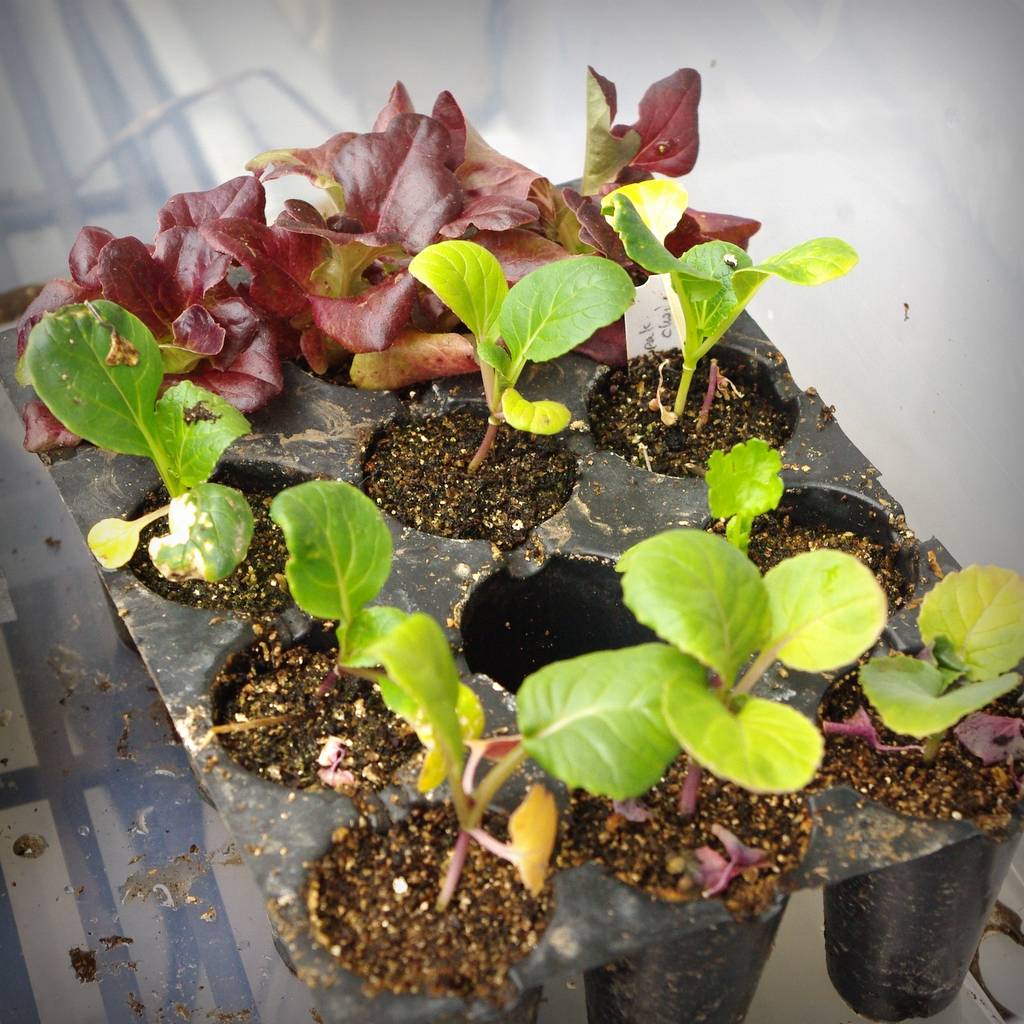
It doesn't look like much to plant, but I don't have too much space, so it's actually quite a lot. From the left there's cilantro (coriander), pak choi, Red Merlox lettuce, Red Romaine lettuce, tatsoi, and a Komatsuna and cabbage hybrid called "Senposai". Let's get them into the ground!
First I had to decide how closely to pack these rows. I decided that I had room for three of them, with a little bit more space in the upper right corner where some fall-planted seedlings didn't make it through the winter:
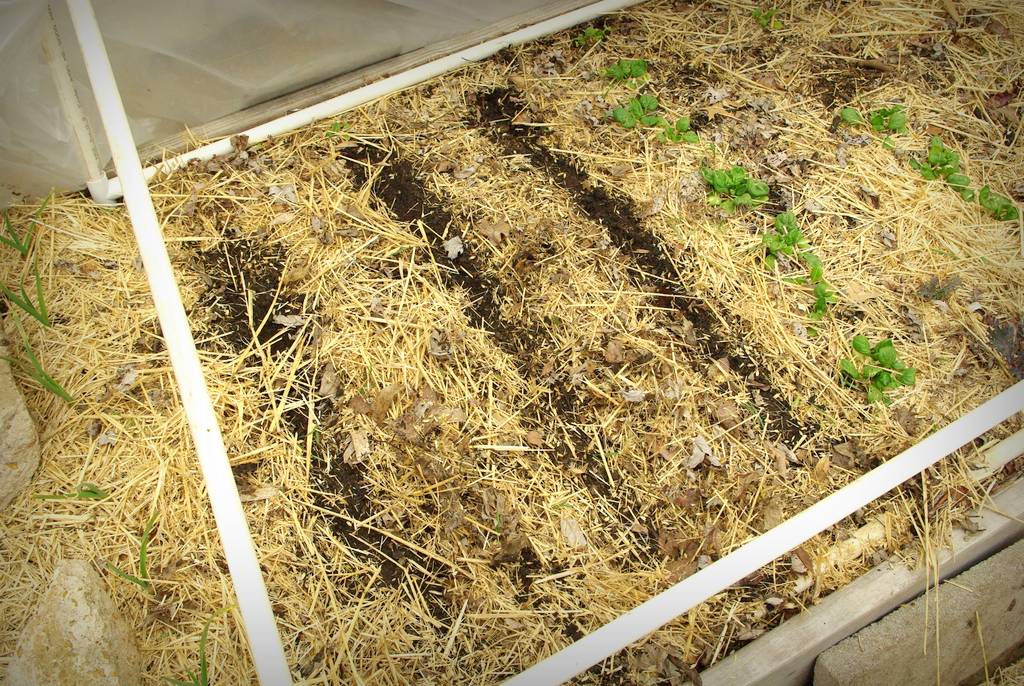
The plants that are already there are spinach -- they overwintered under some straw. There are a couple of kale plants and four beets in the right side of the bed too (cut off in this photo).
Into each planting hole I sprinkled a bit of Bio-tone starter fertilizer:
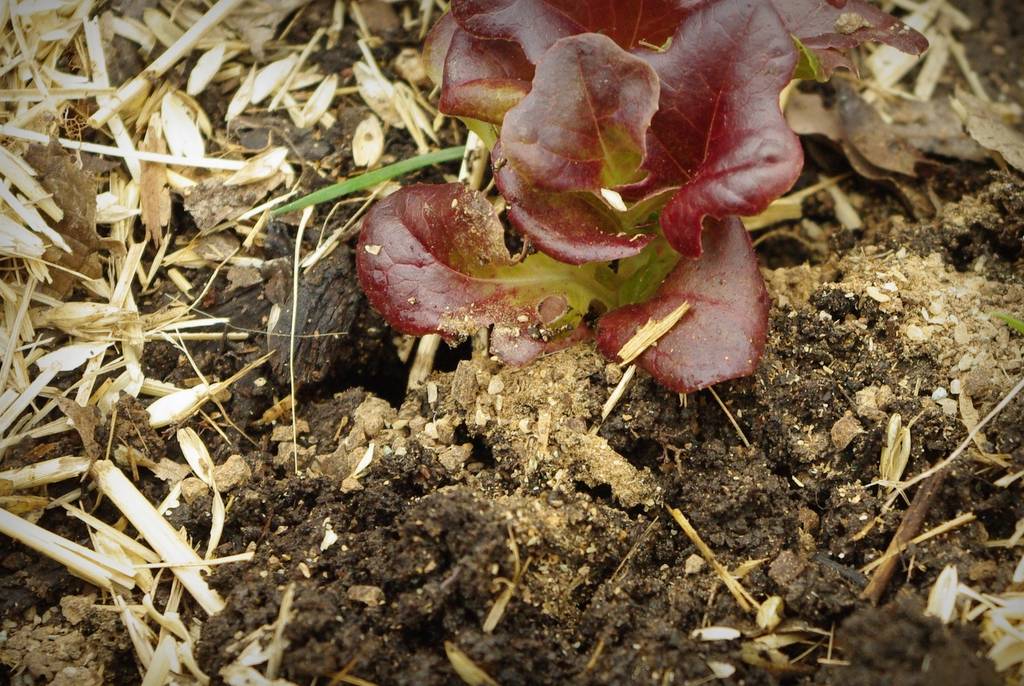
I haven't used this before, but thought I'd give it a try. I've used Plant-tone and Garden-tone before and really like them, and figured this couldn't hurt. (One of my goals this year is to fertilize my edibles regularly. I tend to rely too much on existing soil fertility and that becomes a problem mid-summer.)
So all planted up:
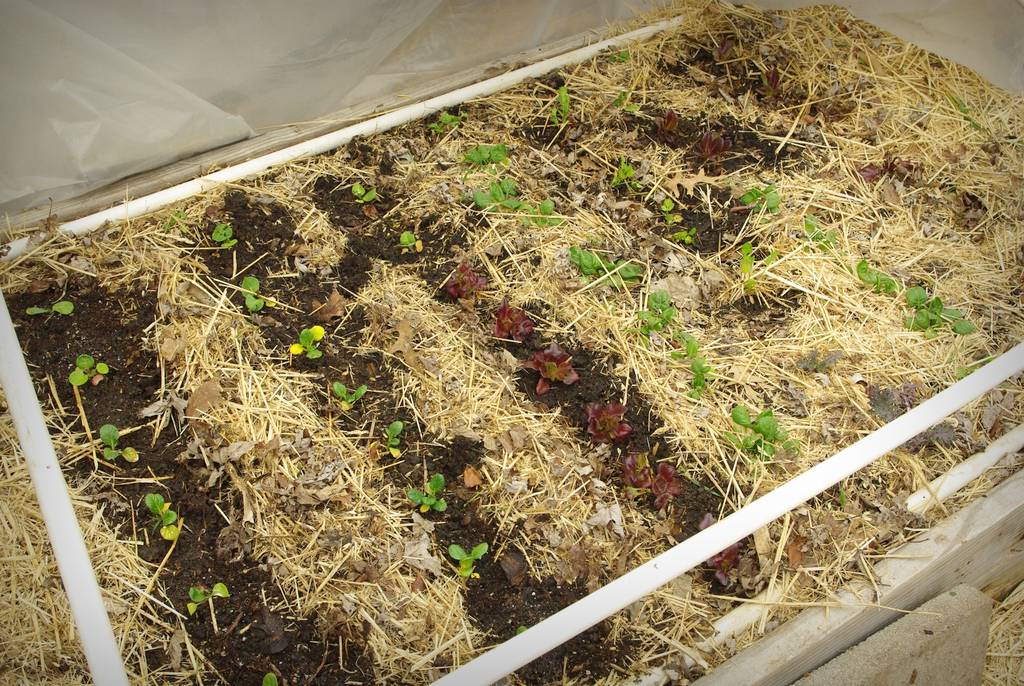
Is it my imagination, or are they bigger already?
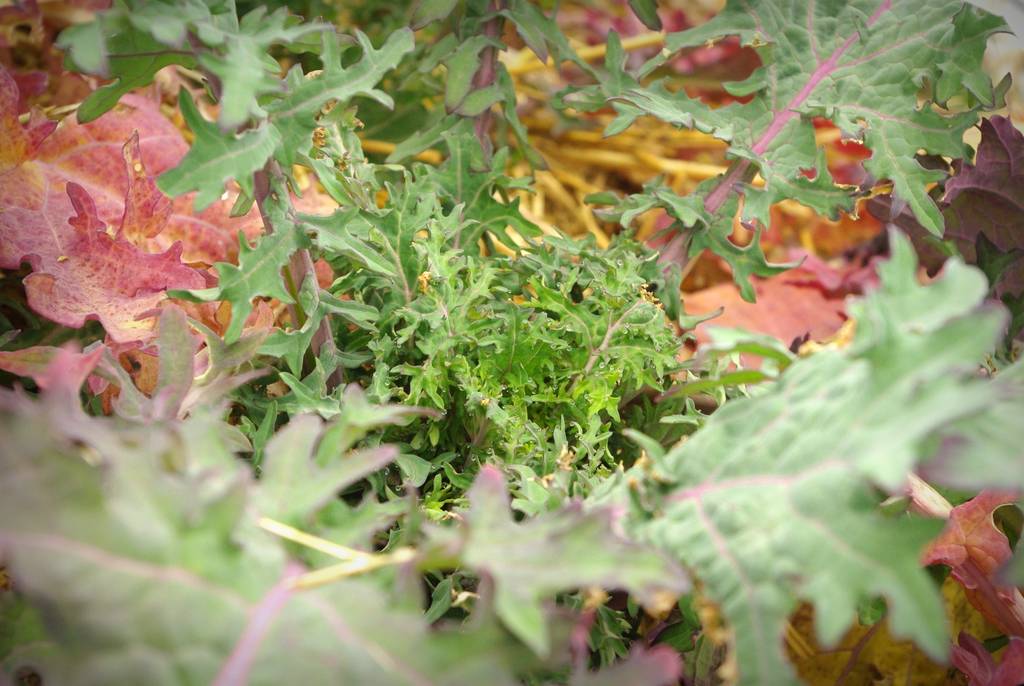
I didn't have enough space for all of the seedlings here, so I put some cilantro on the end of the kale bed:

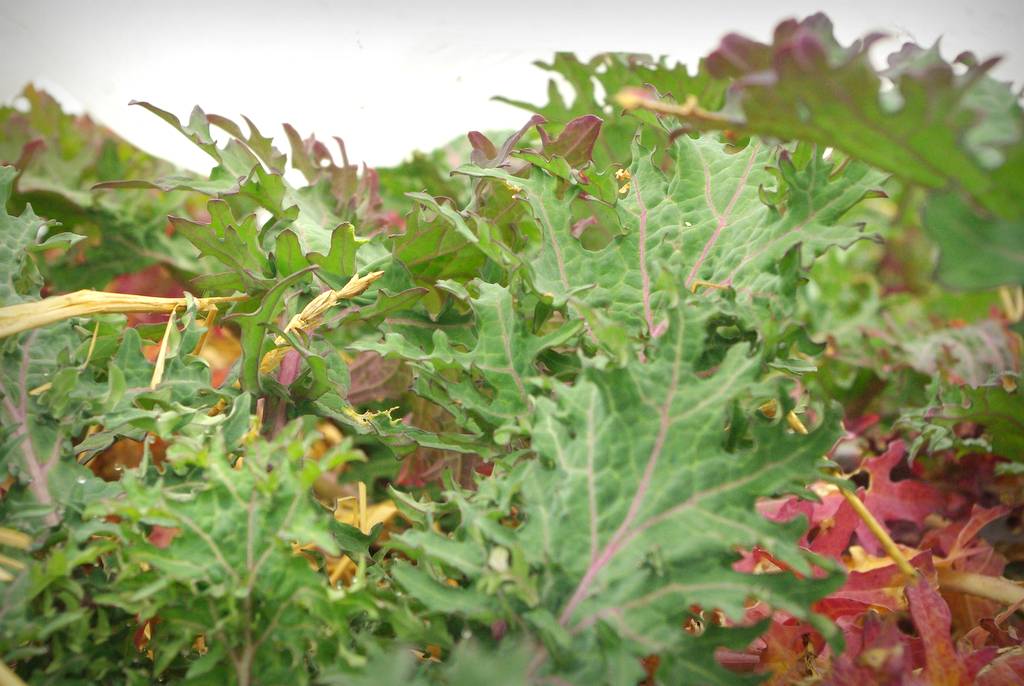
Speaking of the kale, it's looking so good!
There was still some room in the triangle box where I planted the Swiss chard last fall too:
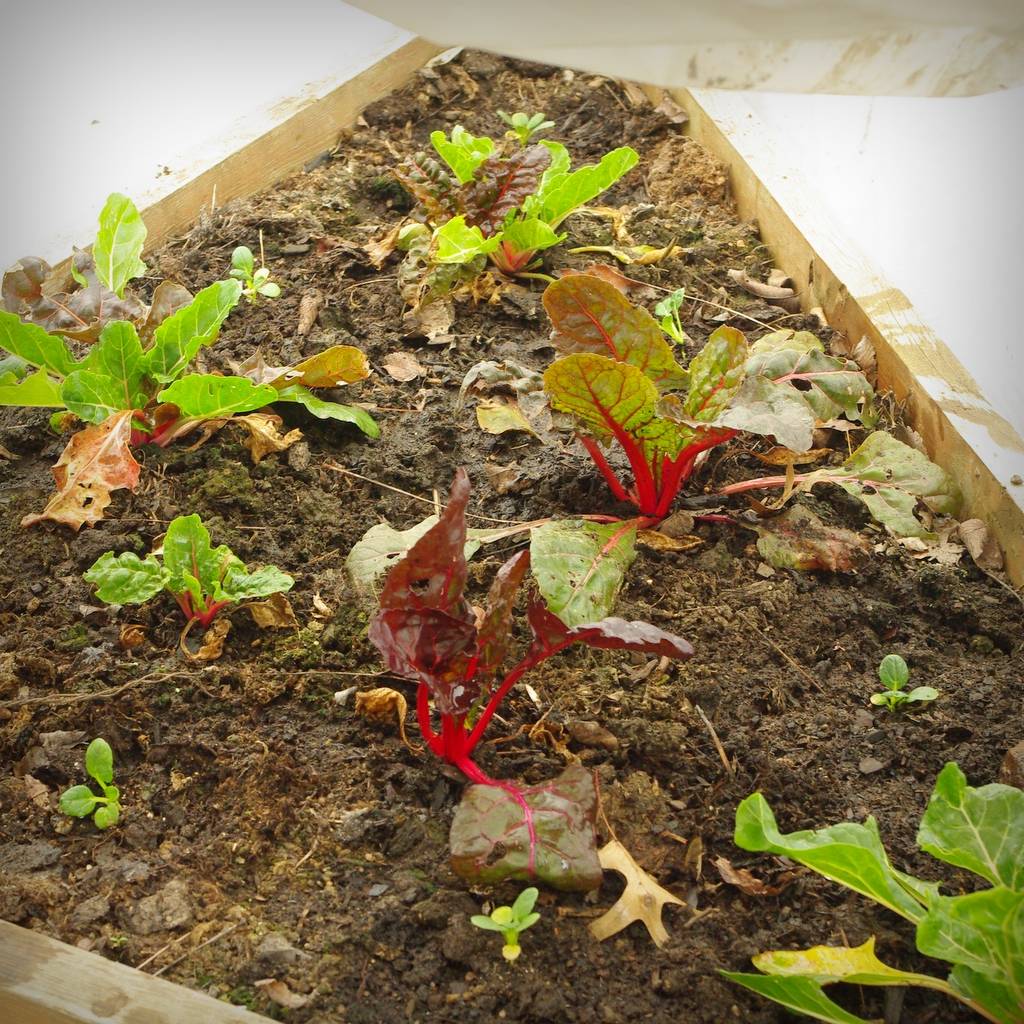
Like the kale, the chard overwintered in great shape:

I can't wait to see this bed in another month!
Since that's every square inch of my veggie beds planted up now, I planted up a few pots too:

I don't want to expose these to the elements yet, so I'll protect them with buckets for a week or so:
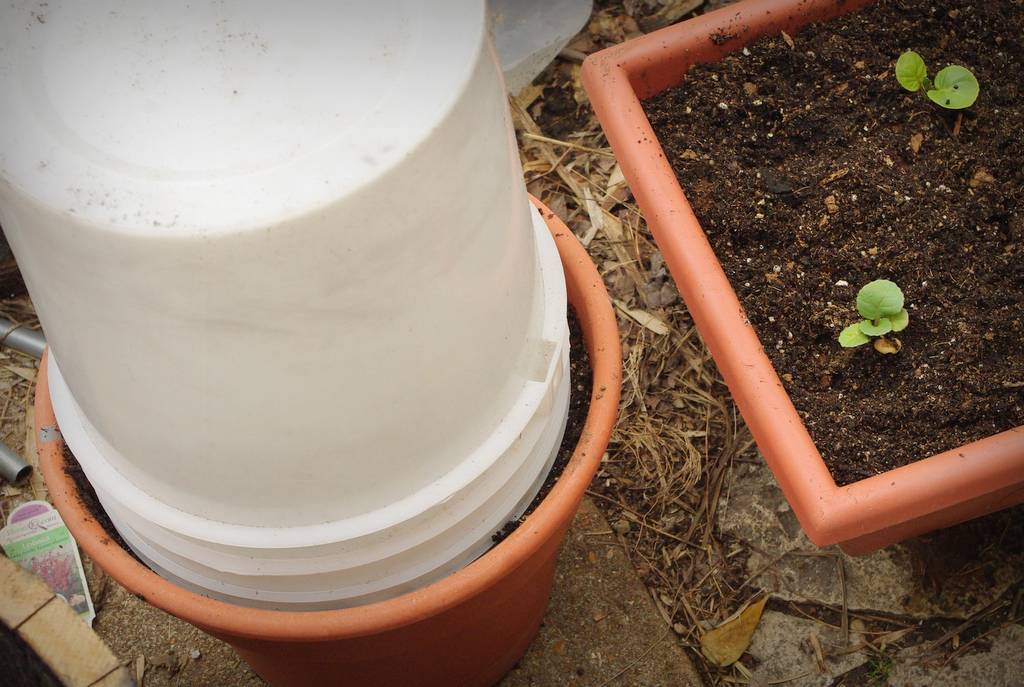
The buckets will still let in some light, and I'll start removing them on warmer days -- if we ever get any that is.
There are a few plants left over as backups in case something catastrophic happens in the garden:
I consolidated them all into one tray so I'll have room on the plant table for more seedling trays. I've got perennials and warm-weather edible seeds to get started!
I've got an idea for another cold frame -- the more traditional on-the-ground type. I may rig that up this weekend, weather permitting. I can always use more space at this time of year!
.


Hi Alan,
Wow, I finally found a St. Louis garden blog!
I live in South City and share your philosophy of how gardening is the fun kind of chore I do. I'm really looking forward to following your posts and reading about your garden's progress through the seasons.
Cheers, and all the best
Hi Jenn! Make sure you take a look at my "best of..." posts near the top of the right side of the page. The only better thing to do would be to start at my first post in 2010 and read them all to catch up. :)
I love "meeting" more area gardeners!
I'm so envious! You'll be able to supply a small restaurant with organic produce very soon :-).
16 degrees and snowing this morning...you're killing me with this post!
Wow - it all looks so professional!! Soon you will be grazing on gorgeous greens - very jealous! Best get my seedings going!