Sowing those seeds
>> Tuesday, February 19, 2013 –
seeds
Yesterday I showed you some of the new plants I should be growing this year, that is if I can get the seeds to germinate. Sometimes it's tricky, you know.
But my first approach is always the simplest one: get the seeds into some sort of soil, keep them moist, and see what happens. The problem is my plant table has limited space right now, and there are lots of different cold-tolerant edibles sprouting there right now. I have a backup plan to get me more space though, and it's pretty simple.
I first found out about this method of seed sowing from a commenter on one of my seed-starting posts, who told me to check out "milk jug sowing". A quick summary: turn an empty plastic jug into a seed-starting greenhouse during the winter and let the seeds sprout when they're ready.
It turns out that lots of people are starting seeds this way. If you're not familiar with it, here's what I did:
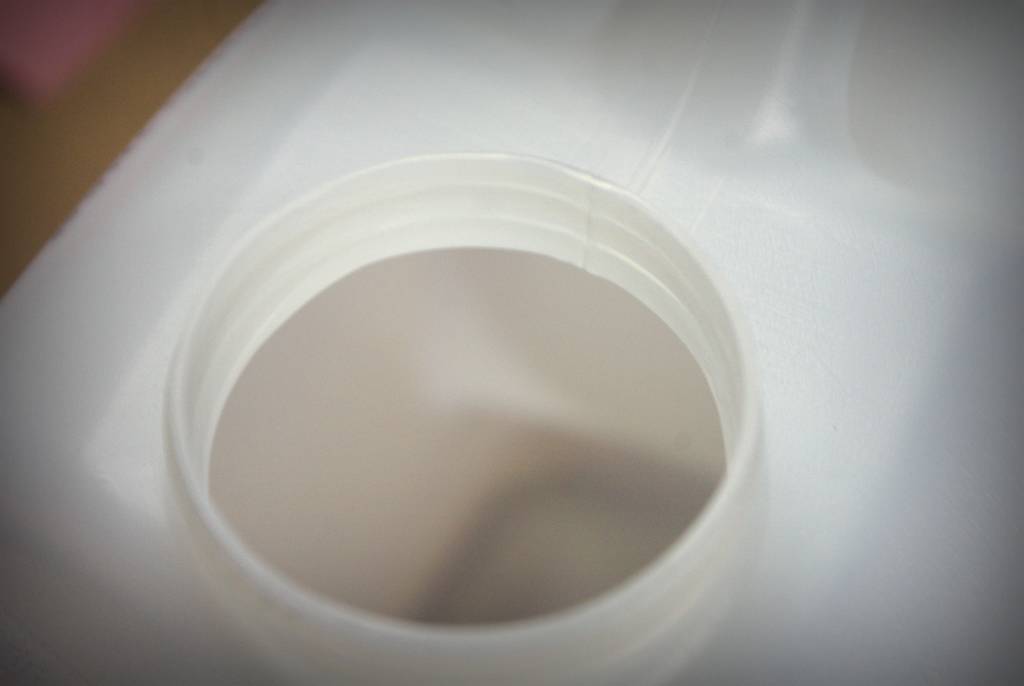
Make some holes in the bottom of a plastic jug:
I used a drill but you can also use a hot soldering iron, ice pick -- you just want drainage holes. I put some not only on the bottom but low down on the sides too, in case the bottom holes get plugged (by sitting on a flat surface for instance).
Cut your jug leaving maybe 3" (8cm) for the bottom:
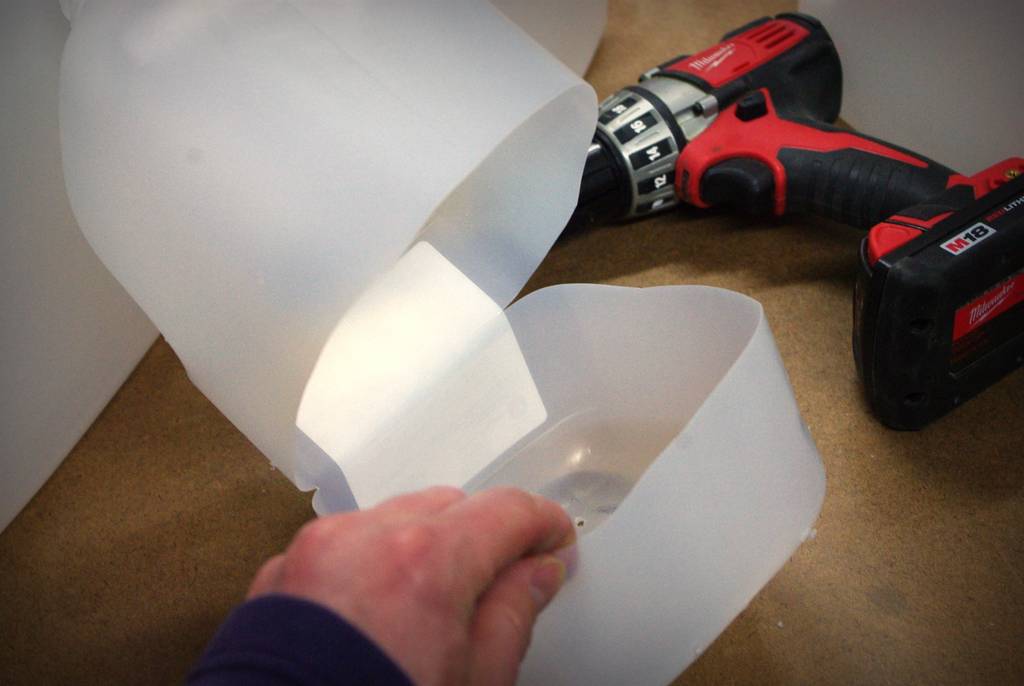
You want to leave a bit of a hinge so don't cut all the way around. Note that you can make the holes after you cut, but the jug will be sturdier while whole, so making the holes first is easier.
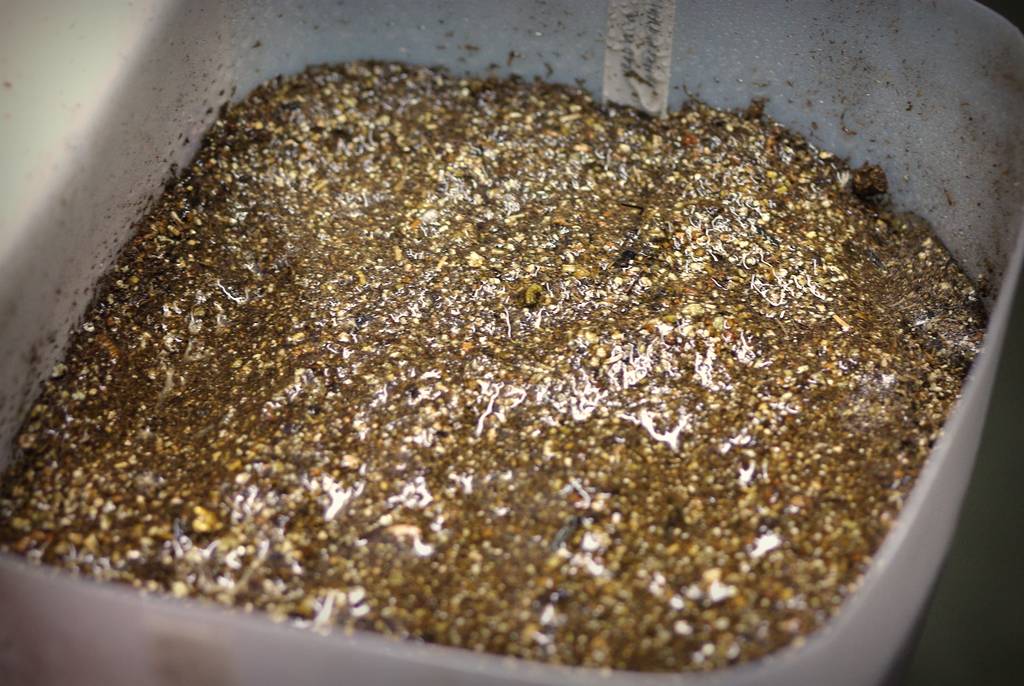
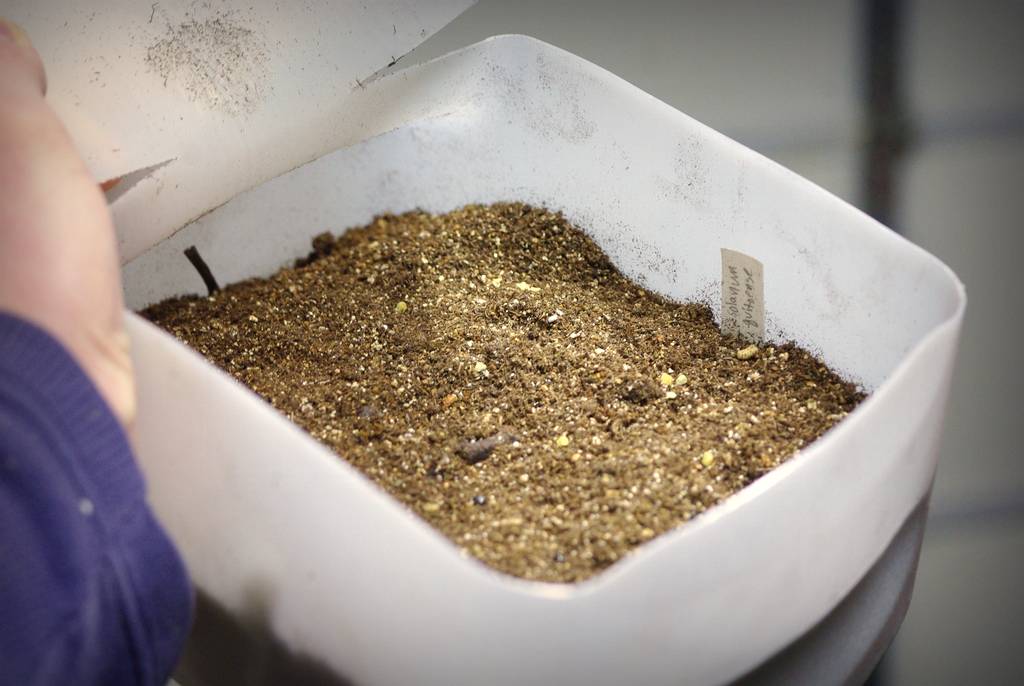
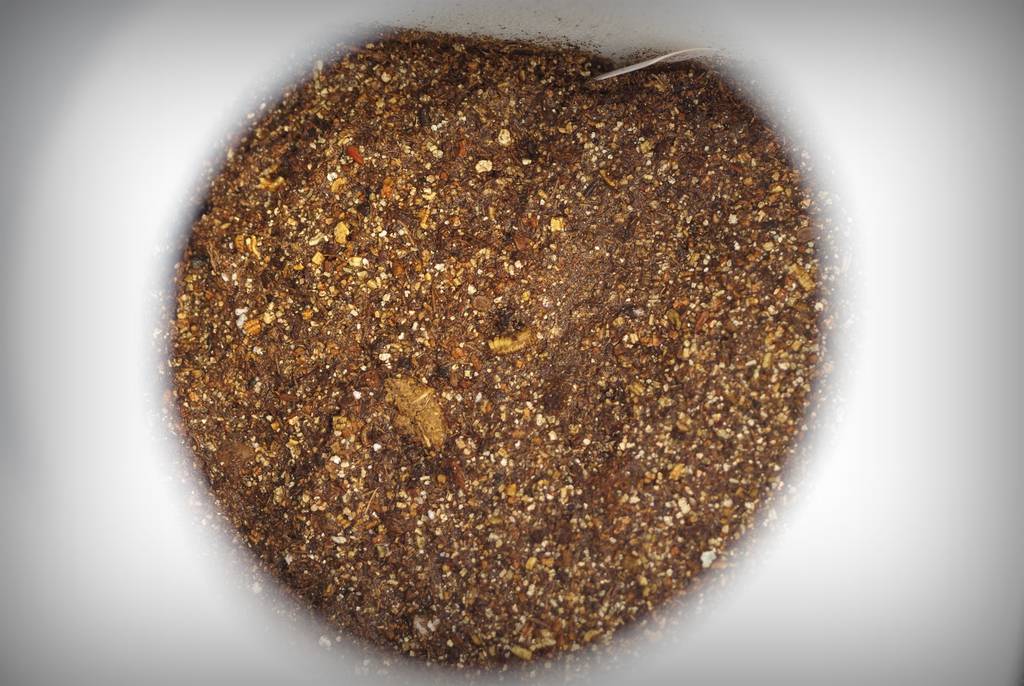
Then fill with your soil or seed starting mix:

I actually used a bit of potting mix in the bottom, then covered with a layer of seed starting mix. I suppose you can use almost anything, but I like to start my seeds with sterile mixes.
Next, make some plant tags:

I used my favorite tags (made from vinyl blinds) but there's no reason you couldn't use a permanent marker and write directly on the jug though. I don't recommend skipping this step, unless you like the challenge of ID'ing lots of seedlings. I do not.
Then I just sprinkle the seeds:

and use a spray bottle to wet the soil:
This is only for getting the seeds buried a bit and for initial wetting -- the hole in the top of the jug will allow in the rain or snow:
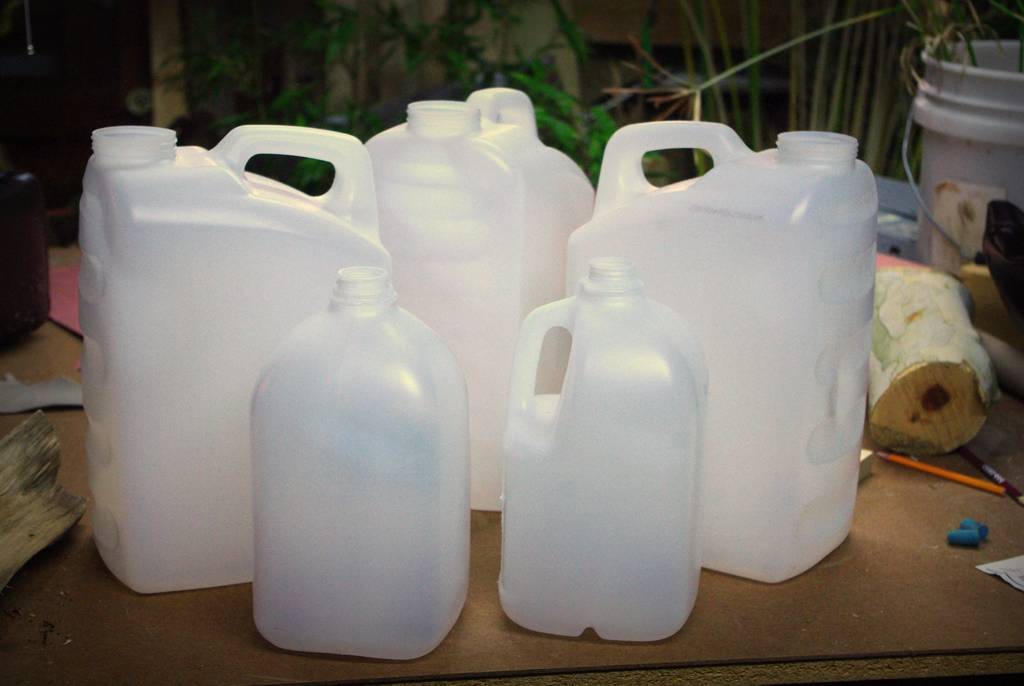
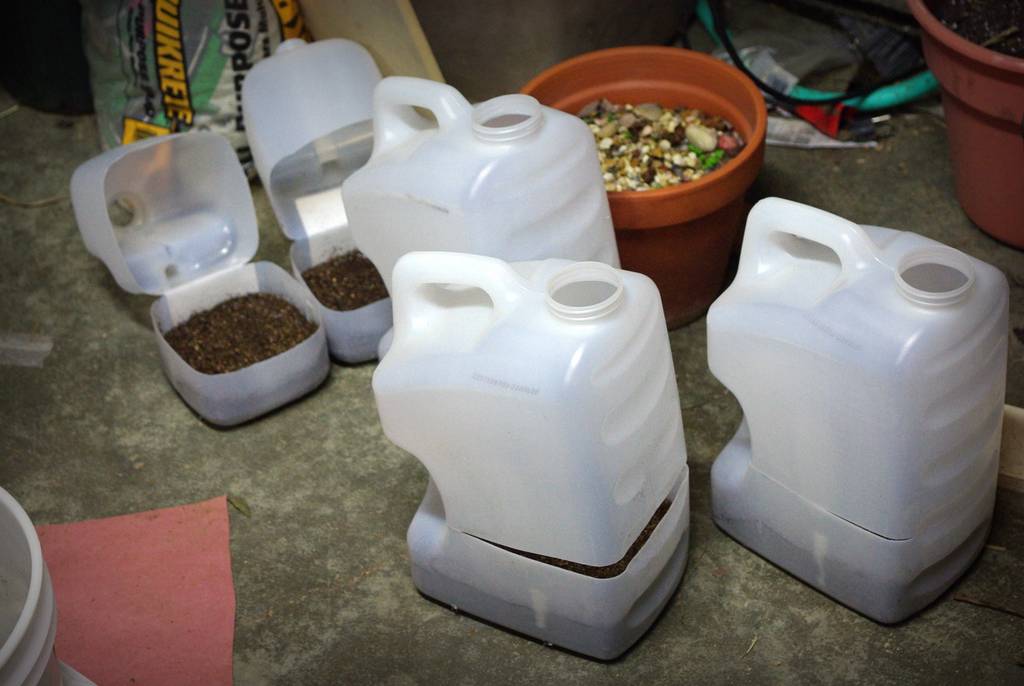
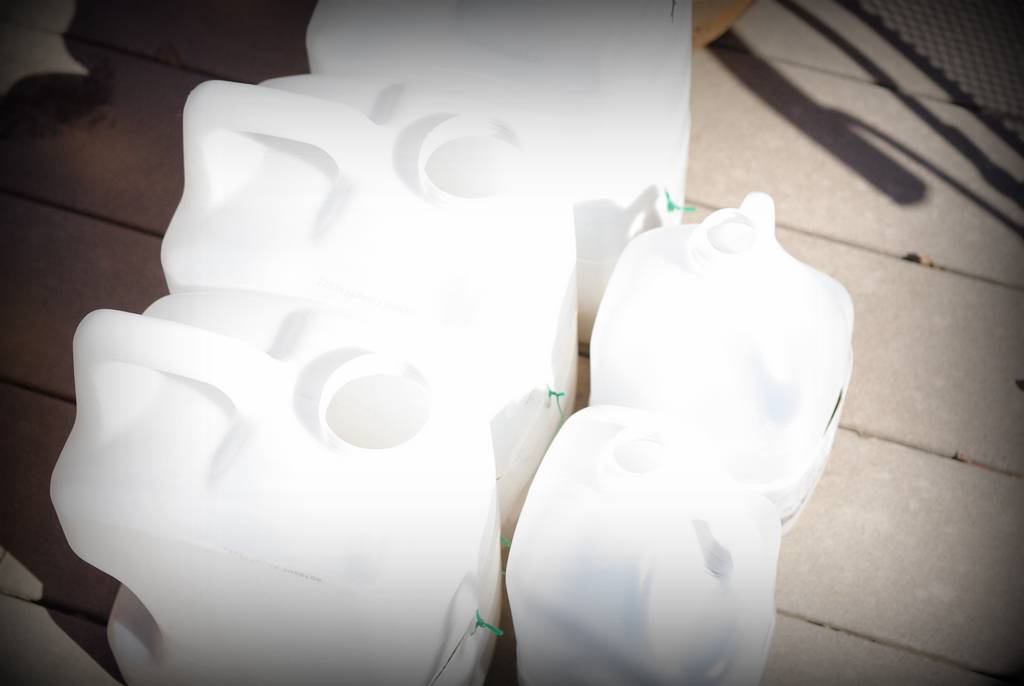
Besides the water jugs I also used cat litter jugs, as I have more of those -- almost an unlimited supply.
The tricky part with these bigger jugs was the extra handle on the side:

I had to cut through that in order to let the jug hinge open.
With some of the larger seeds...

I'll actually poke about half of them into the soil before spraying them down. I'm not sure how most of these like to grow or if they need light to germinate, so I hedge my bets by burying some of them.
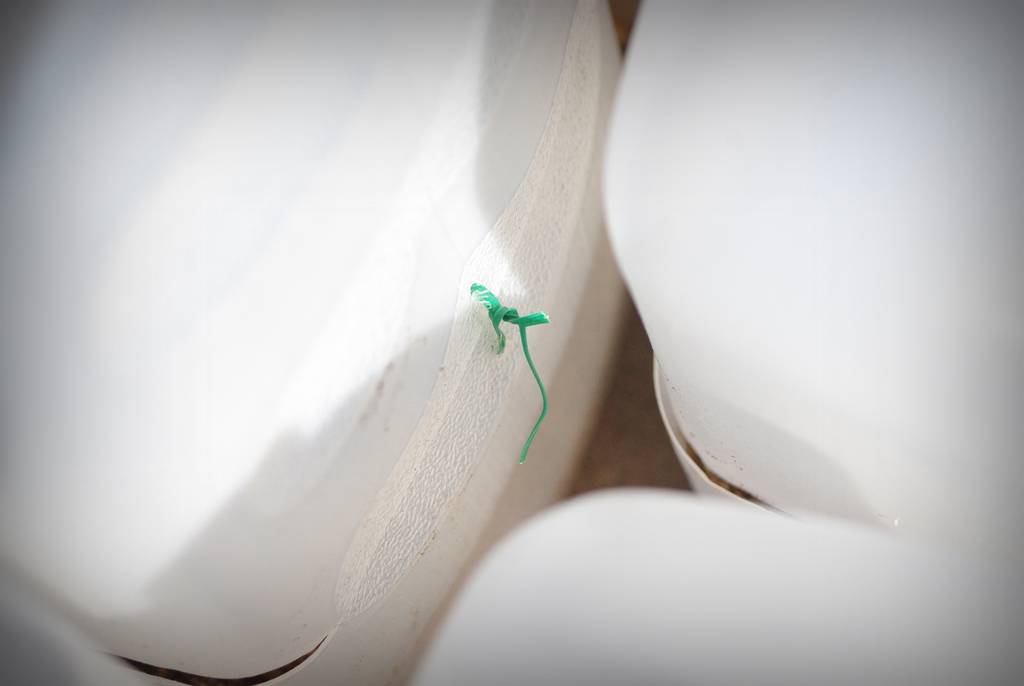
As I waited for the too-dry mix to soak up some of the moisture...
...I added some holes to enable me to latch the jugs closed with twist ties:
Then the closed jugs just went outside in a sunny spot, and we wait. It's best to do this earlier in the winter so there's longer exposure to cold (in case the seeds need a cold stratification period), but there's still time for that here.
That's the great thing about this method of starting seeds: once the jugs are set out you don't need to do anything!
Well, I suppose if the seeds germinate and you get very little precipitation you may need to add some water, but I doubt I'll need to do that here -- our springs are usually fairly wet.
Now I just have to keep myself from peeking into the tops every day, as it will probably be a month or two before these begin to germinate.
I'll update you on the progress of these -- once there's something happening.
.


Like this idea. Thanks for the demo. I use my milk jugs as insulators in the greenhouse and then as cloches when I plant out tomatoes and squash. For seed starting I use any and all containers from the kitchen. Love those big plastic spinach containers from Sam's. Hope you see your seeds germinating soon.
Love this idea. And judging by today's weather (14 degrees this morning, after a balmy 56 degrees yesterday!) I still have time to try this myself!
This is a technique I've been meaning to try. I'm glad you're giving it a try.
I like the milk jug technique. Very thrifty!
What a great idea! I wonder if the opacity of kitty litter jugs matters....the one I just bought is pretty solid.
In case you've haven't heard of this event, my friend organizes a free seed swap each year called Drop. Swap. Grow. The next one is March 2 here in South City. http://www.dropswapgrow.com/
I'm not a stalker or a spammer, but thought you and your readers might like to come swap some seeds with like-minded folks.
allison: love to hear about events like this in St. Louis! I won't be able to attend, but hope it's a success!