Finally finishing: trellis!
Three weeks or so ago I started a project that I've finally finished! Did you see the post where I dismantled the old box spring because I liked the look of the steel framework inside it? At the end of that day I had two bare metal frames to use in creating a trellis of some kind. I first had to decide whether to leave them bare so they'd rust in the garden, or paint them to offer some protection.

I decided to paint them, as I thought they'd make more of an impression that way. I had taken several photos of the painting process: first washing the frame to remove any oily residue, then priming, and finally painting them white so they'd stand out in the garden -- but I somehow deleted all of those shots. So the above "artsy" view is all you get of that time-consuming procedure.
I'll just summarize by saying that when painting you have to remember that there are at least six sides to every object that requires painting, and that spray cans don't hold nearly as much as you think they do.
The painting was broken up over three different weekends, with one frame painted on the first, the second frame the next weekend, and the support poles painted just this last weekend:

I hinted at this project in a post from about a month ago, when I mentioned that a specific view of yard would be changing significantly soon. "Soon" probably wasn't the right word, but here's the view that is about to change:

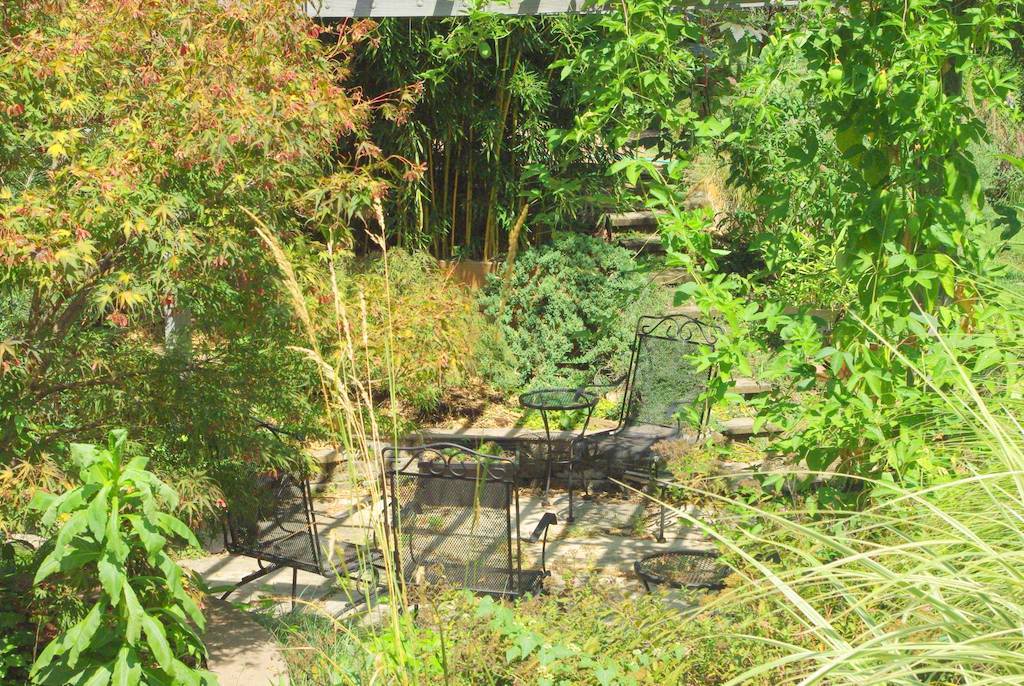
There's a "window" into the patio area here, and I keep thinking that something needed to be placed to block it. One year (2010) I had a pole trellis of cypress vines here, and I really liked how it looked:
 |
| 2010: only two years ago, but so much difference in the garden! |
So this is where I'm going to put the new trellis!
I knew I wanted to put the two parts together in an "L" configuration for stability, so I connected them together with cable ties ("zip" ties) before moving it into position:
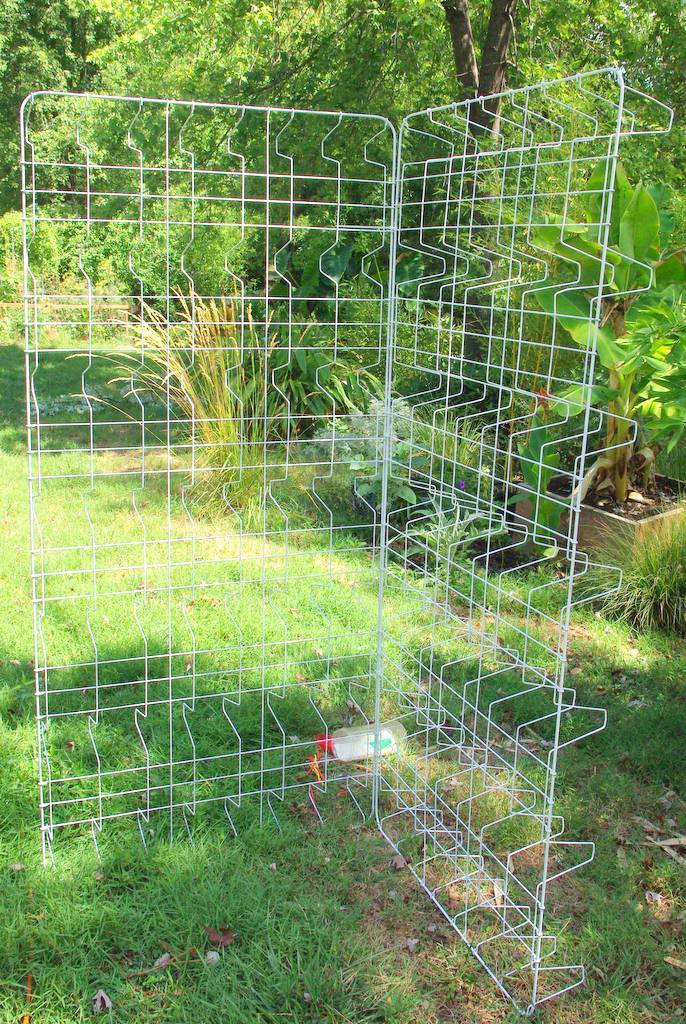
Those panels look so much like giant dishwasher racks, don't they?
I started experimenting with placement, balancing the shaky structure:

I didn't like having the "L" open outward, so I reversed it:

Ah, much better! It's important to look at it from several different angles, just to be sure:
It turns out that I couldn't get it exactly where I wanted to completely cover the "window" into the patio, but it's pretty close. Best I can do, so move on with installing!
A little problem: some of my path steppers are in the way:

I rarely walk this path, so had no qualms about removing these so the ground could be leveled a bit. I'll bury them again soon so the path will divert a bit around the trellis. No rush though.
Since I like the location and the look, time to put the support posts into place. It's pretty easy to get a pole like this nice and vertical, as you can just try to balance it upright. Then grab onto it and push into the ground a bit, twisting as you go. If you're lucky it will push way in. If you're not, you'll have to get out the stepladder and hammer and pound it the rest of the way in (I always need to use the hammer). There's a chance that the pole won't be perfectly vertical while you do this, but if you're careful it will be pretty darn close.

I used more zip ties to connect the frame to the poles, but I may replace those with metal hose clamps or copper wire in the future -- the zip ties will last at least a full season before they start degrading from UV exposure, but they're not a permanent solution.


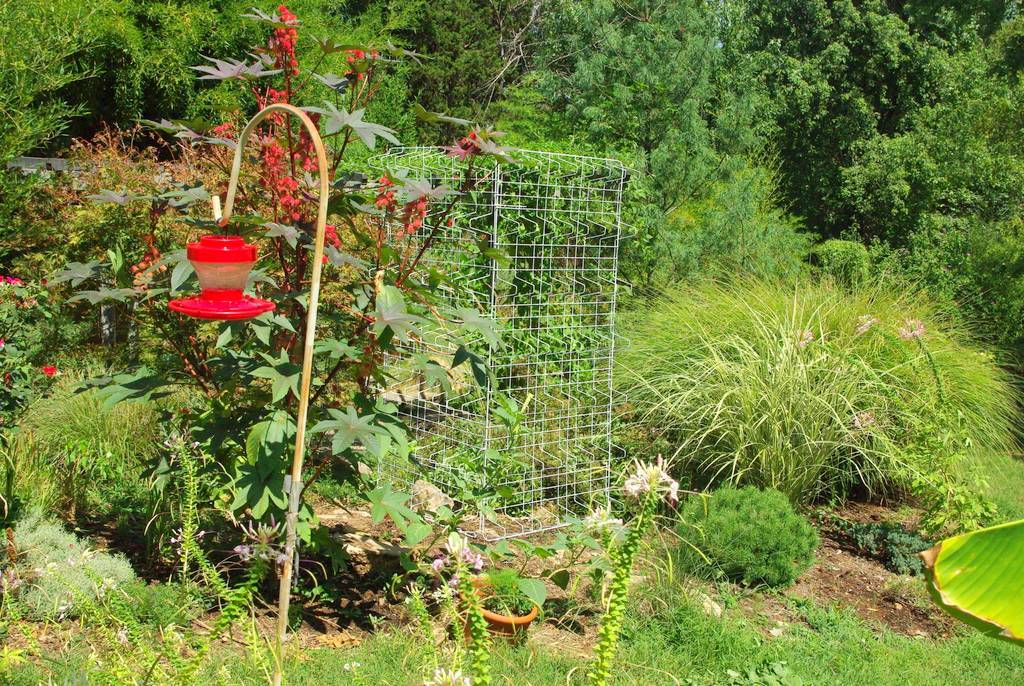
I had two Malabar spinach vines that were about 5'-6' tall already, two royal blue pea vines, and a hyacinth bean. I had a couple of more vines too, but this is already overkill I think. One of the Malabar spinach pots had a cypress vine volunteer in it too, which I left.
So this is going to be a tangle of vines pretty soon I hope.
The mix of vines also insures that the animals won't eat all of them. I've never seen anything eat Malabar spinach, but I have seen hyacinth bean and royal blue pea vines stripped of leaves by deer.

So that's my new trellis wall. I'm eager to see how it evolves over the rest of the summer and fall, at which point I'll decide if changes are needed: does it need a more prominent frame? Is white the wrong color? Should I add something to it to make it more decorative?
Time will give me all of these answers, but I'm glad these big frames are finally out of the garage, and that this project can be crossed off the list!
.


I love that you've created something so unique by re-purposing the springs! It turned out great. Good idea about planting too much...the bunny ate my hyacinth vine. Luckily, I had two more growing that I was able to protect from them once I knew they enjoyed them so much!
Looking forward to seeing how yours looks covered with vines.
You're really very clever with these things Alan. I think it looks great and look forward to seeing it evolve as the plants cover it. Lovely!
Now that is the most unusual repurposing of that object I have seen. What a fine looking trellis it makes and an asset to your garden.
I've already seen hummingbirds perching on it. Gotta have places for the hummers to rest from all of their chasing each other away from the feeders!
I so agree. The trellis looks like a dish washing rack. lol. Still it looks great. What a lever idea of yours.