Slow progress
I've been off work for the last few days, and I had expected to get the pond project pretty much wrapped up by now. Unfortunately another (indoor) project and the weather have combined to move work on the pond farther down the priority list.

This means that I've made very little progress since the last update, but any progress is welcome.
As you can see above, I've started placing some rocks. Those are a few of the old rocks from my chimney rebuild project, and there are many more where those came from:

I have managed to move about 75% of the rocks from the front yard down here -- thankfully it's not the other way, as hauling rocks uphill is never fun. I dump each load of rocks, hoping to break apart any of the weak ones before selecting them for the pond. (Remember that the chimney was being rebuilt because of cracked stones.) I sure don't want the pond stones to crack open as soon as it freezes.
One thing I've noticed is that since most of these rocks are roughly square or rectangular, they don't look entirely natural when placed on the ground. My goal is to make the pond blend into the rest of the yard as naturally as possible -- I don't want it to look like I've just plopped a pond down to have one. It may end up looking like that anyway, but I'm doing my best to avoid it. In any case, the square rocks are making it a little more difficult.
It remains hard to visualize what this will look like when finished, as there's still a lot of extra liner around the edge. Every day when I look out here (from up close or from the window in the rain) I have to resist the urge to grab the utility knife and trim the liner. As I'm not quite sure what I'll be doing with the whole edge, I'd rather leave the liner to give me maximum options. I'll cut it soon, but it certainly does interfere with the vision I have in my head.
One thing I am sure about is I want the pond to have a gravel beach at one point. So although you probably can't see it even if you compare to older photos, I've dug out the front edge a bit more. I then took some of the formed concrete wall blocks I used to top the retaining wall...

And sunk them a couple of feet out into the pond:
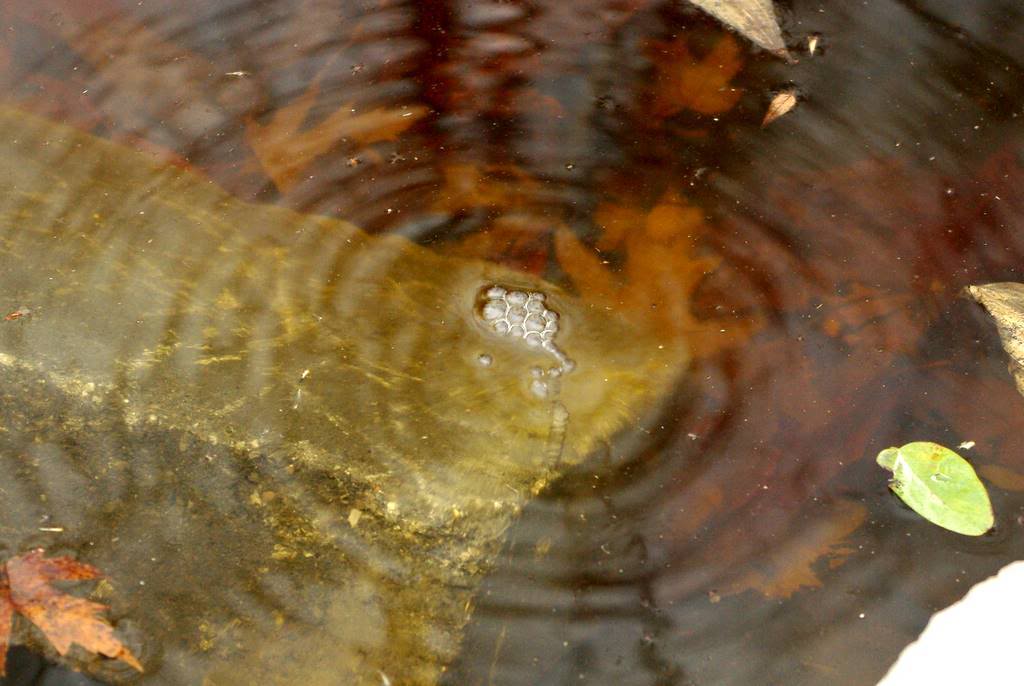
I had to take off my shoes and socks and wade into the water to do this, and I was not prepared for how cold that water was. Painfully cold. I can't imagine what it must be like once the water is closer to freezing temperature!
Anyway, these blocks were sunk in order to create a wall to hold the gravel for the beach in place. I put a few rocks on top of it (envisioning turtles and frogs upon them), and there will be some plants to help soften things, but it looks pretty good so far (as long as you can ignore the liner):

I had some bags of river rock that I salvaged from a previous mulching-with-rocks project that had really bad results after a couple of years (never put rocks/gravel onto bare soil and expect it to stay this way -- it will eventually sink into the ground!) and I bought a few more bags of rocks too:
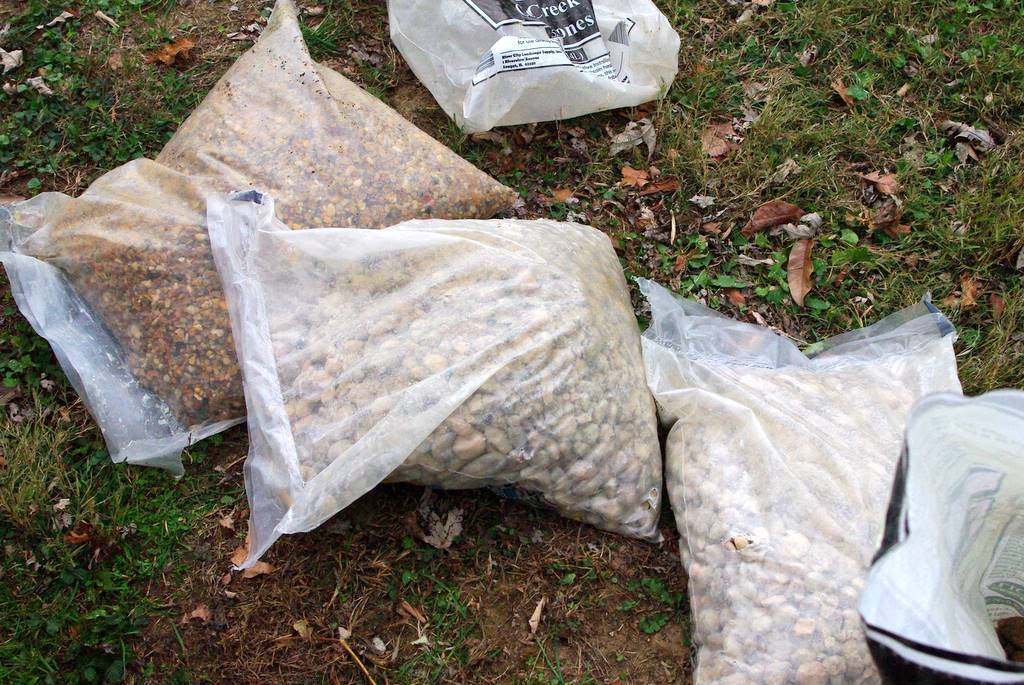
As you can see I bought rocks of all sizes, from pea pebbles up to hand-sized cobbles:

Remember that my goal is to make this look as natural as possible, and that means that the beach will contain rocks of all different sizes. The cobbles I bought may be more decorative than you'd actually find around here, but it is a garden you know -- the point is to make everything here look a little better than it would "in the wild", right?
For reference I'm using what I've seen at the nearby Meramec River:
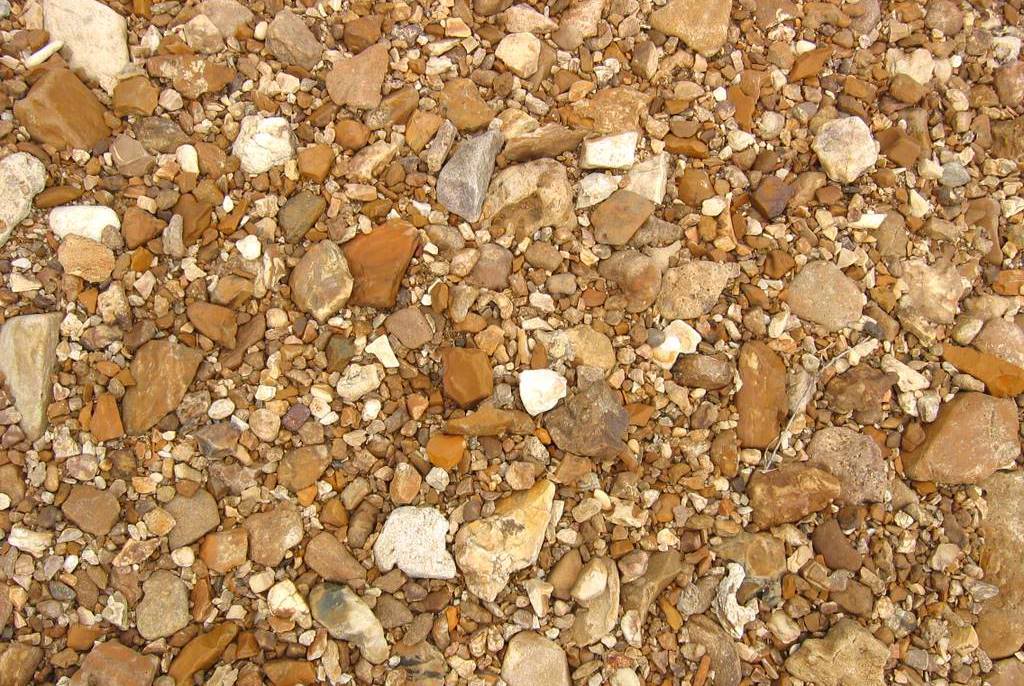
A good mixture of colors, shapes, and sizes -- which I should be able to duplicate fairly well.
I did pour some of the rocks into the water (after washing in the wheelbarrow -- don't want all of the extra rock dust and dirt going into the pond) so the beach is starting to take shape, but it was getting too dark to take photos, and I had garlic to plant, so you'll have to wait until the next update to see that.
This work was a few days ago, and I'm itching to get back out there and make more progress. With rain all day today I'll have to be patient for a while longer.
It gives me more time to visualize and plan, right? I just hope I don't have to wade back into that water again...
.


Am enjoying the continuing process on the pond. I know what you mean about 'plonked' ponds. I have seen so many, even ones done by professionals. The hole is the easy bit but getting the rock work right takes time and the right rocks. I like your idea of having a beach. You need to go out scouting for rocks! One of our gardeners goes to the cemetery where they are always unearthing rocks and leave them in pile.
Like Lancashire Rose, I love following your various projects, mainly because I'll never get a chance to do something like this myself. Keep the updates coming!
:: Bamboo and More ::
I've been looking every day for follow up on your pond ... its looking great. I love what you've done with the rocks. This is going to be an amazing pond. Looking forward to the next installment ...