Planter box extreme makeover
I've been planting a lot of my potted bamboos in the ground lately, some of them after two or three years in a pot. Most of them are smaller bamboos that will remain groundcovers in my climate, but some are larger. I've gotten advice from Brad at Needmore bamboo (my main source for new plants) that most of the groundcover bamboos (in the Sasa and Pleioblastus genuses for example) aren't contained by buried rhizome barriers like larger species are (like Phyllostachys) because their rhizomes will deflect and go as deep as needed to escape. So rhizome pruning (or growing in an enclosed container) is the only way to keep these from spreading where you don't want them.

I've been eyeing this raised planting bed for a while now, thinking it would be a good spot for some bamboo, but have been worried about whatever I planted here eventually escaping and creating a mess for me. So recently I converted this box into a bamboo box. Read on to see what I had to do.
First I should explain that I've created a few of these bamboo boxes this year, and that the difference with them is that they have a bottom made of concrete pavers to keep bamboo rhizomes from escaping. That's what this planter needed, so it had to be dismantled and rebuilt.
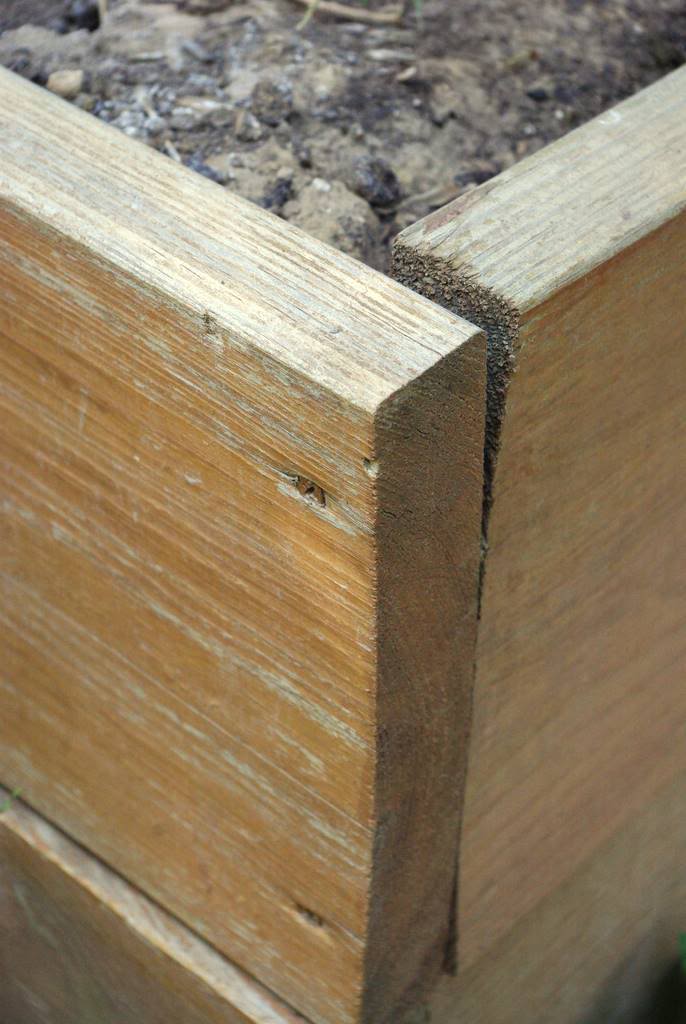
Even if I weren't going to convert it to a bamboo box I would have given it a little makeover, as it was starting to pull apart:
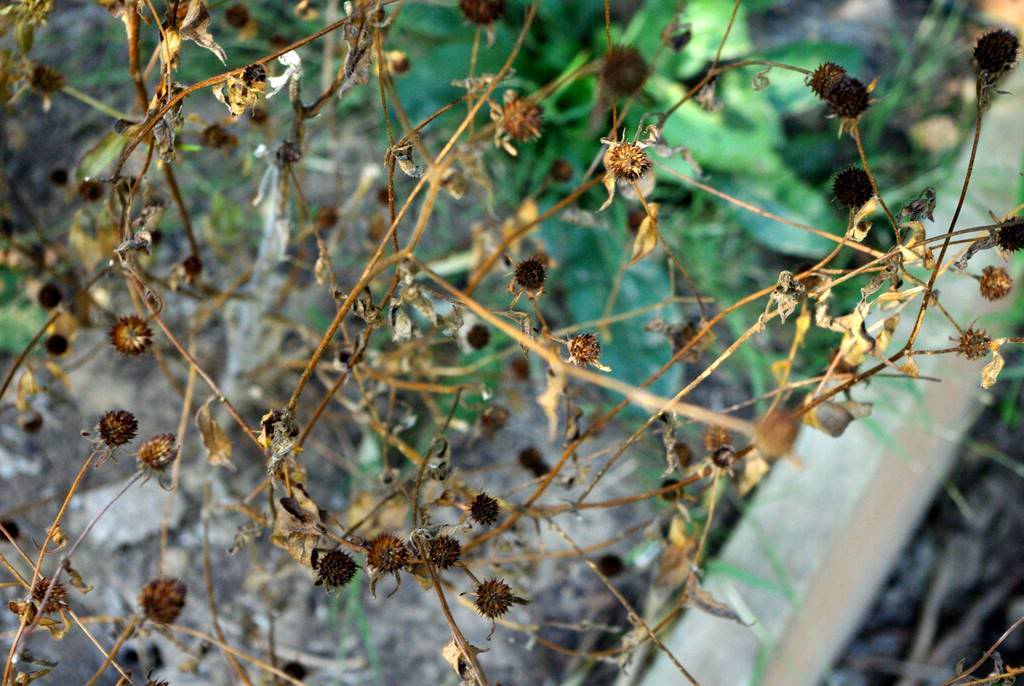
First, the few small plants in it were removed. It mainly contained spent Rudbeckia triloba (which I have by the dozens throughout the yard):
But it also had a couple of small Penstemon that I want to plant somewhere else:

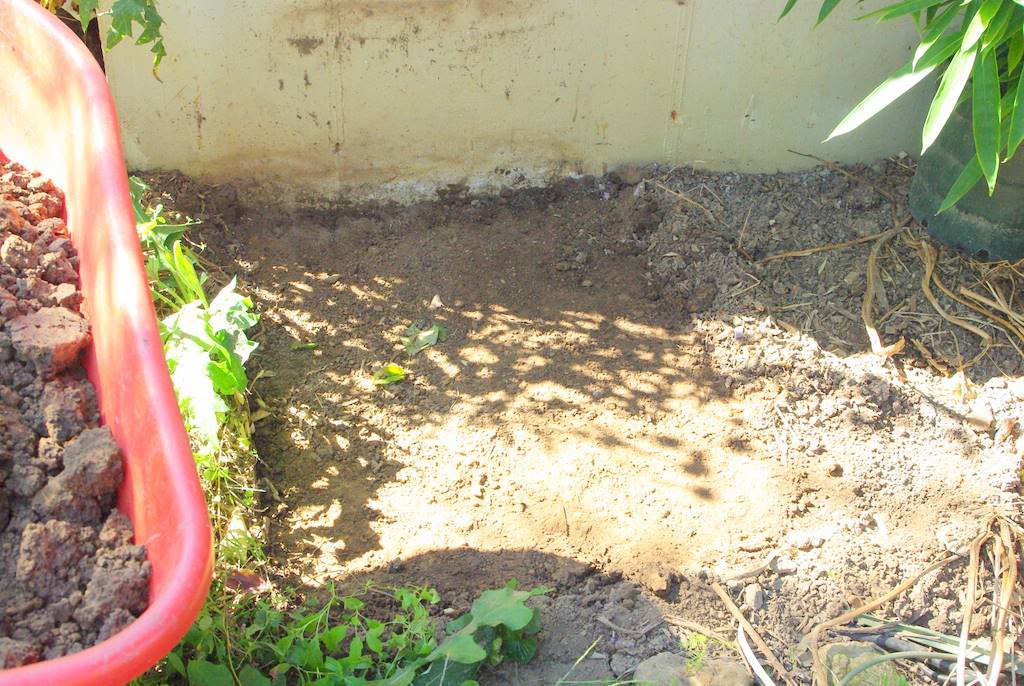
With the plants safely removed, I started dismantling the box and removing the soil:
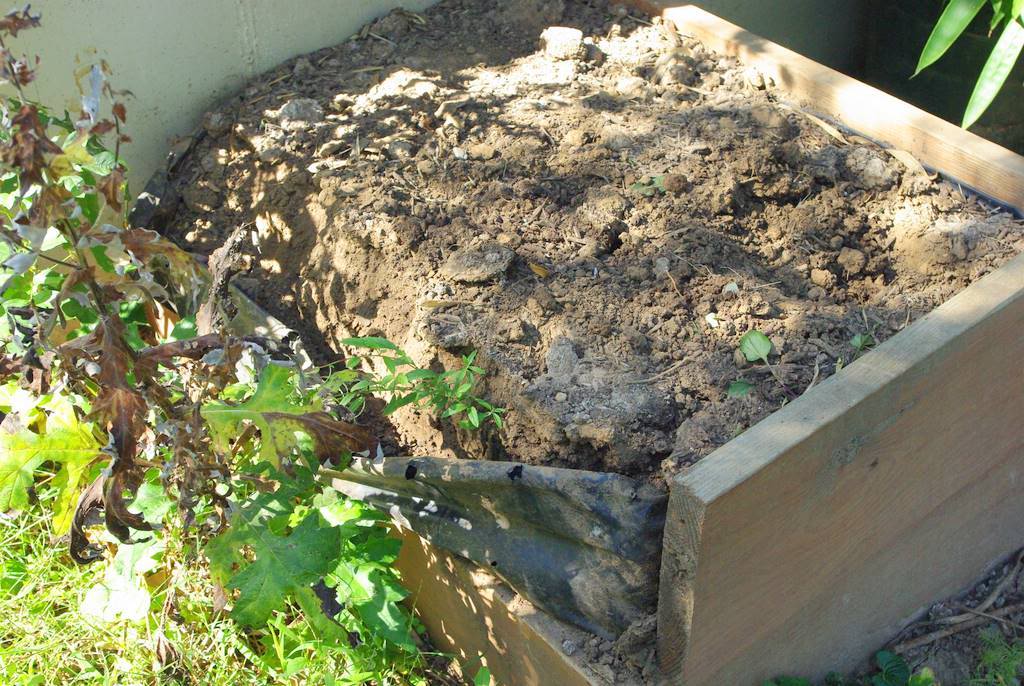
This soil was so dry and powdery, as it doesn't get enough moisture because the deck overhangs it as do the house eaves above that.

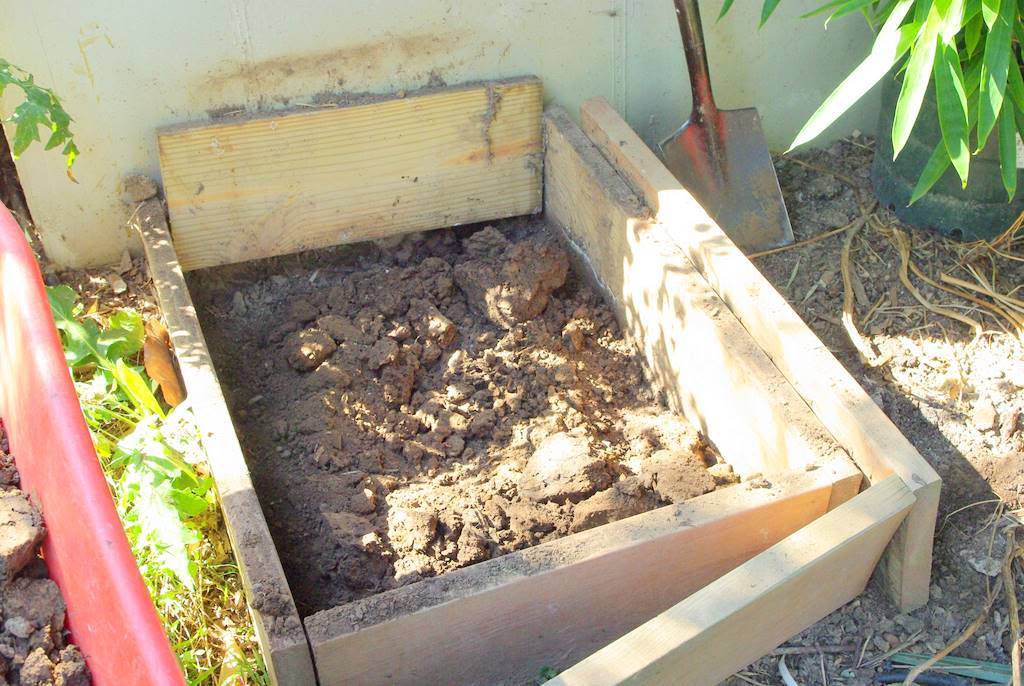
A box of this size -- which looked quite small at 28" x 36" (71 x 91cm) -- holds a surprisingly large amount of soil, so there was a lot of shovel work involved, but I eventually got it down to bare soil:
With the ground leveled and cleared, I laid the paving stones:
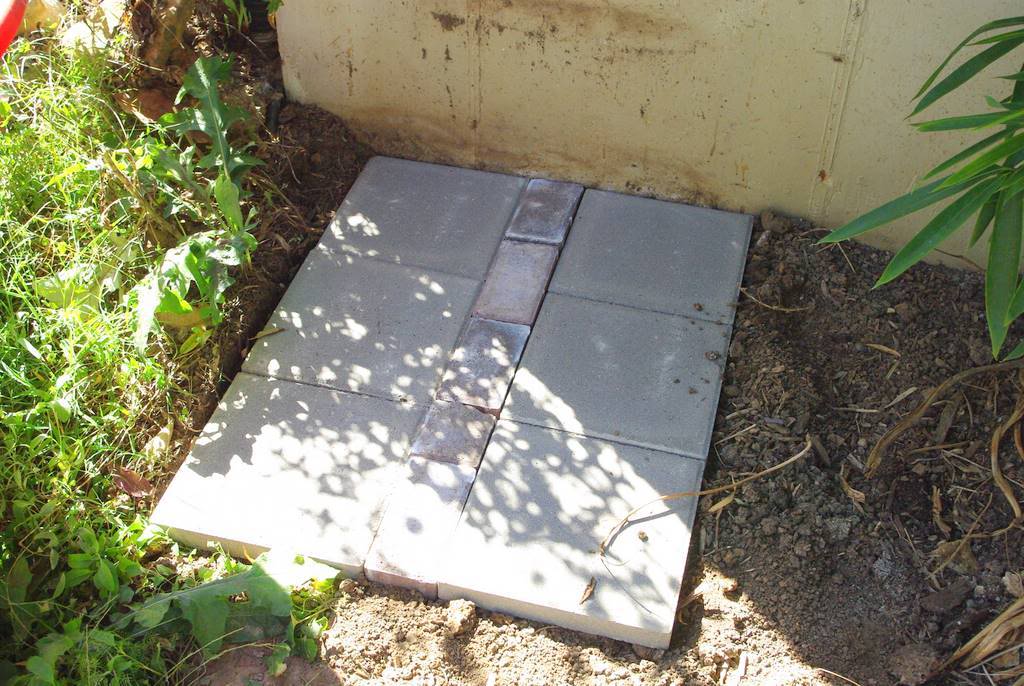
Since the box was 28" wide and the pavers are 12" each, I needed a strip of bricks to get the extra 4" of width. The other alternative would have been to reduce the width of the box by 4", but I didn't want to do that -- it would require more cutting, and would give the plant less room.
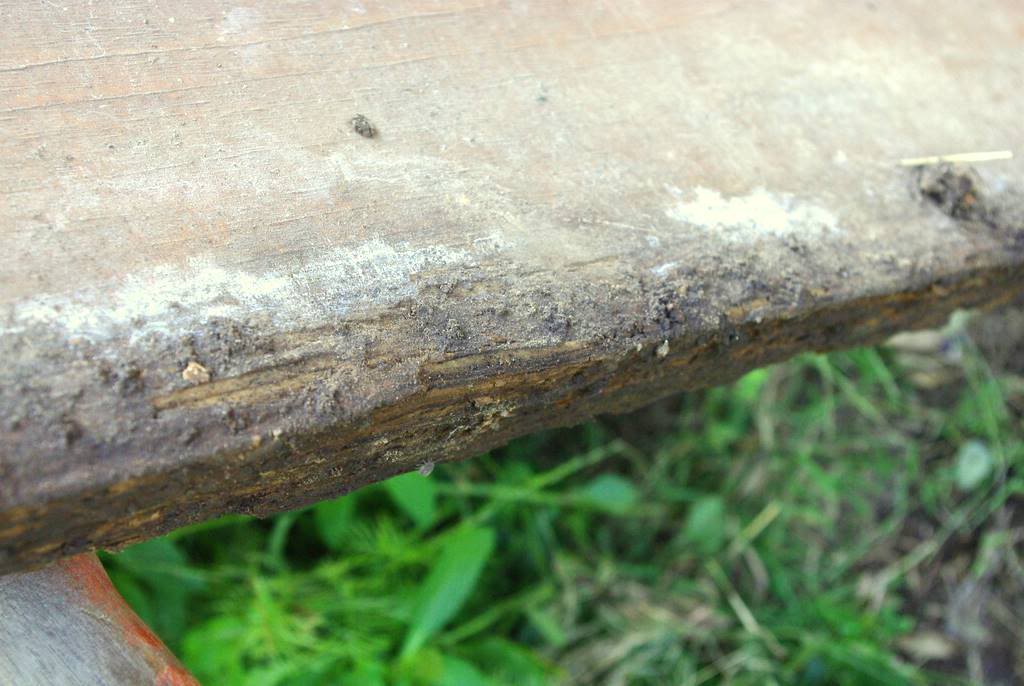
There was a little bit of rot damage to the wood, but I was committed to reusing all of it:
As usual, I built each level individually (there were only two since I had used wider lumber when building this originally):

Then stacked them up:
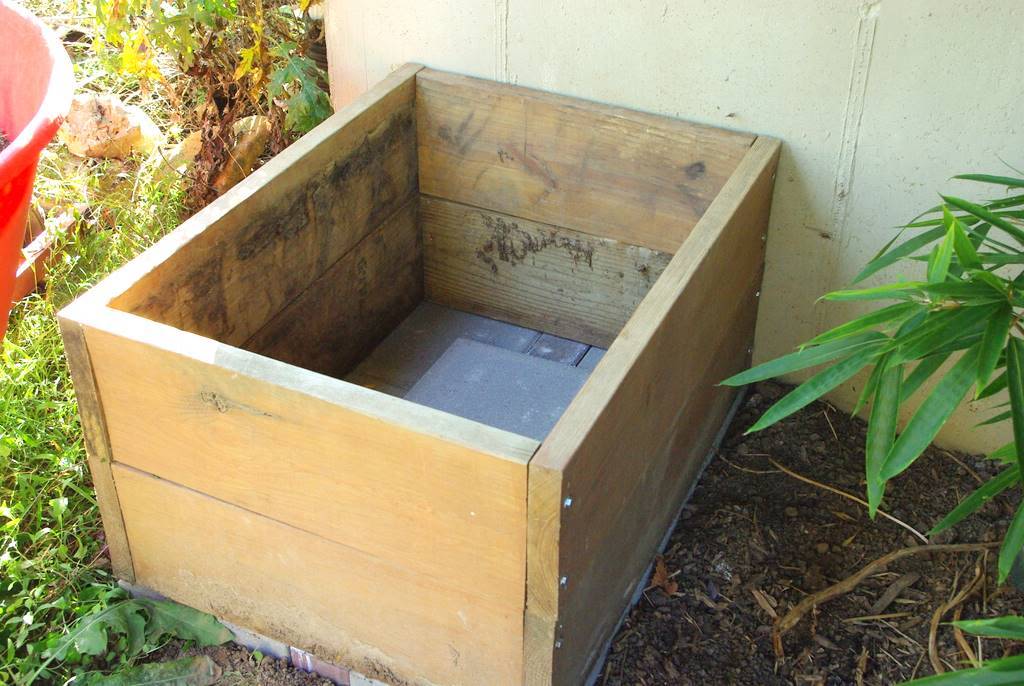
Lined the inside with new plastic to give the wood a bit more rot protection:

Then started filling the box back in:
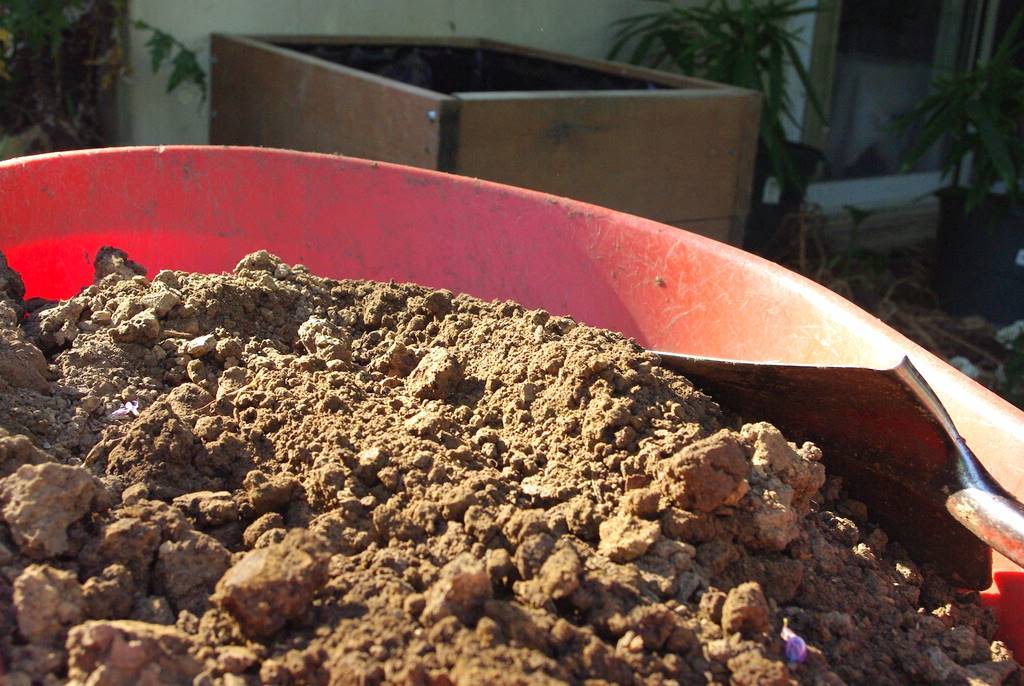
I added compost to the soil as I filled, as it needed more organic matter for sure. Once the box was half-filled, I had to choose the plant to use. I knew I wanted to plant Arrow Bamboo (Pseudosasa japonica) because I have several pots of it and haven't yet found a good place to try it exposed over the winter. I also knew that japonica could be pruned into a nice hedge, which I will have to do if this plant thrives here -- remember there is a deck overhead.
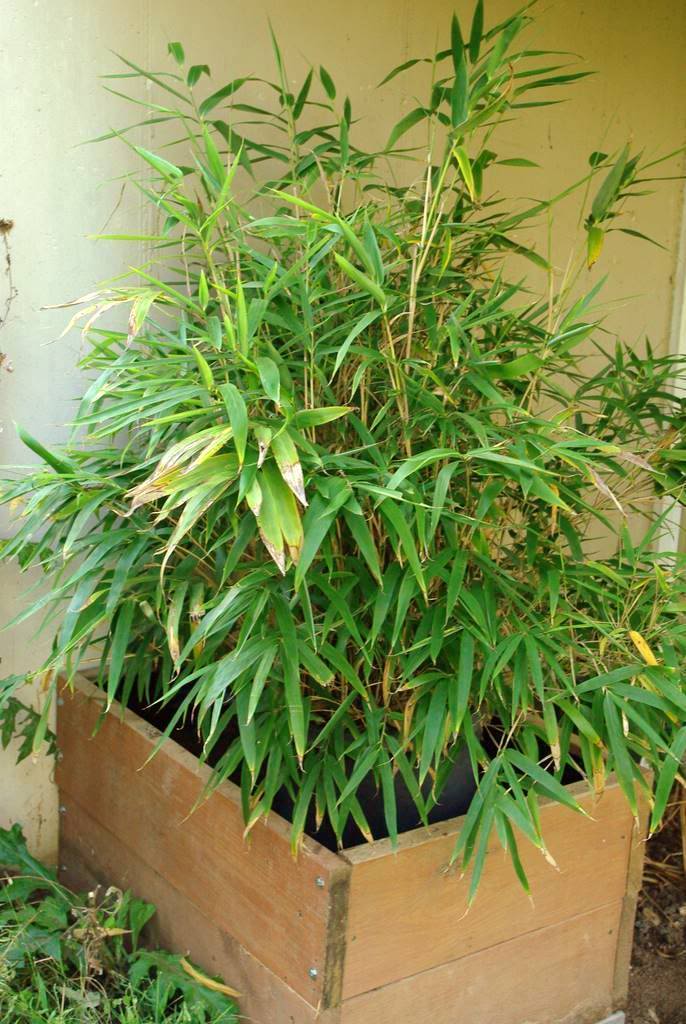
I first tried this plant:

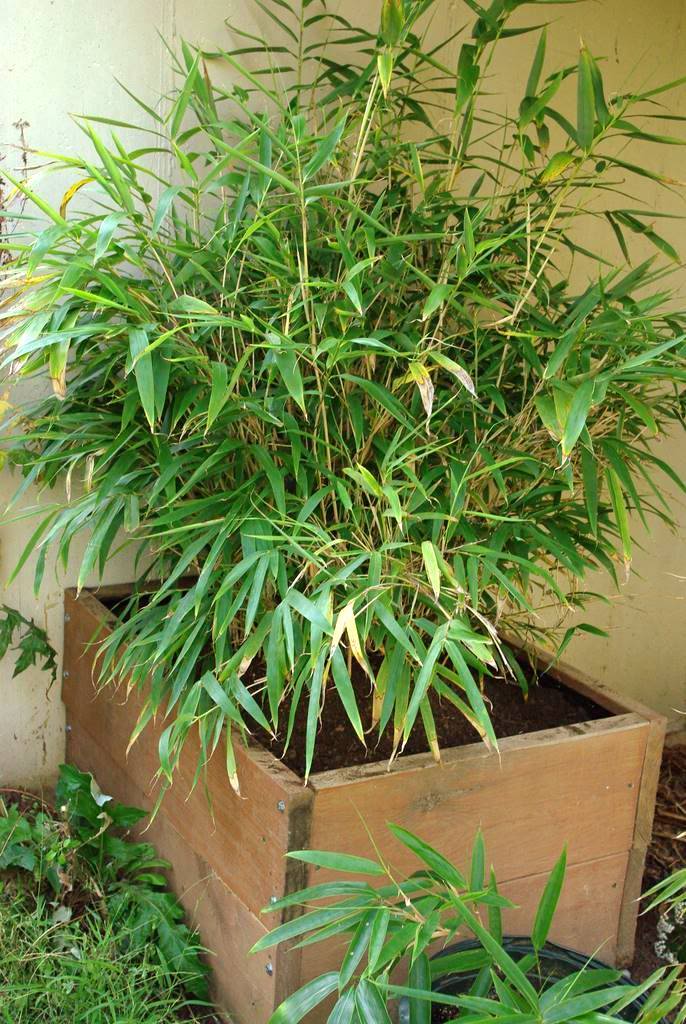
Looked good, but then I remembered that I had one that was even larger that needed to get out of its pot:
That one was more impressive and since it was really in need of a new home (being rather rootbound)...

...I decided to plant it instead of the smaller one.
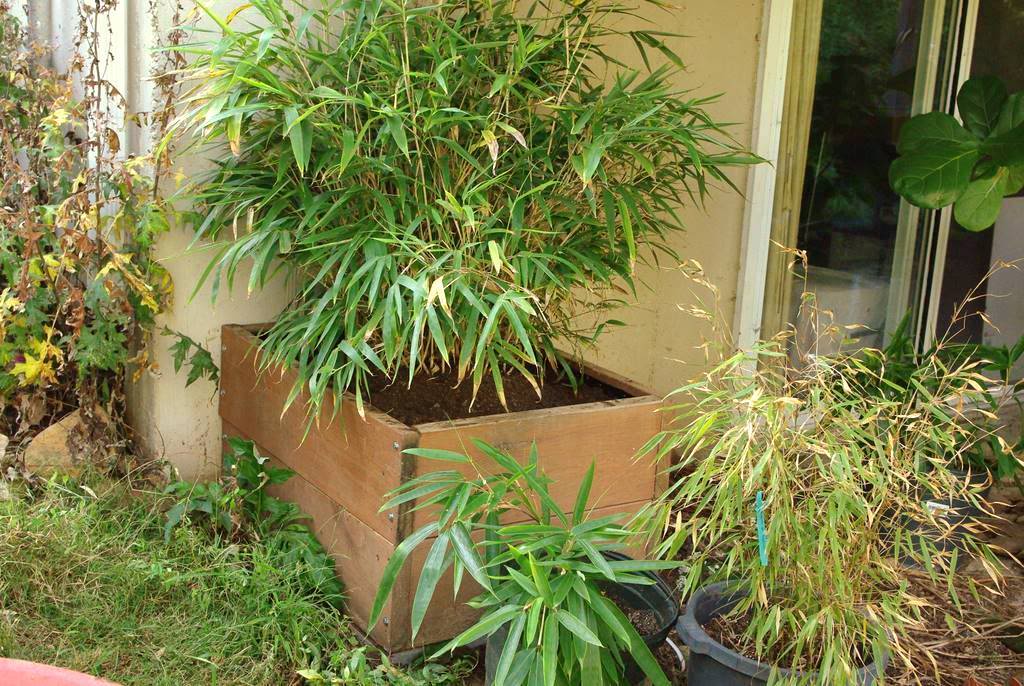
I'll see what the plant does next year, but I think it looks pretty nice here. It's not completely cold-hardy in my climate, but since I got some of my divisions locally from my friend Mike's garden, and his plant was about 15' (4.5m) tall or more it should do okay. It is in a raised bed which may reduce its cold-hardiness, but it's also under the deck next to the house, which should provide more shelter and a warmer microclimate.
I'm interested to see how this does in the next few years, and I'm definitely glad to get another bamboo out of a pot and into the ground!
.


It looks great! I loved raised beds.
Alan - I have a question re: the second layer of pavers. Did you add those because you were concerned about rhizomes squeezing through the cracks between the bricks and the pavers in the first layer? Will drainage be an issue?
Chad: yes, the top blocks are also glued into place with landscape block glue, locking things together a bit. I don't know if it will actually prevent rhizomes from squeezing through over time, but it seems so. Not concerned about drainage at all, as there are still cracks. It's nowhere near waterproof. Plus raised beds dry out faster anyway.
Great makeover! I've become a fan of arrow bamboo myself. I think it's a great looking species, with classic bamboo leaves.