My worst planting bed refreshed
Each year I seem to have a new plant obsession. This year it is elephant ears and sempervivum. A few years ago it was thymes, and I prepared a then-new planting bed that I imagined blanketed in soft, fragrant thymes. Their different colors, textures, and growing habits would create a beautiful, low-growing bed -- a small lawn of thymes that required very little maintenance once the plants were established and had "choked out" all of the weeds.

That was the plan, and it seemed like a decent one. The soil was prepared, the thymes went in, and they grew quickly -- the result was really beautiful that first year. The second year reality set in, and it sort of went downhill from there.
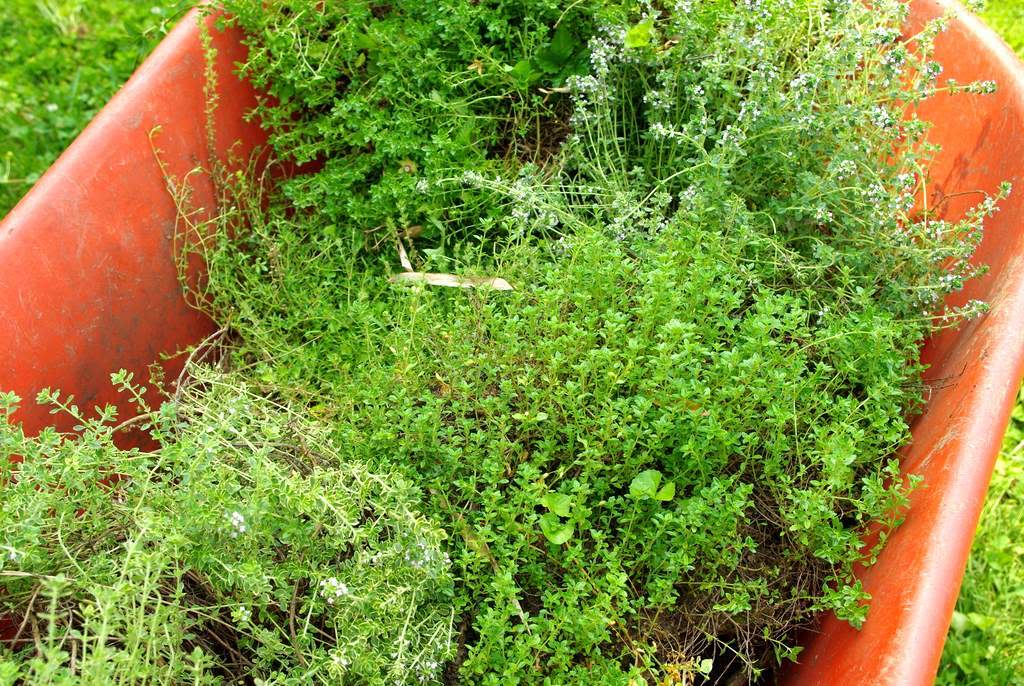
Here's what the bed looked like a couple months after planting that first year:
Beautiful, right? Half of those thymes didn't survive the first winter (the "wooly thyme" was the first to go), probably because of too much winter moisture.
I've not yet grown a plant that will successfully "choke out" all other plants, and the thymes were no exception. I also planted several sedum here, and although all of the plants did fill in quite nicely, they didn't prevent weed seeds from germinating, mainly violets and wood sorrel. Picking the tiny weed seedlings out of the established plants was a chore that got more difficult the more the thymes and sedum spread. I'd have to weed every month or so, and it became a task that I dreaded... so I stopped doing it as much as I should have.
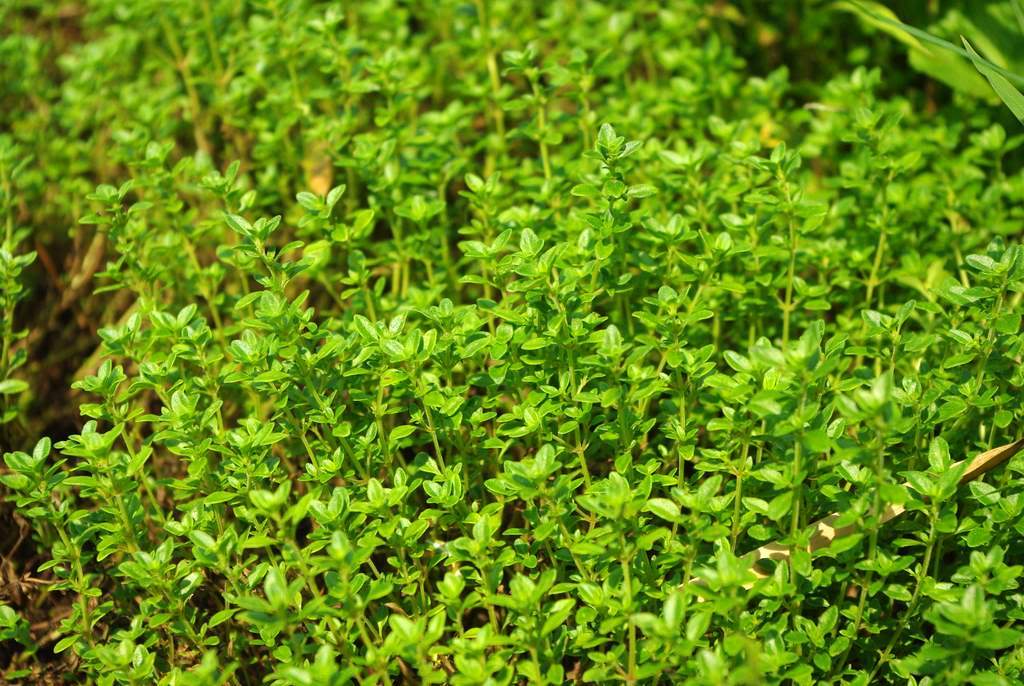
Looking at the bed now, there are still several beautiful, healthy thymes here:

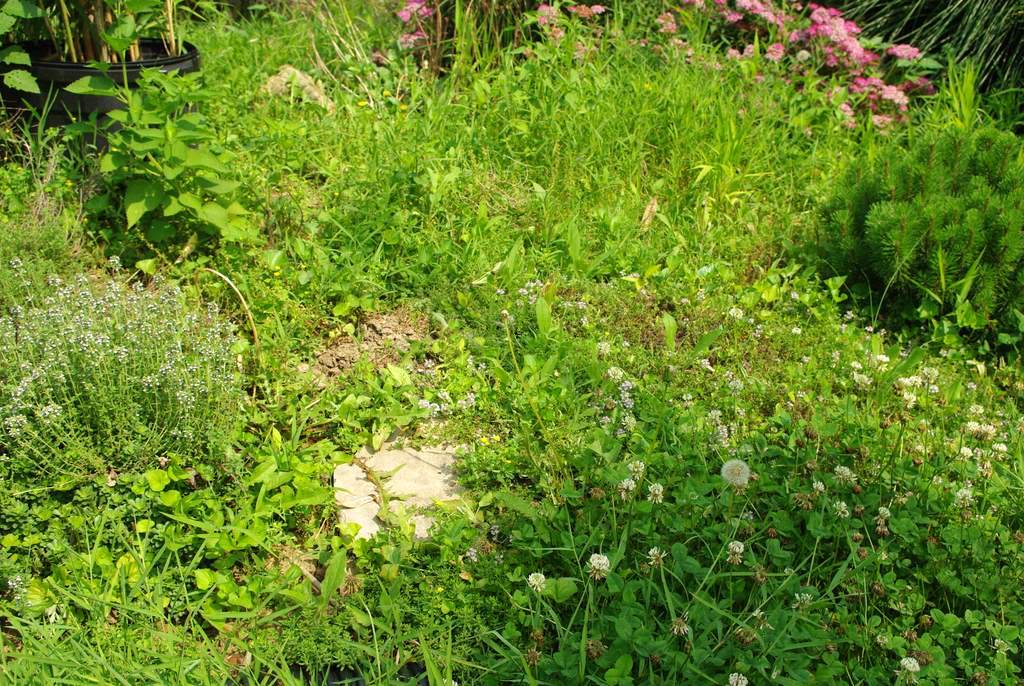
Plus a few sedums are left -- some of them died from too much moisture over each winter:

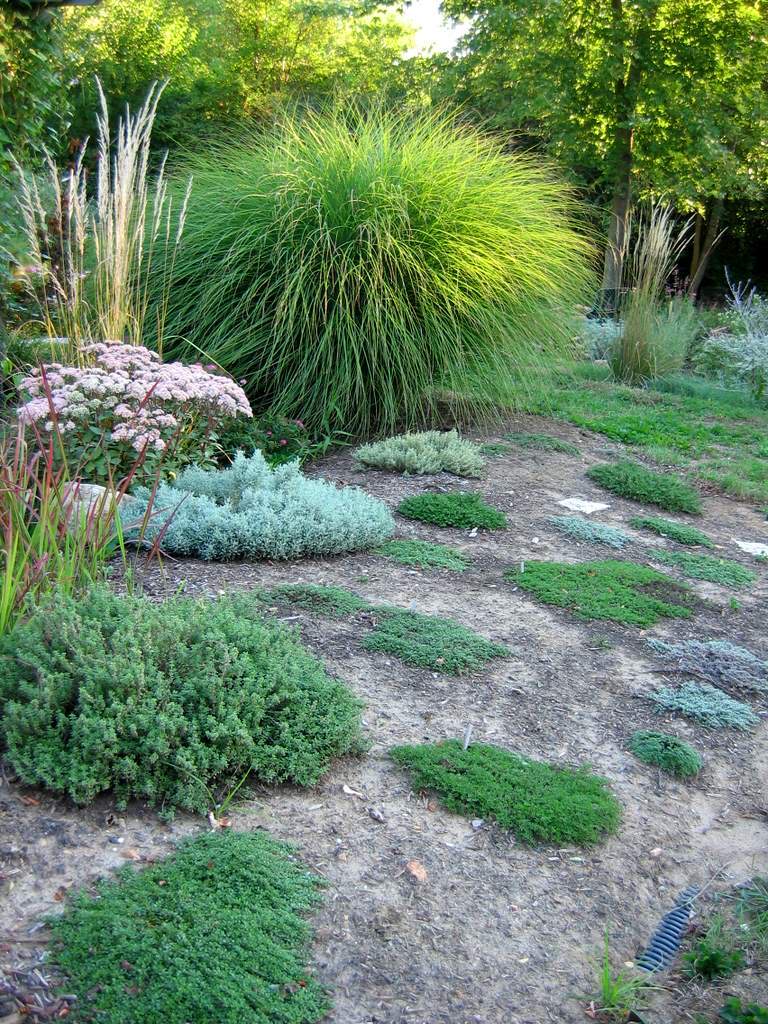
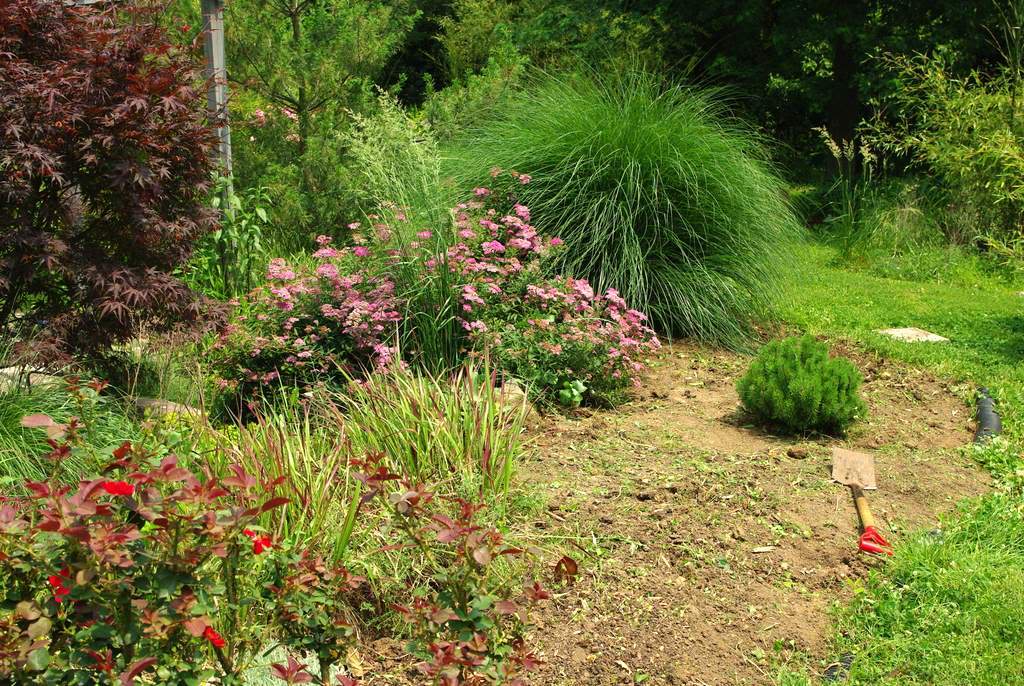
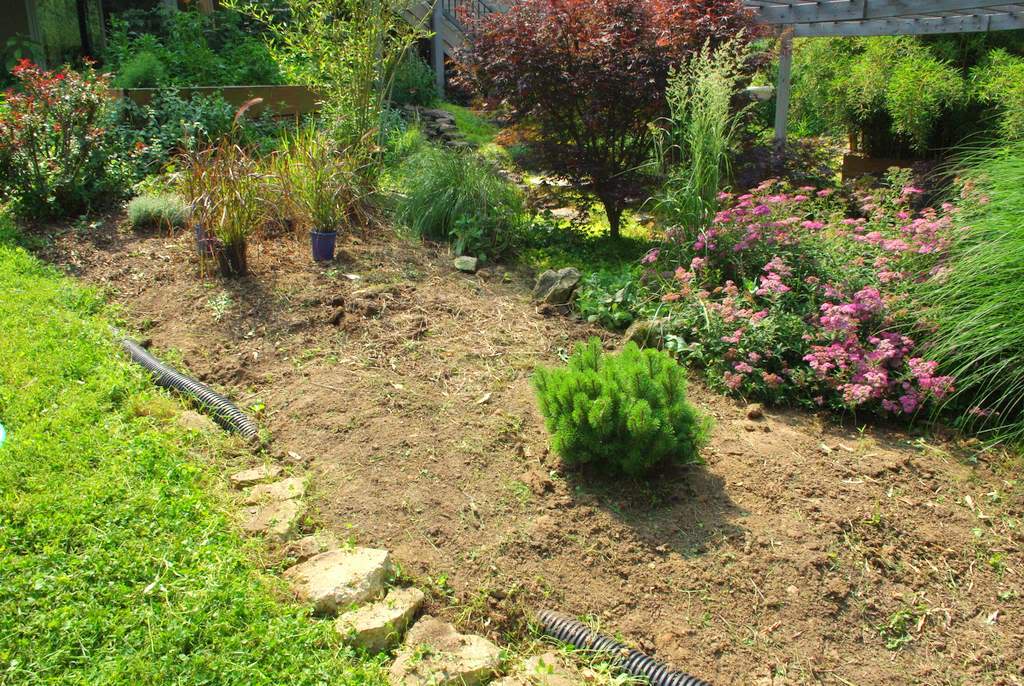
Those close-ups don't tell the whole story though, because when you take a step back and look at the bed as a whole, it's a mess of weeds and ugliness:
 |
| Oh, the horror. |
Admittedly I didn't spend any time weeding it this year, as I knew I was going to redo it later in the spring, but it would still have had weeds in it and those violets are a pain to pull out every month or so.
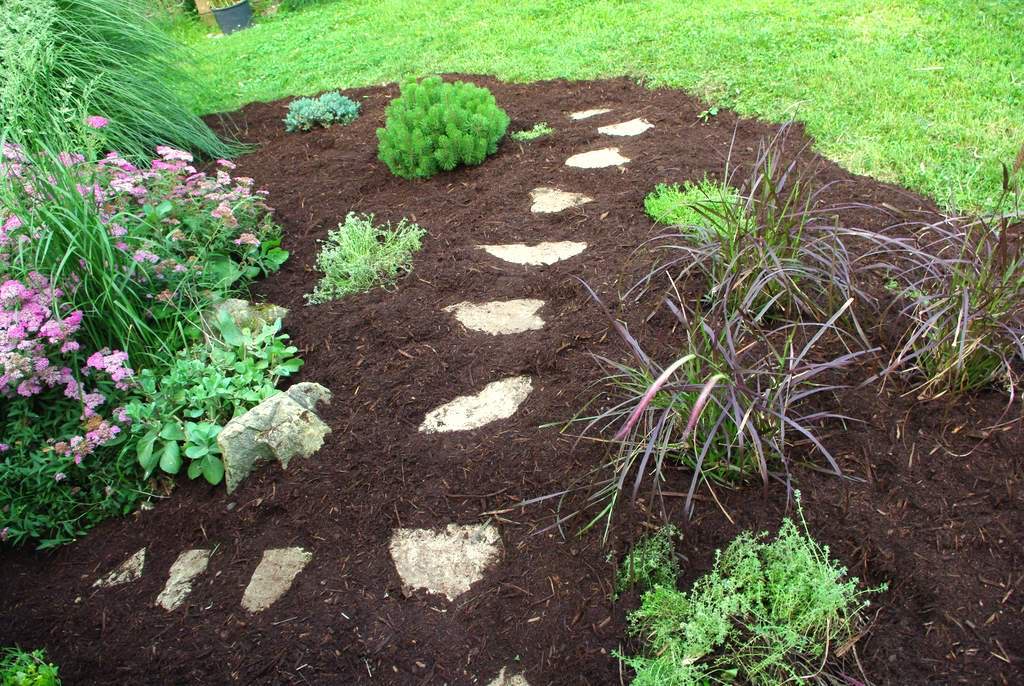
Today I decided I had to do something about this bed, and my plan was to nuke it -- remove pretty much every thyme, sedum, weed and anything else growing and start with a clean slate.
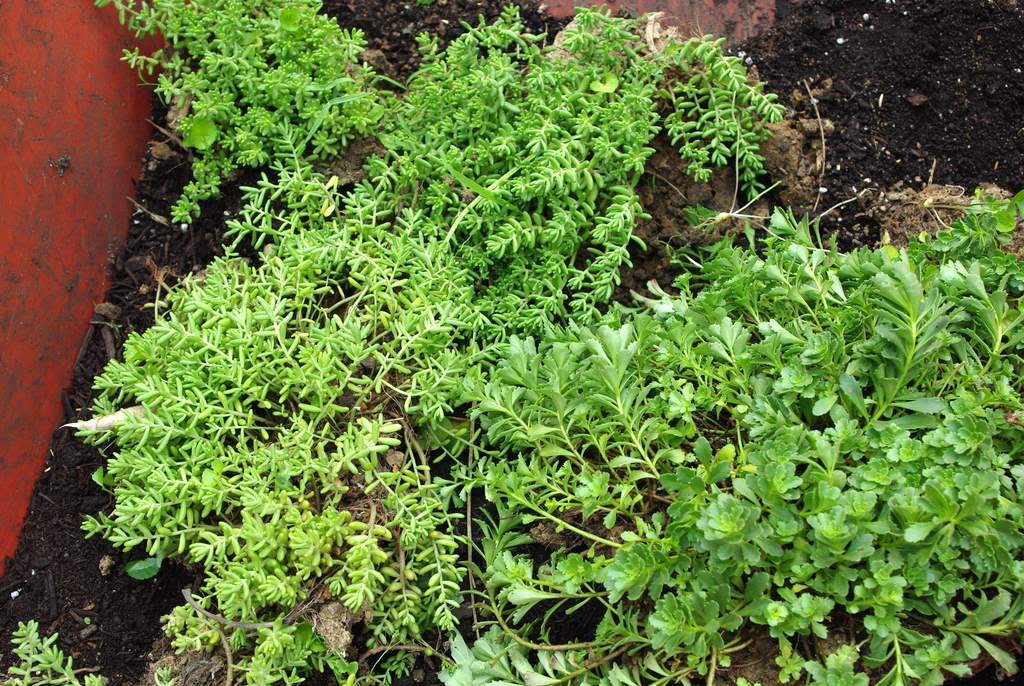
Step one was to salvage some of the sedums and thymes for replanting somewhere else -- they're nice plants, they just didn't work in this application:
After saving those few plants, I was determined to rip out any others that I found. I was going to be ruthless -- no stopping every few minutes to save every little scrap of thyme or sedum I found.
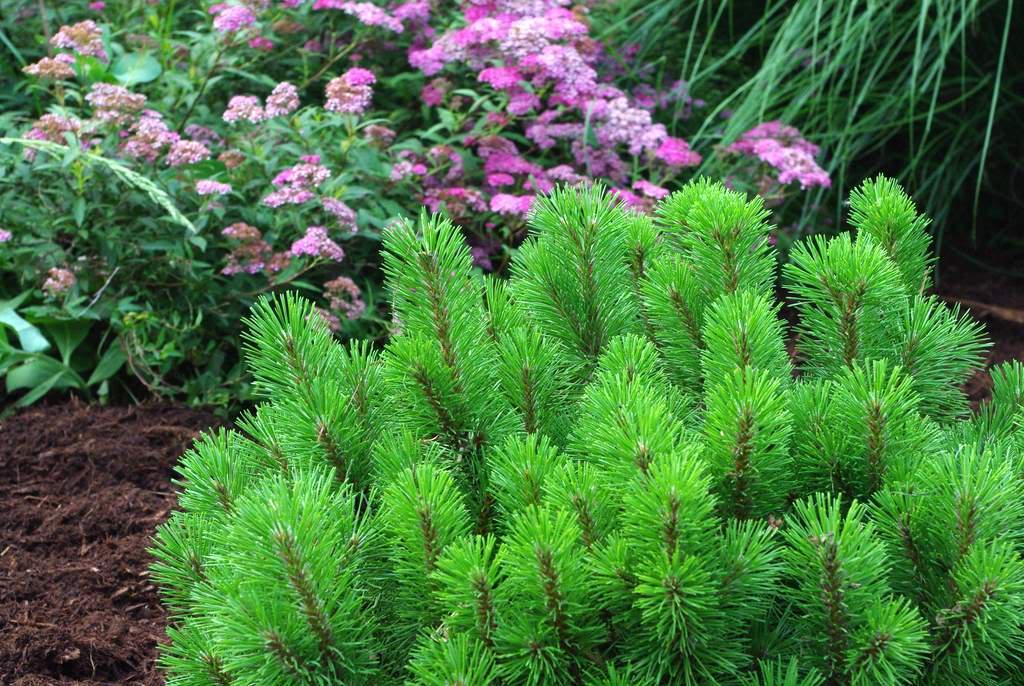
This little dwarf mugo pine was going to stay and was a great place to start, so I started clearing around it and worked my way outward:

I was using both my scuffle hoe and my flat-edged spade to clear the ground. I wasn't concerned about getting every scrap of weed, but I did my best. There were several tap-rooted dandelions growing here, and although I dug some of the roots out, some of them just got cut by the scuffle hoe. I expect them to grow back later, and I'll take care of them when they do.
So after quite a bit of scraping, pulling and trips to the compost pile, the ground was pretty much cleared:
Now to tackle the Japanese Blood grass -- I love this grass but it's spread a bit more than I want it to. I didn't get around to cutting the dead growth from last year as I was originally going to remove it completely, but now I had second thoughts and decided to keep a small section of it, so had to pull out the ugly brown leaves by hand. Not as effective as cutting in the early spring, so I won't skip that step again.

I put some of the thymes that I into the adjacent wildflower and annuals bed, probably temporarily:
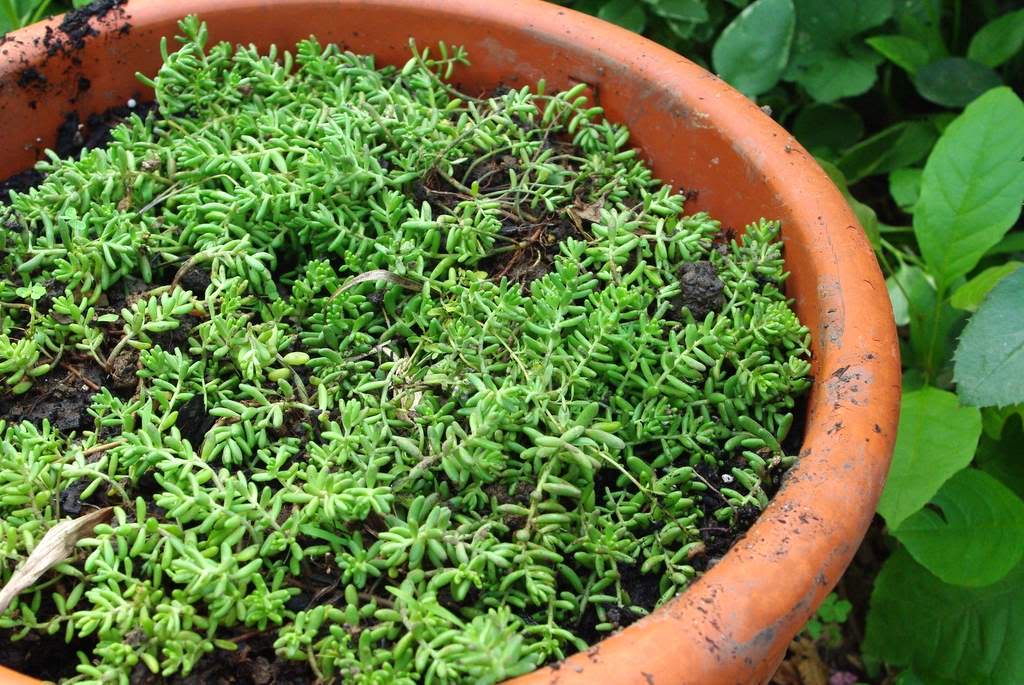
Some of the sedum went into a pot:
The rest of the thymes would go back into the same bed as accent plants. You'll see shortly.
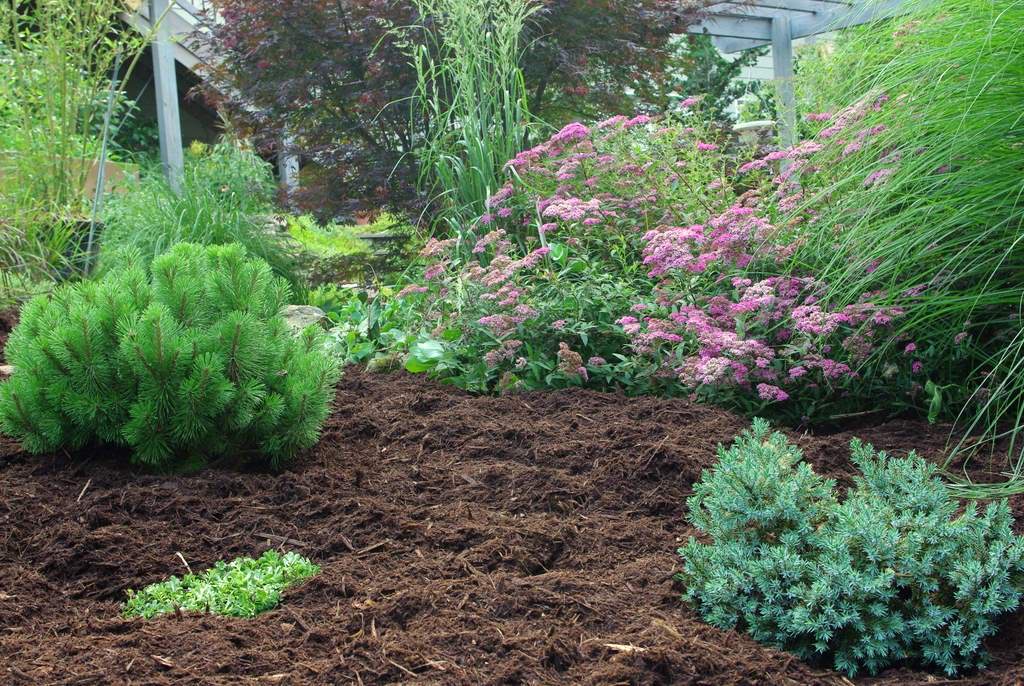
Planting was next, and here I've started to lay out some grasses to see how it feels:
Looking at the lower part of that photo you can see what looks like rocks -- those are concrete chunks that were helping to control erosion and provide an edge to this bed. They always got in the way of the lawnmower and the clover from the lawn would grow between and over them, so I decided to pull them out. Rather than carry them back to my concrete chunk pile in the back, I decided to use them as stepping stones and create a path through this bed. I always want to walk through here, and having a defined walkway will be nice.
I didn't photograph the process of sinking these "stones" as I was now getting the late-afternoon sun and heat right in my face as I worked, and preferred to just carry on with the job instead of documenting it. I'd be glad to post about this sometime if anybody is interested, so let me know in the comments.
After getting the steppers into place I planted, which again I didn't document. Do you really need to see another photo of a hole in the ground?
The final step was to mulch, which although is not difficult took quite a bit of time. I was getting worried that I'd run out of daylight and wouldn't be able to take photos, but then the job was finished!
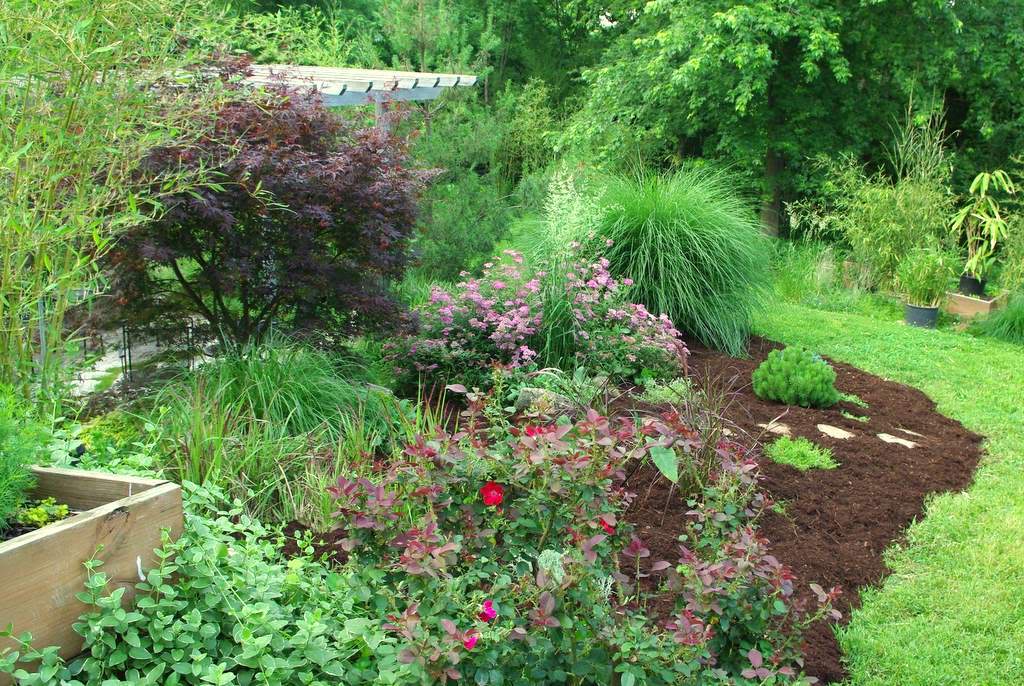

The little 'Blue Star' juniper had been in a "temporary" bed for a couple of years, but this is the perfect place for it. It grows as slowly as the mugo pine does, so will take years and years to outgrow this space -- if it ever does.

I added some of the thymes and sedum as accents, at least temporarily. They won't get to spread as much as they did before because of the mulch, but the alternative was to put them into pots and decide what to do with them later. Since I'm trying to reduce the number of pots on my driveway by planting, potting them up wasn't a real option.
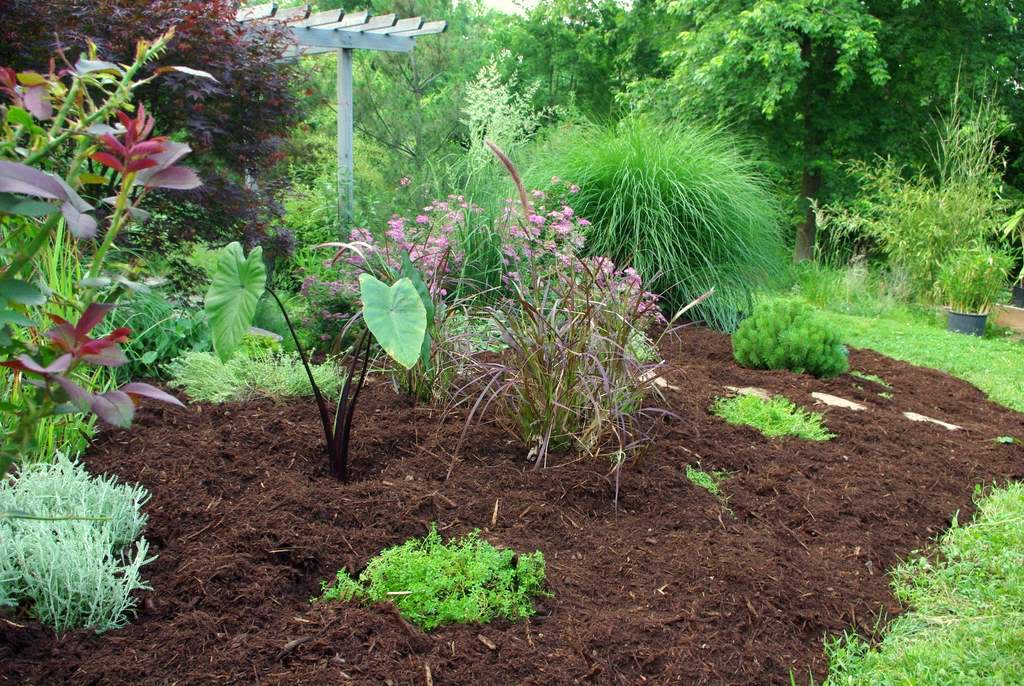
I'm quite pleased with the way this turned out, and can't wait to see how it looks in a month or two when the plants fill in a bit. I wasn't planning on creating a stone pathway here, but I'm glad I did -- the extra work was really worth it!
Hopefully it will be several years before I decide that this bed needs another makeover.
.


What a transformation! The new bed just fantastic. I love the different plants you chose for this area. Do you get enough rain in the summer to keep the elephant ears happy, or do you have to manually water them?
:: Bamboo and More ::
It's inconsistent. We'll have plenty of rain some days, but then a week or more of nothing. Supplemental water is required -- but worth it!
I really like what you've done in this bed! I like the pathway too.
The revised bed looks so great with that combination of plants - it's amazing what mulch can do too. I am being very diligent about watering my elephant ear which is near my front steps to make it easier for me to remember!
Looks like if you make enough garden beds, there's no longer any need to mow the lawn.
I've also found that elephant ears grow very similar to banana plants so they might be able to over-winter just as easily as long as I plant them deep enough, and put enough insulation on top.
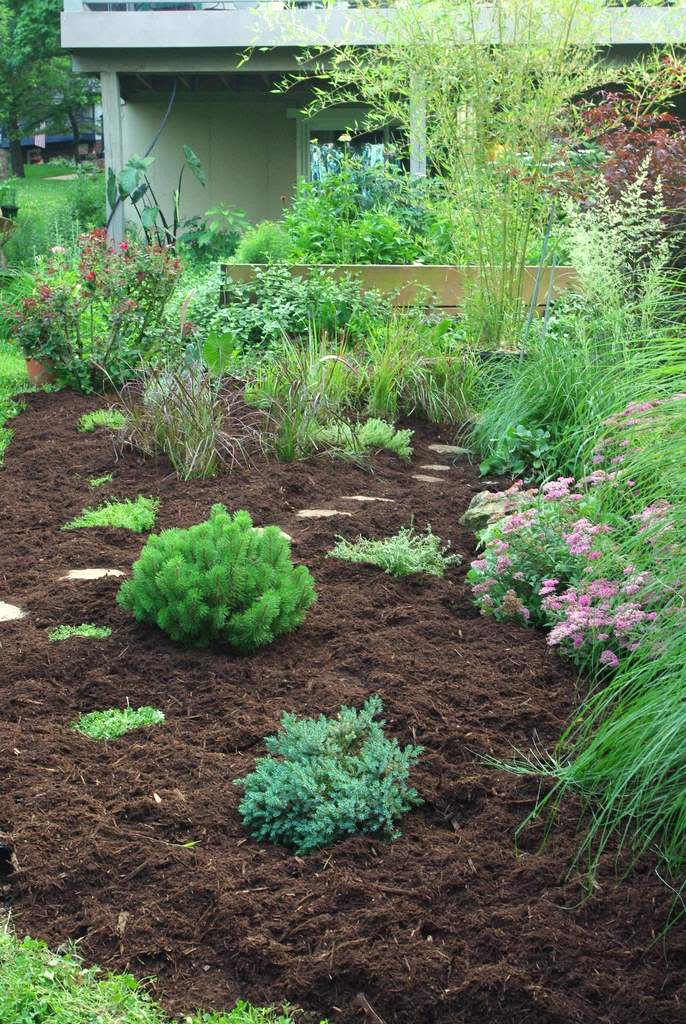
Was just looking at this post again - would love to see how it looks now, 5 months later?
Christine: I will take photos this weekend and do an update. Thanks for asking!