A project comes off the list -- sort of
Every gardener has a list of projects that they'd like to do each year, don't they? I know I do. In fact, my list of "things to do this summer" seems to stay quite similar every year, as I never get around to all of the items. One task that's been on that list for a few summers is "make more hypertufa pots". Hypertufa is a lightweight concrete that is easy to work with and great for lots of different garden projects.

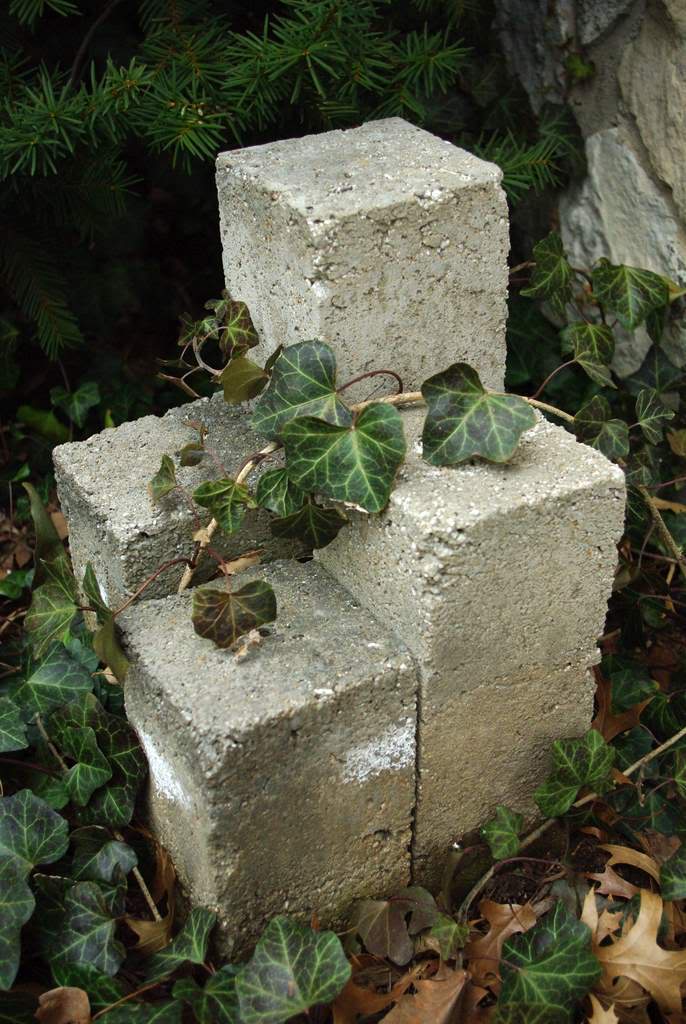
A couple of years ago I made these small balls out of hypertufa, and they add a nice sculptural element to one of my planting beds. But I want to make something more useful, and what's more useful than pots? I never have enough sturdy pots.
Oh, I just remembered I've made some other decorative pieces before too, but again, they aren't very useful:
 |
| These were going to be a small water feature. |
So what exactly is hypertufa and how do you make it? It's quite simple: hypertufa is an artificial rock. If you're familiar at all with concrete, you know that it's very hard, but very heavy. That's because concrete is made when portland cement is mixed with sand and small rocks. Hypertufa is also made with portland cement but uses lightweight materials in place of the sand and rock. Typically peat moss and perlite are used, and although there are many different recipes that's what I'm going to use.
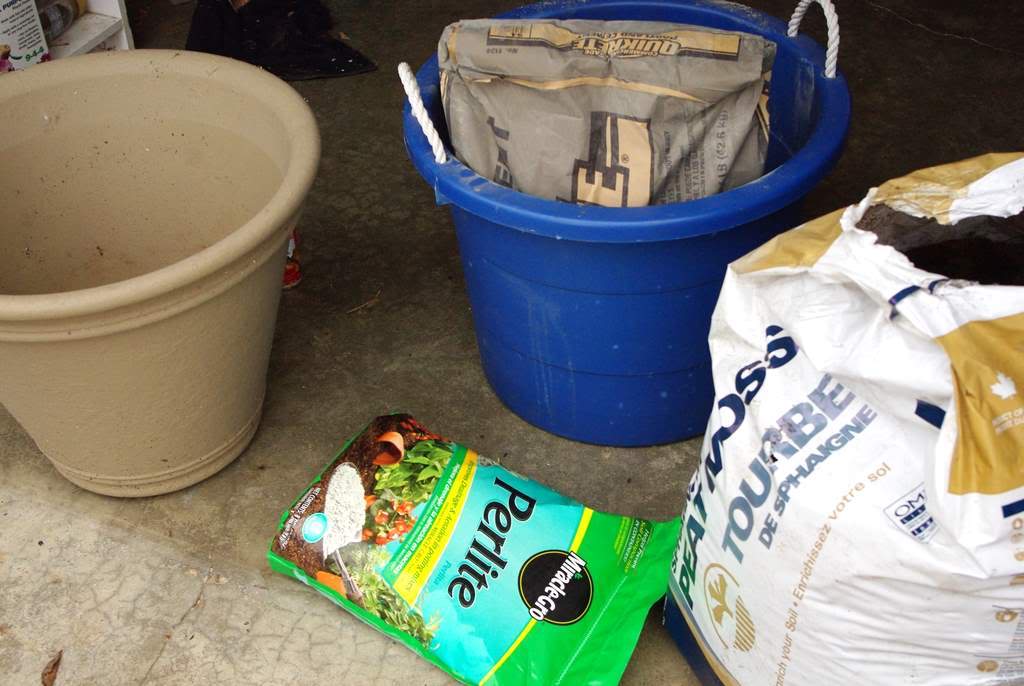
You probably already have peat moss and perlite, right?
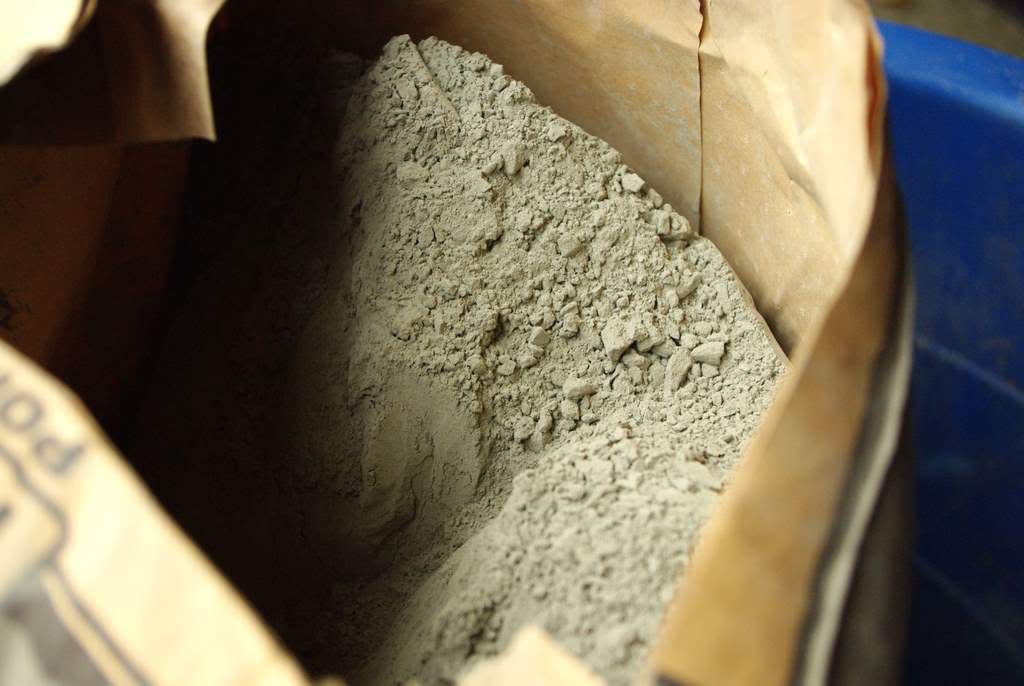
You can find portland cement at any home improvement center. You don't want ready-mix or anything except straight portland cement:
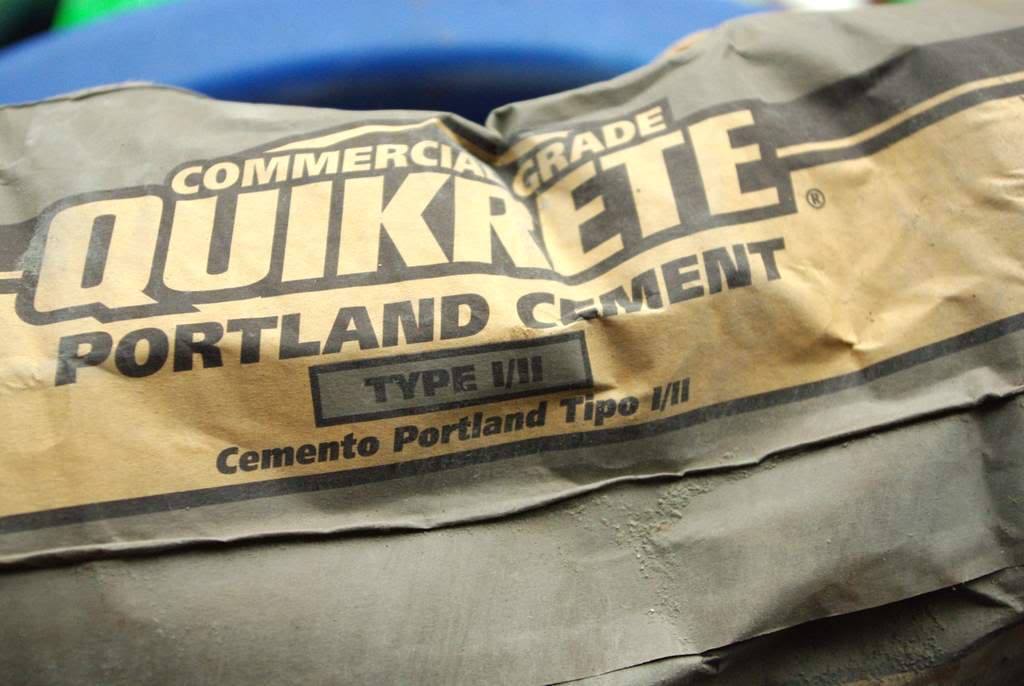
It's no trouble finding portland cement, but it might be getting it home, as it typically is only available in 94 pound bags (here in the US). Remember, lift with the knees, not with the back!
I'm going to use an easy-to-remember recipe that uses equal parts of all three ingredients. I'll start with the peat moss, and I'm going to filter it through some hardware cloth:
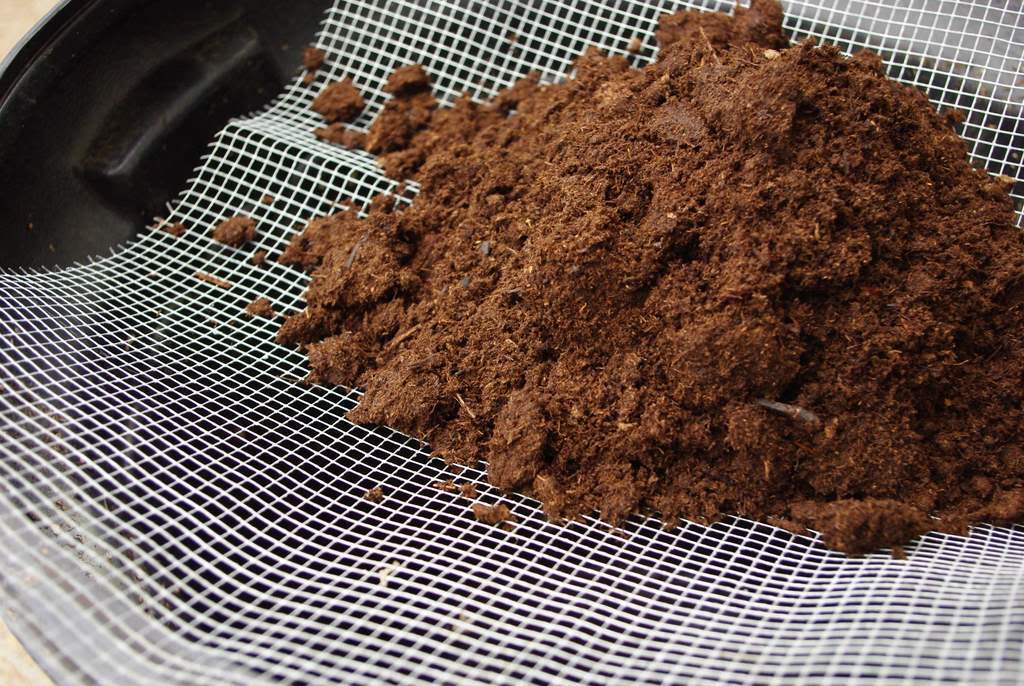
This will remove all of the little sticks and break up any large clumps:
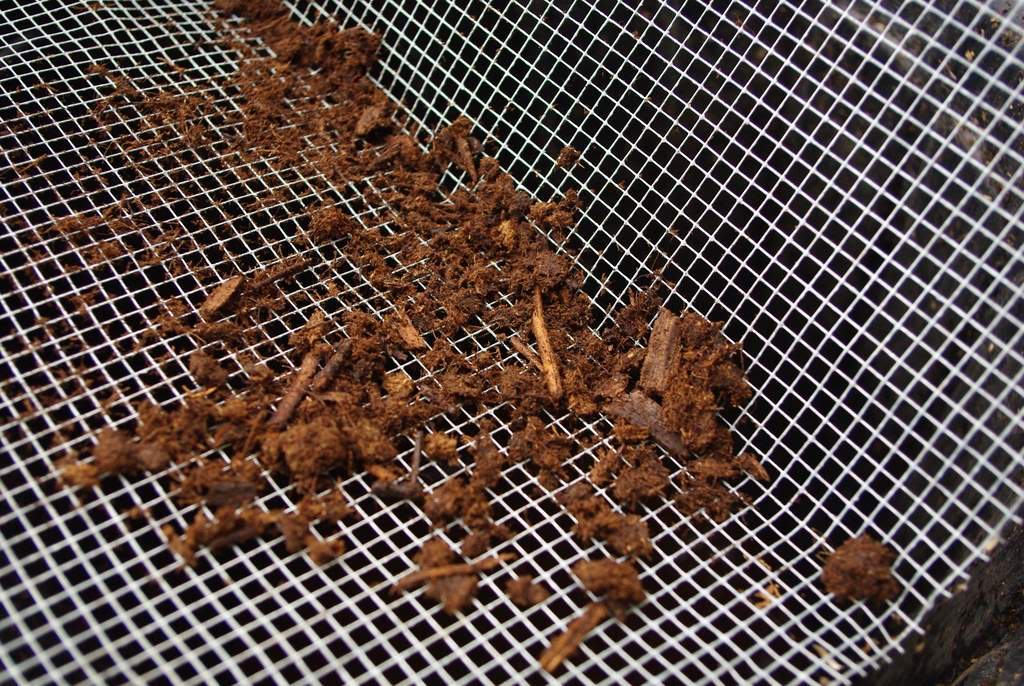
You'll have better results and fewer weak spots in the finished product if you do this.
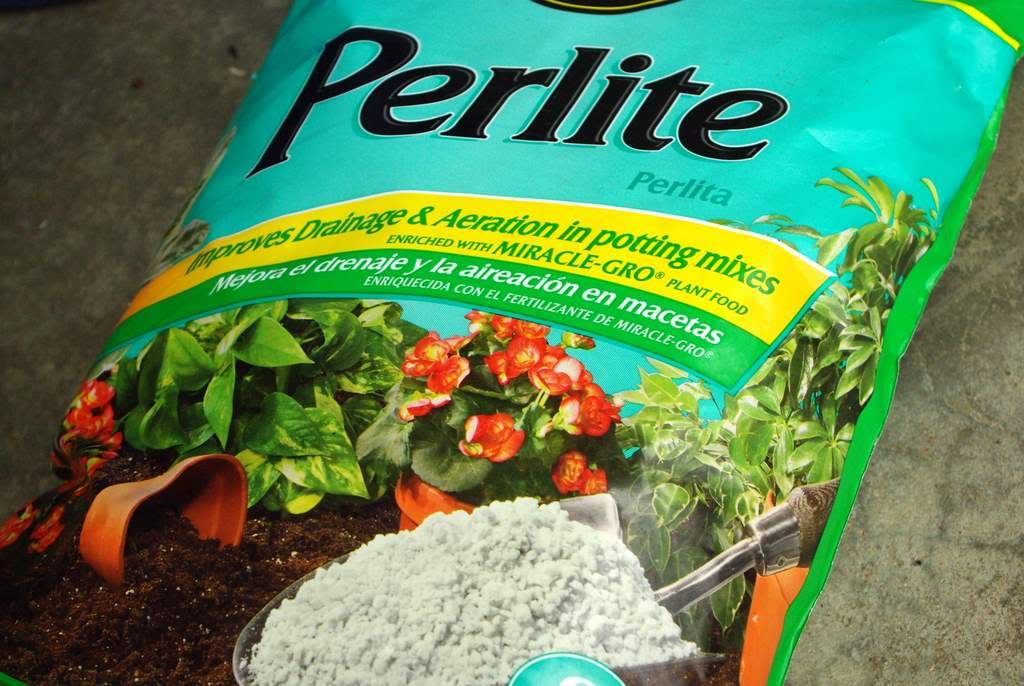
Perlite goes in next:
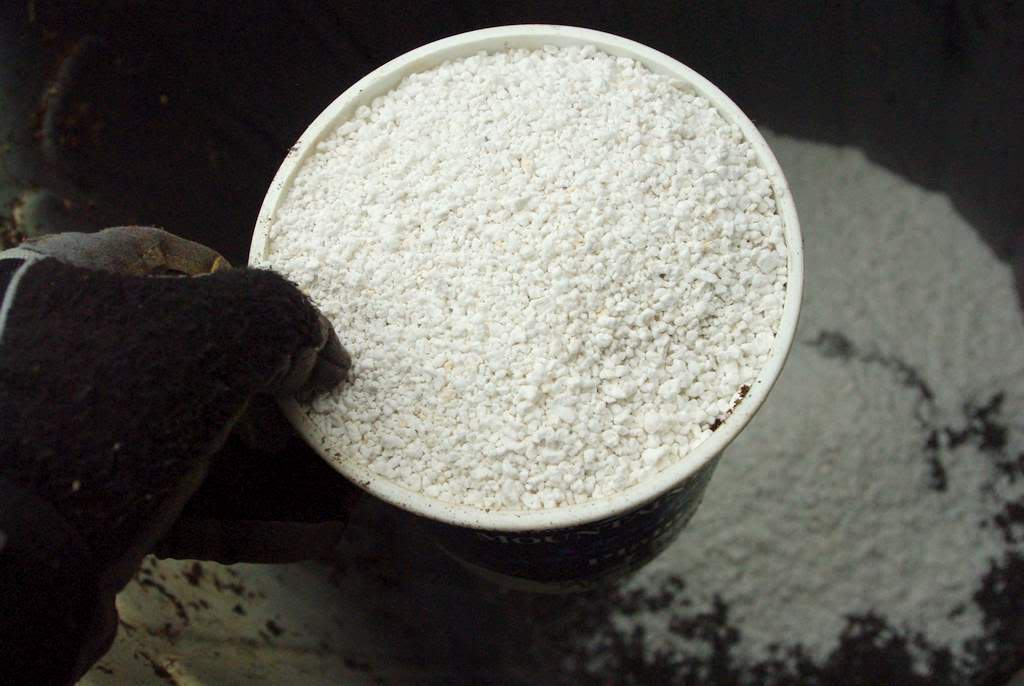
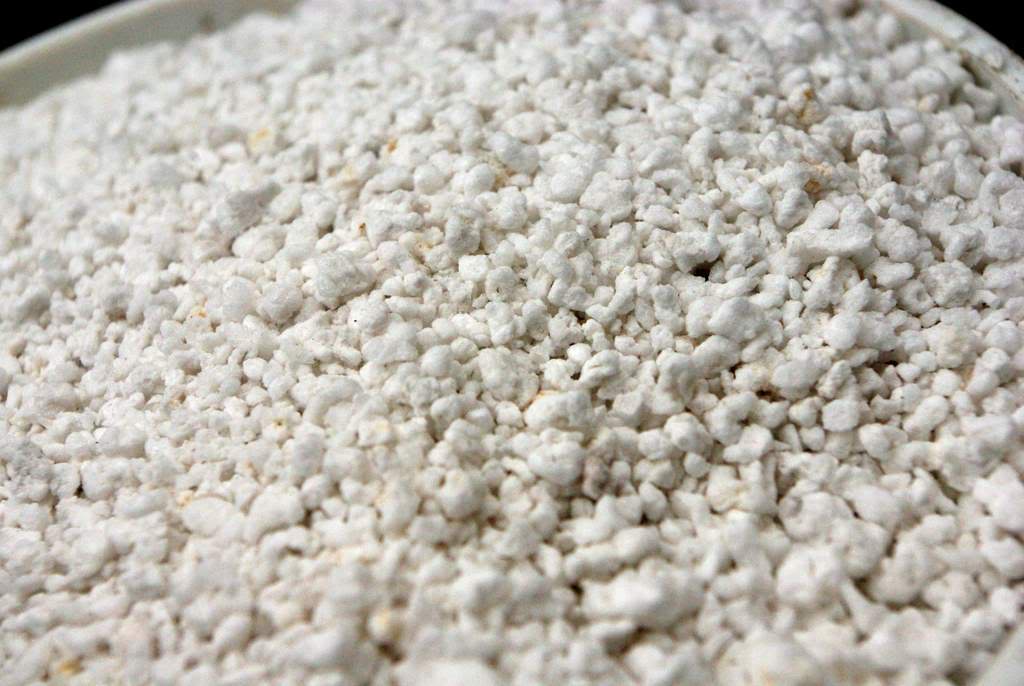 |
| I have a craving for cottage cheese now for some reason. |

That's a lot of dust, so wear a mask and don't do this inside the house! The cement dust is particularly bad to breathe, so please don't!
I'm mixing in a clean garbage can because my wheelbarrow is full right now. It's a good idea to mix together the dry ingredients before adding any water -- it's much easier to do that way.

I've mixed cement, mortar, and grout before -- they're all quite similar -- and I never know exactly how much water to add. What I do know is that adding too much water is very bad, so add much less than you think you'll need and go from there.
I was using a large yogurt container to measure the ingredients, and I used 2 full containers each of perlite, peat and cement. I started with 1/2 container of water, mixed a little, added another 1/2 container, mixed some more, then tested to see if the mix would stick together:
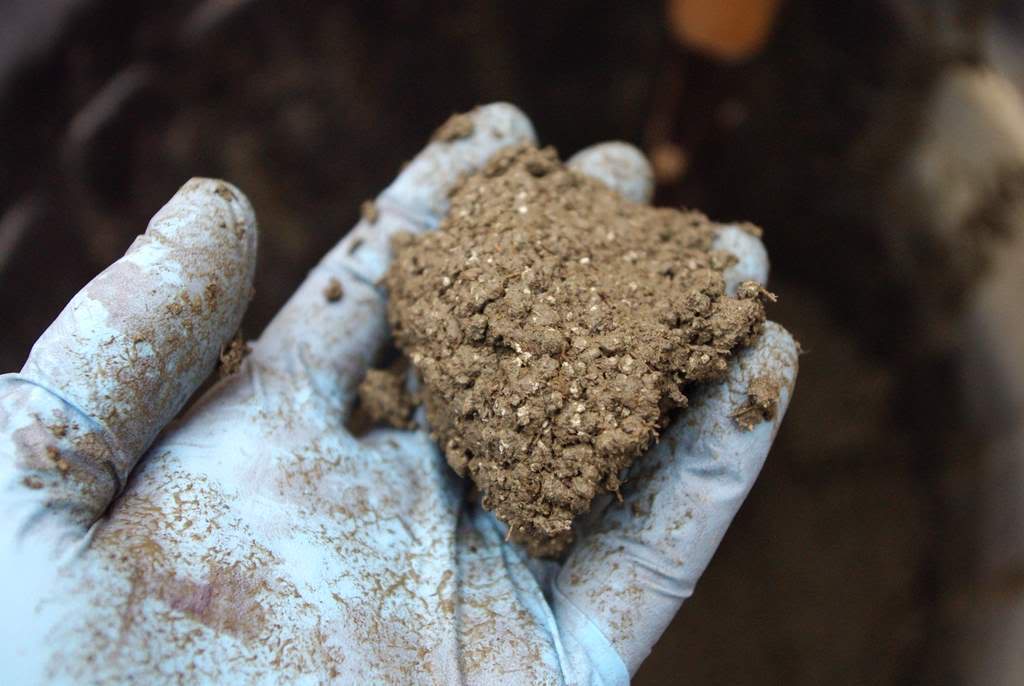
Yes it would, but it's still a little too dry, so I added more water, little by little. I lost track of how much water I ended up adding, but I think it's probably better not to know how much water you should add, and just go by how the mix looks. That will keep you from dumping all of the water in at once, which is the best way to end up with a mix that is too wet.
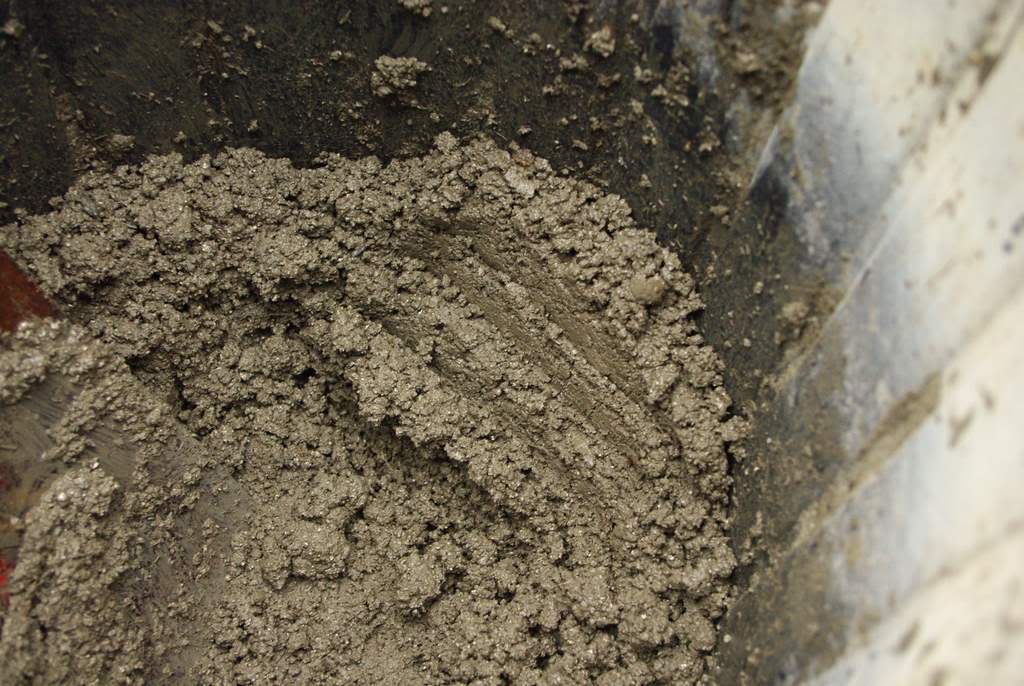
I pushed the mix up against the sides of the bin with the shovel to test it, and it looks pretty good now.
Since I'm going to make a pot, I need a container to use as a mold. Luckily I have plenty of buckets and other plastic planters, so I chose a big planter that has a rounded bottom and tapered sides:
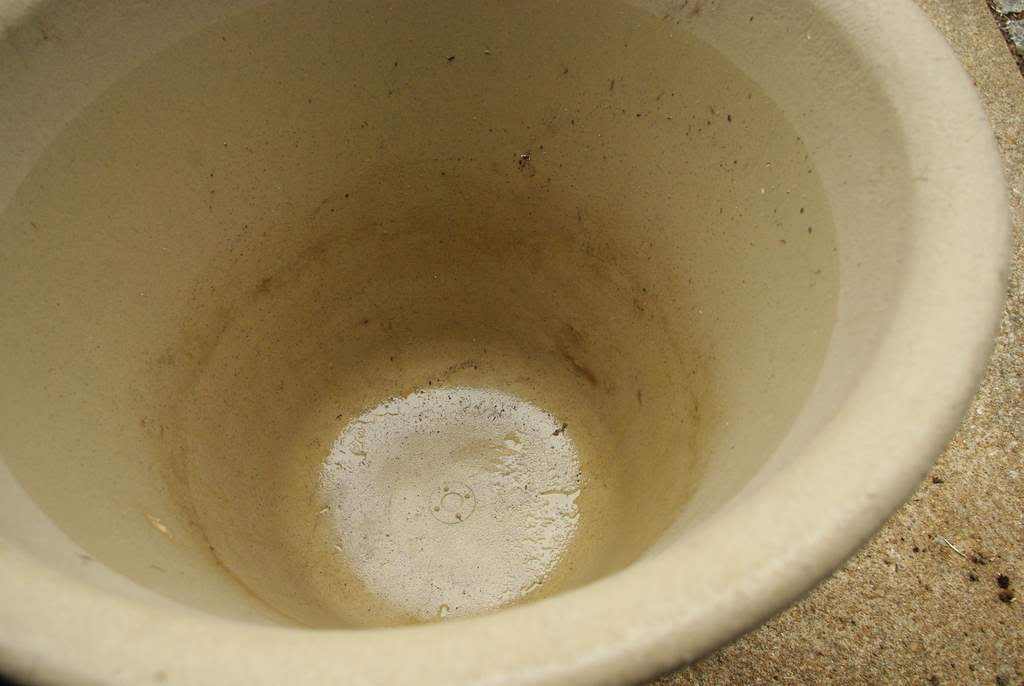
Tapered sides will make it easy for the pot to come out of the mold. The lack of little edges and holes helps too. A liberal amount of cooking spray oil or mold release spray will help also -- I don't suggest skipping this step. I suppose you could rub regular cooking oil into the mold too if you don't have spray oil, but a dry mold -- unless it's cardboard or something that can be dismantled -- might make it impossible to get the pot out.
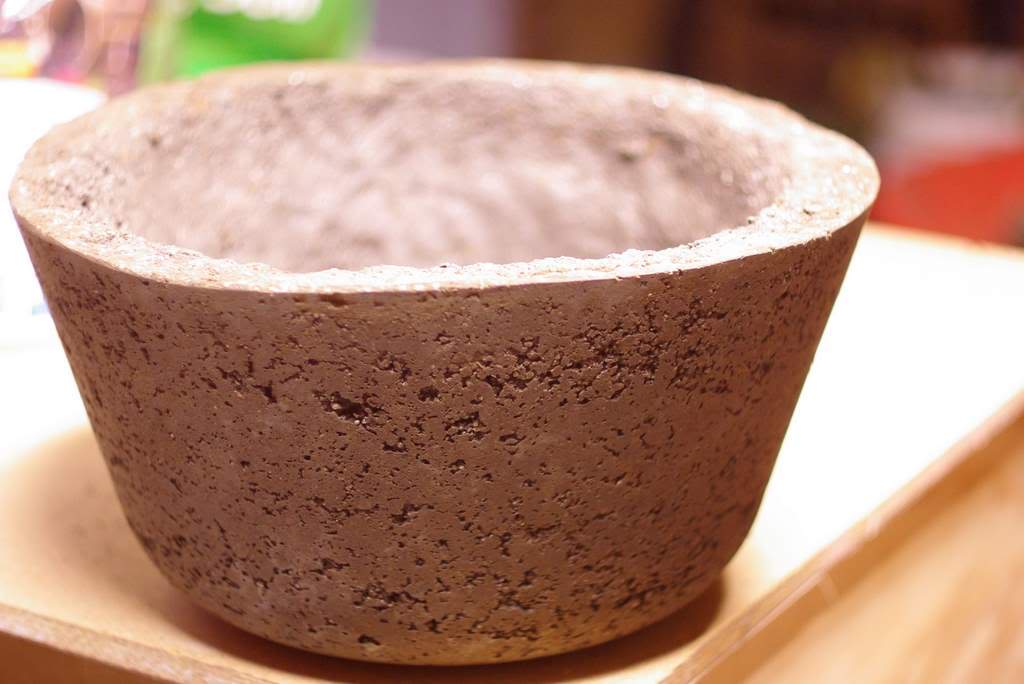
Then it was just a matter of taking handfuls of the mix and pressing it onto the bottom and sides of the mold and packing it together. I didn't take any photos of this process, since my hands were covered with "mud" and it's hard to find a cement-proof camera these days. Here's the finished product though:
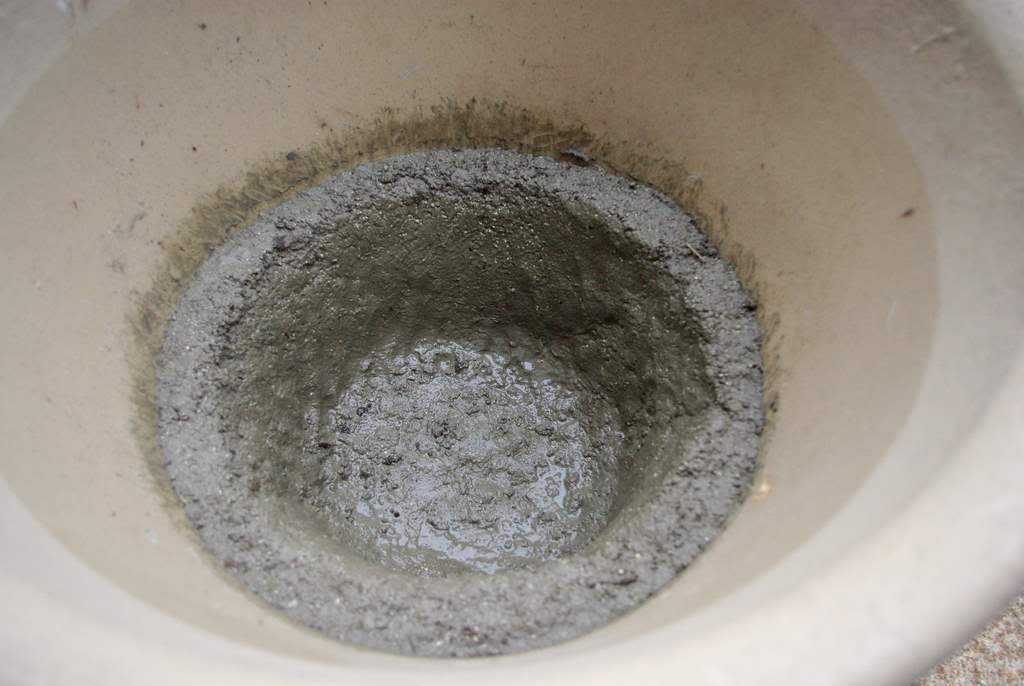
I'm not certain that the top edge was level all the way around, but hypertufa pots are somewhat rustic by nature, and some unevenness wouldn't be out of place. Plus I knew I could shape the edge after the concrete set but before it was completely cured (hardened).
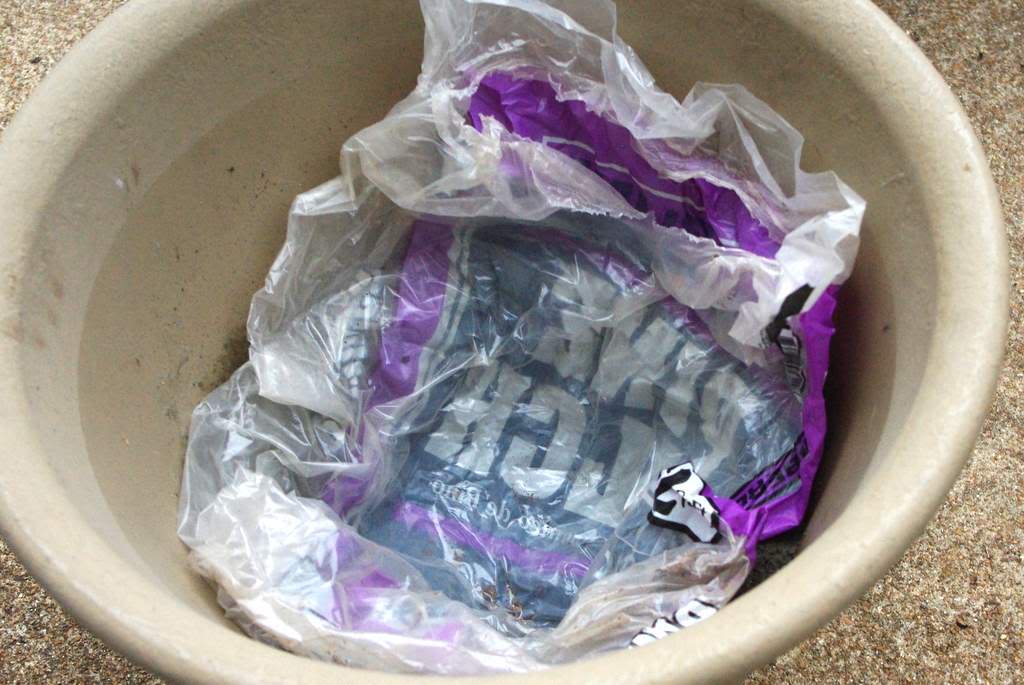
So all that's left is to wait. I covered it with plastic to help retain the moisture and set it aside for three days. I kept it in the garage, where the temperature was about 50ºF (10ºC). You don't really want it to freeze, and you don't want it too hot as you want the water to react with the cement, not evaporate.
After the third day I worked to get it out of the mold. It didn't pop right out, but I tapped on it for a few minutes, eventually banging it on the ground a little bit. Since the planter was double-walled (hollow inside) it wasn't easy to flex, but just as I was getting frustrated the pot suddenly released and fell into my hand. Good thing I was paying attention.
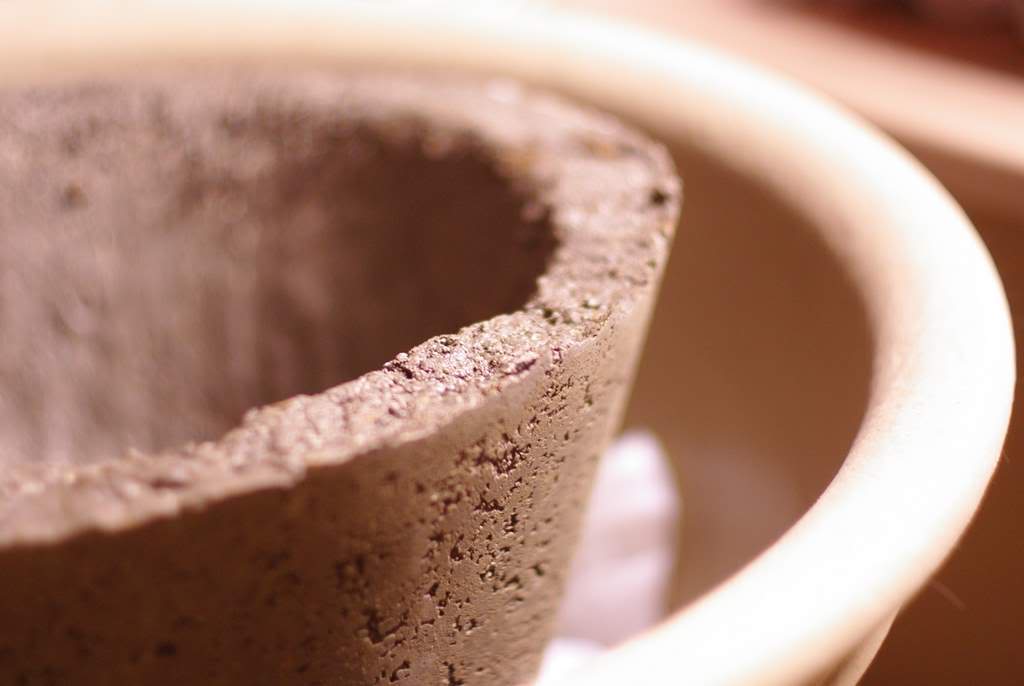
That edge is definitely a little rough, but I can fix that with an old file, a wire brush, or even a scouring pad (a soapless one) -- something that will wear the hypertufa down, smoothing it a little. So I did that...
It might need a little more smoothing, but this is pretty good for today. I'm pretty pleased with the texture of the outside surface, and I like the overall shape too.
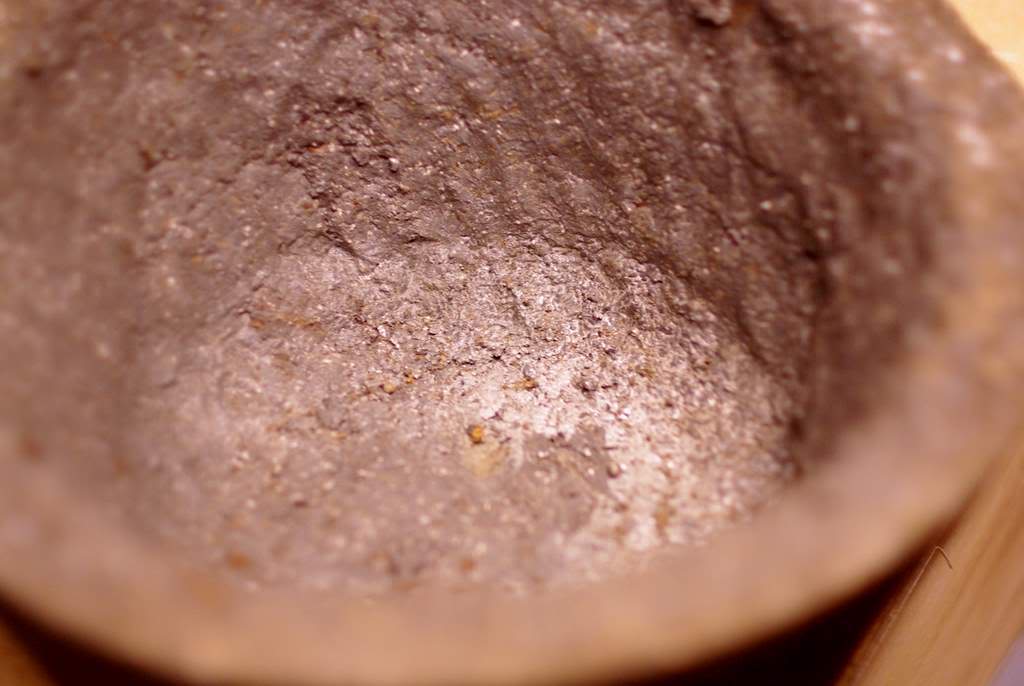
The inside is quite rough, but who cares about the inside! As long as there are no cracks and it's sturdy, it's fine. (If there were cracks I'm not sure what I could do about it.)
I'll drill some drainage holes with a masonry bit at some point, and I will let this cure for several more weeks before using it -- I think I read 3 weeks is an appropriate curing time. I can spray it with water every day or so to assist in the curing process, but this is optional. It will be weaker if it dries out too fast though.
So that's my first hypertufa pot of the year, and it's not even March yet! I'm quite pleased with this one, so I'm certain I'll be making more in the near future -- so I'm leaving it on "the list". Actually, I'm quite excited about making more now! I've got a few mold containers in mind already...
.


This is awesome!! I've been wanting to make hypertufa containers for years but never got around to it. Your post has given me the necessary inspiration.
By the way, I really like those balls! I assume you simply formed them with your hands?
Yes, although some of the larger ones have something in the center... a hunk of styrofoam I think. There's a maximum sized "snowball" you can make out of hypertufa, but sticking it on a core allows you to go bigger. I remember this being not as easy as I thought it would be.
It might have worked better if I made a small ball, let it cure a couple days, then put another layer over that, let it cure, repeat until I got the size I wanted. I may try this later this year.
Thanks for the tips on how to many the balls. I'd like to make a few of varying sizes, up to the size of a soccer ball or so. But I'll definitely start small and work my way up from there.
Thanks for this post! I love the look of the balls and can think of many more projects to do. Oh, wait! One project off your list - more on my list - maybe I shouldn't be thanking you after all. :)
I really like the balls and water feature thingy you made. But I think this might be a bit ambitious a project for me. I would need supervision if I worked with these things :)
teehee... HolleyGarden, I completely understand. I think I've doubled my to-do list from reading this wonderful blog. The good thing is that I'm really excited for it all! :)
The hardest part about hypertufa projects is getting the bag of cement. After you have that, it's really simple. You can mix up a very small batch to experiment, or you can make a lot because you want a big pot (or tons of small ones).
Christine: I encourage you to give it a try! Making the balls is about as simple as it gets... unless you want to make hypertufa "cow patties". Those are probably even easier. =)
One problem with the bag of cement if you live somewhere with humidity like I do: if you don't use it relatively quickly, or keep it somewhere really dry, it will start to harden and clump up in the bag. You can break the clumps and still use it, but it's a lot of work. My 1/2 full old bag is pretty much useless now, except as a "sandbag" for extra traction in the back of my truck. =)
This is a FABULOUS how-to!!! Hypertufa has been on my "want to do" list for a couple of years now, but just haven't taken the time to sit down & figure out how to really do it. I am bookmarking your page and I feel like its something I can certainly tackle now. :)
Thanks for such a great idea. Not only on the pots but the stands and ideas for other things to make too. I'm looking forward to when I get a chance to make some.
I wonder, if you wanted to make spheres, if you could use something like chicken wire to make a core. I don't know how hard it would be to create a sphere out of chicken wire..maybe it wouldn't even have to be a sphere..but, at least something hollow like that to start from. I have all the ingredients, but haven't yet tried making/working with hypertufa. I am a ceramic artist with lots to learn, so I think those skills will transfer. Great blog you've got here!
After reading this, I really want to stick a copper pipe in one of those balls and make one of those bubbling spheres... or a pile of small bubbling spheres... or, oh gosh, the possibilities are endless!
Thanks for the info and pictures. They really help. The formula is fantastic, people usually leave that out. I am going to try out the pipe in the ball fountain. I love fountains. Thanks again.
how well do these stand up to severe weather conditions? I live in S. Alberta, and would like to try this, but don't want to remake things after every winter.
As for winter durability... unsure. The balls are 5 or 6 years old now I think, and some are fine, but a couple have split and crumbled. The pot has made it through one very mild winter and one almost normal winter with no apparent damage. We have *lots* of freeze/thaw cycles in St. Louis in a typical winter, which I imagine is worse than a climate that freezes once and stays that way.
For extra protection I suppose you could seal these every year or two.
If you live in an area where you need it to be more durable then you might try adding polypropylene or fiberglass fibers. Amazon carries the fibers.
Hi. I love the balls with the greenish mossy look. That is how I want to do mine. How is this done? Also, do you know how to paint or add color to the outside? Thanks so much! Laura
Laura: The balls are pretty easy: just use your hands and make a snowball for the smaller ones. For the larger ones which are about 6" diameter I made a chicken wire ball first by crumpling up some chicken wire, then mashed the hypertufa on.
To make the balls cover in moss paint them with yoghurt, moss will then grow on them. They also look great with mosaic on the outside, simply use grout for the gaps in between and it seals nicely and lasts for years. I use bits of mirror in my mosaics and it picks up the light beautifully.
do you think blowing up a big beach ball would work to make a large ball? I just wondered if anyone had tried because I would like to! I love the idea of a couple huge balls in my yard as art will work!
A beach ball could work, but you'd surely need to add some sort of mesh around it for support. I bought a couple of $1 inflatable play balls (you see them in large bins in the toy aisles) a couple of years ago but have never gotten around to trying to cover them. It's still on my list...
My aunt made spheres using basketballs in the center. I love the moss covered look!
Basketballs are a great idea, but pricey! Unless she found some really worn out garage sale balls. :)
Alan thank you for the info. In college art classes we made items of this but we didn't call it anything but cement sculpure I think we used it because it was cheap. We carved it and it works really well .I have done it since. Thanks again I will have fun with it again
Please tell me how long these Hypertufa pots last. Is your first one still usable? Thanks! By the way, have you tried papercrete? I want do try that and make some planting pots.
Joni: All of these are still in good shape in use in my garden. They've been outdoors for 5 years now, including months below freezing. I should do a post to update people on what condition they're in (very good)
Thank you for the update Alan on your hypertufa pots and glad to hear that they are going strong! Have you looked into making any from papecrete? thanks