The patio takes shape: 2006
>> Tuesday, December 21, 2010 –
building,
comparison,
japanese maple,
stones
If you've been following along the last few days as I chronicle the changes in my yard over the past few years, you'll know that we've just had (in 2006) all of the remaining locust trees removed from our yard, leaving a pretty uninteresting space with no vertical elements. You saw how I laid out my garden hose to designate an area that would be turned into "something", but I wasn't sure what yet. That was in March 2006. For the next few weeks I thought about it and planned, and also bought several large plants and small trees. This was the first time I had ever purchased trees, and it was exciting!

After much research and several visits to local nurseries, some of which I had never been to before, I bought three different Japanese maples, a couple of clumping bamboos (my first bamboos) and other small trees.


I also stopped my planning and started "construction". The first step was to pick out some paving materials at my local material supply company:


This is one of my favorite places! I really love rocks, and try to use them in as many projects as possible. I'd really love to get some of those large boulders into my yard!
With the materials chosen and ordered, it was time to start "construction", which I did myself (with a helper when needed).
Although I didn't document the entire process with photos, I think I can describe it pretty easily. The "bowl" area that I had been surrounding with plants over the past few years was a natural place to put a patio, and since there was now no shade whatsoever in this part of my yard, a pergola over the patio would be nice I thought. Something that vines could grow up, creating shade and a bit of height. Nothing like the trees that were taken down, but something.
So I dug the patio area out, moving some of the soil into the surrounding beds, but also piling most of it into a large mound further back in the yard. It is surprising how much soil comes out of a big hole!
I constructed a simple pergola structure too. This was the first one I ever made, and I used my own design. I'm pretty happy with how it turned out, and I especially like the location of the legs -- not quite centered. I also built a smaller, triangular pergola over the triangular box next to the driveway.
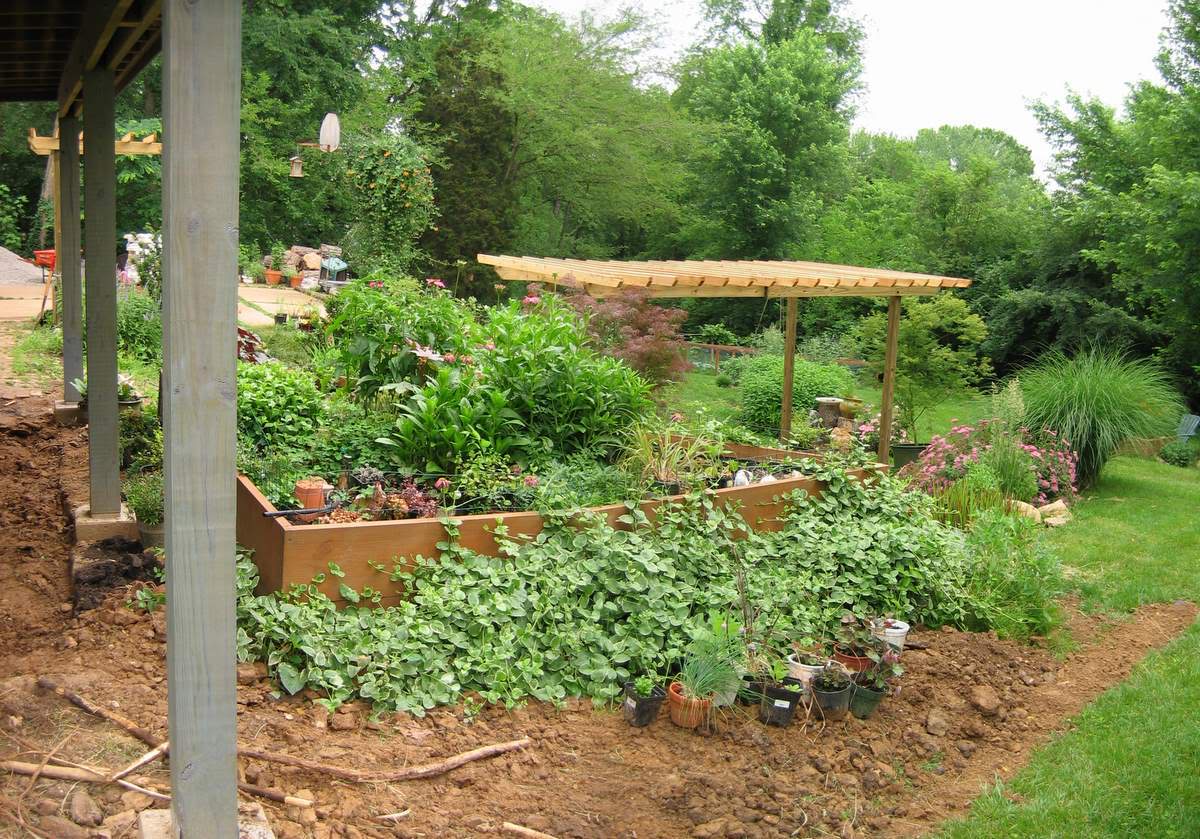
Here's what it looked like with the patio dug, the base row of the retaining walls in place, and the pergolas erected:


You can see that the trees are still in their pots -- I wasn't sure exactly where they'd be placed yet, so I moved them into approximate positions for a while so I could decide if I liked them there. I tweaked their positions several times before planting.


Here's a shot that gives you an idea of the amount of work that is coming next:
 |
| I've got a little bit of work left to do. |
This is what I need for the patio, which will be "paved" with flagstone. The area next to the house and under the new deck will be too. I'll have to remove all of the old bricks first though:
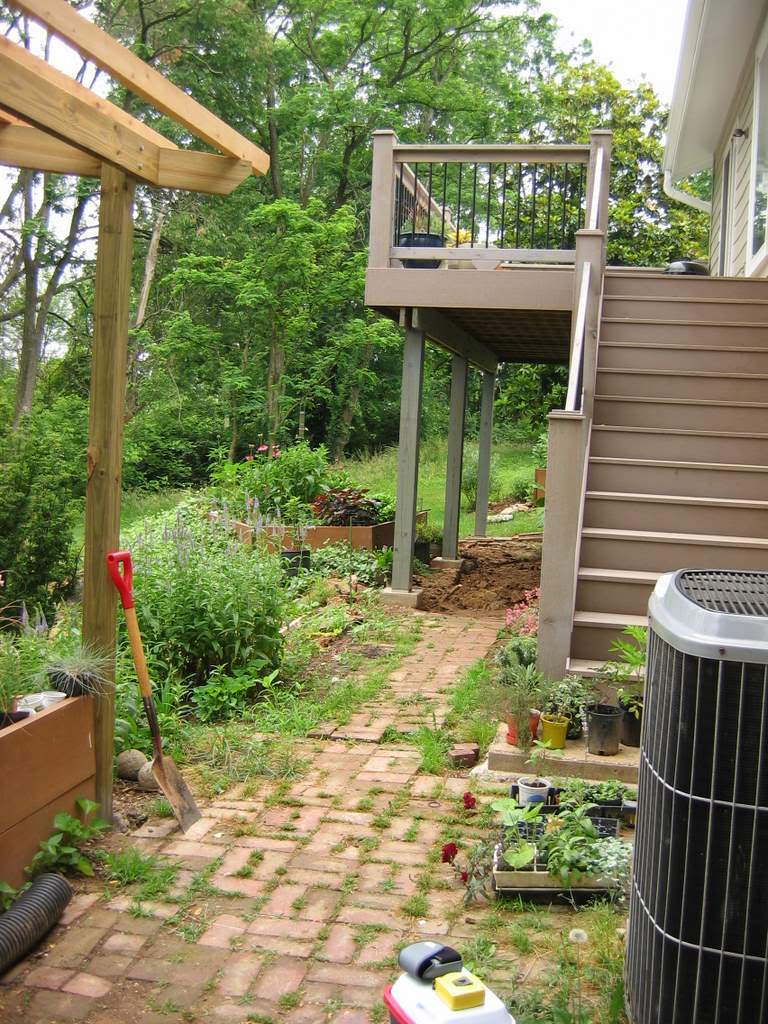
The solid base of packed "minus" is necessary. Without it -- if the stones were placed right on the soil for instance -- they would shift after a few years, and I'd have an uneven surface. That's pretty much what I had with these bricks, which were laid on a thin base of sand on top of soil. Know what happens when a mole tunnels underneath bricks set like this? You see a trail of bricks popped out of place -- like Bugs Bunny when he traveled anywhere underground.
So many hours of removing bricks, wheelbarrowing "minus", packing it down, carrying heavy flat rocks, trying them in certain places, moving them around, leveling them, chipping or cutting where needed, the patio was almost finished:

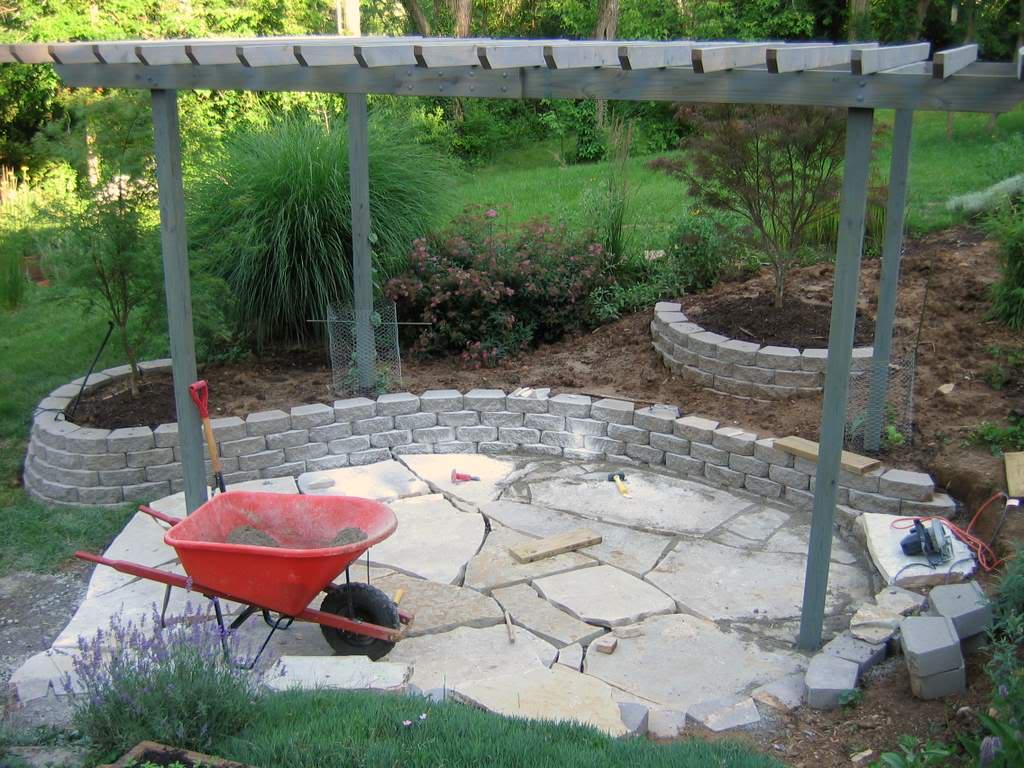
The retaining walls sort of designed themselves. I knew I wanted curves, but the different slopes of the yard coming together here made it a little tricky. It all turned out beautifully though.
 |
| Oooh, that looks much better! |
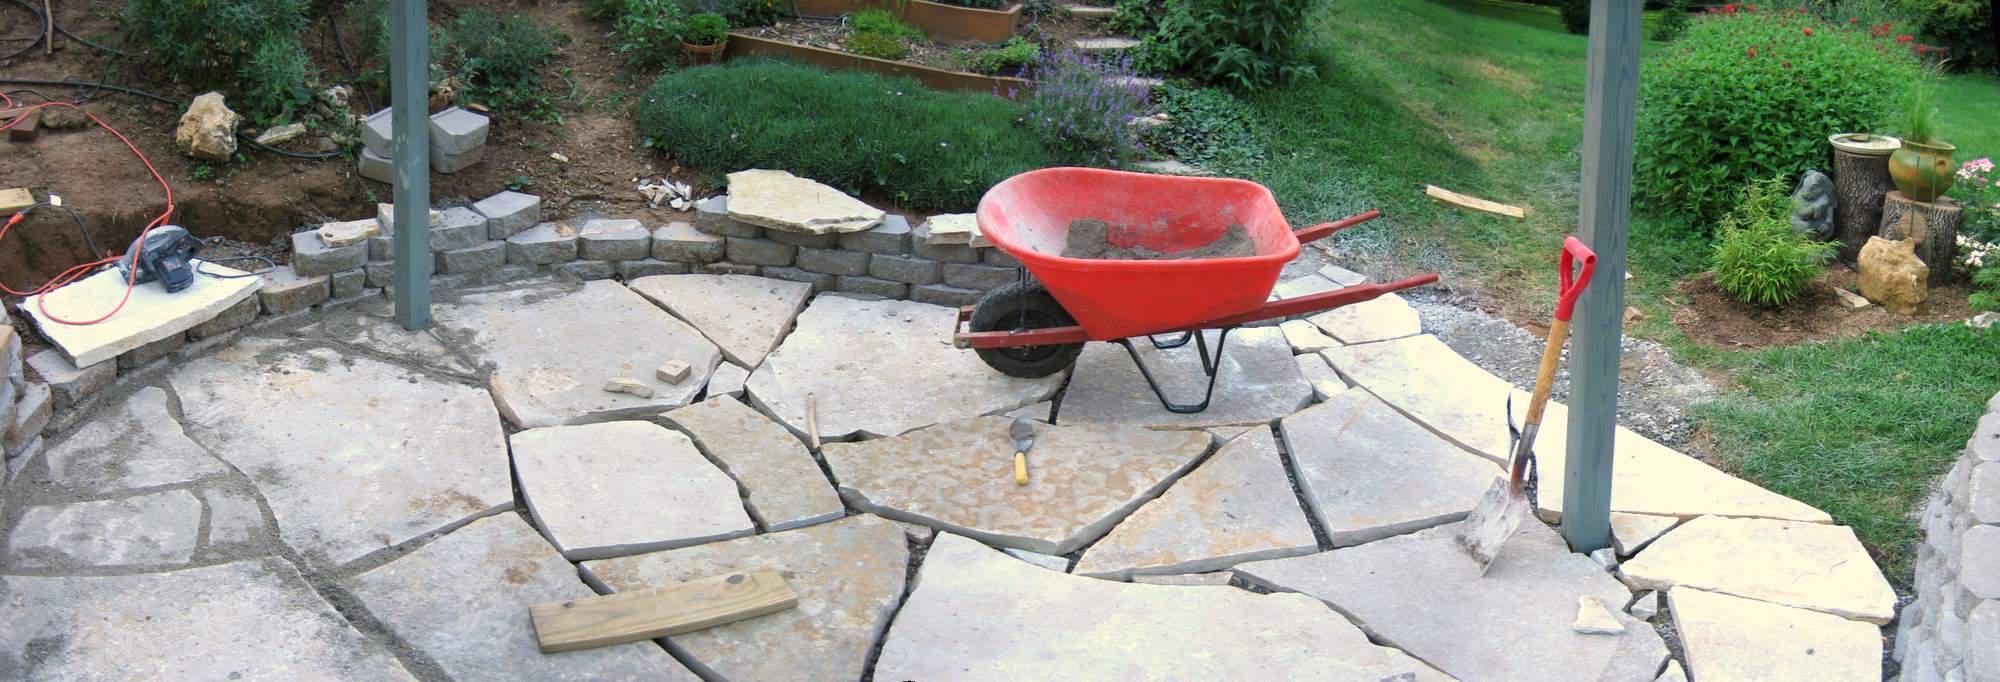 |
| Just starting to fill the cracks. |
I am still surprised at how completely the patio transformed this space and tied all of the perimeter plantings together! It's almost as if I had some master plan in my head a few years ago when I started all of this -- I definitely did not.
With the yard's "anchor" in place (the patio), I could now focus on some smaller supporting features... like stairs. That's coming in tomorrow's post.


An incredible transformation--one for landscape design textbooks. I'm not kidding! I'm completely in awe of what you did yourself. This is the kind of work I would like to have done, but I'd never be gutsy enough to tackle it myself.
Thanks! The key is having a pretty bad area to start with. I figured that I couldn't make it look any worse than it was, so I went for it. Besides, a lot of this isn't precision work -- it's bolting wood together, stacking blocks, breaking stones. I guess being able to visualize what the end result should look like is important, and then being able to adjust as issues arise in the project.
.
Oh, and you have to enjoy doing this sort of thing too. I certainly do. =)
wow it looks great..
I have a couple of small paving projects in mind for the spring. Nothing fancy, just a few pieces of flagstone on top of a layer of sand to pretty up an area. If that goes well, there's the entire back yard to redo :-).