Stones!
One of my favorite garden-related things to do is pick out new rocks. Plant-shopping is fun, but rock shopping is just as enjoyable, if not more so. I love rocks! Flagstones, field stones, boulders -- I'm a big fan of them all. (Gravel I'm not such a fan of, but it has its purposes.) Although I'd love to be bringing home some huge, eye-catching boulders to add to the garden, today I'm picking up something on a smaller scale.
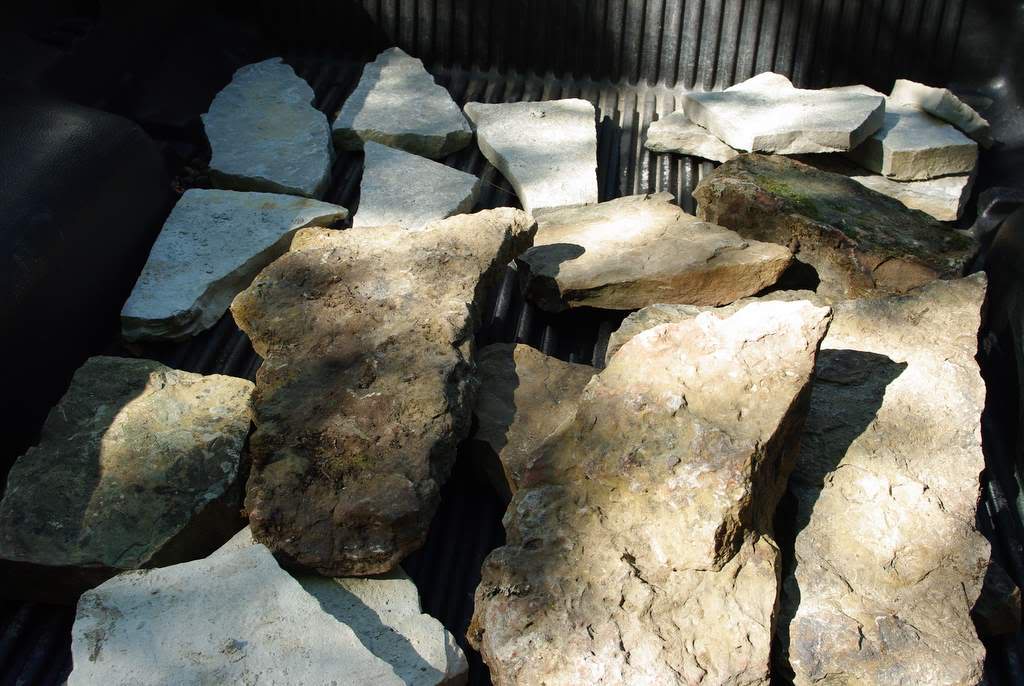
I've picked up two kinds of stones: some weathered field stones which I'll talk about another day, and some flagstone "steppers" of the same material as my patio. I'll be using those today to enhance a small walkway.
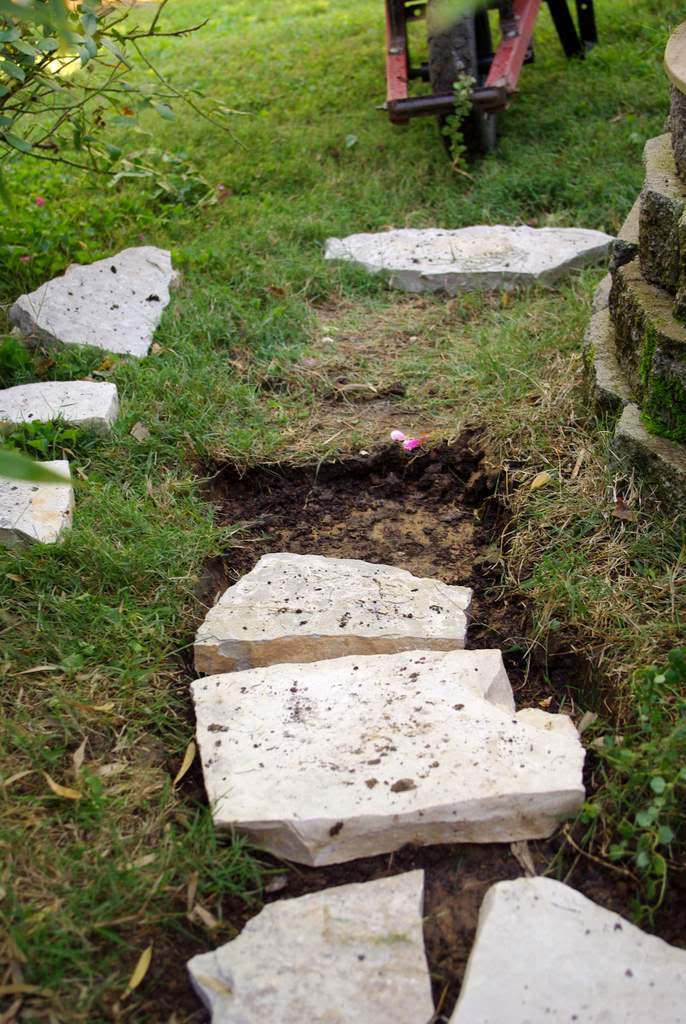
Grass won't grow in this area, leaving essentially a dirt trail.


Not exactly the most attractive type of walkway, so I decided to fix that.
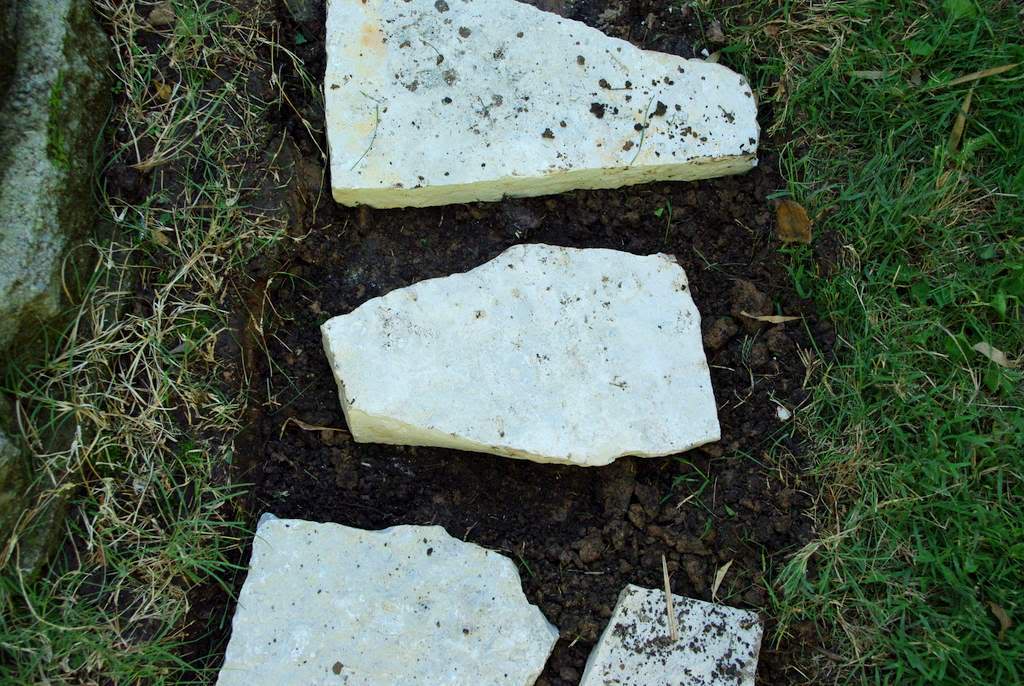
The first thing I did was lay out all of the stones nearby so I could see their shapes easily:

Then I arranged them on the path in a way that I thought would look good:
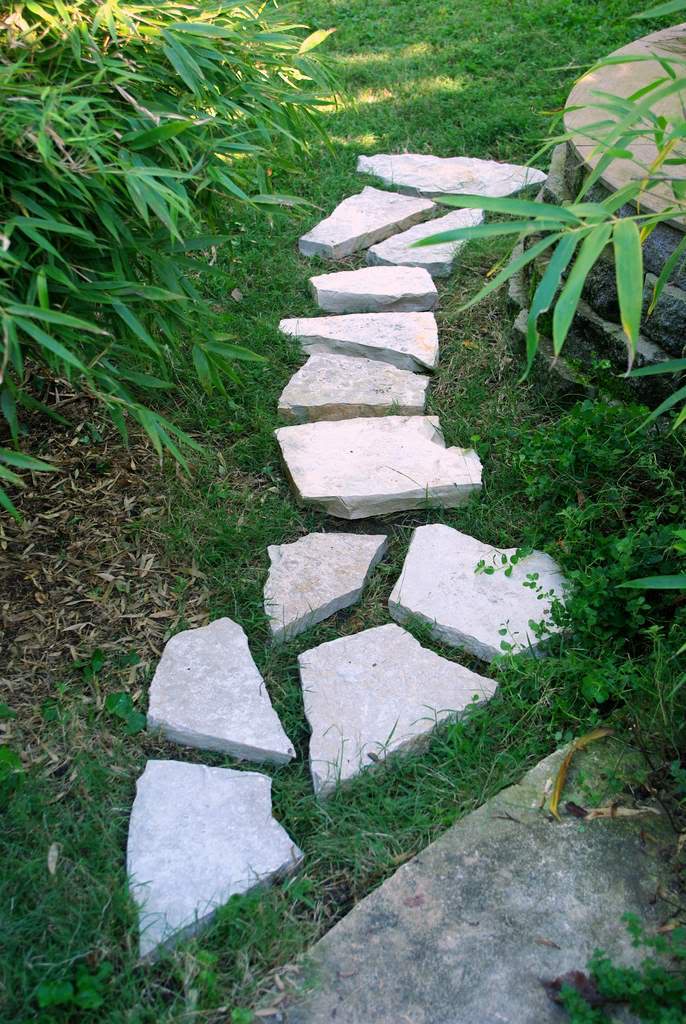
I expected to spend a little time on this, moving stones and trying different layouts until I got one that I thought looked good, but my first choice looked good to me.

Next step was to make shovel cuts along the outside edge of the path (not around every stone, just around the outside edges of the path) then start removing about an inch or two of soil.

I want the stones to be sunk into the ground so their tops are level with the existing "lawn", so the thickness of the stones determined how deep I needed to dig.
If the stones were going to be a little more widely spaced, or if they were going into an area of the lawn that was in good shape, I would have dug out a hole for each stone separately, leaving the lawn between the stones intact. Digging out the whole path is easier.
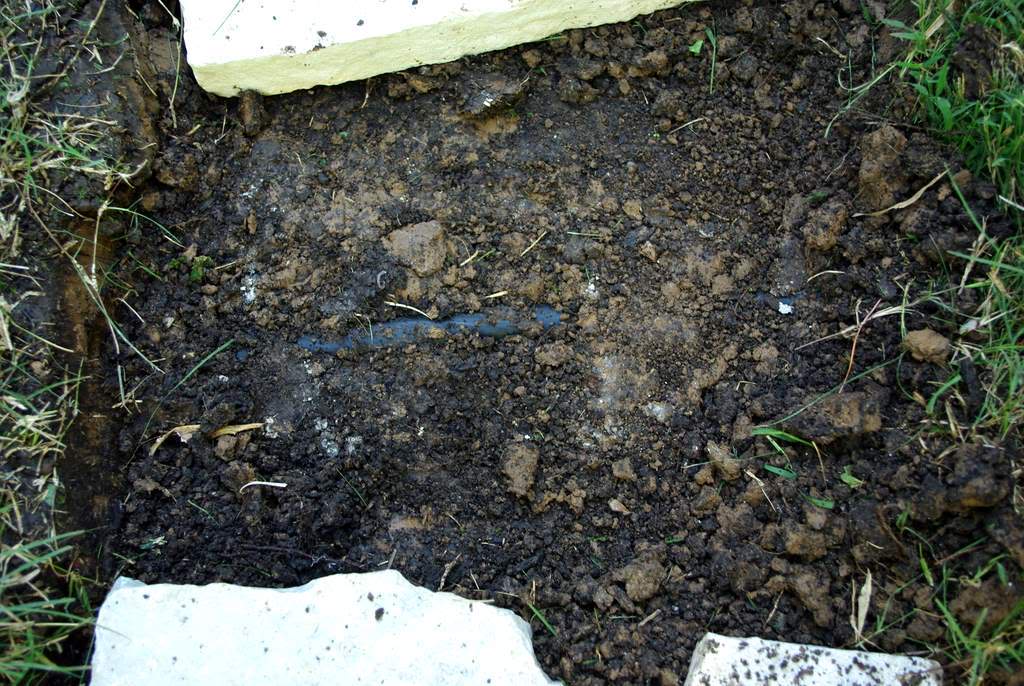
I ran into a little problem with an old irrigation line that I forgot came through here:

I don't use that system anymore, but I didn't want to cut the line, but it's definitely messing up the spacing of these stones. I finally decided to excavate under the line a little bit to see if I could force it down lower into the ground. Luckily it worked:
Now that I've got the "hole" dug, I'll need to make some adjustments to level things out. The stones are all pretty much the same thickness, except a couple of them are thicker. Plus the ground is not perfectly level, so I had to dig out a little more in some areas.

Flagstone paths are not difficult to make, but they need to be free of trip hazards. There is some major trip potential here right now.
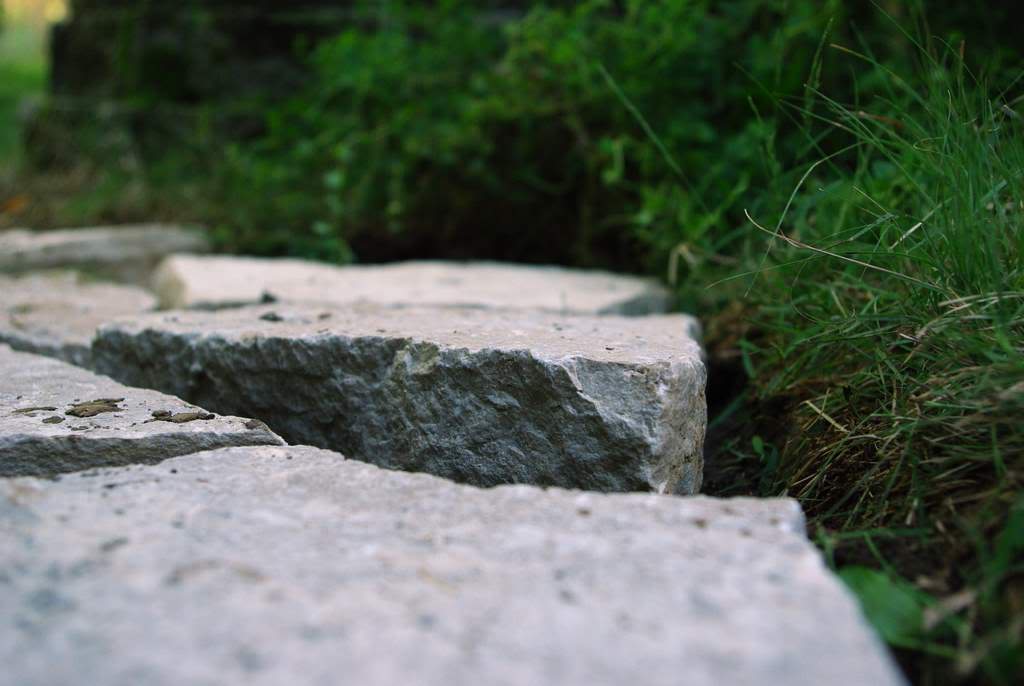
So I did a little fine-tuning with digging and by adding sand to fill low areas and create a more stable base for the stones. The soil that will surround each stone will lock them into the ground pretty well, but you want each stone to be as stable as possible before reaching that phase. It's not fun digging out a wobbly stone and redoing it later. There were only three stones that were a really problem.
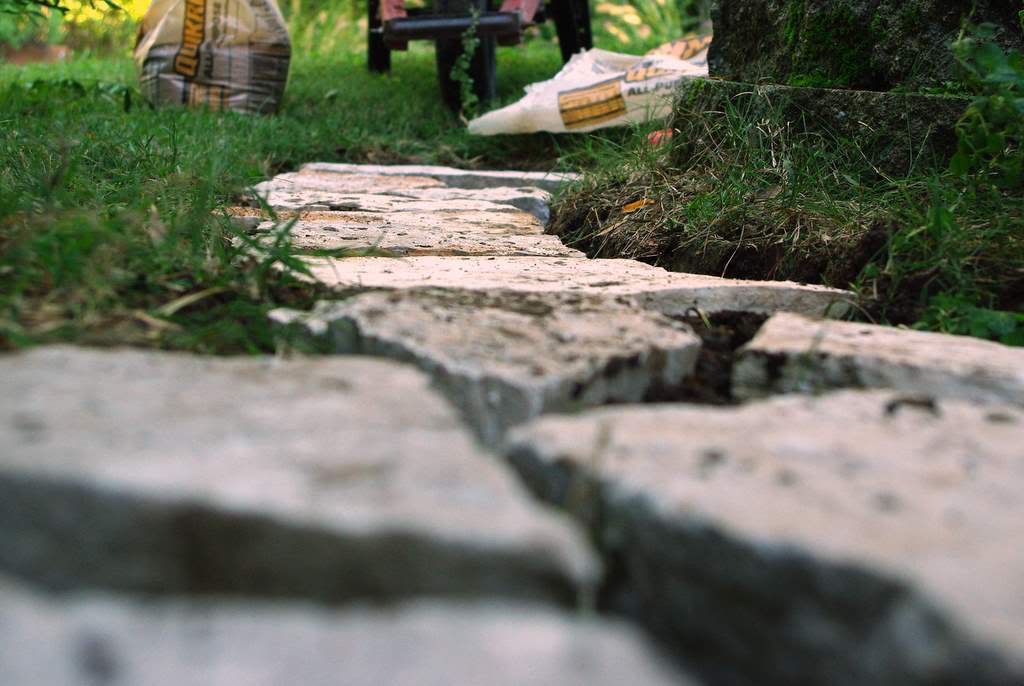

That looks better! The final step is to fill in between the stones. I was planning on using the soil I had just dug for this, but it was a little too wet so I would have a hard time getting it "packed" into the cracks. Luckily I had a bag of topsoil around, so I used that instead. It was dry and relatively fine-textured, so worked perfectly.
I pushed the soil into the cracks a little bit with my fingers, but the final "packing" was done with water -- wetting the whole thing down with the hose a couple of times did the job.


I think it turned out pretty well -- it definitely looks much better than the dirt path, it didn't take too much effort, and cost about $35. Time and money well-spent I think, don't you?
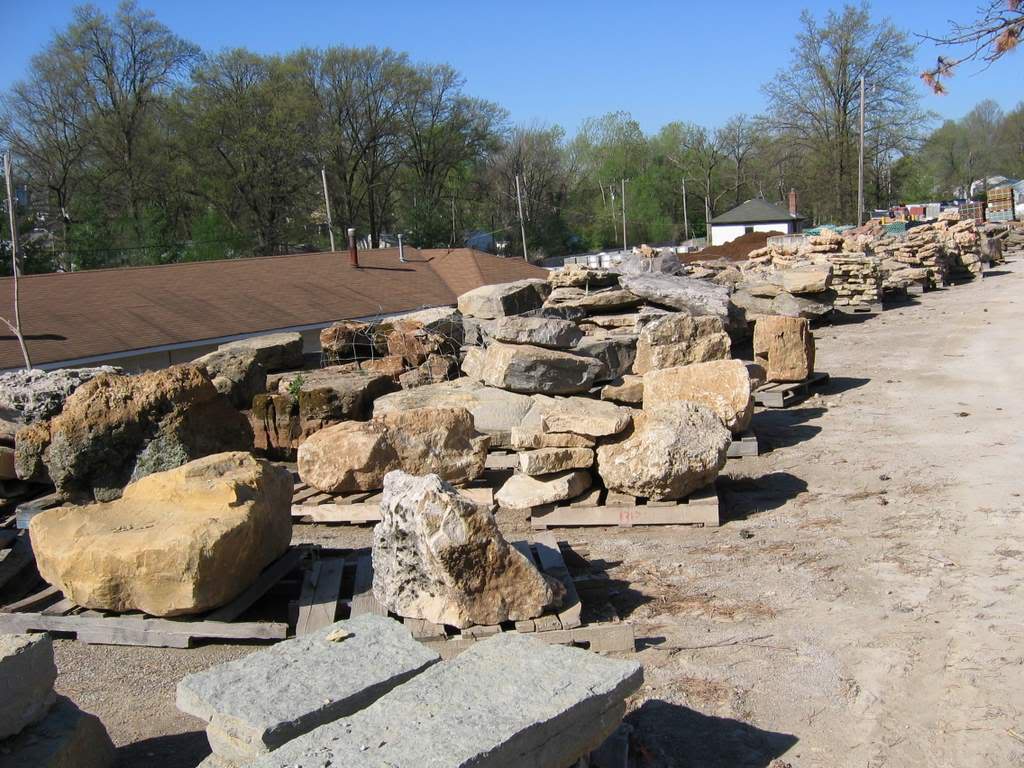
Now if I can only figure out how to get some of these guys home and into my yard!


