I'm tired of this planting bed
>> Friday, September 10, 2010 –
cleanup,
elephant ears,
salvia
This is my wildflower and annuals bed. Although it was fresh and beautiful earlier this year and should still be looking pretty good now, the heatwave we had in the middle of the summer really took a lot out of it. This is how it should look in a month, not right now.
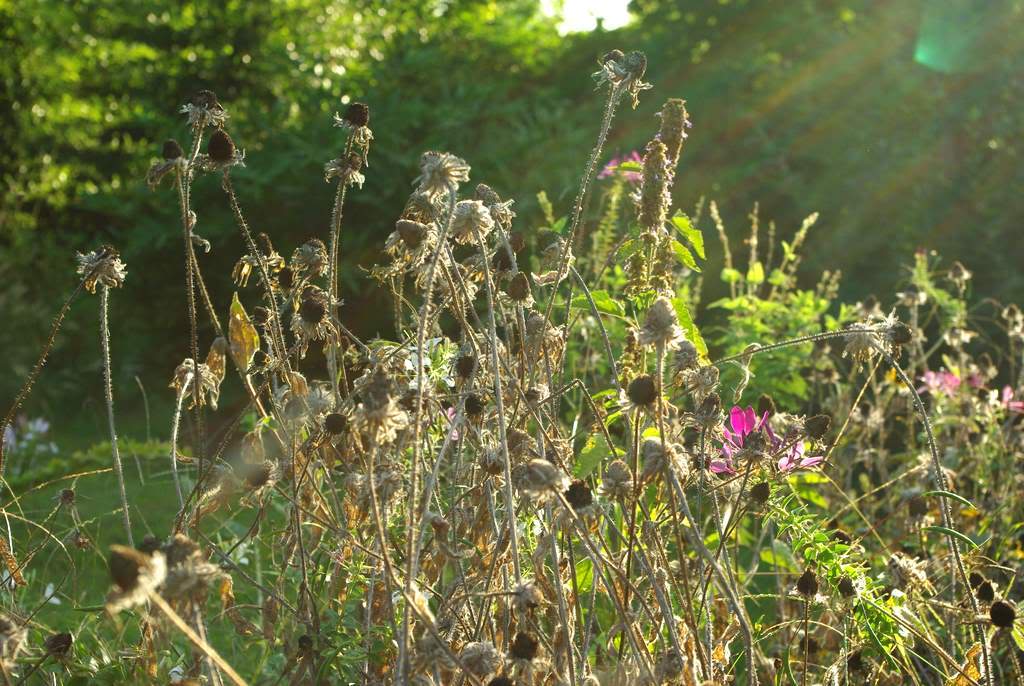
There are also a lot of weeds in here (mainly crabgrass and violets), and I'm just tired of looking at this ugly mess. Luckily I have a lot of plants in pots still, so I can give this bed a makeover without too much effort.
Here's a better look:
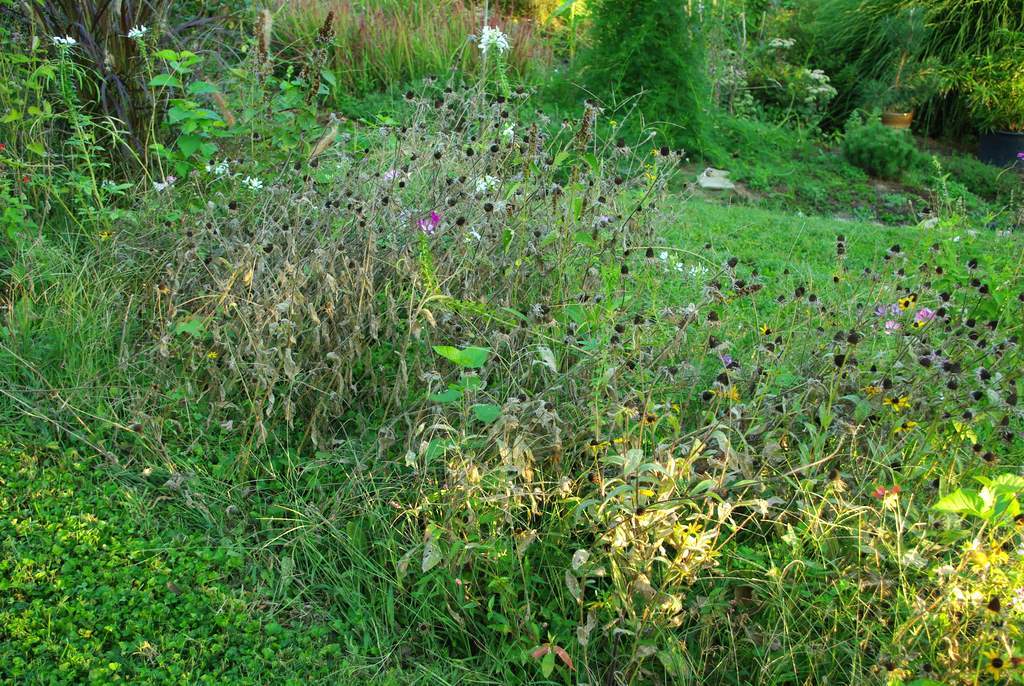
and here are some of the weeds I was talking about:
Too bad gardeners don't get praised for their ability to grow really big, healthy weeds, or I'd be due some adulation I think. Who knew that crabgrass would get 18" tall? (Or maybe it's not crabgrass, but another grassy weed that looks similar.)
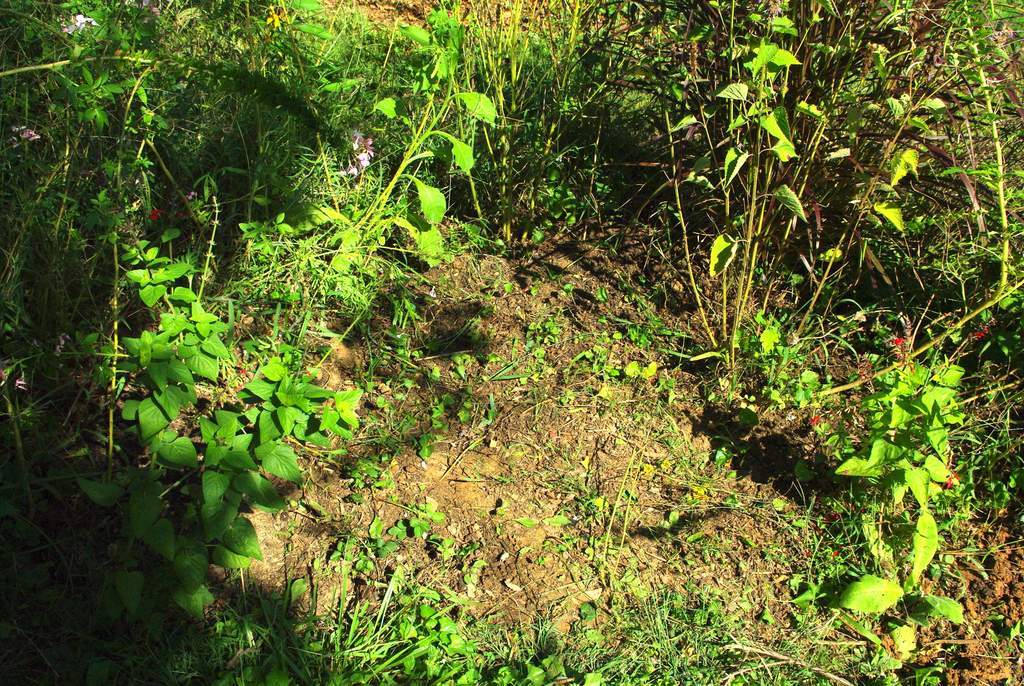
Step 1 is clear a spot:
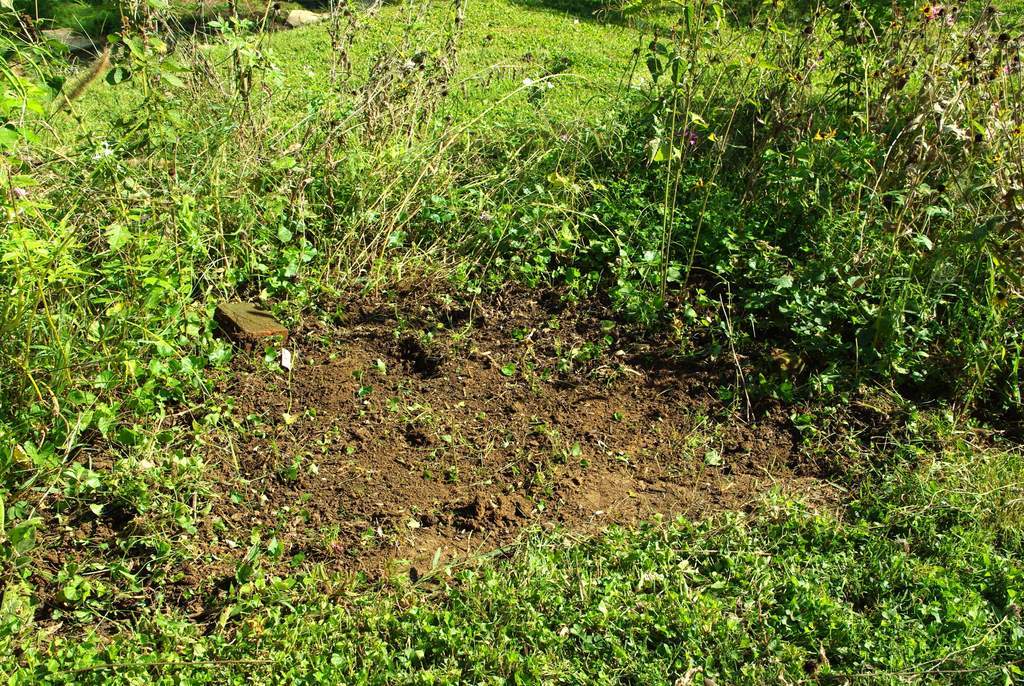
Even though I'm only planning on putting a single plant here I cleared a nice big spot -- the plant is quite large:
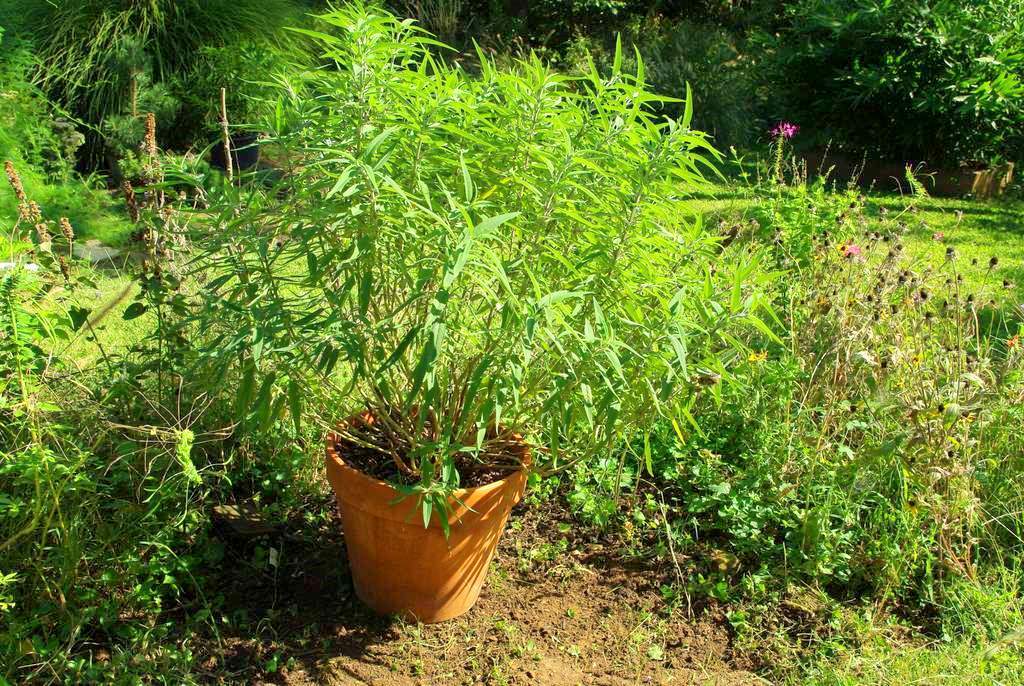
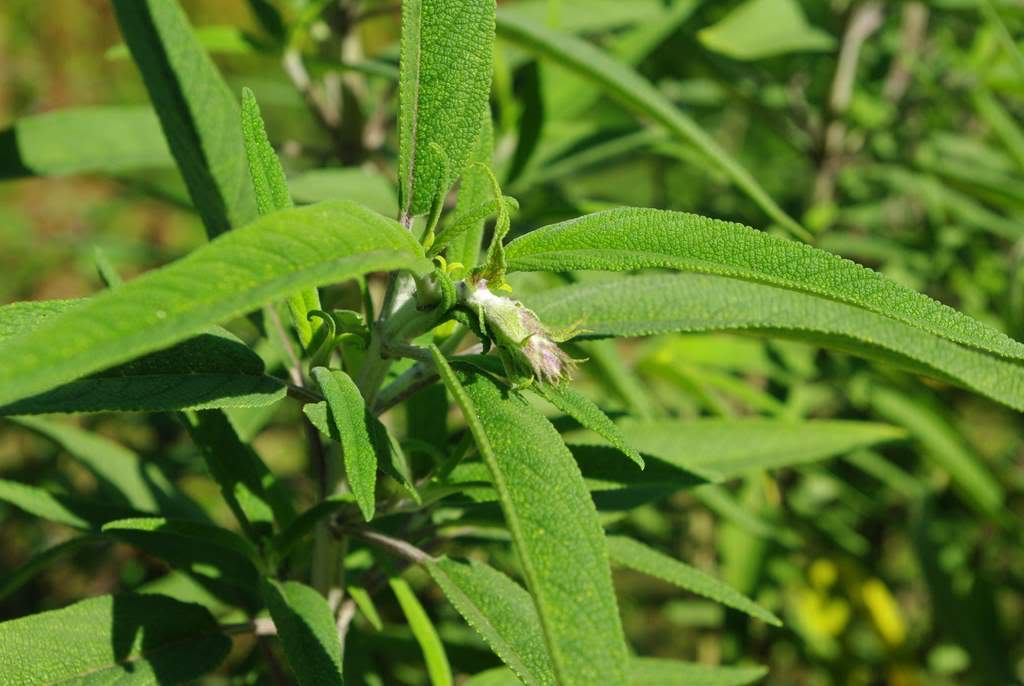
It's Mexican sage, Salvia leucantha. The flower buds are just starting to form:
I've been having trouble keeping this watered enough in the pot. This has been in this same pot for 2 years, and needs more space. As an experiment I let this go dormant when it got cold last fall, then overwintered the whole pot in my garage. It came back strong this year, and I'm looking forward to the fuzzy blooms:
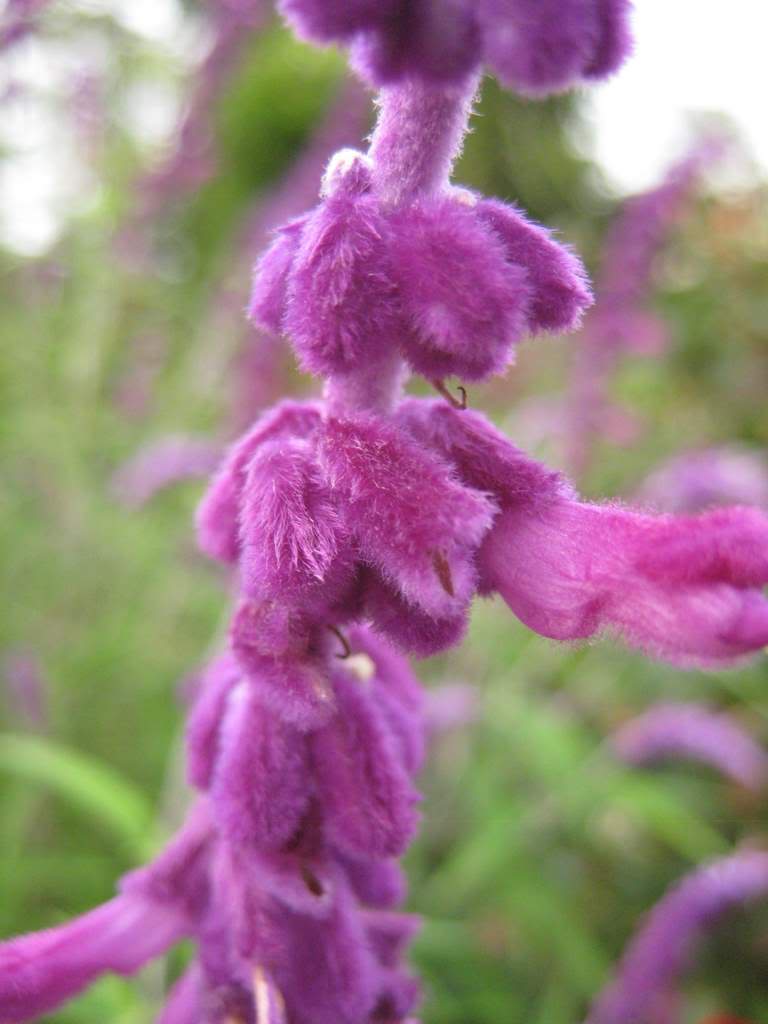
That photo is from last year. I don't think a plant can get fuzzier than that, can it?
After clearing a spot, I dug the planting hole:
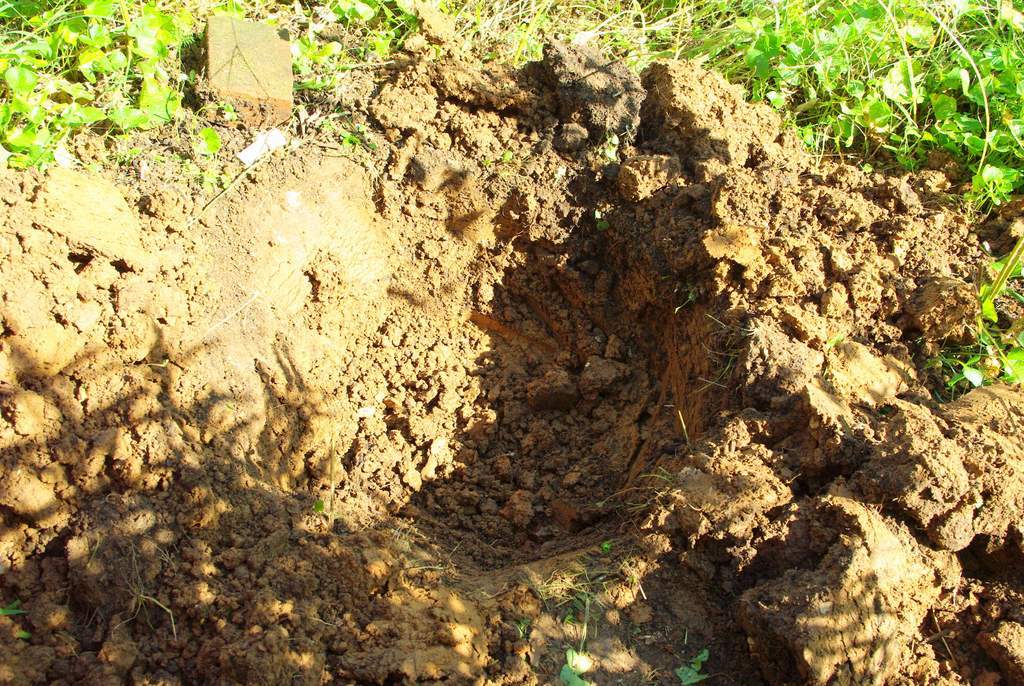
The soil here is pretty much just clay. I added some compost to the top few inches when I created this bed last year, but below that it's just heavy, sticky clay. Not really the ideal soil for this plant, but it can't be worse than being in that pot -- at least it will have a bit more room. Besides, it will be going dormant in 5 or 6 weeks and I'll be digging it up anyway.
Getting the plant out of the clay pot was a bit of a challenge. First I used an old hacksaw blade to loosen the soil from the pot, but that didn't help much.

The winning strategy was to put a short length of pipe (metal electrical conduit -- my favorite heavy duty garden stake) in the ground, then place the pot over it so it pushed through the drainage hole. Just let the plant pop itself out of the pot.
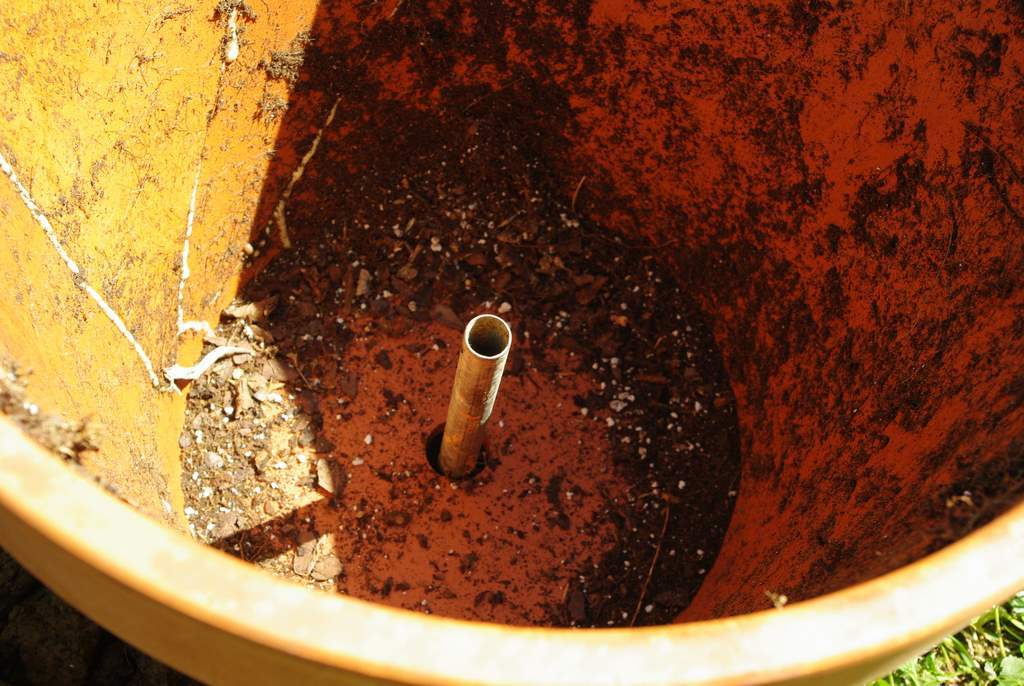
Super easy to do, and easy on the plant too. This probably worked really well because I use a small square of metal window screen in the bottom of all of my pots, covering the drainage holes. Without that screen the pole might have just pushed into the potting mix without freeing the plant, but probably not. If the plant is rooted enough to get stuck in the pot, there is most likely a mat of roots at the drainage hole anyway.
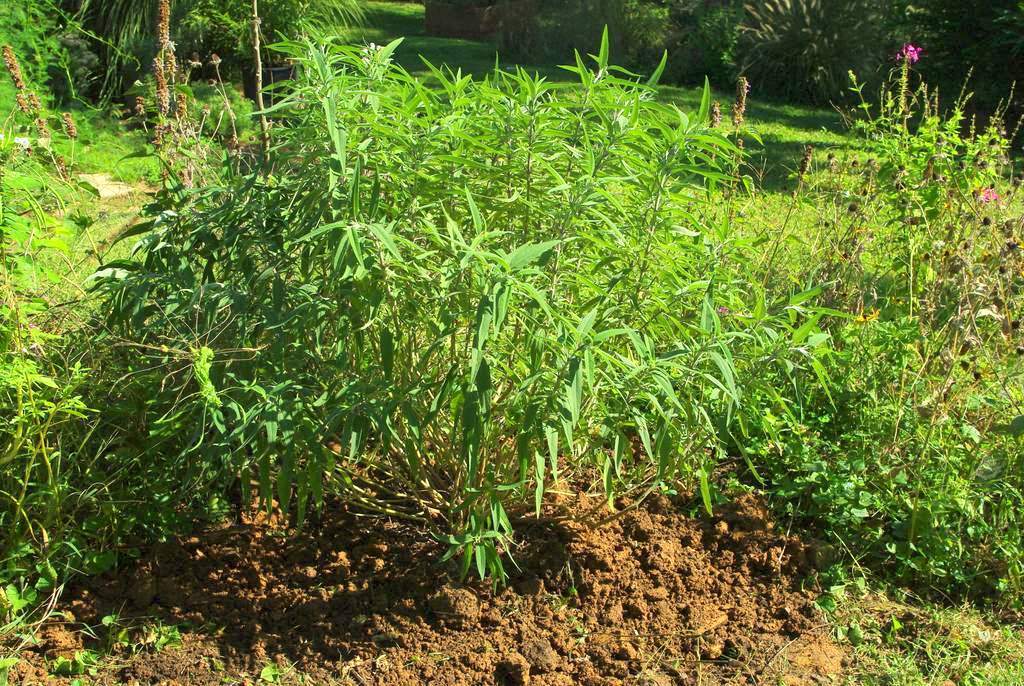
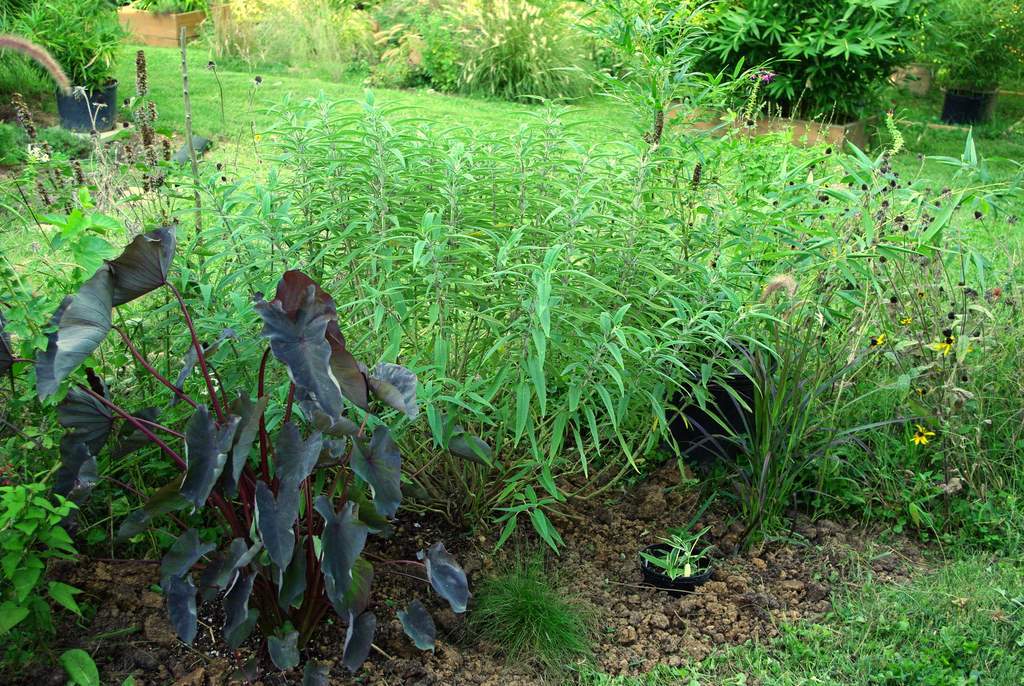
With the plant in the ground, the bed looks better already! I'm not done yet though... let's clear another spot:
I won't bore you with photos of each planting hole I dug, but I put in one of my large black stem taros, a Colocasia esculenta "Black Magic" that has decided it wants to produce a profusion of small leaves instead of fewer large leaves, some small purple fountain grasses, and a few other filler plants.
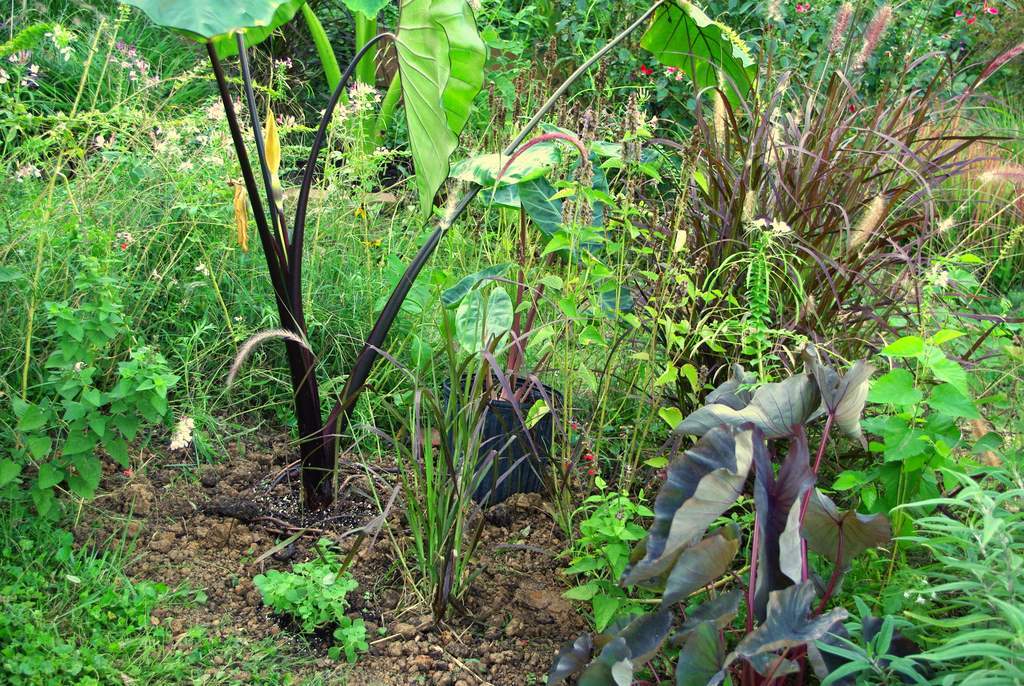
I was having a hard time getting good photos of these beds because it was around midday, but I think you'll agree that I ended up with a nice mix of different textures and colors, all provided by foliage.
The only part I'm not really happy with right now is the empty space at the base of the black stem taro. I want something to fill that space, but couldn't find anything appropriate. That may be a good thing though, since the taro produces long stolons (above-ground horizontal stems) that will root and form new plants. Once a couple of those take root the smaller plants will help fill this void.

You may have noticed that I put a couple of plants still in their pots in this bed too. Why not? I may even put them in more decorative pots -- that could be the one detail that really makes this bed look extra special.
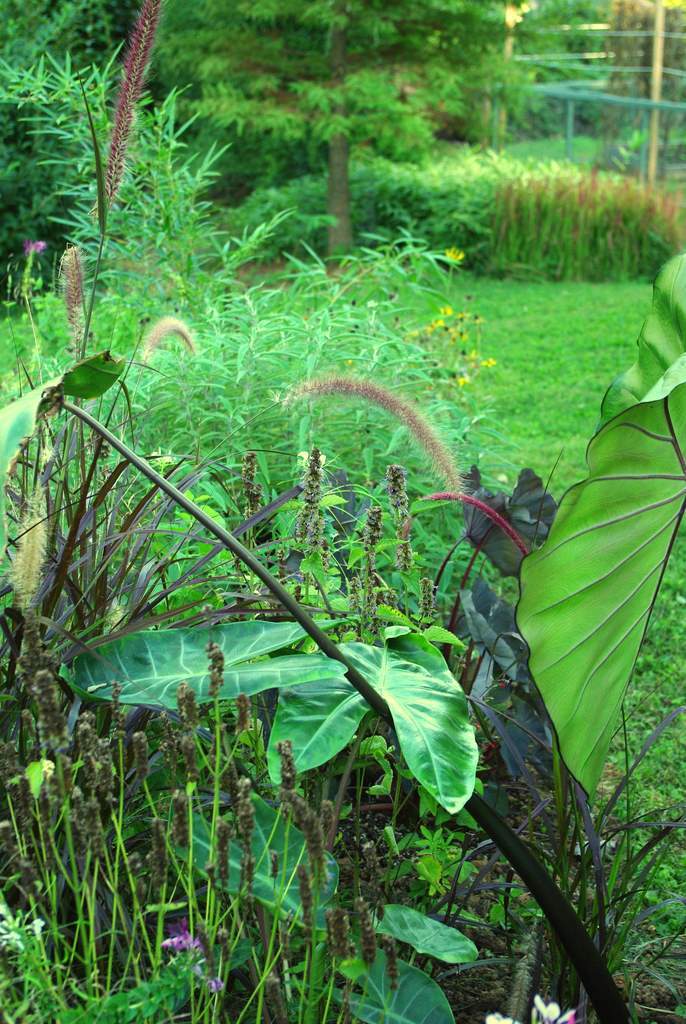
It looks so much better than it did earlier today, doesn't it?
All of the plants I put in today are not cold-hardy here, so I'll have to treat them as annuals or dig them up and overwinter dormant in the garage or growing under lights in the house, depending on the specific plant. So I guess I get to keep calling my annuals bed "my annuals bed".
Now I just hope the woodchuck that's been eating my neighbor's fall veggies doesn't like taro.


