Building a new box
After I did my weeding yesterday and had some breakfast, I had to choose a project for the day. I was thinking of cleaning the deck, or maybe staining the pergola, but I instead decided to work on this:

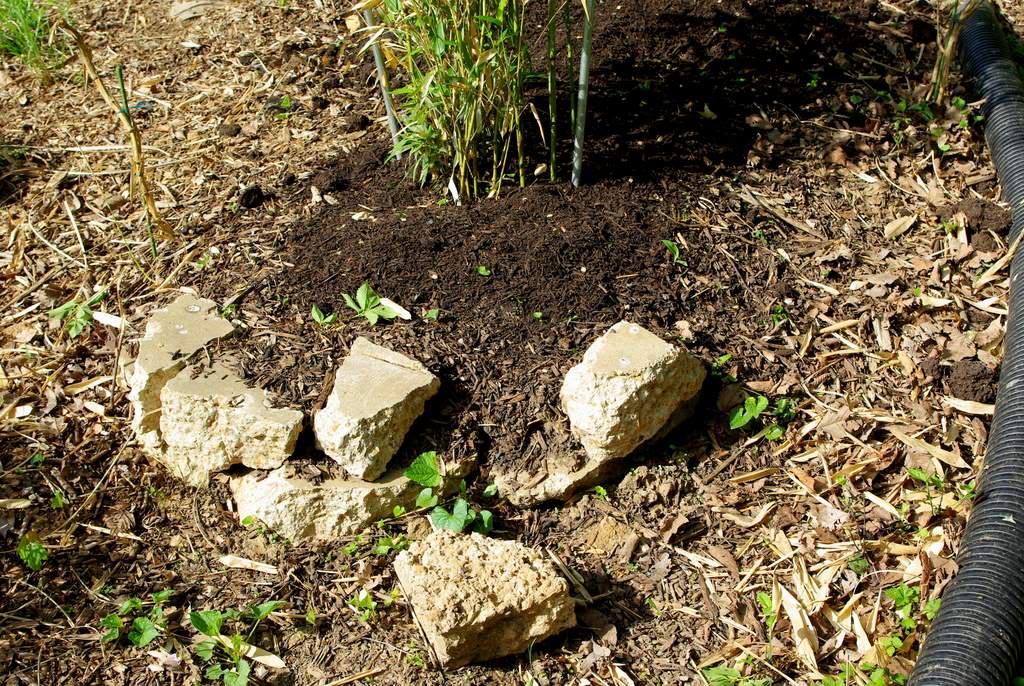
It's a temporary retaining wall that I made out of chunks of concrete. I put it there two summers ago when I planted one of my bamboos on the slope on the edge of my yard.
There are actually two of these in this bed -- here's the other one higher up the hill toward the driveway:
The temporary solution is no longer adequate, and looks terrible. What I really want is something more like this:

So let's get started!
The "box" will be 4' wide by about 6' long. I'm using 2x8 pressure-treated lumber, and I'll need three 10' boards for this (well, two 10' and maybe 6' of the third). I've cut the ends at an angle so I can slant the walls of the box outward. This is partially to help deflect the bamboo rhizomes upward, but also because I like the way it looks. I've brought a couple of the boards over so I can determine where I need to dig.

Next, remove the "rocks". I'll save those for something else. Since they're broken pieces of a patio, they could make a good "stepping stone" path.

Next, set the end board level and determine how long the side boards need to be, and how much soil do I have to remove in order for them to be level. There will be 2 layers of boards.

Now one of the hardest parts of the process: setting the corner posts at the correct angle. If this were to be a straight-walled box it would be easy: just sink the post using a level to make sure it's perfectly upright. Since it's angled I have to estimate the angles, then pound it in.

It usually starts going wrong and I have to correct it. In this case I actually had to pull the post out and start over, which was extremely difficult. After getting it in, I use lag screws to attach the board, then repeat for the other corner (which you can't see behind the grass).

Then I have to determine how long the lower side boards need to be -- they're pretty short, as I don't want to bury too much of the board. Since this is a bamboo bed, I'll want to be able to "rhizome prune" -- use a shovel to cut the escaping rhizomes -- all around the box. If I bury a full board the rhizomes may still go under that, and they might be too deep to easily reach with my spade. So the lower boards get cut shorter.


Once all of the boards are attached to the corner posts, I add some smaller support stakes to the sides. These are just 2x2 treated lumber, and they're screwed to the boards with decking screws. They're just there to hold the side boards straight. Then I add a sheet of plastic to minimize soil contact with the wood.
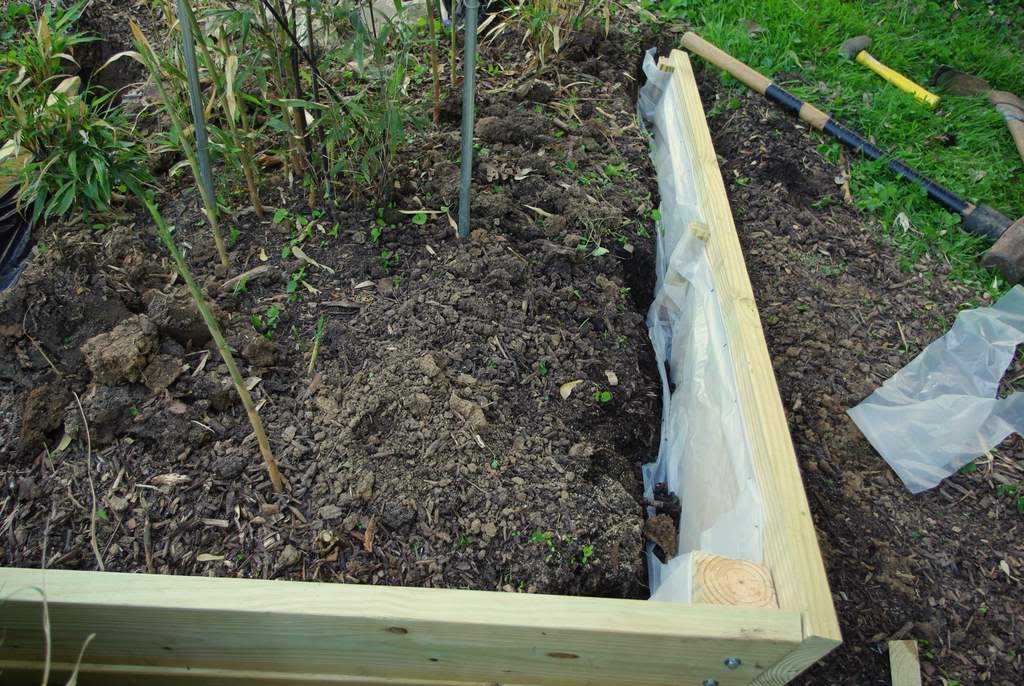
Even if the plastic lasts only a few years, that gives the wood a few more years of life. (Wood in contact with the ground doesn't last forever. It can last 20 years or more though.) After the plastic is stapled in place (I fold over the top edge a couple of times and staple through that) I can fill the box, add some compost to the top, and this job is done!

Here it is from the other side:

I've made boxes like this a few other times, but the last one was two years ago. You can forget a lot of details in two years, so it was almost like this was my first box again. Remember that I have one more to make -- hopefully that one will go a lot quicker. This one took me probably 5 hours (with a few breaks in there).
Not only is this box functional, but it adds some structure to this planting bed. It helps define the area, adds visual interest, and the straight lines of the box will act as a nice contrast to the curving, organic forms of the grasses, bamboo, and other plants. Of course in a couple of months you won't even be able to see more than a glimpse of the box from this side, but it's still a nice improvement.
A very satisfying day of work in the garden!


