Cleanup: Too Cold!
>> Sunday, March 21, 2010 –
butterfly bush,
cleanup,
rose
After a Friday that was sunny and warm (almost 70ºF), it really was not good weather Saturday. Cloudy, cold, windy, and sprinkling rain every once in a while -- not the kind of day that I want to spend in the garden. But work was getting frustrating, and there's a lot left to do out there, so I decided to spend a couple more hours on cleanup. I noticed that the butterfly bushes were starting to leaf out, and some of the perennials are really starting to emerge, so I'll start with those.
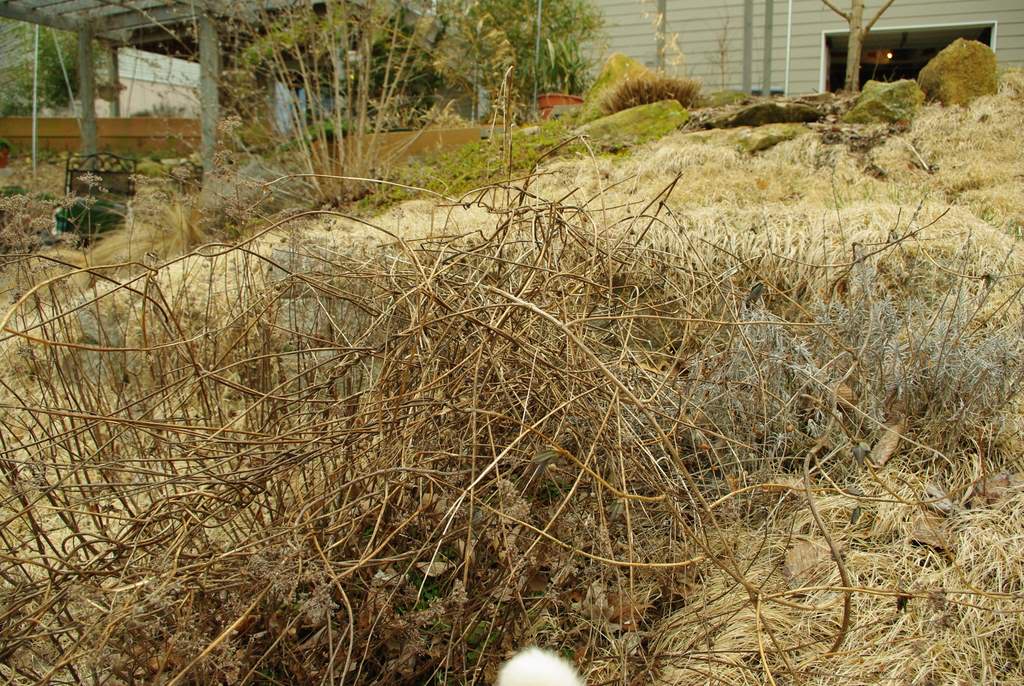
The green you might be able to see under all of that brown is oregano, with some old Spanish Flag vines on top. The butterfly bush is in the background (out of focus).
***
I like to cut the butterfly bushes down to the ground every year -- it keeps their size in check and gives me plenty of blooms all summer long. They'll still get to 5-6' tall by the end of the summer, which is just the perfect size for me.

I leave just a little stump. Takes 2 minutes. Here's the "after" shot. This little bed is getting overgrown with buffalo grass, but that's on purpose. Once it greens up I'll dig it up and plant it in another part of my yard. The buffalo grass needs almost no water, has a really nice blue-green look, and only gets 5" or so tall. Doesn't really need to be mowed, but I do mow it once or twice during the summer.

If I turn directly around from this viewpoint, I see this bed:

It contains a few more butterfly bushes ("Black Knight" instead), some verbena, a couple of grasses, a rose, and a few other perennials. After chopping down some of the butterfly bushes, I noticed quite a few silver maple saplings. They are the dark reddish-brown twigs in this photo, and there are probably 30 of them in this bed. Most are pretty easy to pull out. We seemed to have more than the normal amount of helicopters (silver maple seeds) last year. I need to be more diligent about pulling them when I first see them.

Another thing I noticed in this bed is the Bee Balm (monarda didyma 'Marshall's Delight') that I removed last year -- or thought I did. Obviously I missed some, and it's spread right into the rose. That will be fun to remove.

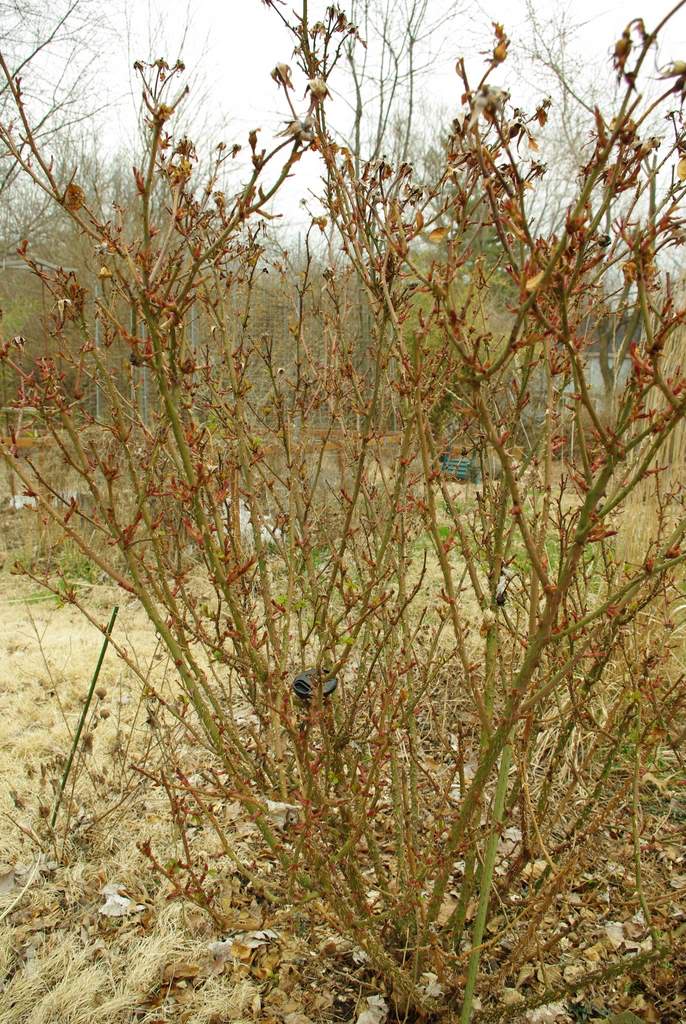
Speaking of the rose, it's starting to bud and even leaf out, so it's time to prune!

I'm not rose-crazy. I like them, but I don't have dozens of varieties. I like vigorous, low-maintenance roses. I have four different types of roses in my yard -- this one is "Home Run" rose. Doesn't have much fragrance, but is beautiful and disease-free. Gets bigger than I want, so I prune it pretty hard each year once it's started budding.
I put my camera lens cap in there at the point where I pruned last year. Everything above that point grew last year only, so I'm going to cut to the same level or slightly lower this year.

I've got a few tips when pruning roses. There are probably dozens of special rose-pruning tips out there, but mine are more "general" tips. First: wear very thick gloves. My cheap leather ones aren't thick enough, and I get stuck a lot -- so I end up using the pruners to grasp the cut stems and move them into the bin. Second: don't mix your rose cuttings with other yard waste. Why not? You'll forget those thorny stems are in there under the other, more gentle yard waste and you'll soon be reaching for the band-aids or tweezers. Third: make sure you pick up every single clipping from around the plant. If you don't you'll be digging through the mulch with your bare hands later in the summer and you'll get a painful surprise.
Notice that all of my tips focus on avoiding pain -- they don't have anything to do with preventing the spread of disease or anything specific like that. I try to avoid pain in the garden as much as possible.
Ok, with the rose pruning done, here's an exciting discovery:

It's my Agastache 'Ava' -- it survived the winter! I love Agastache, and 'Ava' is a really great one. I wasn't sure if it would like this spot, but since it's come back maybe it does. At the very least it gives me a chance to move it later in the year -- it might need a spot that gets more sun.
Ok, so here's the finished bed:
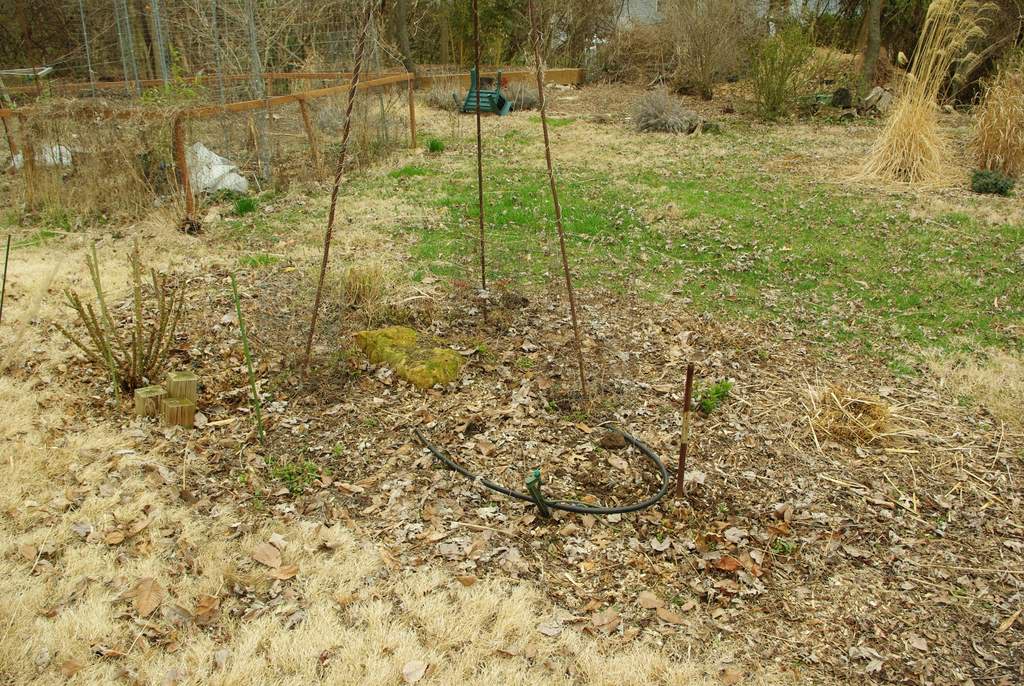
Not really much to look at right now. Actually, I'd have to say that it's less interesting right now then it was before I started. Well, that will change in just a month or so.
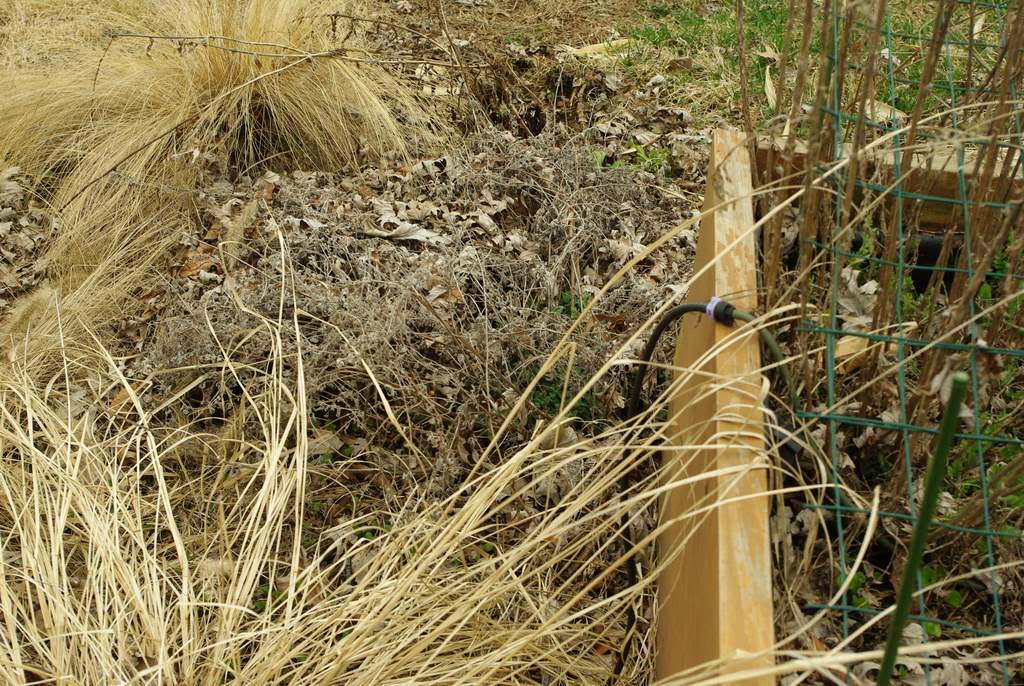
Moving on to another perennial I've noticed is emerging strong: Nepeta (catmint). I've got four plants of Nepeta 'Walker's Low' around my yard. It's super easy to grow, looks great, bees love it, and it has a really nice scent when you brush against it. It's not really a mint so it doesn't spread rampantly, but it does seem to get slightly larger each year. That could just be because mine haven't reached maturity yet -- not sure.

All of that grey ugliness is what's left of it right now. I use the same "grab with left hand, cut using pruners in right hand" method that I use on pretty much every perennial and vine. Goes quickly, and that's good because there are 3 more to do.

The lower right corner is the catmint. There's another oregano in the upper left corner. This box once had purple coneflower and black-eyed susan in it, but woodchucks love both of those, so they're probably all gone now. (Our yard was woodchuck-free last year, but I've already seen one in my neighbor's yard this year, so I don't think we'll be as lucky this year.)
I'm not too good with taking photos from the exact same spot every time, so here's a better "before" and "after" combo of another catmint:

I'm not going to bother showing you the other two catmints because they look the same. Likewise, I'll skip showing the final butterfly bush.
So today I finished cleaning up one small bed, one larger bed, and trimmed a few scattered perennials (the catmint). Not bad! It would have been more enjoyable with some sunshine though.
How long did it take? 1:30 (it seemed a lot longer than that!)
Total time spent on clean-up so far this year: 6:15 (6 hours 15 minutes)
.


