Showing posts with label trellis. Show all posts

New trellis

You know I like to build things for my garden. You may also know that I like to upcycle, repurpose, reuse. Well the slightly cooler weather had me in project mode on Monday...


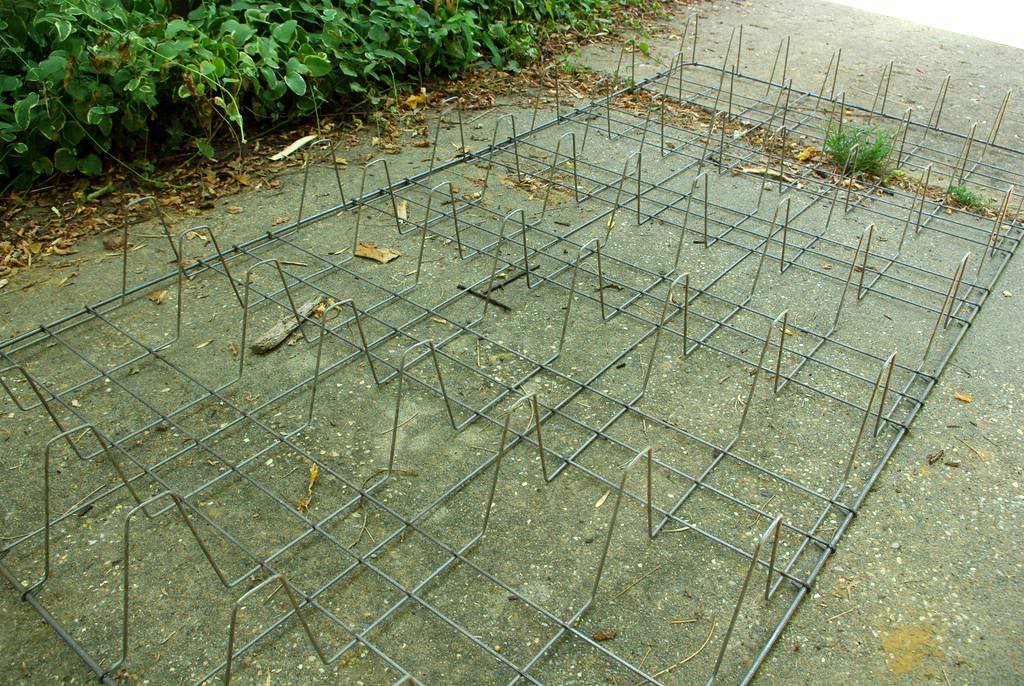
...and it all started with the parts of an old dog crate that I salvaged from my neighbor's trash a summer or two ago (I've lost track). Add a little cedar and I'd get a custom trellis!


Read more...

Rose Support Update

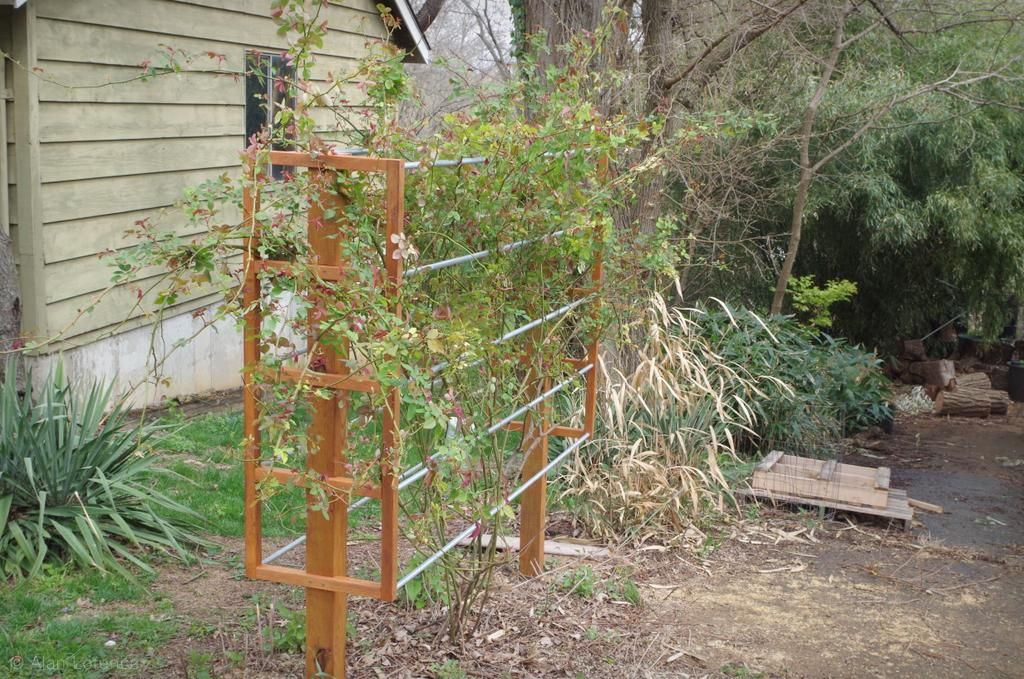
I thought I'd show you some updated photos of the rose support now that the plant has leafed out and blooming.


I love having structures peeking though foliage!


Read more...

Bamboo support, finished

Continuing with my permanent bamboo support project. Yesterday I got started by thinning out the grove and then sinking a few wooden posts as the backbone of the structure. The next step was to add the front posts and the crossbeams.


That sentence makes it sound so easy, but working with the leaning bamboo constantly straining against me made this a difficult task!

Read more...

A little repair project stretches out

Remember the copper trellis that I revitalized a couple of years ago by adding the mesh panels?


Well, the temporary connectors (plastic zip ties) have degraded in the sunlight and have started breaking. The result is curling panels and an overall shabby look.


Read more...

Rose Support Finished

I've shown you the build of the rose support and the design process too, and I've had a chance to get the final bars on and the rose has been tied up...


...so time for a final look! ("Final" for now I mean.)


Read more...

Rose support design process

The rose support has been built (well, almost finished) so you've seen the final design. As I've said I really didn't have a good idea of what I wanted to do, so after I set the two posts I got to work on the computer.


The first design was the simplest: just add some horizontal members to the vertical posts. This would give me something to tie the rose canes to, but almost immediately I knew this was not adequate. Sure it would be easy to build, but I knew I wouldn't be happy with having to tie many rose canes to it. Plus it wasn't really my style.


Read more...

Rose support, part 2

I started building the rose support last week, and if you remember I did not have a final design in mind yet -- I only knew that I needed two sturdy posts. Well, I finished the design on Friday and started building.


I'll show you my design process tomorrow, but you can see that the first step in building it was to add some cross members to the posts.

Read more...

Big Rose Needs Support

I've been eager to jump into some of the projects in my garden that will require my woodworking abilities, and although I've dabbled a bit over the winter and planned, it's time to really get busy!


The first project is this climbing rose, 'Zephirine Drouhin' next to the driveway.

Read more...

New trellises

I've been working on a trio of trellises for a client. Thought you'd like to see what I came up with, even though they're not for my own garden.


The construction was a bit more of a challenge than expected, but luckily there was no pressing deadline and I could take my time to figure things out.  (If you follow @nimblemill on Instagram you will have seen a few of these already)

Read more...

Gerhard's Potting Bench, other projects

More "furniture" projects that I've been working on lately, the first of which has been a long time coming. Back in 2011 (the "old days" when both of us were bamboo crazy) my friend-found-through-gardening Gerhard mentioned that he wanted to build a potting bench that incorporated a soapstone sink:


That sink had been sitting in his garden (taking up valuable planting space I'm sure) for a while, and he wanted to utilize it. "Hey!" I said, "I love designing furniture! I can design something that you'd be able to build!". And that's pretty much where we left it, except that once a year or so I'd say "I'm still thinking about that potting bench design..." and he'd reply "No hurry, I don't have time to build it right now!" or "No hurry, I have lots of other projects going on!"

So I didn't hurry, but I did finally get the job done.


Read more...

Trellis project, completed?

The other day when I listed my planned garden projects for the summer, doing something with this trellis...


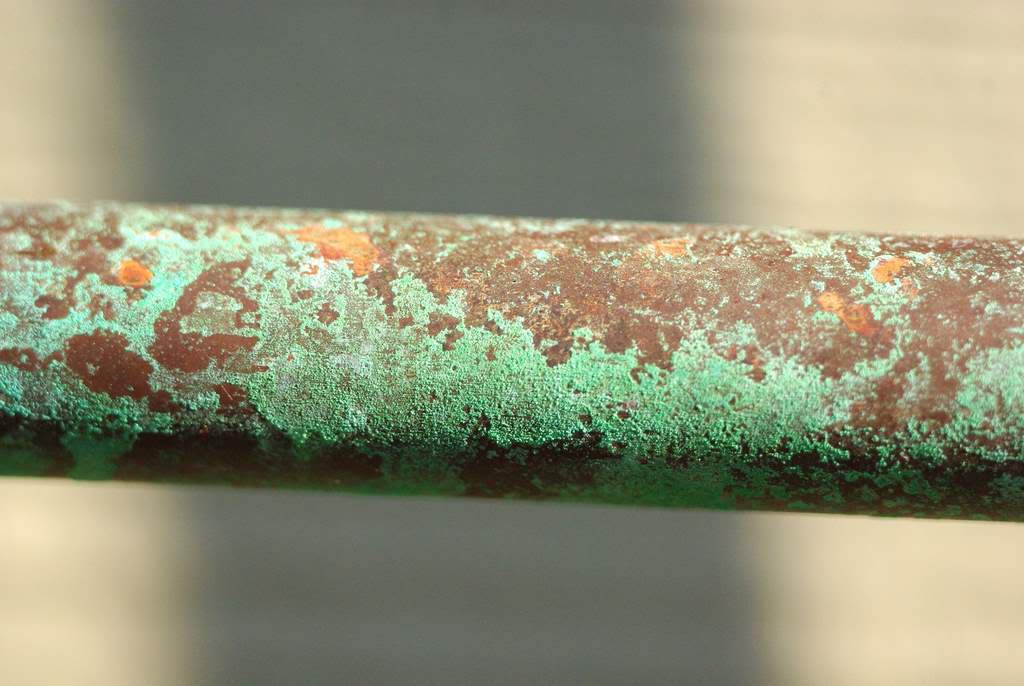
...was on the list. It originally contained a climbing rose and was therefore not very visible -- just a glimpse of tarnished copper pipe through the rose canes and foliage was perfect. Since that rose was removed (RRV) this trellis just looks too insubstantial...


Read more...

A new trellis

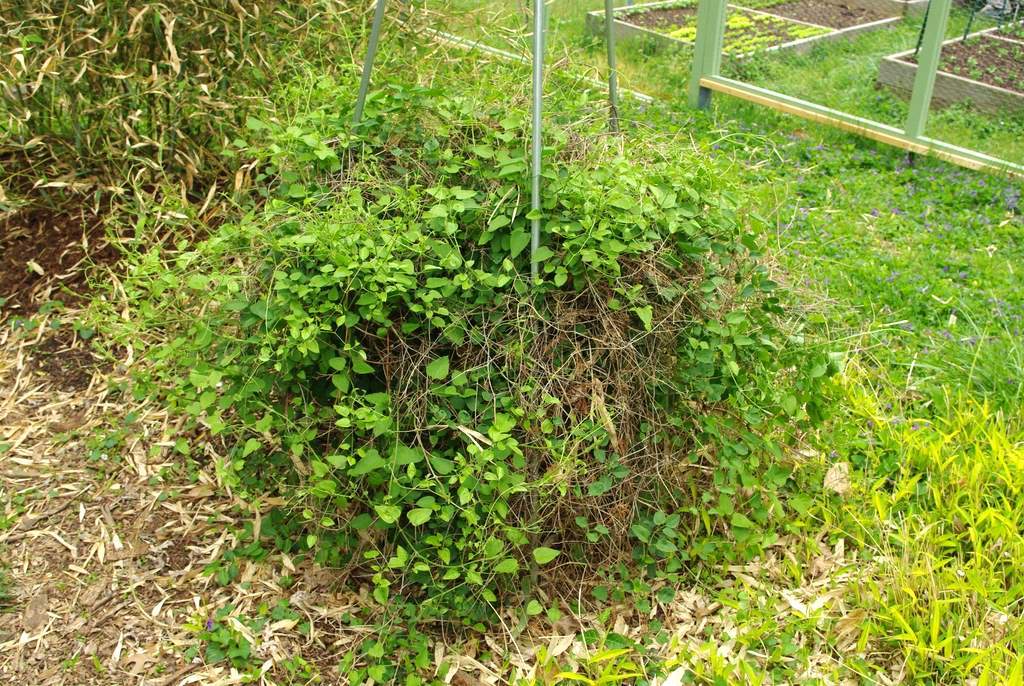
The first project of the 2014 gardening season is a simple copper pipe trellis, and has been in planning since last year. Remember when I planted a few clematis, then used an underperforming buckthorn shrub as a temporary support for the one vine?


Well, it's time to come up with the permanent solution. Since I've had months to think it over, I was able to come up with a good mix of simplicity (to build), functionality, and beauty in the design.

Read more...

Some Support

This being my first spring growing large-flowered Clematis, I'm pleasantly surprised at the vigor that even my weakest plants have shown as things start to warm up here. So much growth already that I needed to do something about providing them support, allowing them to climb.


I started with the one that was doing best last year and has continued this spring: 'Niobe'. I had provided a temporary trellis for it to climb last year, but it's time for a more permanent solution.

Read more...

Something to climb

I've mentioned before that when the weather cools off, I get the itch to build stuff. There are lots of things to do in the garden, like get the fall seedlings into the veggie beds, or clean up this ragtag collection of pots:


So how do I take care of the garden tasks while still scratching the "need to build something" itch? Well fortunately the two sometimes overlap, as I'll show you today.

Read more...

Finally finishing: trellis!

Three weeks or so ago I started a project that I've finally finished! Did you see the post where I dismantled the old box spring because I liked the look of the steel framework inside it? At the end of that day I had two bare metal frames to use in creating a trellis of some kind. I first had to decide whether to leave them bare so they'd rust in the garden, or paint them to offer some protection.


I decided to paint them, as I thought they'd make more of an impression that way. I had taken several photos of the painting process: first washing the frame to remove any oily residue, then priming, and finally painting them white so they'd stand out in the garden -- but I somehow deleted all of those shots. So the above "artsy" view is all you get of that time-consuming procedure.

Read more...

A simpler trellis

Yesterday I posted the first half of an involved trellis project. I love vines, so I'm always looking for spaces for them to grow in my garden. I've got a couple of pergolas that are becoming vine-covered finally (I got a late start planting the vine seedlings this year), I use the deck railing and supports as trellises, I have a couple of copper pipe trellises that I made, and even have a couple of simple tripod structures for vines to climb.


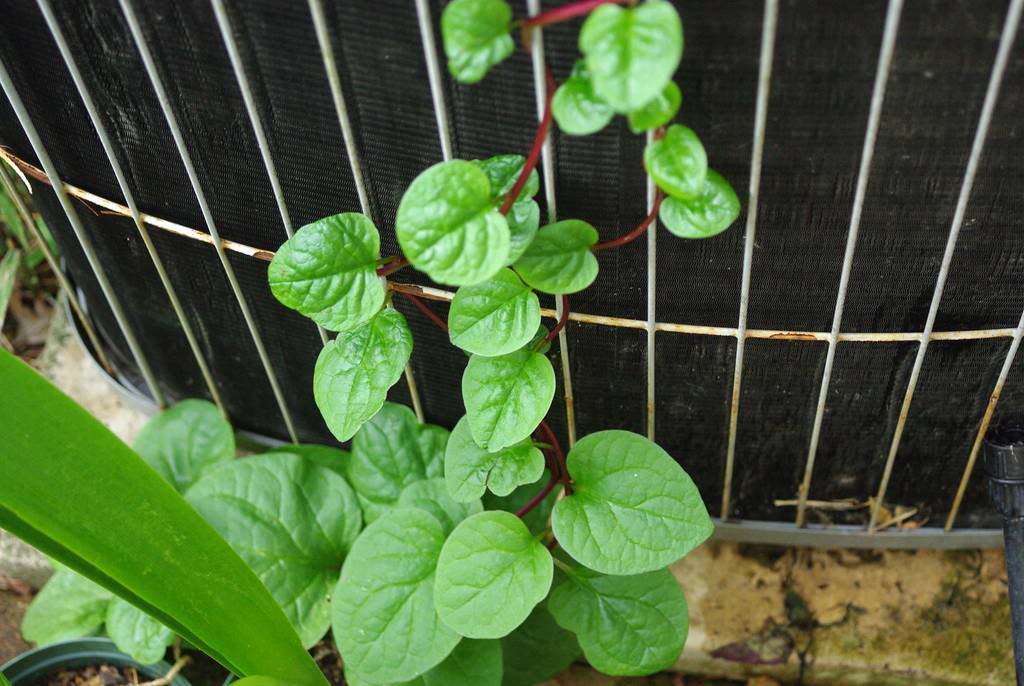
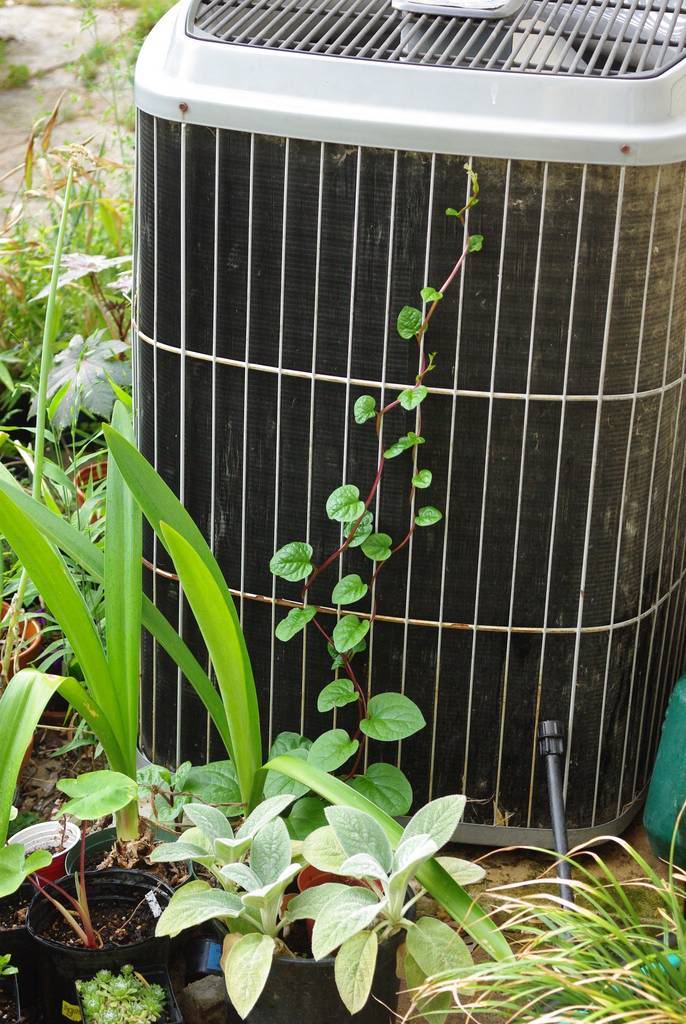
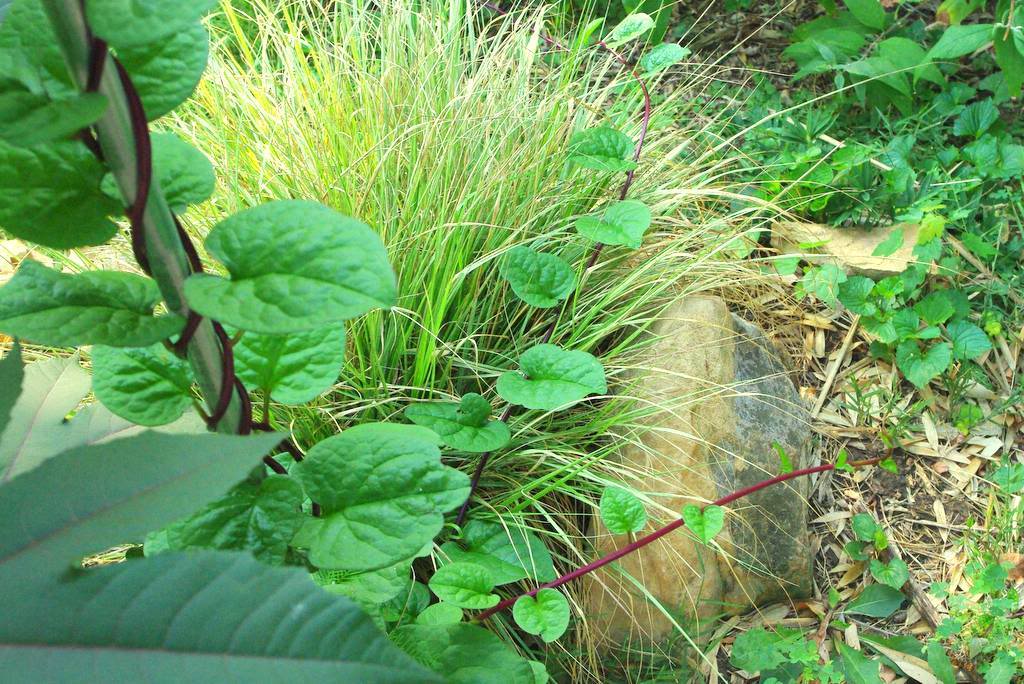
But now I'm going to add another to solve a little problem: this malabar spinach volunteer growing up my air conditioner.

***


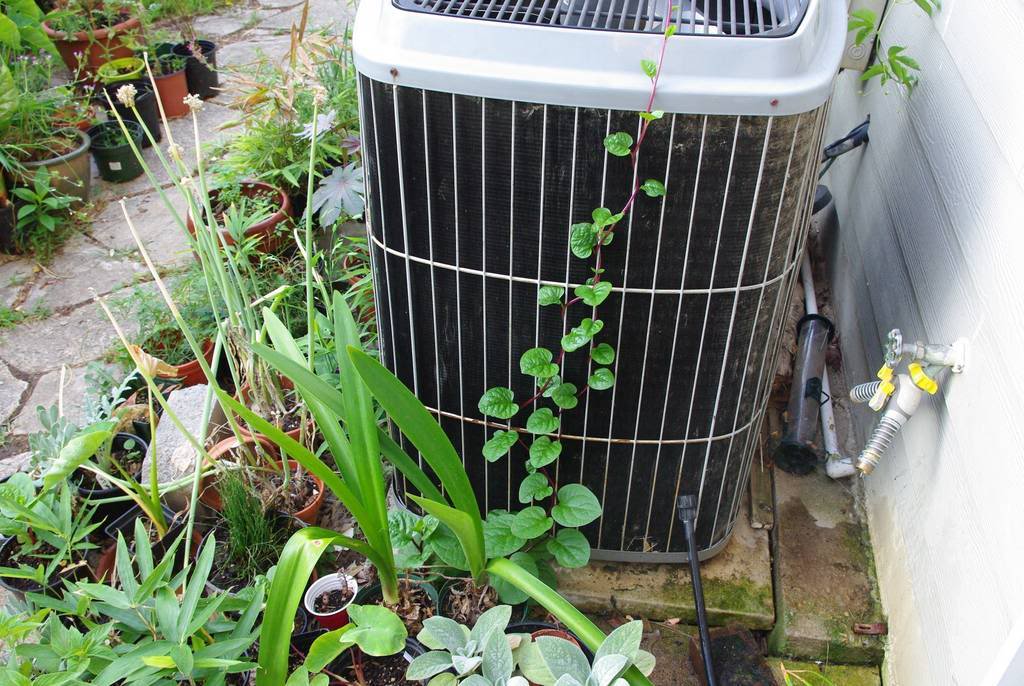
Here's a wider shot to show you what I'm dealing with here:


Flagstone pavers, tons of little pots (this is my plant "hospital" area), and not much space for any trellis. The vines are growing in the tiny crack between the air conditioner's concrete pad and the concrete driveway. I honestly can't see any soil but the clay soil under my driveway must be such nice stuff, because plants really love growing in the driveway cracks!


I love malabar spinach vines so much, and hate killing plants, so pulling these out was never an option. Letting them smother the AC unit is not an option either, as temps are supposed to be over 100ºF all week long and we need this machine working at peak efficiency!

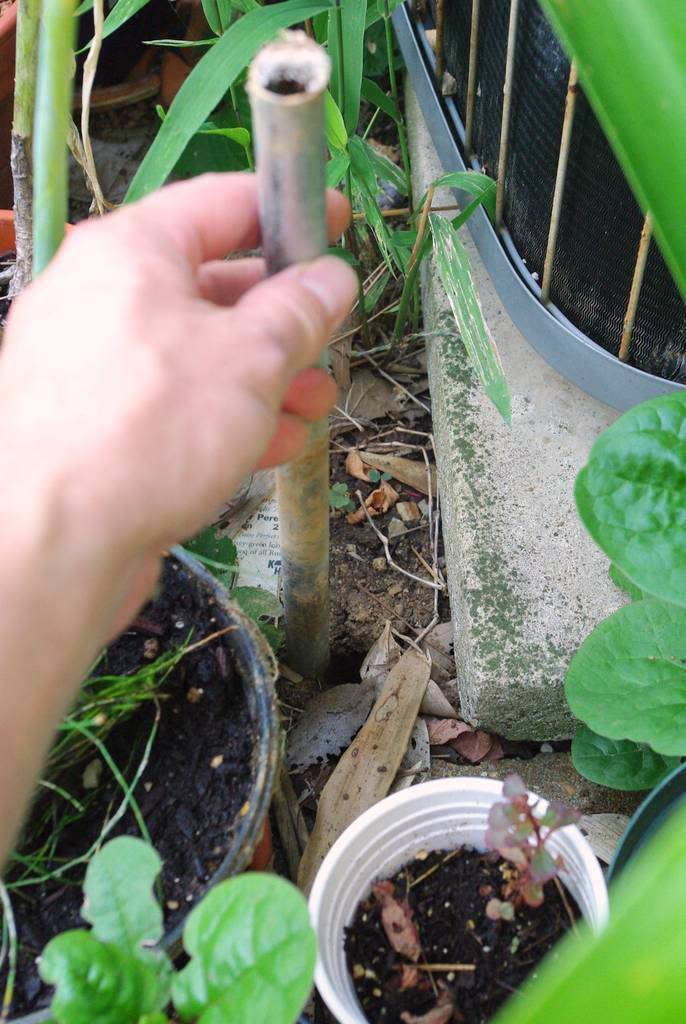
It looks like there's a bit of soil exposed next to the slab:


Perfect! I'll add my favorite type of trellis here: a single pole.

First, take a small section of electrical conduit and pound it into the ground to make a starter hole for the pole. The ground was too hard here to just press the pole in:


Once I hit softer soil I stopped pounding and put the 10' pole in -- again, just electrical conduit. I like electrical conduit because it's light, quite sturdy, and cheap: about $2 per pole. Plus I can easily cut it into shorter lengths if needed.

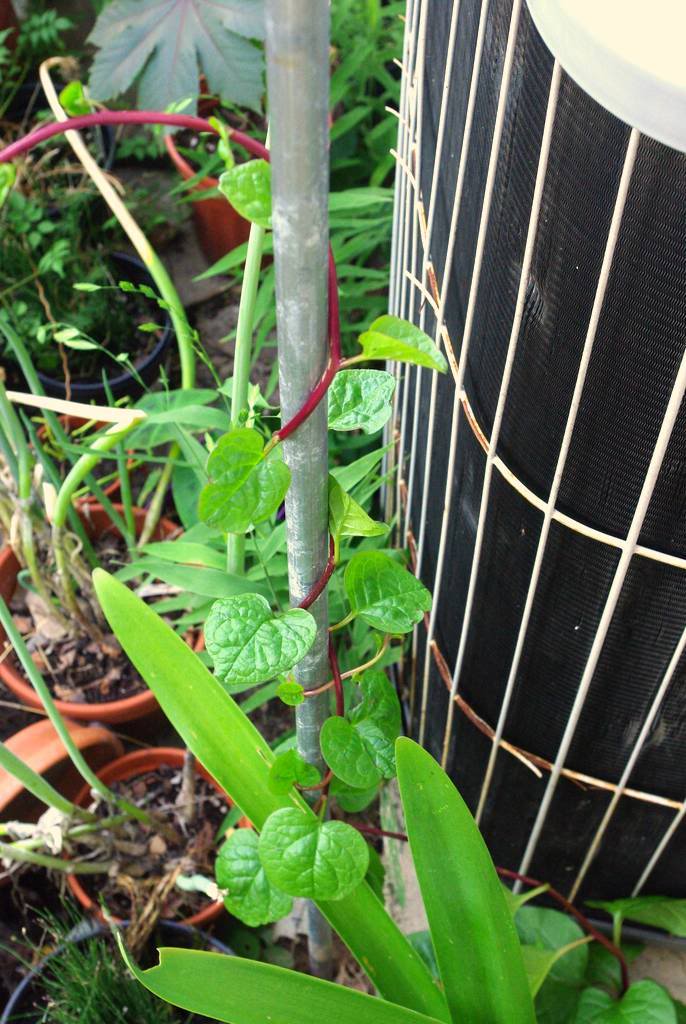
So I pushed it into the ground as far as I could, then carefully unwrapped the two vines from the AC screen and wrapped them around the new pole:


Some vines will have trouble climbing the slick metal, but malabar spinach has lots of grip -- it's got a rubbery surface, if that makes any sense.


There's really no reason to have two vines climbing this pole, as one vine will be plenty. In fact it will probably be more than this pole can handle, and I'll need to prune some of the growth every once in a while. (Single-pole trellises aren't the strongest around.)

But I'll keep two of them going for a while in case something happens to one of them. I haven't seen evidence of rabbits eating these, but I'd rather have a crowded pole for a while than an empty one.

What is especially nice about having this trellis here is there is another malabar spinach vine growing just a few feet away, so you'll be surrounded by this beautiful vine as you walk through here -- and I walk through here many times a day.


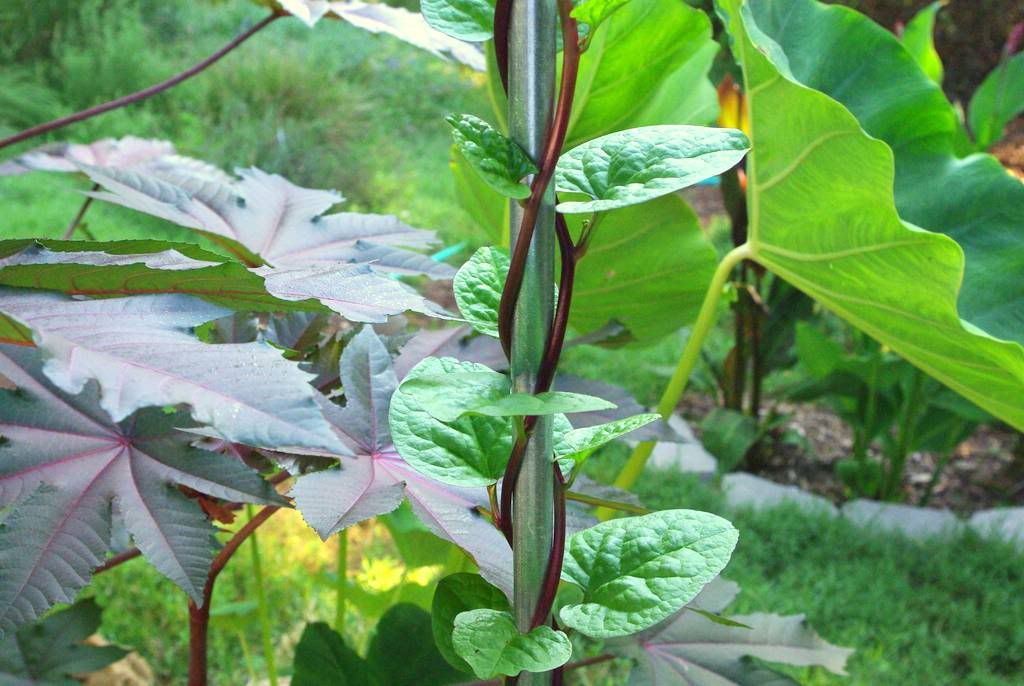
I've got one other spot nearby in which I've put another one of these single-pole trellises, so it's a little more advanced, and shows what I can expect out of the new trellis soon:


I can't wait to see all of these in a month or so!


One thing I didn't mention: it's important to get these poles as perfectly upright as possible. Any lean will result in a bent or toppled pole once the vine gets heavy enough. Fortunately it's quite easy to do this even without a level or other tools: just stick the end of the pole on the ground and balance it upright as best you can, then push it into the ground. In my experience this does the job!

.

Read more...

Potential, do you see it?

In a recent post I mentioned that a certain view of my yard might be changing after a project I had planned for the weekend. Well, that project has not happened yet. It's started, but hasn't progressed enough for me to show you that part of the yard again. Here's how it got going though...


See this tired old boxspring? It's been in my basement for a while for two reasons: first, I hate adding things to the landfill if I don't have to. Second, I saw in this boxspring not a useless piece of trash ready for bulky item collection day, but the potential for a new feature in the garden.
***

I have to admit that one or all of the cats that I've owned over the past 15 years or so helped me realize the potential in this worn-out bedding. You see, over the years they had bitten or clawed at one of the seams, causing a strip of welt (edging) to come loose and hang down a bit.

As I was carrying this awkward mass to the basement I stepped on this dangling cord and ripped a few feet of the seam open, which allowed me to see inside:


What do you see? I see a fancy new garden trellis!

I only need to free it from its bedroom-intended bonds. Let the ripping begin!

Removal of the bottom and side fabrics resulted in many pokey staples which I decided to remove with pliers before I cost myself an urgent care clinic co-pay:


The batting (not sure if that's the right word -- the thick support material) under the top fabric was held on to the frame with a sort of staple:


These required some plier effort to twist off, but when they were all removed I had a nice sheet of some funky material for a future project:


I'm not sure what the point of all of the colored threads are, except maybe as recycled filler? They're quite fun though, aren't they?


Now that all of the fabric is removed, it's just metal grid attached to wooden frame, and those staples look a lot more heavy duty:


Fortunately they pried out with only a moderate amount of difficulty, and like a black swallowtail butterfly from a chrysalis, my trellis had emerged:


After this I took a little break, then repeated the process on the second boxspring. If you want to see how that progressed, just scroll back up and read this post again -- it was exactly the same procedure. Well, it went a bit faster as I was now an experienced trellis releaser.

The next step was to be painting, then installing in the garden.

I was just too hot and tired to do it though. 

Perhaps this weekend? I'll let you know...

.

Read more...

Creating a copper patina fast!

In yesterday's post about the vines, I showed a photo of a copper pipe trellis I created that has what I consider to be a really attractive patina (the look the surface acquires due to exposure or time). I think most people know that copper will eventually age to a blue-green color when exposed to the weather, but that process takes time.


Most gardeners -- myself included -- don't like to wait decades for changes to happen, so today I'm going to show you how to achieve this beautiful look in just a day or two, with only a few minutes of work.

Read more...
Some vines need a boost

I grow several different types of flowering vines, and most of them have no trouble climbing on their own. Spanish flag vine, cypress vine, scarlet runner bean, hyacinth bean, snail vine -- these all will gladly wrap around anything vertical and vault themselves skyward. Even a slippery surface like a smooth metal pole isn't a problem for them.


The one perennial vine I grow right now is a different story I've learned. Sweet Autumn Clematis is a beautiful late-summer bloomer, but it just doesn't have the gripping power that the annual vines do.

Read more...

Veggie garden makeover, part 1

Continuing my pledge to pay more attention to the edibles in my garden this year with the goal of getting a respectable crop of goodies to eat, it's time to do something about the place they will be growing. As I mentioned before, the bed was given over to the cypress vines last year when the edibles didn't thrive on the neglect I lavished upon them.


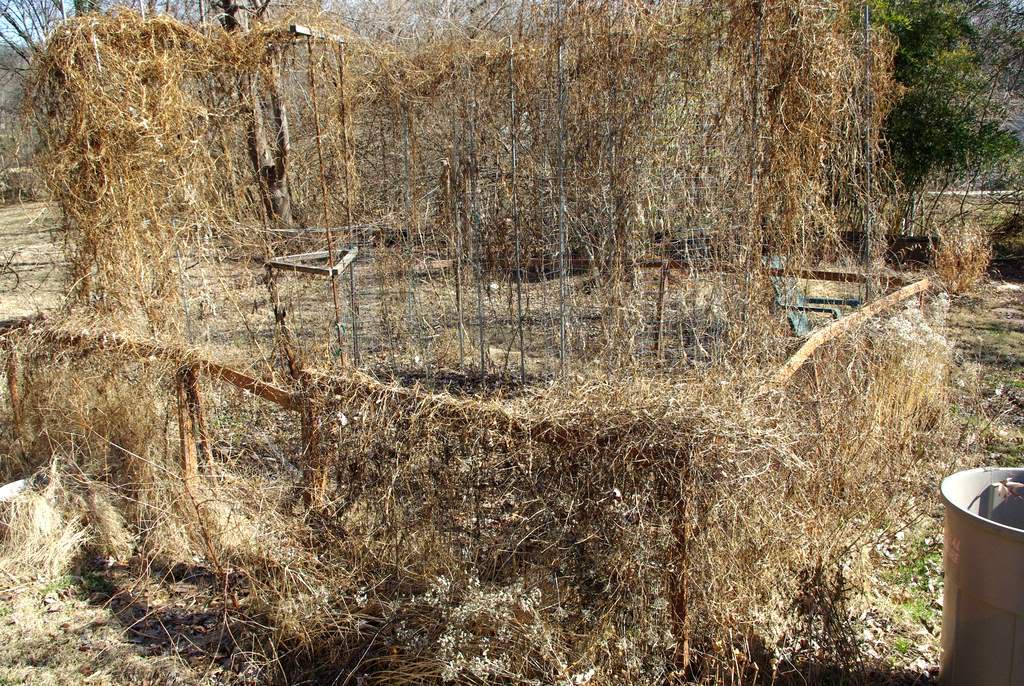
Today the vines come down, as do the trellises, and the while bed gets cleaned in preparation for what comes next.

Read more...

  © Blogger template Shush by Ourblogtemplates.com 2009

Back to TOP