mouse field

I usually don't catch mice in the garage during the summer, as that's normally a cold-weather activity. Recently I noticed some suspicious activity though, and I caught a mouse. Unfortunately I'm not in the habit of checking the trap every day during the summer, so when I opened it after skipping a day a weak, dirty, wet mouse was visible - it must have spent a full day in there! I was so glad it wasn't dead that I put it in a bucket, sprayed it with water to clean it up a bit, then gave it some fruit, seeds, and some tissues, paper towels, and a little saucer of water. By the end of the day it was looking a lot more energetic, so I was planning on releasing it the next morning. Of course I forgot that healthy mice can easily jump out of buckets, and in the morning it was gone!
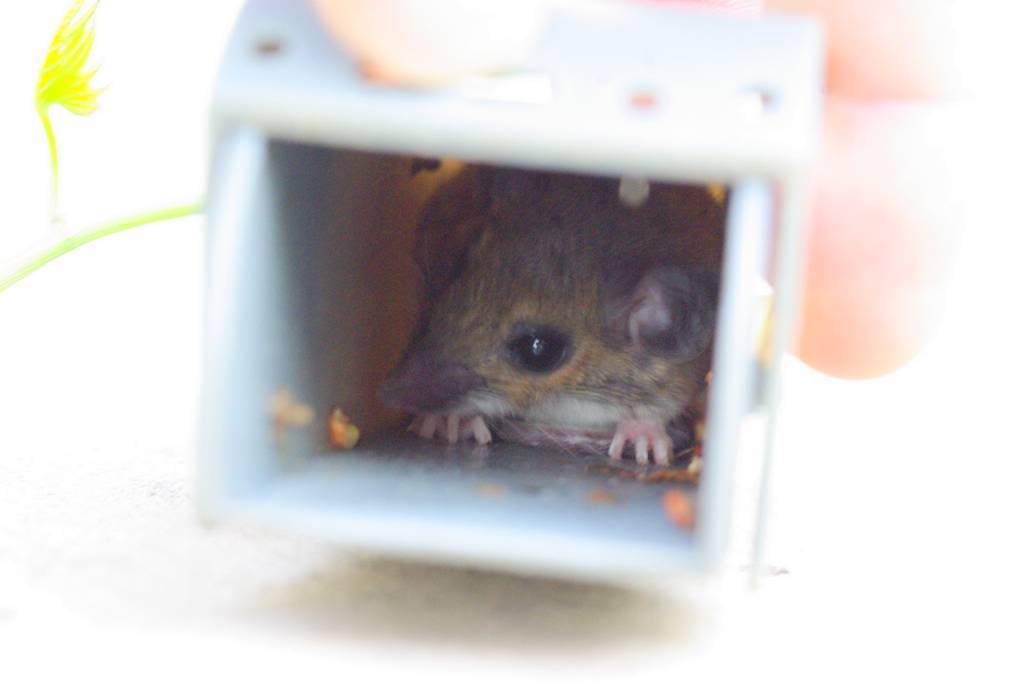


No worries though, because I think I caught it again that night. You know what that means, right? A trip to the mouse field!

***


The mouse field is actually a small hill near my house that gets mowed at most once a year. It's got a "commercial property available" sign on it, but I can't imagine anybody building anything there -- it's just a weird parcel of land.


So until it sells (which I hope never happens) it is my designated mouse release area. Hence "mouse field". Plenty of grasses, seeds, and other mice to play with.


An abundance of seeds early this year, as drought conditions and extreme heat have seemingly advanced the calendar at least two months.



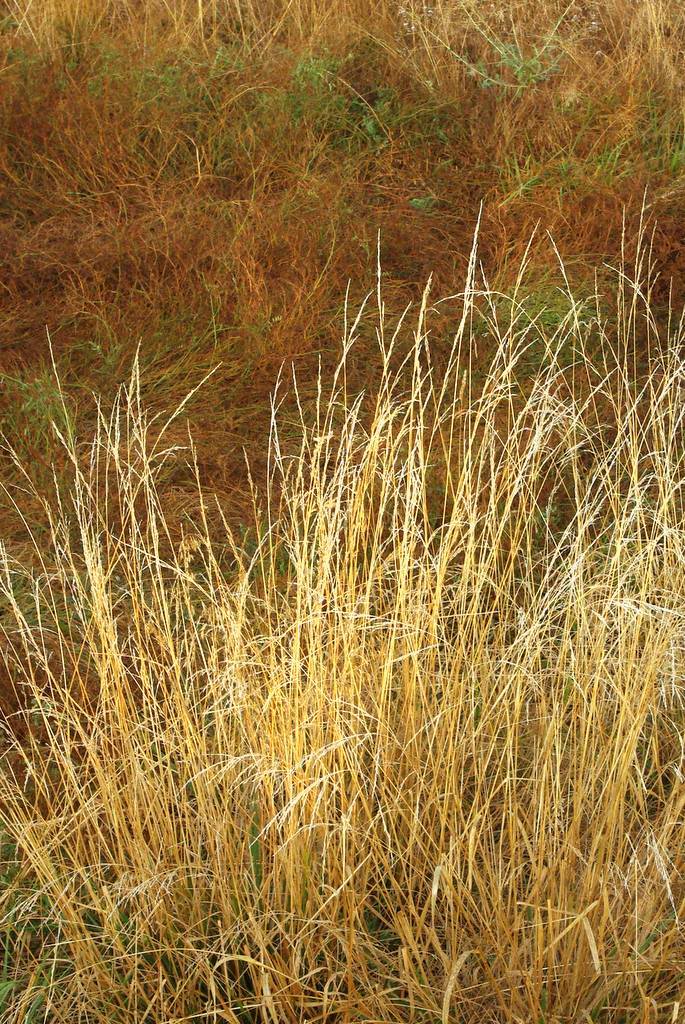


Not everything is looking autumnal though -- there is still some active growth happening:


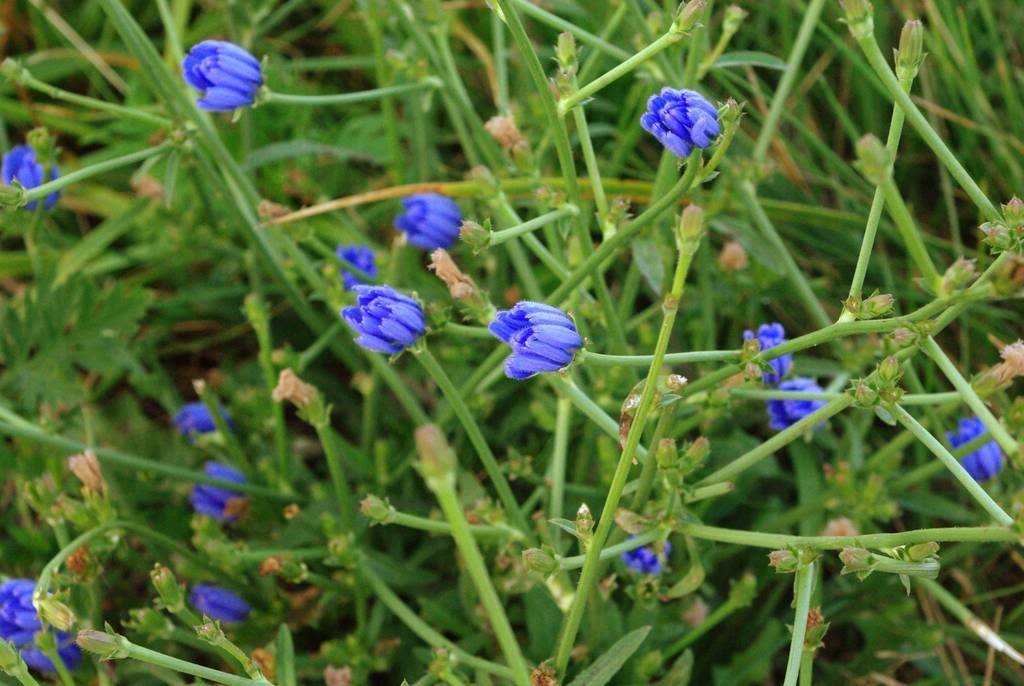


Most of the greenery was located next to the road:
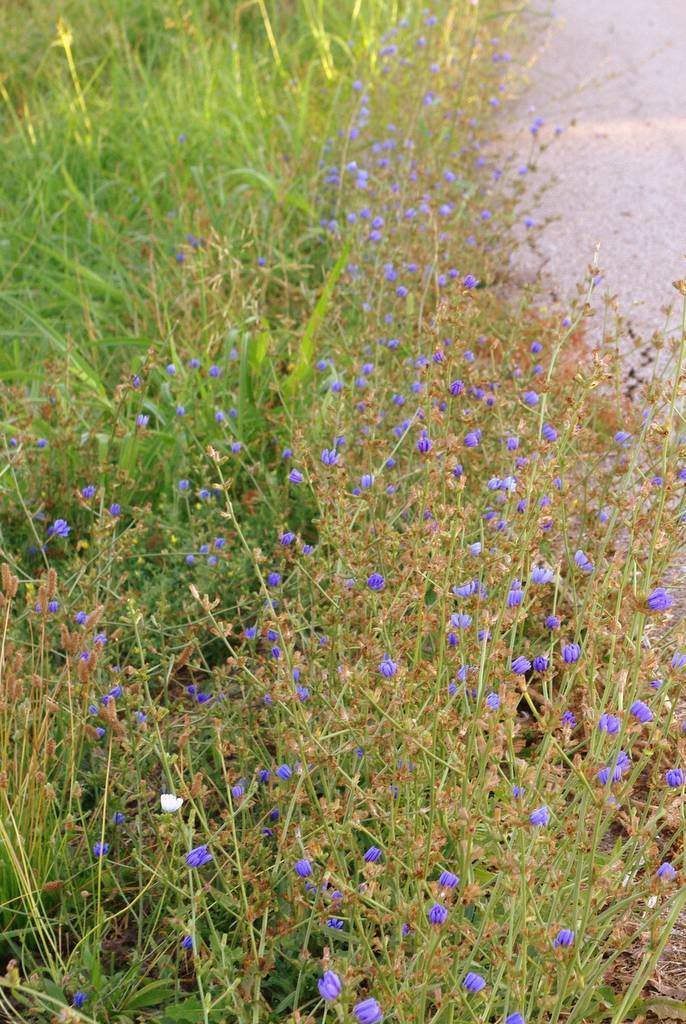

There was some in the lower areas too, where the once-a-month rain (this summer) must collect:


I want this plant growing in my garden:
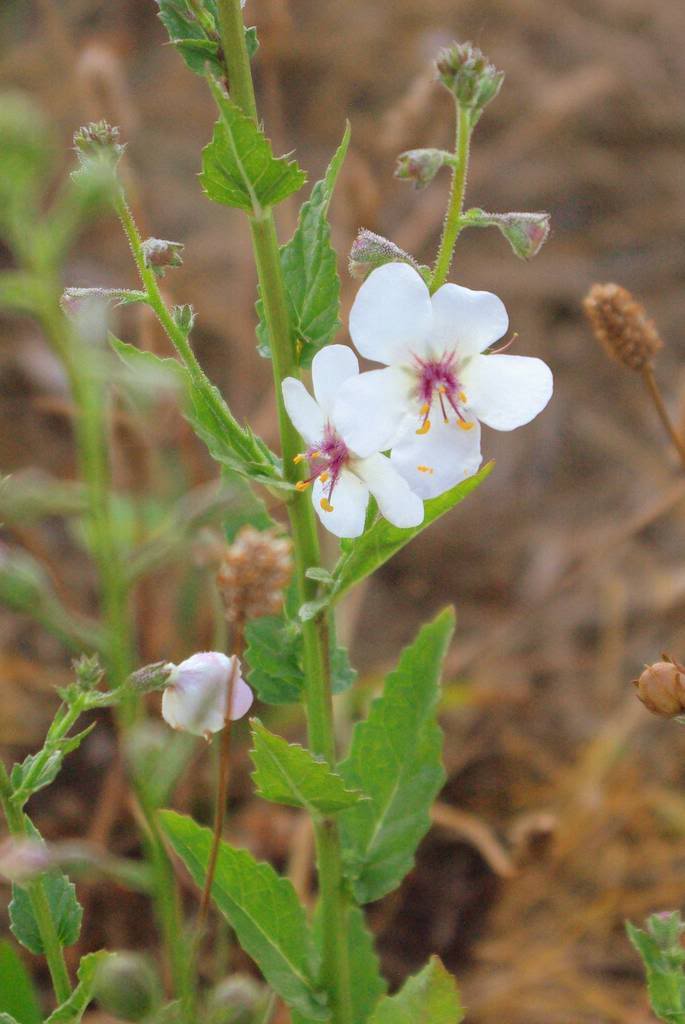

The seeds were not ripe enough to collect though:
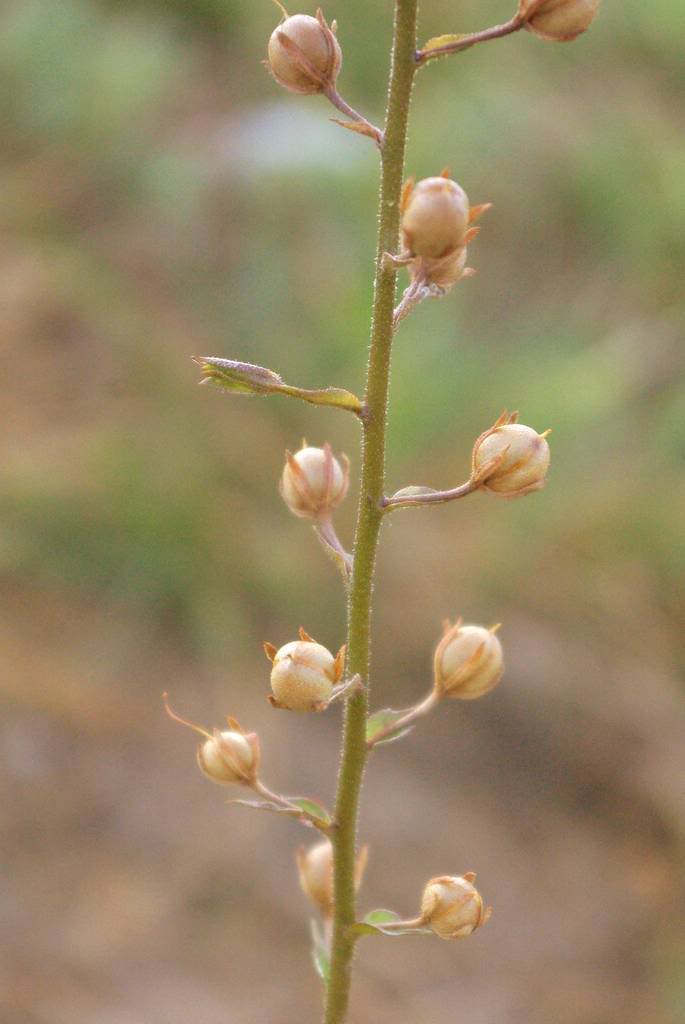

I must remember to go back periodically and check on those seeds!


So the mouse field has a new summer inhabitant.

Stuff yourself on wild seeds little guy, and I hope you can find water!

.

Read more...

It's orange day

I noticed something when looking at the kitchen counter the other day: recent harvests have been quite orange!


This isn't some weird side effect of the heat, it's just the way these varieties grow.

***

For instance this heirloom cucumber: Poona Kheera.


It starts out yellow, then ripens to this rich orangey brown color. Looks like something is wrong with it, but it's quite delicious, and not at all bitter even when it ripens to this extent -- I should have picked it earlier, but I didn't know it was out there.


This is the first year I'm growing it, and I think it's a winner.

Next up:


This is a tomato called 'Tangerine'.


I wonder how it got that name (he asks sarcastically)? It certainly is delicious and very orange. It does not taste of tangerines.

And because I felt like I needed a third orange item to satisfy the rules of composition (and fairy tales):


I found a marigold bloom that hasn't yet faded. I thought marigolds were almost bulletproof, but mine have been struggling. Not sure what to do about that.

Now that I think about it I should have grabbed a zucchini or squash bloom instead, as that would have fit the theme better.


But that's my trio of orange. I hope your garden is surprising you this summer!

.

Read more...

A simpler trellis

Yesterday I posted the first half of an involved trellis project. I love vines, so I'm always looking for spaces for them to grow in my garden. I've got a couple of pergolas that are becoming vine-covered finally (I got a late start planting the vine seedlings this year), I use the deck railing and supports as trellises, I have a couple of copper pipe trellises that I made, and even have a couple of simple tripod structures for vines to climb.


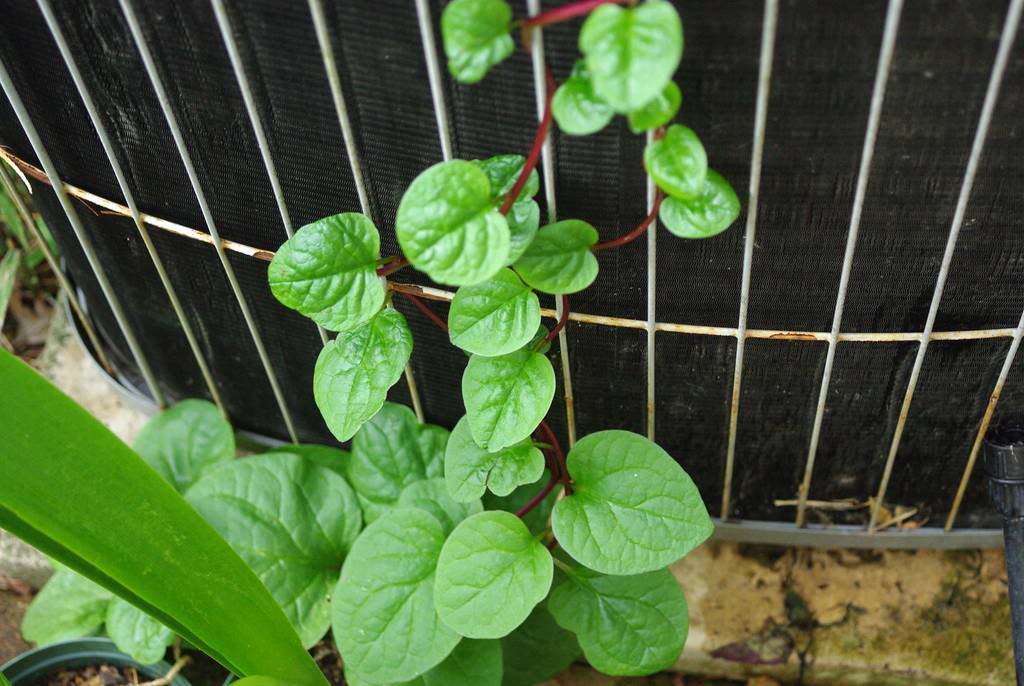
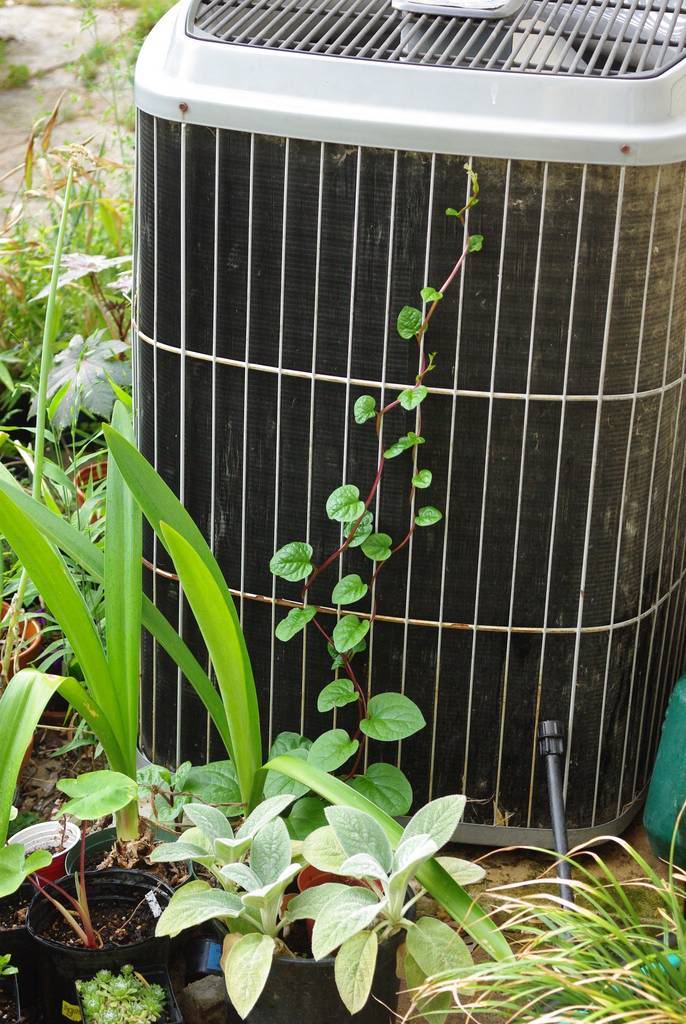
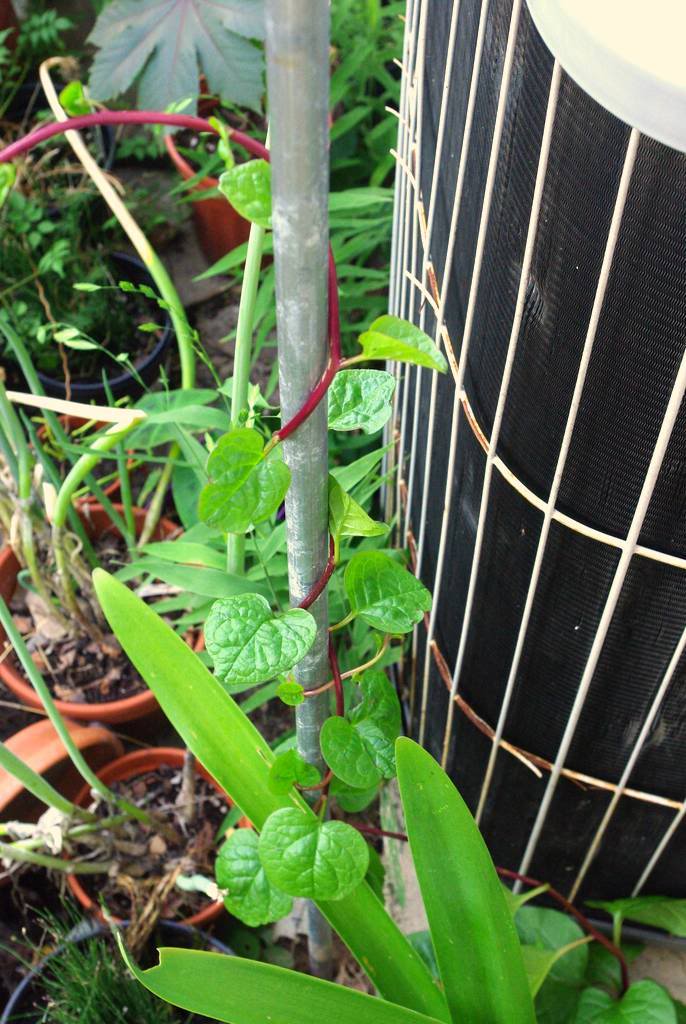
But now I'm going to add another to solve a little problem: this malabar spinach volunteer growing up my air conditioner.

***


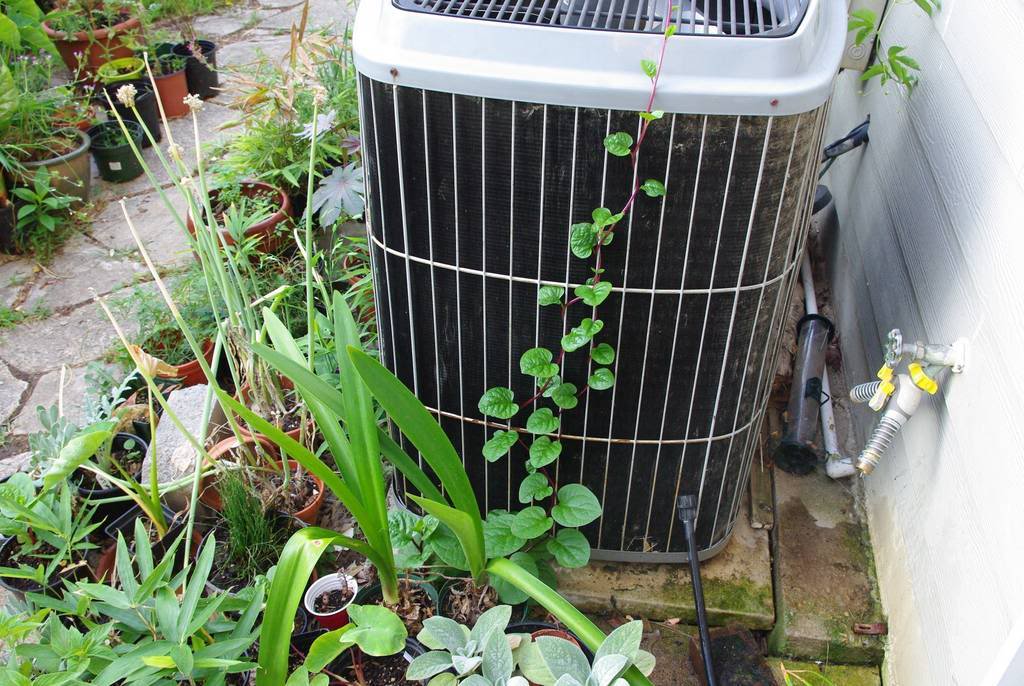
Here's a wider shot to show you what I'm dealing with here:


Flagstone pavers, tons of little pots (this is my plant "hospital" area), and not much space for any trellis. The vines are growing in the tiny crack between the air conditioner's concrete pad and the concrete driveway. I honestly can't see any soil but the clay soil under my driveway must be such nice stuff, because plants really love growing in the driveway cracks!


I love malabar spinach vines so much, and hate killing plants, so pulling these out was never an option. Letting them smother the AC unit is not an option either, as temps are supposed to be over 100ºF all week long and we need this machine working at peak efficiency!

It looks like there's a bit of soil exposed next to the slab:


Perfect! I'll add my favorite type of trellis here: a single pole.

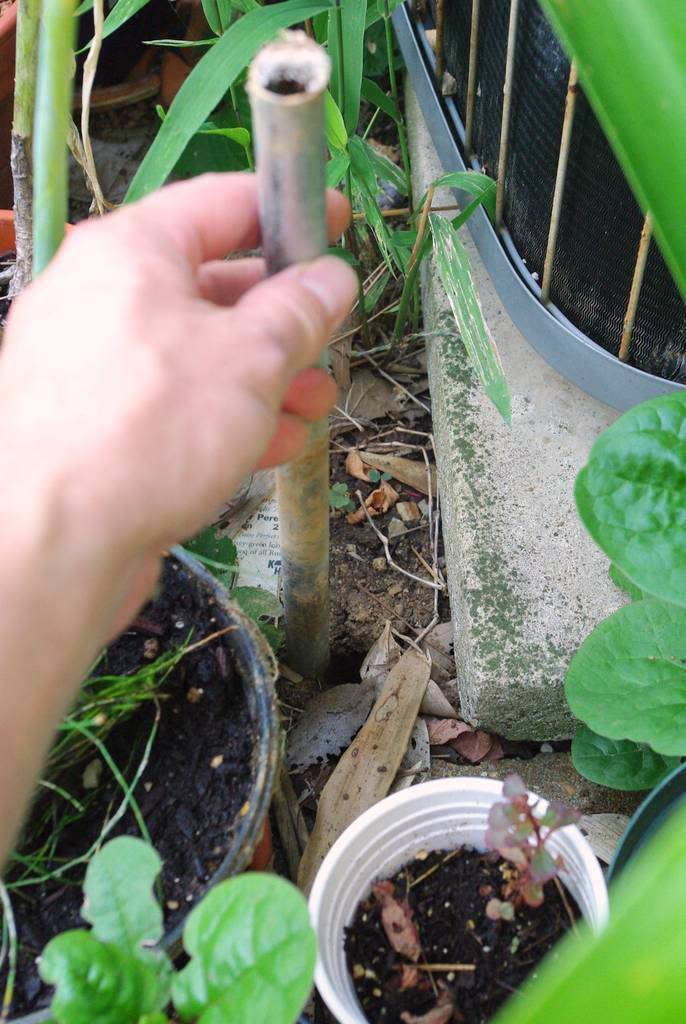
First, take a small section of electrical conduit and pound it into the ground to make a starter hole for the pole. The ground was too hard here to just press the pole in:


Once I hit softer soil I stopped pounding and put the 10' pole in -- again, just electrical conduit. I like electrical conduit because it's light, quite sturdy, and cheap: about $2 per pole. Plus I can easily cut it into shorter lengths if needed.

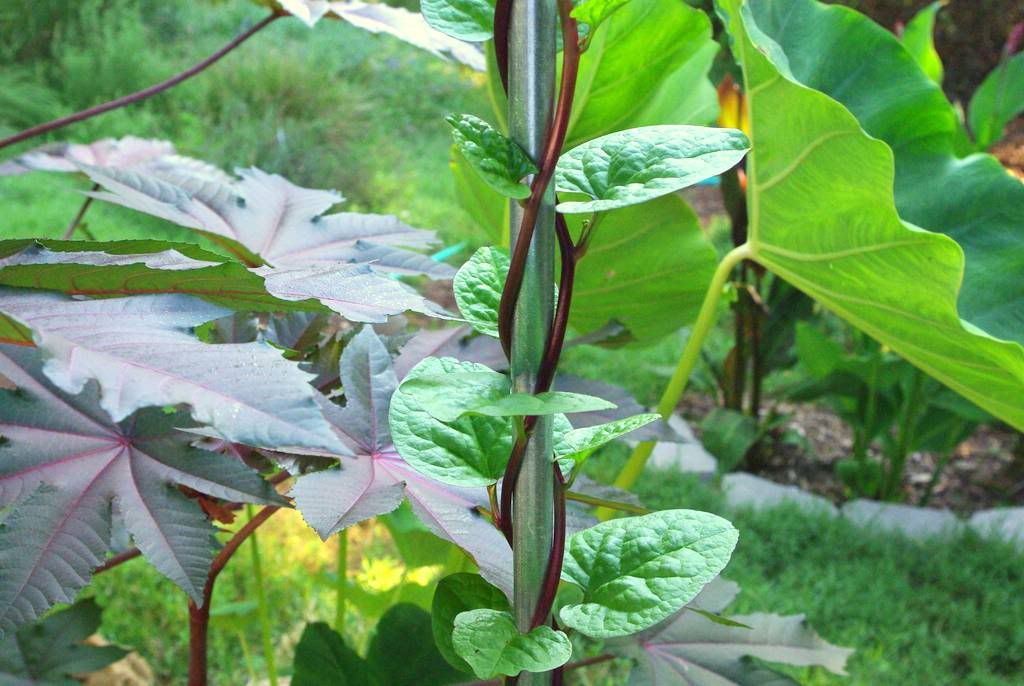
So I pushed it into the ground as far as I could, then carefully unwrapped the two vines from the AC screen and wrapped them around the new pole:


Some vines will have trouble climbing the slick metal, but malabar spinach has lots of grip -- it's got a rubbery surface, if that makes any sense.


There's really no reason to have two vines climbing this pole, as one vine will be plenty. In fact it will probably be more than this pole can handle, and I'll need to prune some of the growth every once in a while. (Single-pole trellises aren't the strongest around.)

But I'll keep two of them going for a while in case something happens to one of them. I haven't seen evidence of rabbits eating these, but I'd rather have a crowded pole for a while than an empty one.

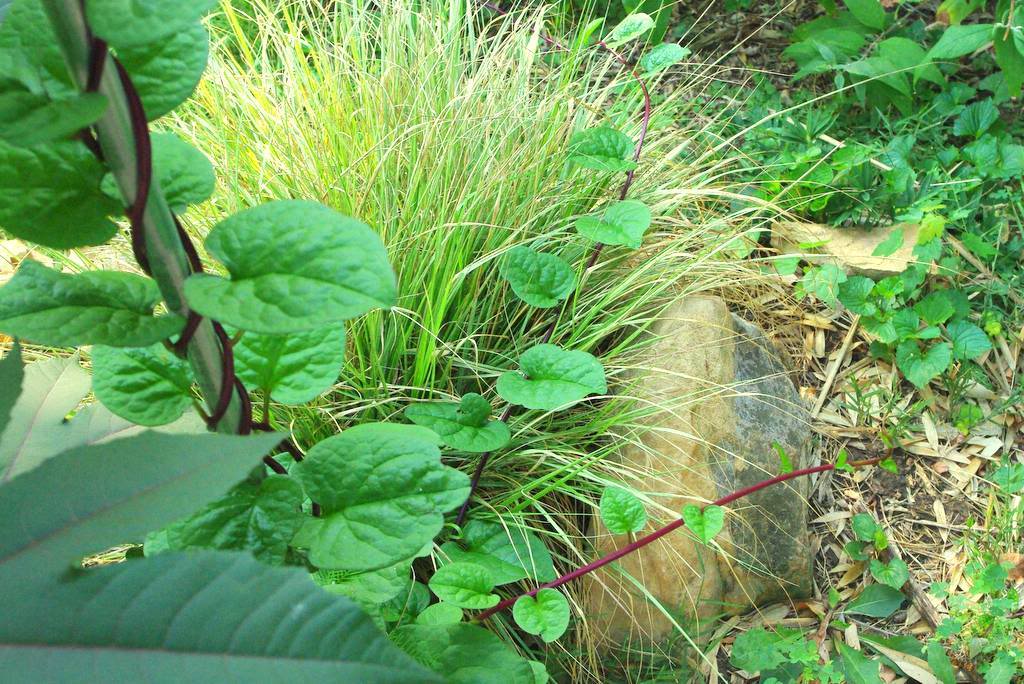
What is especially nice about having this trellis here is there is another malabar spinach vine growing just a few feet away, so you'll be surrounded by this beautiful vine as you walk through here -- and I walk through here many times a day.


I've got one other spot nearby in which I've put another one of these single-pole trellises, so it's a little more advanced, and shows what I can expect out of the new trellis soon:


I can't wait to see all of these in a month or so!


One thing I didn't mention: it's important to get these poles as perfectly upright as possible. Any lean will result in a bent or toppled pole once the vine gets heavy enough. Fortunately it's quite easy to do this even without a level or other tools: just stick the end of the pole on the ground and balance it upright as best you can, then push it into the ground. In my experience this does the job!

.

Read more...

Potential, do you see it?

In a recent post I mentioned that a certain view of my yard might be changing after a project I had planned for the weekend. Well, that project has not happened yet. It's started, but hasn't progressed enough for me to show you that part of the yard again. Here's how it got going though...


See this tired old boxspring? It's been in my basement for a while for two reasons: first, I hate adding things to the landfill if I don't have to. Second, I saw in this boxspring not a useless piece of trash ready for bulky item collection day, but the potential for a new feature in the garden.
***

I have to admit that one or all of the cats that I've owned over the past 15 years or so helped me realize the potential in this worn-out bedding. You see, over the years they had bitten or clawed at one of the seams, causing a strip of welt (edging) to come loose and hang down a bit.

As I was carrying this awkward mass to the basement I stepped on this dangling cord and ripped a few feet of the seam open, which allowed me to see inside:


What do you see? I see a fancy new garden trellis!

I only need to free it from its bedroom-intended bonds. Let the ripping begin!

Removal of the bottom and side fabrics resulted in many pokey staples which I decided to remove with pliers before I cost myself an urgent care clinic co-pay:


The batting (not sure if that's the right word -- the thick support material) under the top fabric was held on to the frame with a sort of staple:


These required some plier effort to twist off, but when they were all removed I had a nice sheet of some funky material for a future project:


I'm not sure what the point of all of the colored threads are, except maybe as recycled filler? They're quite fun though, aren't they?


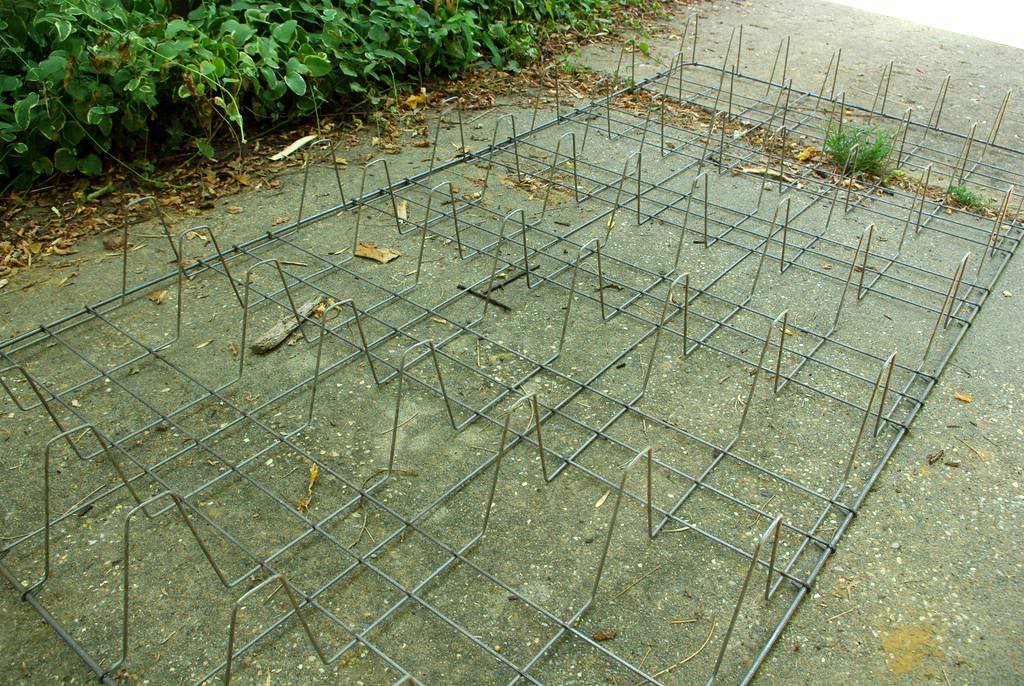
Now that all of the fabric is removed, it's just metal grid attached to wooden frame, and those staples look a lot more heavy duty:


Fortunately they pried out with only a moderate amount of difficulty, and like a black swallowtail butterfly from a chrysalis, my trellis had emerged:


After this I took a little break, then repeated the process on the second boxspring. If you want to see how that progressed, just scroll back up and read this post again -- it was exactly the same procedure. Well, it went a bit faster as I was now an experienced trellis releaser.

The next step was to be painting, then installing in the garden.

I was just too hot and tired to do it though. 

Perhaps this weekend? I'll let you know...

.

Read more...

  © Blogger template Shush by Ourblogtemplates.com 2009

Back to TOP